
7

Importing email using Mac Mail
source link: https://help.dreamhost.com/hc/en-us/articles/360001299423-Importing-email-using-Mac-Mail
Go to the source link to view the article. You can view the picture content, updated content and better typesetting reading experience. If the link is broken, please click the button below to view the snapshot at that time.

Importing email using Mac Mail
Overview
This article assumes you've already exported your email within Mac Mail using the following article:
It's also assumed you backed up your email from another hosting company and are now ready to import your email into your DreamHost email account.
Importing
- Before continuing, delete the old email account from MacMail that was connected to your old hosting provider.
- Add the address back to MacMail, but this time make sure it connects to your DreamHost mail server. View the following article for instructions:
- At this point, MacMail should load your address at DreamHost. There should be no email in this account since you have not migrated anything yet.
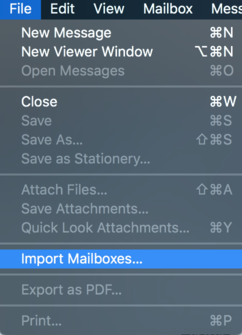
- In MacMail, click 'File > 'Import Mailboxes...'.
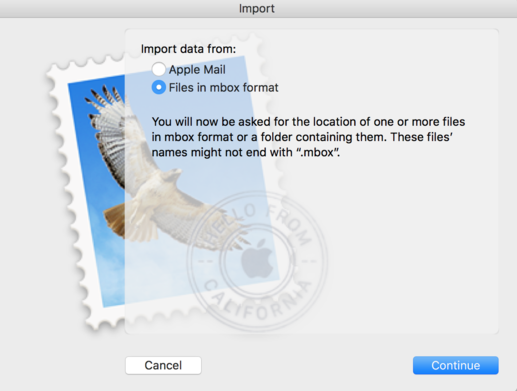
- In the pop-up window, choose 'Files in mbox format. Then click Continue.

- A pop-up opens. Navigate on your computer to the location you backed up email above. In this example, it's in a folder titled 'MacMail_Backup'.
- In this folder are several mbox files. Highlight everything. Then click Choose.
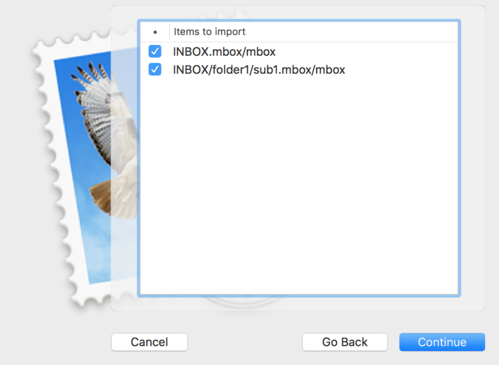
- In the next window, confirm all of the files are what you'd like to import. Then click the Continue button.
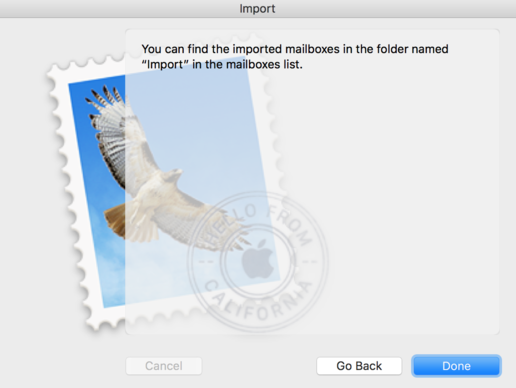
- The next window informs you that the emails have been imported into a folder titled 'Import'. Click the Done button.
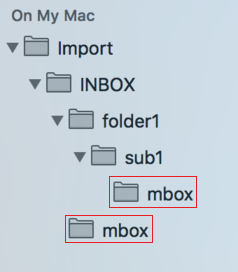
- In the left pane you'll see the 'Import' folder. Click this to reveal all sub-folders and emails you just imported. As mentioned in the 'Exporting email using Mac Mail' article, the emails are backed up in 'mbox' files. You'll see above that under each folder is another folder titled 'mbox'. This is where your emails reside.
Moving email into your new address
At this point, email is in Mac Mail under the Import section. You must now drag those emails into your DreamHost address. This requires you to create folders as you go along and drag the contents of each folder individually.
Moving email into your Inbox
- First, click the 'mbox' folder for your Inbox.
- You'll see its content populate to the right.
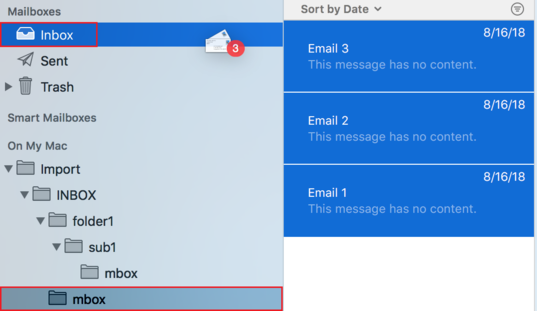
- Highlight all emails. You can do this quickly by pressing 'Command + A'.
- Drag them into your 'Inbox' folder.
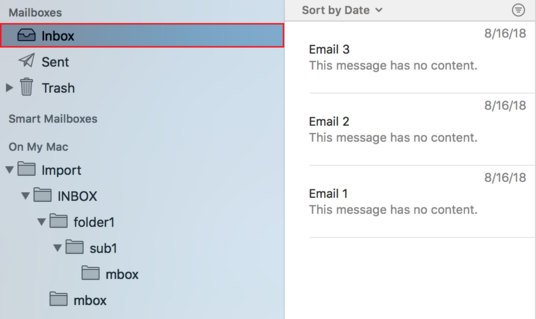
- Click your Inbox folder and you'll see all emails have been imported.
Moving email into sub-folders
This step requires you to create your sub-folders manually as you go along.
- Hold down the 'Control' button and click your Inbox.
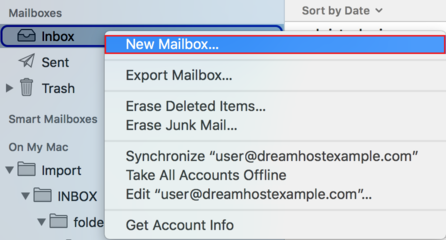
- Choose 'New Mailbox...'.
- Create a new mailbox folder. This example creates a folder titled 'folder1'. Repeat for any sub-folders.
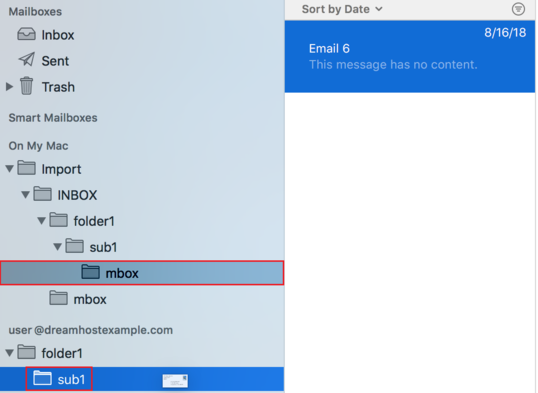
- Now that the sub-folders are created, click the corresponding 'mbox' folder in the Import section. In this example, the 'mbox' folder under 'sub1' is clicked.
- Highlight the emails in this folder and drag them into the new folder you just created.
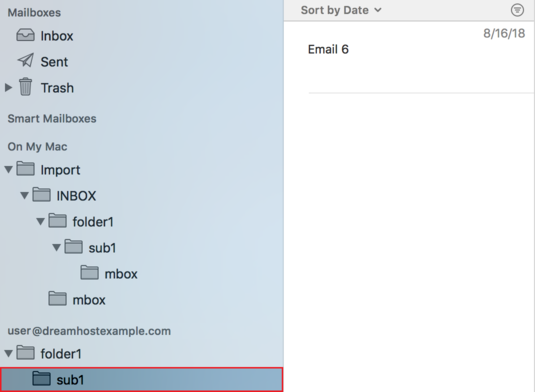
- Clicking the sub-folder, you can see the emails have been imported.
- Repeat these steps for any other sub-folders.
See also
Did this article answer your questions?
Recommend
About Joyk
Aggregate valuable and interesting links.
Joyk means Joy of geeK