
博客优化:Tags按字母序排序 & 添加滚动到顶部按钮
source link: https://blackdn.github.io/2024-02-26-Blog-TagsSort-BackToTop-2024/
Go to the source link to view the article. You can view the picture content, updated content and better typesetting reading experience. If the link is broken, please click the button below to view the snapshot at that time.

“日上三竿我犹眠,不理人间万里愁。”
博客优化:Tags按字母序排序 & 添加滚动到顶部按钮
又是一波博客优化
内容也比较简单,属于锦上添花
之前搞调试和路径太折磨人,键盘都冒烟了快
这次就搞点容易做的压压惊=v=
Tags按字母顺序排序
在博客的Tags页面,我们发现标签并不是按照字母顺序排序、也没有按照其关联的文章多少排序(似乎是按照标签添加的先后时间排序的),所以我们打算将其改成按字母顺序排序(从A到Z)
先来到Tags页面对应的文件,即根目录下的 tags.html
我们发现其主要由两部分组成,上面的标签云和下面的标签列表(标签及其关联文章) :
<!-- tags.html -->
<!-- Main Content -->
...
  <!-- 标签云 -->
  <div id="tag_cloud" class="tags">
	{% for tag in site.tags %}
	...
	{% endfor %}
  </div>

  <!-- 标签列表 -->
  {% for tag in site.tags %}
  ...
  {% endfor %}
  ...
目前在渲染的时候,用类似 for-each 的方法 {% for tag in site.tags %} (这是Liquid语法),我们直接从 site.tags 中循环取出标签渲染,默认情况下就是按照添加的时间先后排序。
因此修改方法也很简单,我们先对 site.tags 进行排序,之后再循环取出即可,只需要将 {% for tag in site.tags %} 修改成:
{% assign sorted_tags = site.tags | sort %}
{% for tag in sorted_tags %} %}
先通过 site.tags | sort 将 site.tags 的内容排序(默认就是字母升序),赋值给 sorted_tags,然后从 sorted_tags 中取值就好了。
最后就是这样:
<!-- tags.html -->
<!-- Main Content -->
...
  <!-- 标签云 -->
  <div id="tag_cloud" class="tags">
	{% assign sorted_tags = site.tags | sort %}
	{% for tag in sorted_tags %}
	...
	{% endfor %}
  </div>

  <!-- 标签列表 -->
  {% assign sorted_tags = site.tags | sort %}
  {% for tag in sorted_tags %}
  ...
  {% endfor %}
  ...
同理,可以对首页侧边栏的 FEATURED TAGS 也按字母顺序排序。
添加按钮滚动到页面顶部
因为我有些文章的内容不是嘎嘎长嘛,虽然可以通过目录快速定位,但还是想着加个浮动的按钮,点击后直接回到顶部不是也挺好的嘛
其实还挺简单的,没有之前那个添加搜索功能复杂
添加按钮布局
和之前添加搜索功能类似,我们先在 _includes 目录里新建一个文件,作为按钮的本体。
我这里新建 back_to_top.html,内容如下:
<!-- _includes/back_to_top.html -->
<div id="back-to-top">
  <a href="#top" title="回到顶部">
    <i class="fa fa-arrow-circle-up" aria-hidden="true"></i>
  </a>
</div>
内容比较简单,就是一个按钮的布局。按钮的样式我们采用 Font Awesome Icons ,找了个带圆圈背景的箭头,为标签 <i> 设置 class="fa fa-arrow-circle-up" 即可。
因为我们站点大部分用的都是 FA 的图标,这里保持一致,总体风格、颜色样式啊啥的都不需要额外修改,比较方便
按钮的显示隐藏及点击
主要我们想添加这两个功能:
- 页面向下滚动一段距离后展示按钮,否则隐藏按钮
- 点击按钮回到页面顶部
这些功能我们用JS代码实现,由于代码量不大,方便起见我们可以直接写在 html 文件里面,内容如下:
<!-- _includes/back_to_top.html -->
<div id="back-to-top">
  <a href="#top" title="回到顶部">
    <i class="fa fa-arrow-circle-up" aria-hidden="true"></i>
  </a>
</div>
<!-- 下面是新加的JS代码 -->
<script type="text/javascript">
  $("#back-to-top").hide();
  $(document).ready(() => {
    // show / hide button by current position
    $(window).scroll(() => {
      if ($(this).scrollTop() > 500) {
        $("#back-to-top").fadeIn();
      } else {
        $("#back-to-top").fadeOut();
      }
    });
    // scroll animation
    $("#back-to-top a").click(() => {
      $("body,html").animate(
        {
          scrollTop: 0,
        },
        500
      );
      return false;
    });
  });
</script>
主要的两部分代码对应着上面的两个需求,首先我们会进行一个判断,如果当前位置和页面顶部的距离大于500px ($(this).scrollTop() > 500),则调用 fadeIn() 展示按钮,否则调用 fadeOut() 让按钮隐藏。当然这个 500 可以自己看心情改。
下面那部分就是按钮的点击事件,这里用了一个滚动动画,在 500ms 的时间里滚动到 scrollTop: 0 的位置(即页面顶部)
添加按钮样式
按钮的 css 样式我们直接放到 hux-blog.css 和 hux-blo.min.css 里。
要注意的是实际上站点识别的是 hux-blo.min.css ,而 hux-blog.css 只是我们更易读的版本。可以用 Minify 等插件生成 .min.css,或者自己手动复制内容到 .min.css 中。
/* ... */
/* back to top button style */
#back-to-top {
  position: fixed;
  bottom: 30px;
  right: 0%;
  margin-right: 40px;
}
#back-to-top a {
  text-decoration: none;
  padding: 8px;
  display: inline-block;
}
#back-to-top i {
  font-size: xx-large;
}
/* back to top button style end */
主要就是通过定位把按钮悬浮在页面右下角,到这咱们的按钮样式和功能都已经实现了
将按钮引入页面
最后,我们需要将这个按钮放到页面中去。因为所有页面都需要这个按钮,所以选择在 _layouts/default.html 中,引入按钮的html文件:
<!-- _layouts/default.html -->
<!-- ... -->
<body ontouchstart="">
	{% include nav.html %}
	{% include search.html %}
	{{ content }}
	{% include footer.html %}
	<!-- 添加这一行 -->
	{% include back_to_top.html %}
</body>
<!-- ... -->
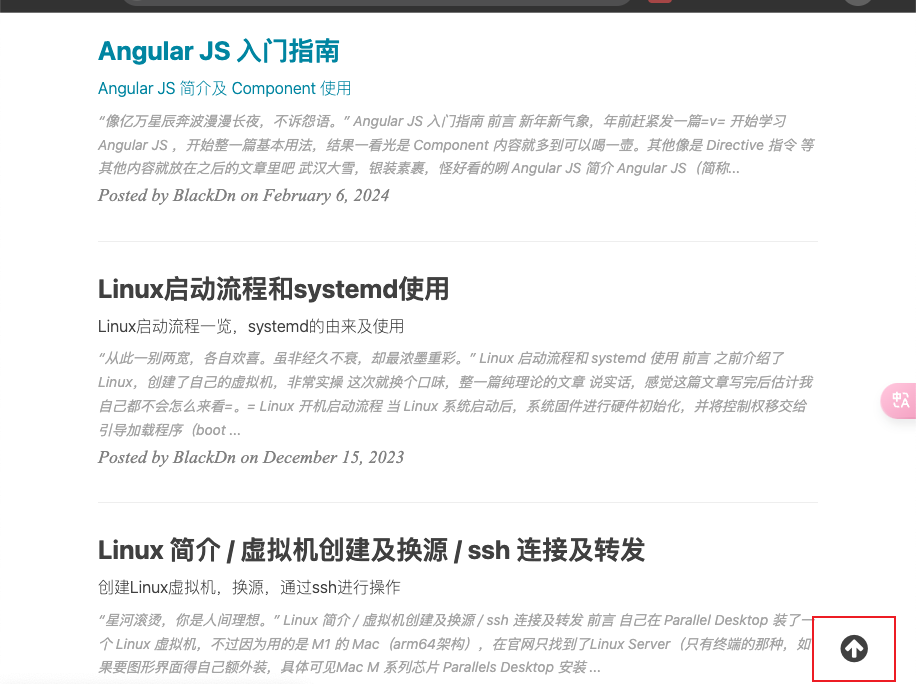
成功后页面右下角就能看到咱们的按钮啦~
后续大家可以自己修改样式,换成自己喜欢的图片啥的

Recommend
About Joyk
Aggregate valuable and interesting links.
Joyk means Joy of geeK