

Python3.7爬虫:实时api(百度ai)检测验证码模拟登录(Selenium)页面
source link: https://v3u.cn/a_id_134
Go to the source link to view the article. You can view the picture content, updated content and better typesetting reading experience. If the link is broken, please click the button below to view the snapshot at that time.

Python3.7爬虫:实时api(百度ai)检测验证码模拟登录(Selenium)页面
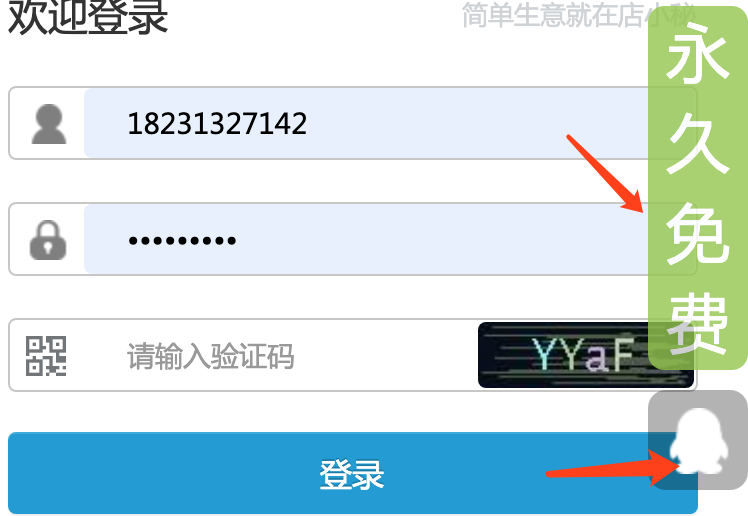
今天有同学提出了一个需求,老板让自动登录这个页面:https://www.dianxiaomi.com/index.htm,毫无疑问登录页面基本都会有在线验证码,要破解这个验证码当然不是啥难事,诚然可以自己去训练模型,然而大量的训练集测试数据还得自己去打码,说白了,不值当,有现成的接口可以用,何乐而不为,于是我们向万恶的百度伸出了魔爪。
首先申请百度api开发平台:https://cloud.baidu.com/
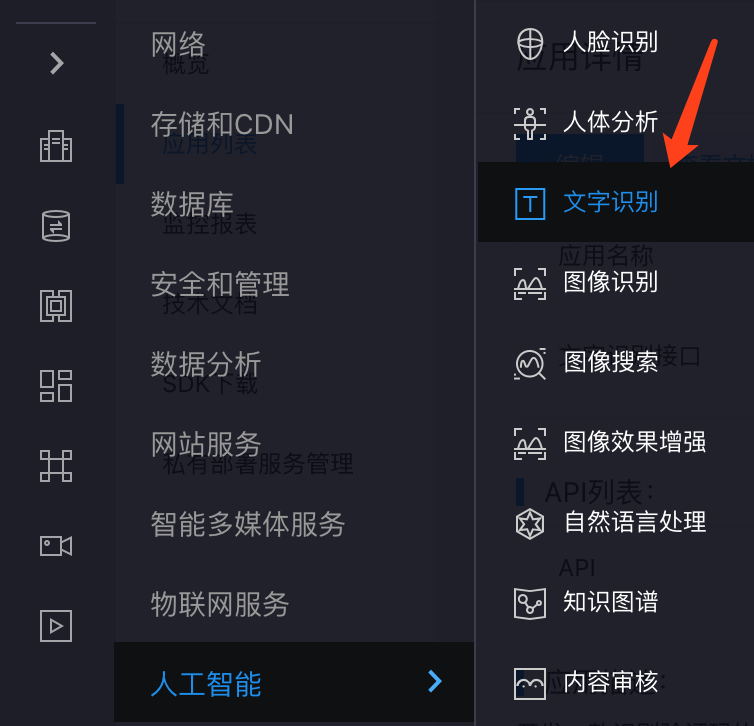
随后在人工智能-》文字识别 模块里建立一个应用
建立成功后,会分配给你一个key和secret
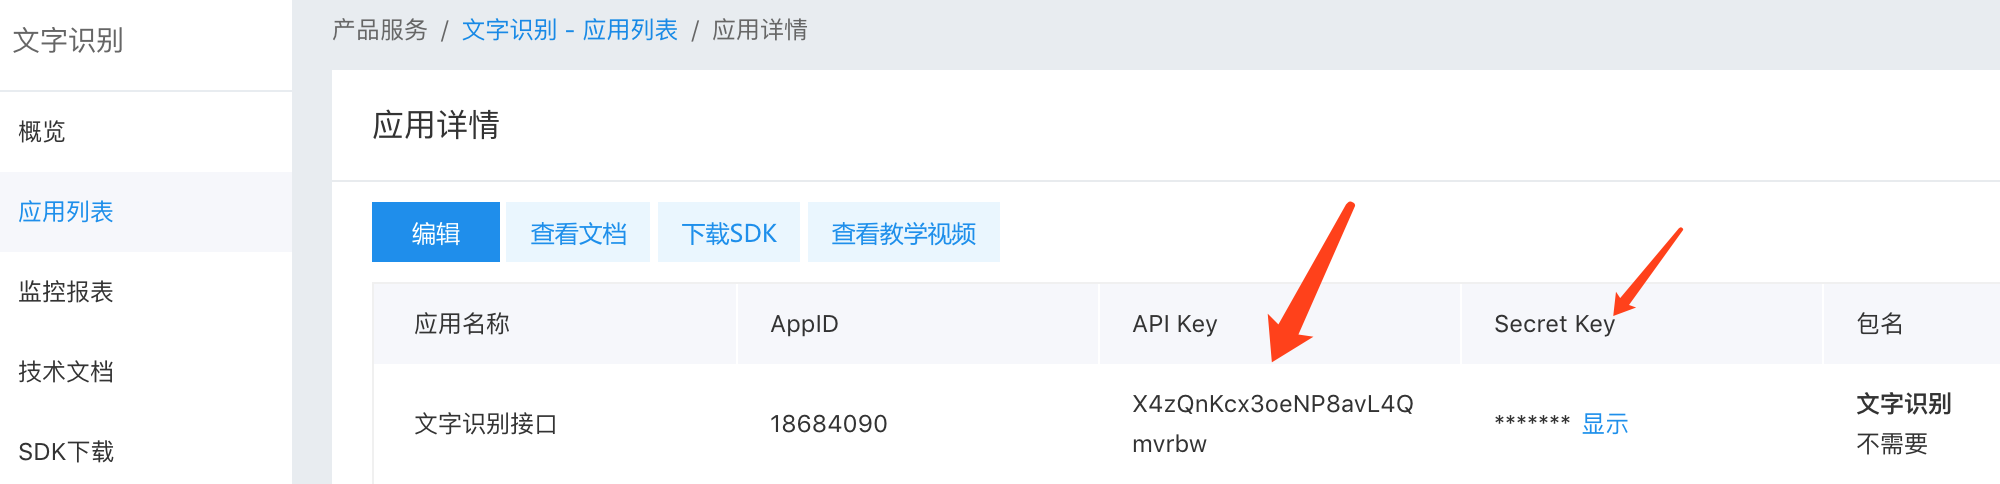
只不过这个接口免费版的每秒最多只能请求两次,一天有500次的请求机会
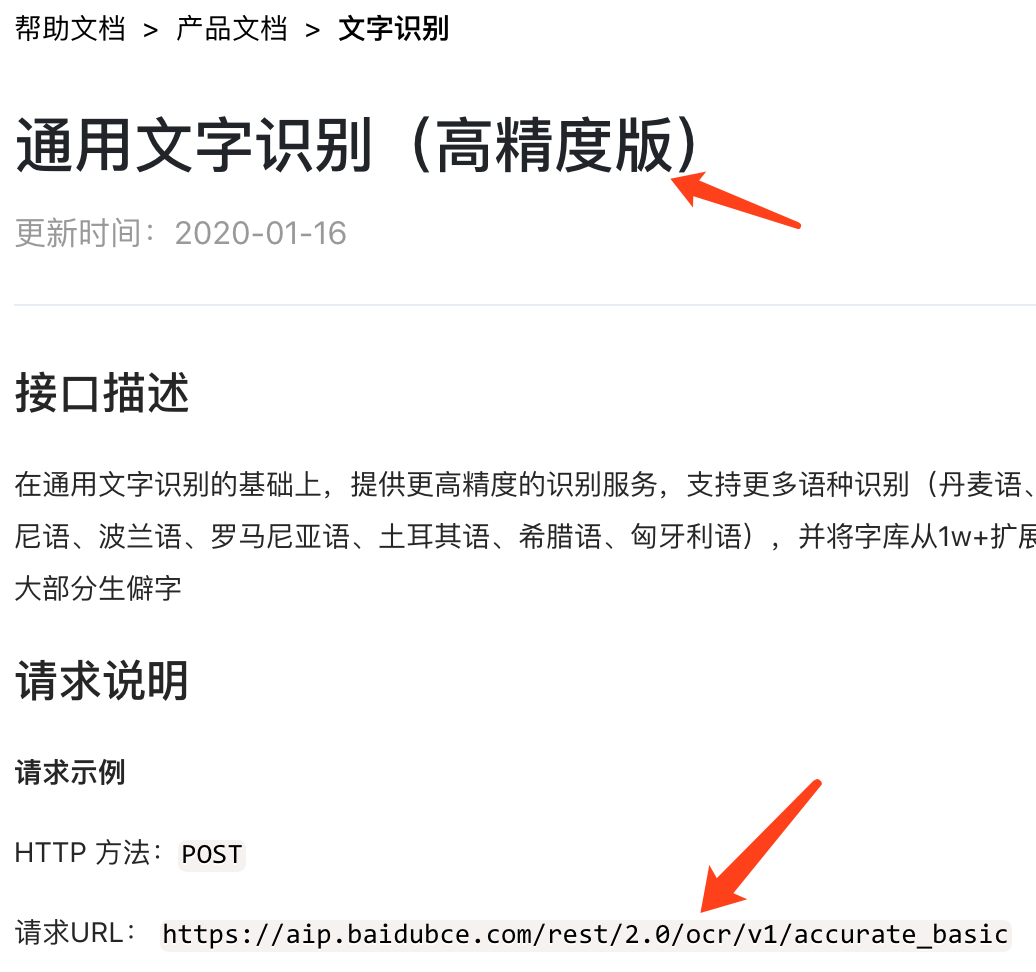
这里推荐使用高精度的接口,普通的识别率太差了
第一步,获取access_token
res = requests.get("https://aip.baidubce.com/oauth/2.0/token?grant_type=client_credentials&client_id=你的key&client_secret=你的秘钥")

res = json.loads(str(res.text))
token = res['access_token']
然后请求高精度识别接口,需要注意一点,这里图片需要转换成base64编码
temp_url = 'https://aip.baidubce.com/rest/2.0/ocr/v1/accurate_basic?access_token=' + token
temp_headers = {'Content-Type': 'application/x-www-form-urlencoded'}
temp_file = open('./test.png', 'rb')
temp_image = temp_file.read()
temp_file.close()
temp_data = {'image': base64.b64encode(temp_image)}
temp_data = urllib.parse.urlencode(temp_data)
temp_res = requests.post(url=temp_url, data=temp_data, headers=temp_headers)

res = json.loads(str(temp_res.text))
code = res['words_result'][0]['words']
百度接口会将识别出的验证码文字返回给你,当然了有一定误差是在所难免的

现在验证码识别已经搞定,问题的关键是,每次打开页面的时候,怎么将图片传给百度接口
其实很简单,我们可以考虑使用selenium自动化工具来截图,selenium是可以根据选择器做局部截图的
nodes = driver.find_element_by_id('loginImgVcode')
nodes.screenshot('test.png')

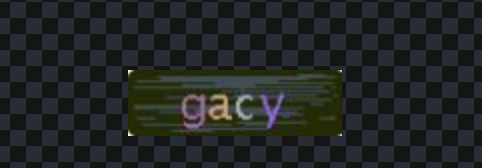
虽然可以截图,但是其实发现有东西干扰了验证码图片
原来是旁边讨厌的广告挡住了验证码,这样的干扰会让识别产生误差
其实这些html标签是可以移除的,使用selenium运行js代码来删除这些干扰元素
#删除元素
js = "var elem = document.getElementsByClassName('dnf');elem[0].parentNode.removeChild(elem[0]);"
driver.execute_script(js)
js = "var elem = document.getElementsByClassName('qqshow');elem[0].parentNode.removeChild(elem[0]);"
driver.execute_script(js)
js = "var elem = document.getElementsByClassName('QR');elem[0].parentNode.removeChild(elem[0]);"
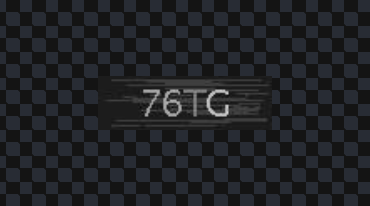
driver.execute_script(js)再截图一次,看到已经干净了很多
这里还有个技巧,可以提高百度api的识别准确度,就是利用opencv对验证码图片进行降噪去色的操作。
首先安装opencv
pip3 install opencv-python然后对原图进行去色处理
import cv2

img = cv2.imread('./code.png', cv2.IMREAD_GRAYSCALE)
print("cv2.imread(imgfile, cv2.IMREAD_GRAYSCALE)结果如下:")
print('大小:{}'.format(img.shape))
print("类型:%s"%type(img))
print(img)

cv2.imwrite('code1.png', img)
去色降噪后的效果是这样的,可以提高识别成功率
当然了,灰度处理可能有时候还不能达到标准,也可以进一步进行二值化处理:
import cv2
import matplotlib.pyplot as plt
img = cv2.imread("/Users/liuyue/Downloads/code.png")
img2 = cv2.cvtColor(img, cv2.COLOR_RGB2GRAY)
img2 = cv2.inRange(img2, lowerb=160, upperb=255)
plt.subplot(121), plt.imshow(img)  # 原始图片
plt.subplot(122), plt.imshow(img2)  # 降噪图片
plt.show()
selenium驱动下载地址:http://npm.taobao.org/mirrors/chromedriver/
剩下的就很简单了,直接利用selenium输入账号密码以及验证码就可以自动登录,非常轻松,完整代码如下:
import requests
import json
import base64
import urllib
from selenium import webdriver
import time


#selenium 截图
driver = webdriver.Chrome()
driver.get('https://www.dianxiaomi.com/index.htm')
time.sleep(1)

#删除元素
js = "var elem = document.getElementsByClassName('dnf');elem[0].parentNode.removeChild(elem[0]);"
driver.execute_script(js)

js = "var elem = document.getElementsByClassName('qqshow');elem[0].parentNode.removeChild(elem[0]);"
driver.execute_script(js)

js = "var elem = document.getElementsByClassName('QR');elem[0].parentNode.removeChild(elem[0]);"
driver.execute_script(js)


nodes = driver.find_element_by_id('loginImgVcode')
nodes.screenshot('test.png')

#用户名 exampleInputName exampleInputPassword

driver.find_element_by_id('exampleInputName').send_keys('18231327142')

driver.find_element_by_id('exampleInputPassword').send_keys('密码')


#请求百度api接口

res = requests.get("https://aip.baidubce.com/oauth/2.0/token?grant_type=client_credentials&client_id=你的key&client_secret=你的秘钥")

res = json.loads(str(res.text))
token = res['access_token']

temp_url = 'https://aip.baidubce.com/rest/2.0/ocr/v1/accurate_basic?access_token=' + token
temp_headers = {'Content-Type': 'application/x-www-form-urlencoded'}
temp_file = open('./test.png', 'rb')
temp_image = temp_file.read()
temp_file.close()
temp_data = {'image': base64.b64encode(temp_image)}
temp_data = urllib.parse.urlencode(temp_data)
temp_res = requests.post(url=temp_url, data=temp_data, headers=temp_headers)

res = json.loads(str(temp_res.text))
print(res)
code = res['words_result'][0]['words']


driver.find_element_by_id('loginVerifyCode').send_keys(code.strip().replace(' ',''))

#登录按钮
driver.find_element_by_id('loginBtn').click()

time.sleep(10)

driver.close()
Recommend
About Joyk
Aggregate valuable and interesting links.
Joyk means Joy of geeK