

How to Flush DNS on Mac – MacOS Clear DNS Cache
source link: https://www.freecodecamp.org/news/how-to-flush-dns-on-mac-macos-clear-dns-cache/
Go to the source link to view the article. You can view the picture content, updated content and better typesetting reading experience. If the link is broken, please click the button below to view the snapshot at that time.

In this tutorial, you will learn why flushing your DNS cache is important, and how you can clear the cache on your local system.
Here is what we'll discuss in this guide:
What is DNS Cache?
DNS acts much like an internet phonebook. Think of what a phonebook does – it maps a person's name to their respected phone number.
DNS (short for Domain Name System) maps domain names to their associated IP addresses.
A domain name, such as freecodecamp.org, is easily read, understood, and recalled by humans.
IP addresses (IP is short for Internet Protocol) is an address that is machine-readable and consists of a unique series of numbers. These numbers identify a device connected to the Internet.
Their format is not that human-friendly since it is hard to remember an exact sequence of numbers each time you want to visit a website.
DNS then maps freecodecamp.org to its associated IP address - 104.26.3.33.
Think of the DNS cache as a local storage area on your Mac.
It temporarily stores and keeps track of your computer's activity records like recent website visits.
Each time you visit a website by typing its URL (short for Uniform Resource Locator), the DNS cache will save the IP address associated with that website.
When you visit that same website for the second time, the lookup process is more efficient, and the lookup time is much shorter.
It helps save significant time.
Why Flushing DNS Cache Is Important
You should flush the DNS cache for a few reasons.
The two most important ones are:
- Flushing DNS is a helpful step for troubleshooting Internet connectivity issues.
You may be getting DNS errors in your browser, such as the 'DNS Server Not Responding' message when trying to access a site and establish a connection.
Keep in mind that your local cache information can become outdated over time.
When DNS updates happen on a website, your Mac is still using the old, inaccurate information to load the requested page.
Flushing the DNS cache makes sure cache information is up to date.
- Flushing the DNS cache prevents network security threats, malicious attacks, and DNS cache poisoning from happening.
Hackers can access and corrupt your saved DNS cache records.
For example, they could manipulate and change the IP address associated with a Domain Name of a website you have already visited and map it to a malicious one.
The next time you request to access that same website, there will be a redirection to a fake and corrupted URL.
Hackers can request personal and sensitive information, such as credit card numbers, and steal it.
Frequent flushing of the DNS cache will help prevent this from occurring.
How to Flush DNS Cache on MacOS
Clearing the DNS cache on your Mac is a relatively straightforward process, even if you don't have a lot of technical knowledge.
Here is what you will need:
- Access to the command line,
- Your computer password,
- To enter a text command (the command will depend on the version of macOS you are running).
How to Access The Terminal Application on MacOS
macOS has a built-in CLI (Command Line Interface) named Terminal.app, which allows you to enter text-based commands that the Operating System will carry out.
There are a few ways to open the terminal.
The easiest way is through Spotlight search.
For this, you can:
- Either navigate to the very top right corner of the screen and click on the icon that looks like a magnifying glass.
- Or, you can also use the
Command Spaceshortcut.
Both will open up the following window:

From there, start typing terminal and click on the Terminal.app option that appears.
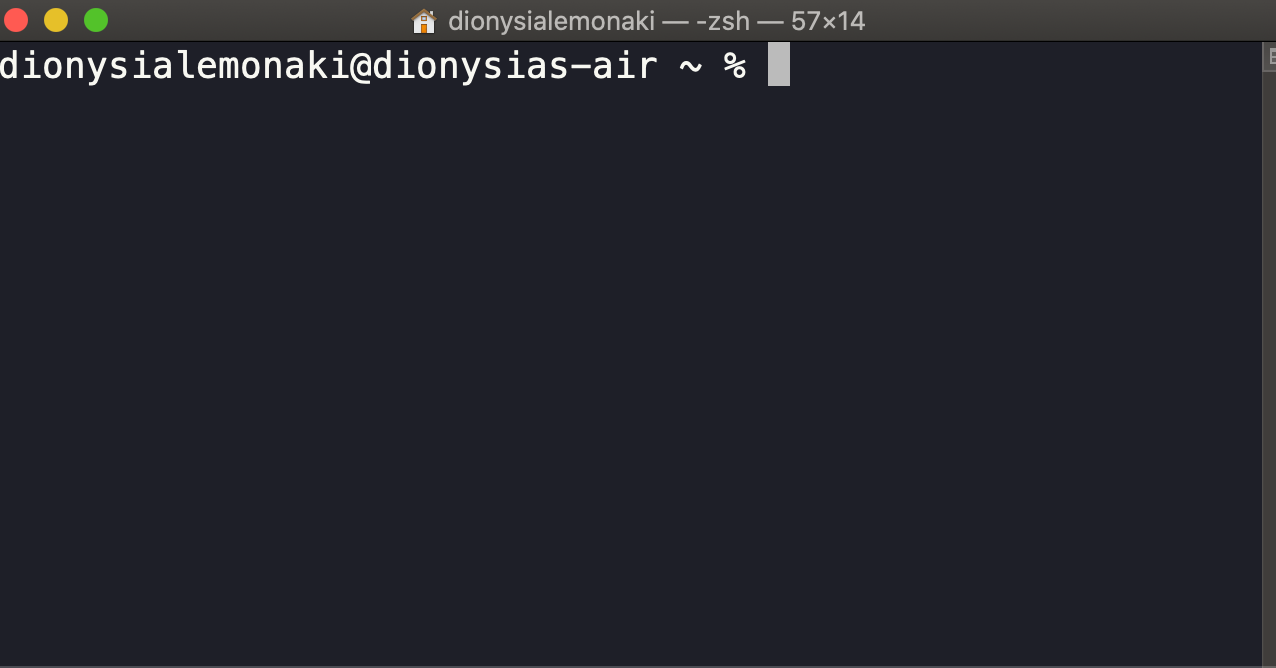
You should see a window open that looks similar to the following:
How to Clear DNS Cache For Your MacOS Version
In the terminal window, you will then need to enter a command.
The command is different depending on the version of macOS you are running.
Each version of macOS has a version number and a version name.
To find out the macOS version on your computer, click on the Apple icon at the very top left corner of your screen. From the dropdown menu that appears, select About This Mac.
In the Overview tab, you will first see the version name. Then, underneath that, you will see the version number.

In the table below, you will see the versions of macOS in reverse chronological order – from the most recent one to the oldest one.
Navigate to your version of Mac and copy the respective command.
| MacOS Version | Command |
|---|---|
| macOS 12 (Monterey) | sudo dscacheutil -flushcache; sudo killall -HUP mDNSResponder |
| macOS 11 (Big Sur) | sudo dscacheutil -flushcache; sudo killall -HUP mDNSResponder |
| macOS 10.15 (Catalina) | sudo dscacheutil -flushcache; sudo killall -HUP mDNSResponder |
| macOS 10.14 (Mojave) | sudo killall -HUP mDNSResponder |
| macOS 10.13 (High Sierra) | sudo killall -HUP mDNSResponder |
| macOS 10.12 (Sierra) | sudo killall -HUP mDNSResponder |
| OS X 10.11 (El Capitan) | sudo killall -HUP mDNSResponder |
| OS X 10.10 (Yosemite) | sudo discoveryutil udnsflushcaches |
| OS X 10.9 (Mavericks) | sudo killall -HUP mDNSResponder |
| OS X 10.8 (Mountain Lion) | sudo killall -HUP mDNSResponder |
| Mac OS X 10.7 (Lion) | sudo killall -HUP mDNSResponder |
| Mac OS X 10.6 (Snow Leopard) | sudo dscacheutil -flushcache |
| Mac OS X 10.5 (Leopard) | sudo lookupd -flushcache |
| Mac OS X 10.4 (Tiger) | lookupd -flushcache |
After typing the command and hitting enter, there will be a prompt for entering your computer's password.
Keep in mind that when you are typing your password, you will not be able to view what you are typing – not even any asterisks.
It appears as though nothing is happening, but rest assured that something is.
Once you have entered your password and hit enter, you will not see a message indicating that the process is complete.
Instead, you will view a new terminal prompt.
Conclusion
And there you have it – your local DNS cache is now clear.
Hopefully, this has helped resolve any connectivity issues you may be experiencing.
Clearing DNS frequently is always a good idea to help fix troublesome internet connections and ensure your system is secure from potential threats.
Thanks for reading!
Recommend
-
57
63How, why, and when you...
-
6
Clear DNS Cache on your router Posted: 2007-07-07 - Last updated: 2019-06-05 Tagged
-
5
Flushing your DNS cache in Mac OS X and Linux Flushing your cache on Mac OS X Before you begin The following section is also available as an instructional video: T...
-
5
How to clear your browser's cache Overview If you have made changes to your website but they are not appearing when you load the page, you may need to either force the page to rel...
-
11
How to Clear Cache and Browsing Data on Microsoft Edge By Joy Okumoko Published 2 minutes ago If you use Microsoft Edge as your da...
-
4
Clear Chrome DNS and Disk Cache 2022-11-10
-
2
A semi-reboot of the show. I’ll be reading selections from my “software humanities” library – books and papers at the intersection of code and history, psychology, politics, ethics, ecology, and systems thinking. Transcript:...
-
2
In this episode, selections from Chapter 2 of The Closed World: Computers and the Politics of Discourse in Cold War America. Notes Transcript This is t...
-
7
The Cache Flush 012: Computer Power and Hum...
-
4
The Cache Flus...
About Joyk
Aggregate valuable and interesting links.
Joyk means Joy of geeK