

HarmonyOS实战——CommonDialog组件的基本使用
source link: https://my.oschina.net/xdr630/blog/5204931
Go to the source link to view the article. You can view the picture content, updated content and better typesetting reading experience. If the link is broken, please click the button below to view the snapshot at that time.

- 在HarmonyOS当中,常用的弹框主要有两种:
- 第一种是普通弹框(
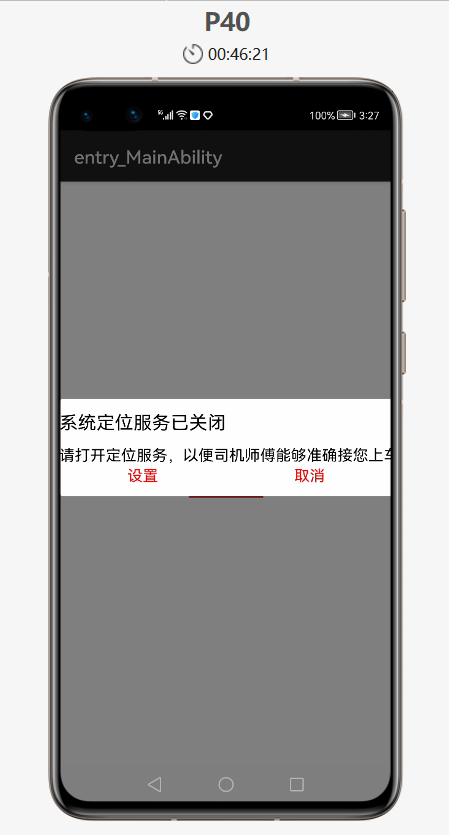
CommonDialog),提示用户并让用户进行对应的操作的,比如使用打车软件的时候,如果手机没有开定位,就会有弹框提示,让你在手机中开启定位,这就是一个普通弹框,给你作为一个信息的提示,并且做一些操作。


- 第二种消息提示弹框(
ToastDialog),如:在每次打开“小破站”APP的时候,都会弹出提示,这些也是弹框。这些弹框不需要用户选择的,只是告诉用户一些消息而已

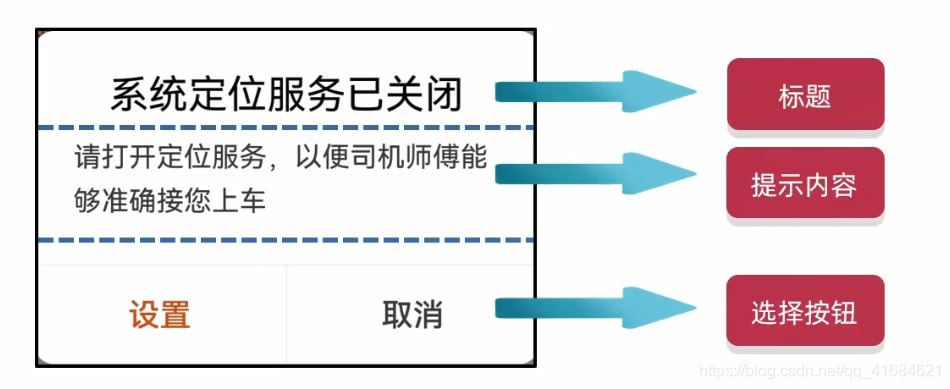
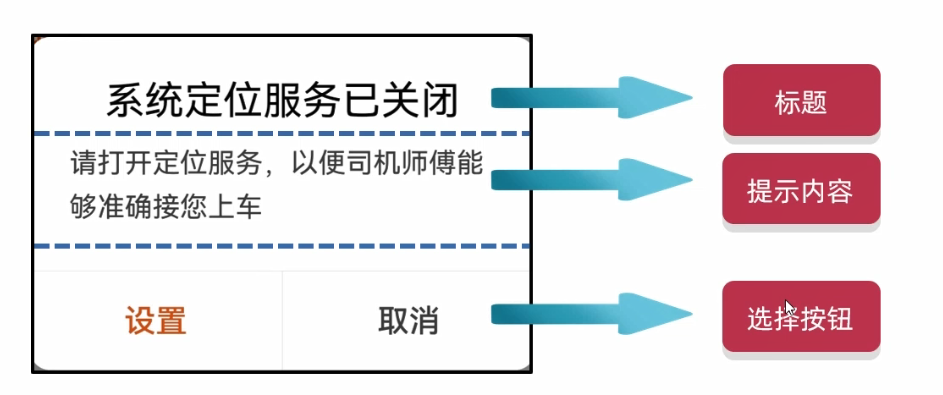
1. CommonDialog 组成和使用
- 在鸿蒙当中,这种普通和弹框其实是有默认布局的
- 下面的选择按钮最多只有三个
- 弹框并不是APP启动时立马弹出来的,一般会有两种情况:
- 点击按钮的时候会弹出来
- 当程序满足一定要求的时候也会弹出来
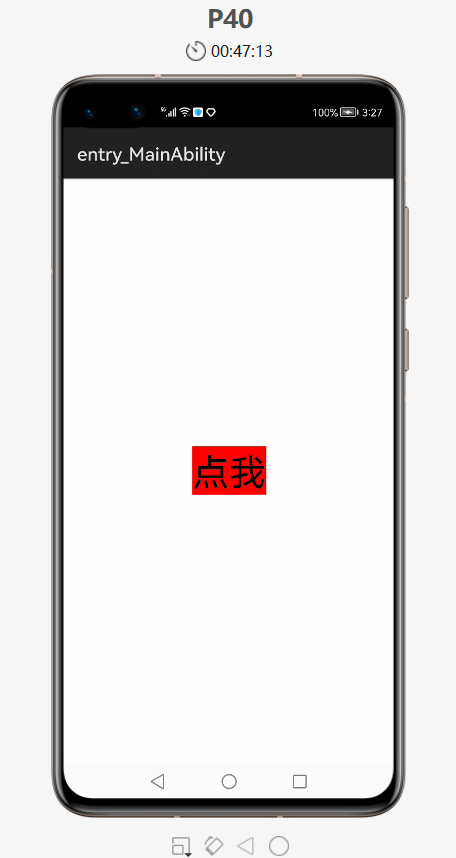
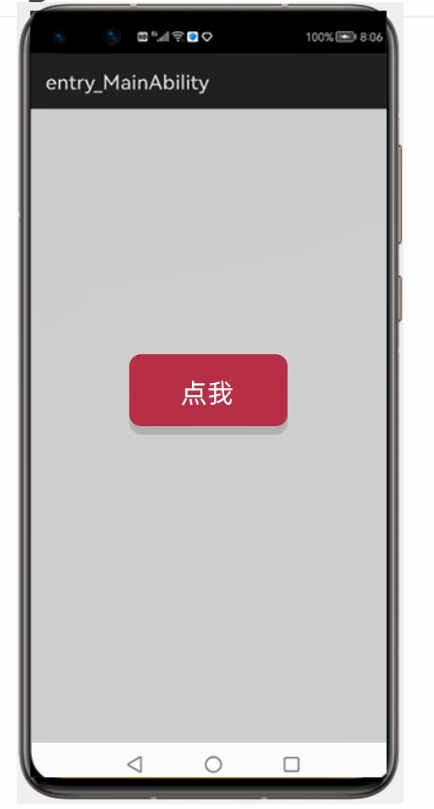
项目案例:
- 新建项目:
DialogApplication
ability_main
<?xml version="1.0" encoding="utf-8"?>
<DirectionalLayout
    xmlns:ohos="http://schemas.huawei.com/res/ohos"
    ohos:height="match_parent"
    ohos:width="match_parent"
    ohos:alignment="center"
    ohos:orientation="vertical">

    <Button
        ohos:id="$+id:but1"
        ohos:height="match_content"
        ohos:width="match_content"
        ohos:text="点我"
        ohos:text_size="40vp"
        ohos:background_element="red"/>

</DirectionalLayout>
MainAbilitySlice
package com.xdr630.dialogapplication.slice;
import com.xdr630.dialogapplication.ResourceTable;
import ohos.aafwk.ability.AbilitySlice;
import ohos.aafwk.content.Intent;
import ohos.agp.components.Button;
import ohos.agp.components.Component;
import ohos.agp.window.dialog.CommonDialog;
import ohos.agp.window.dialog.IDialog;
public class MainAbilitySlice extends AbilitySlice implements Component.ClickedListener {
@Override
public void onStart(Intent intent) {
super.onStart(intent);
super.setUIContent(ResourceTable.Layout_ability_main);
//1.找到按钮
Button but1 = (Button) findComponentById(ResourceTable.Id_but1);
//2.给按钮添加点击事件
but1.setClickedListener(this);
}
@Override
public void onActive() {
super.onActive();
}
@Override
public void onForeground(Intent intent) {
super.onForeground(intent);
}
@Override
public void onClick(Component component) {
//把普通弹框弹出来就可以了
//1.创建弹框对象
// this:当前弹框展示在当前界面中
CommonDialog cd = new CommonDialog(this);
//2.因为弹框里面是有默认布局的
//设置标题
cd.setTitleText("系统定位服务已关闭");
//设置内容
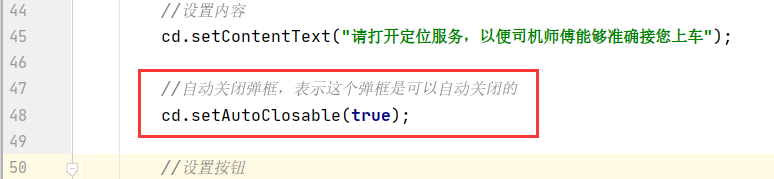
cd.setContentText("请打开定位服务,以便司机师傅能够准确接您上车");
//设置按钮
//参数1:按钮的索引 0 1 2
//参数2:按钮上的文字
//参数3:点击了按钮之后能做什么
cd.setButton(0, "设置", new IDialog.ClickedListener() {
@Override
public void onClick(IDialog iDialog, int i) {
//写上点击了之后设置,要做的事情
//如果点击了之后不需要做任何事情,在第三个参数中传递 null 就可以了
//因为这里点击了设置还无法跳转到设置定位的那个界面,所以先不写,等以后学习了再补在这里
}
});
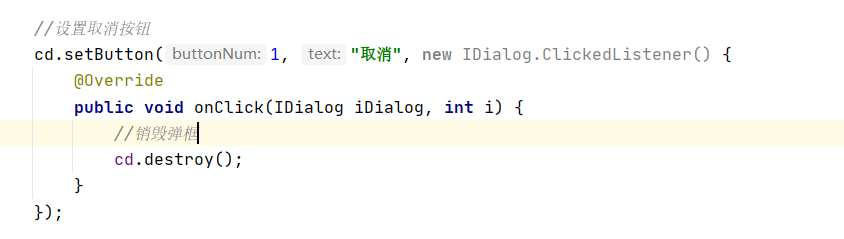
//设置取消按钮
cd.setButton(1,"取消",null);
//把弹框显示出来
cd.show();
}
}
- 当再次点击
灰色区域也没有反应 - 点击或
取消按钮时没有任何反应,因为在上面的那里设置了null
一般点击弹框的两种情况:
- 点击灰色区域也不能取消,必须点击取消按钮才能取消弹框
- 点击灰色区域或取消按钮都能达到取消弹框的效果
下面就实现上面这两种情况:
- 点击灰色区域也能取消按钮的情况,在上面的代码基础上补充如下
 2. 当鼠标点击取消按钮的时候也能让弹框消失,把上面设置取消按钮的
 null 设置为:
- 运行,点击后:
- 实现了上面的两种情况
2. CommonDialog 自定义布局使用
- CommonDialog 里面有默认的布局,布局由如下三部分组成:
- 所以只要直接调用方法给里面设置一些文本内容就可以了
- 下面就介绍下自定义弹框里的内容
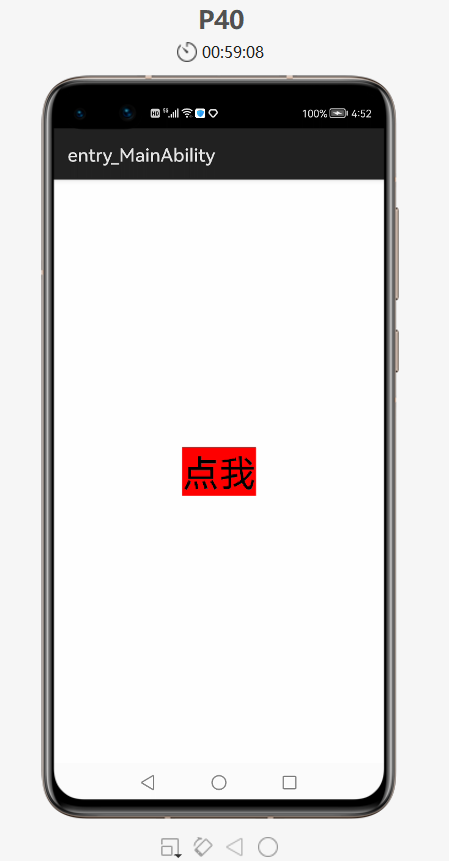
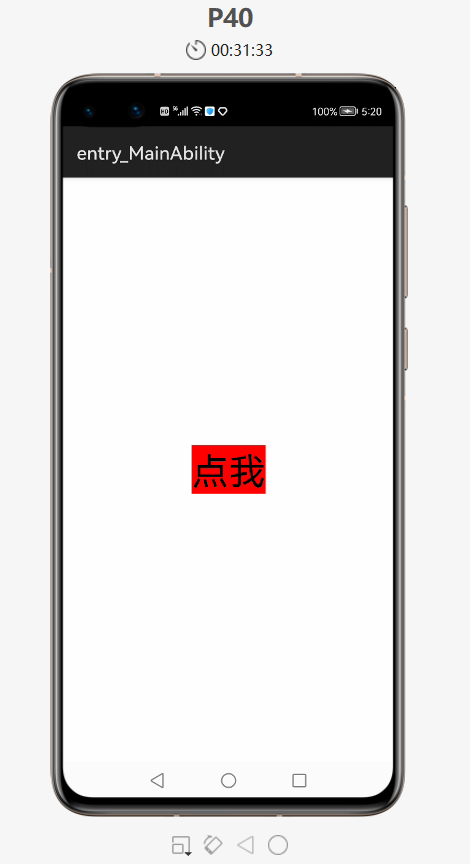
案例如下:在主界面上有一个按钮,点击了一个按钮后会出现弹框
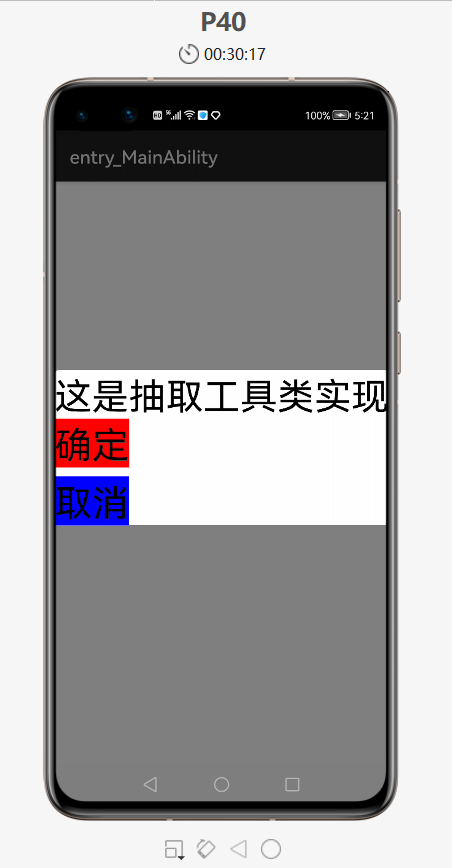
- 弹框里面有三个东西:一行文本和两个按钮
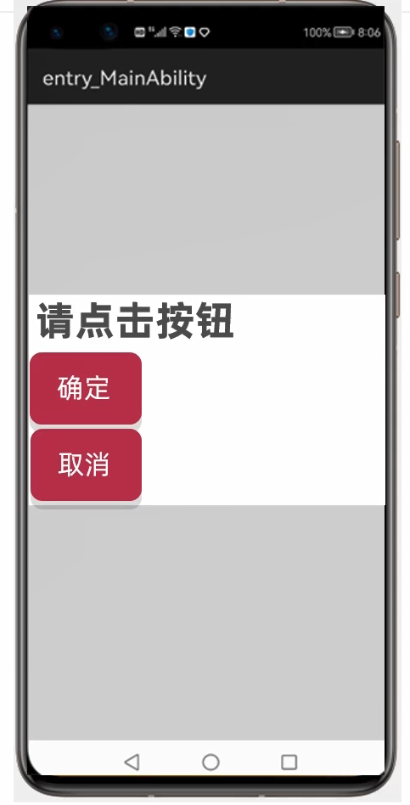
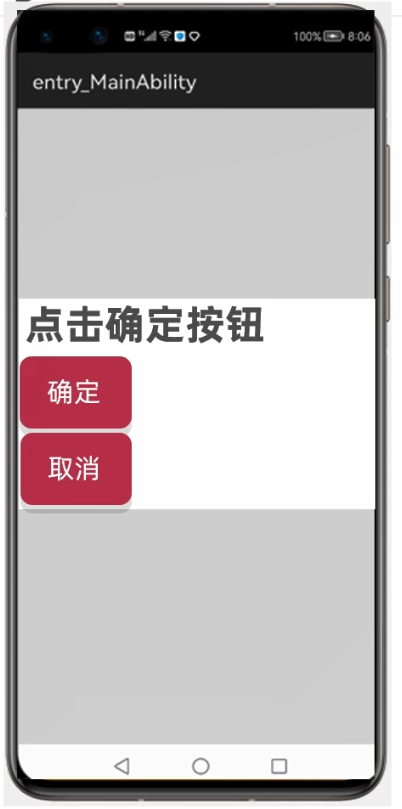
- 当点击了 确定 按钮后,上面的文本就会变成“点击了确定按钮”,当点击了 取消 按钮后弹框就会消失
下面就实现下:
- 新建项目:
DialogLayoutApplication
ability_main
<?xml version="1.0" encoding="utf-8"?>
<DirectionalLayout
xmlns:ohos="http://schemas.huawei.com/res/ohos"
ohos:height="match_parent"
ohos:width="match_parent"
ohos:alignment="center"
ohos:orientation="vertical">
<Button
ohos:id="$+id:but"
ohos:height="match_content"
ohos:width="match_content"
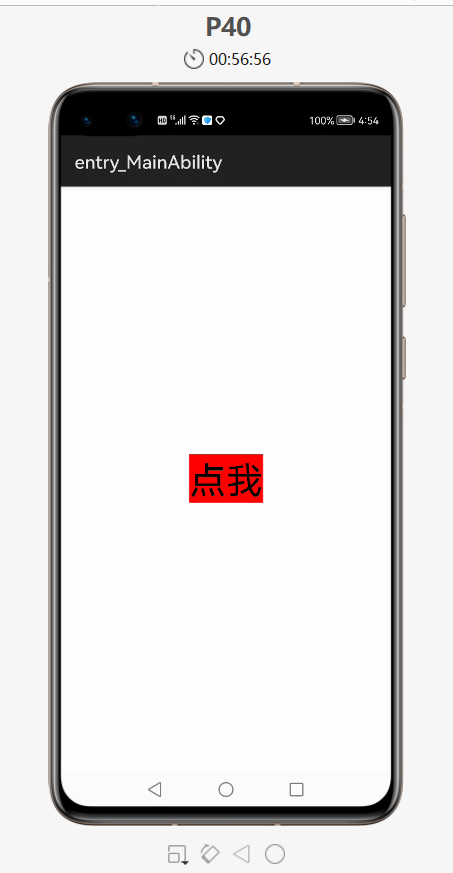
ohos:text="点我"
ohos:text_size="40fp"
ohos:background_element="red"/>
</DirectionalLayout>
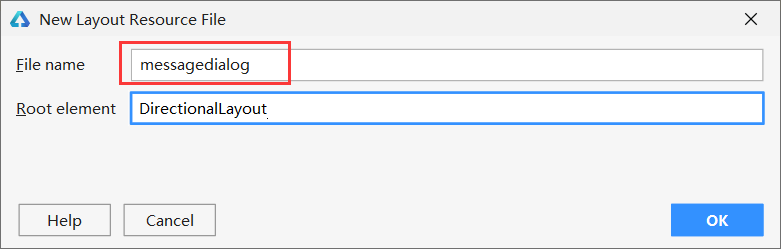
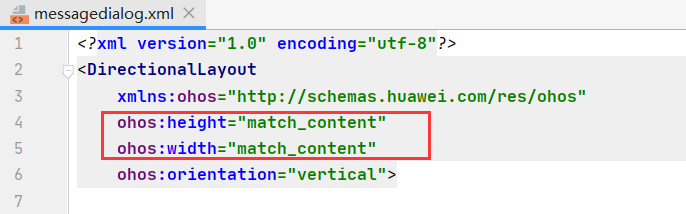
- 弹框里面的内容也可以用 xml 来写,新建一个布局文件
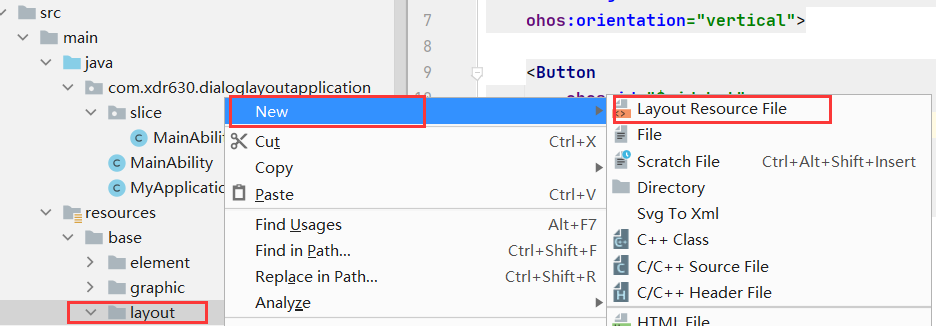
- 文件名不能是大写的
- 上面的弹框组成:一个Text文本+两个Button
- 生成弹框的布局文件后,首先改下布局文件的大小,默认的就是充满整个屏幕的,改为包裹内容的就行了
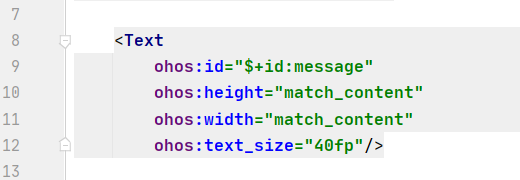
- 文本的内容因为是变化的,所以在java代码那里进行设置
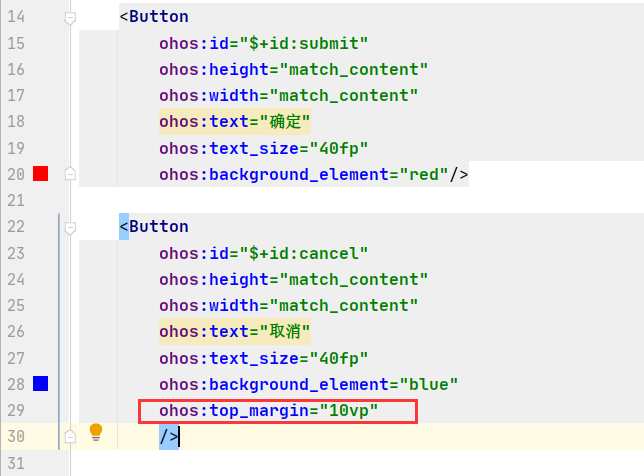
- 两个按钮如果不设置外边距的话就会挤在一起,所以要加个上往外边距
messagedialog
<?xml version="1.0" encoding="utf-8"?>
<DirectionalLayout
    xmlns:ohos="http://schemas.huawei.com/res/ohos"
    ohos:height="match_content"
    ohos:width="match_content"
    ohos:orientation="vertical">

    <Text
        ohos:id="$+id:message"
        ohos:height="match_content"
        ohos:width="match_content"
        ohos:text_size="40fp"/>

    <Button
        ohos:id="$+id:submit"
        ohos:height="match_content"
        ohos:width="match_content"
        ohos:text="确定"
        ohos:text_size="40fp"
        ohos:background_element="red"/>

    <Button
        ohos:id="$+id:cancel"
        ohos:height="match_content"
        ohos:width="match_content"
        ohos:text="取消"
        ohos:text_size="40fp"
        ohos:background_element="blue"
        ohos:top_margin="10vp"
        />


</DirectionalLayout>
MainAbilitySlice
package com.xdr630.dialoglayoutapplication.slice;
import com.xdr630.dialoglayoutapplication.ResourceTable;
import ohos.aafwk.ability.AbilitySlice;
import ohos.aafwk.content.Intent;
import ohos.agp.components.*;
import ohos.agp.window.dialog.CommonDialog;
public class MainAbilitySlice extends AbilitySlice implements Component.ClickedListener {
@Override
public void onStart(Intent intent) {
super.onStart(intent);
super.setUIContent(ResourceTable.Layout_ability_main);
//1.找到布局中的按钮
Button but = (Button) findComponentById(ResourceTable.Id_but);
//2.添加一个点击事件
but.setClickedListener(this);
}
@Override
public void onActive() {
super.onActive();
}
@Override
public void onForeground(Intent intent) {
super.onForeground(intent);
}
@Override
public void onClick(Component component) {
//把弹框展示出来
//创建一个弹框对象
CommonDialog cd = new CommonDialog(this);
//大小是默认包裹内容的
//弹框默认是居中设置的
//弹框默认是透明的
//弹框默认是直角的,可以把直角设置为圆角
cd.setCornerRadius(15);
//把 messagedialog 的 xml 文件加载到内存当中,交给弹框并且展示出来
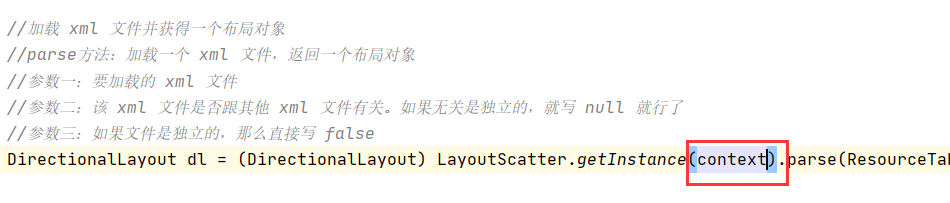
//加载 xml 文件并获得一个布局对象
//parse方法:加载一个 xml 文件,返回一个布局对象
//参数一:要加载的 xml 文件
//参数二:该 xml 文件是否跟其他 xml 文件有关。如果无关是独立的,就写 null 就行了
//参数三:如果文件是独立的,那么直接写 false
DirectionalLayout dl = (DirectionalLayout) LayoutScatter.getInstance(this).parse(ResourceTable.Layout_messagedialog, null, false);
//要给布局里的文本和按钮设置事件或者修改内容
//此时需要用 dl 去调用,表示获取的是 dl 这个布局里面的组件
Text title = (Text) dl.findComponentById(ResourceTable.Id_message);
Button submit = (Button) dl.findComponentById(ResourceTable.Id_submit);
Button cancel = (Button) dl.findComponentById(ResourceTable.Id_cancel);
//给title标题设置内容
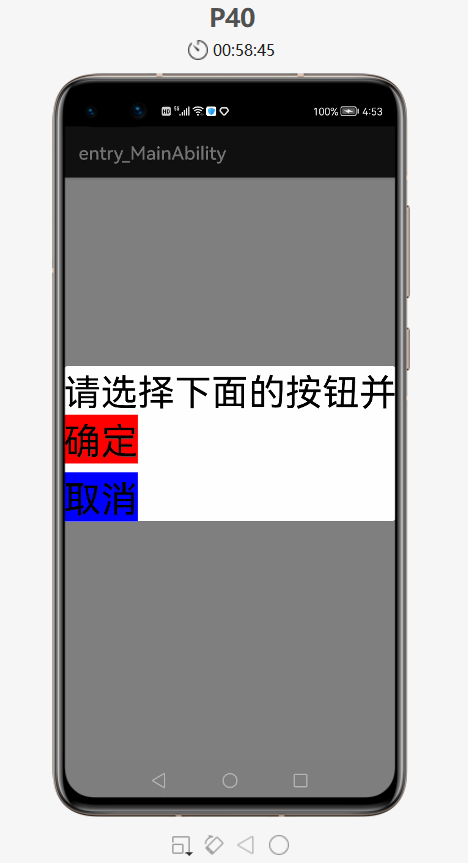
title.setText("请选择下面的按钮并点击");
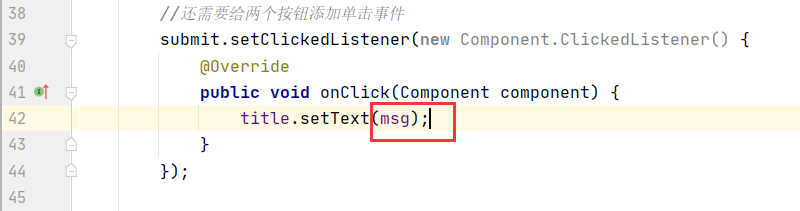
//还需要给两个按钮添加单击事件
submit.setClickedListener(new Component.ClickedListener() {
@Override
public void onClick(Component component) {
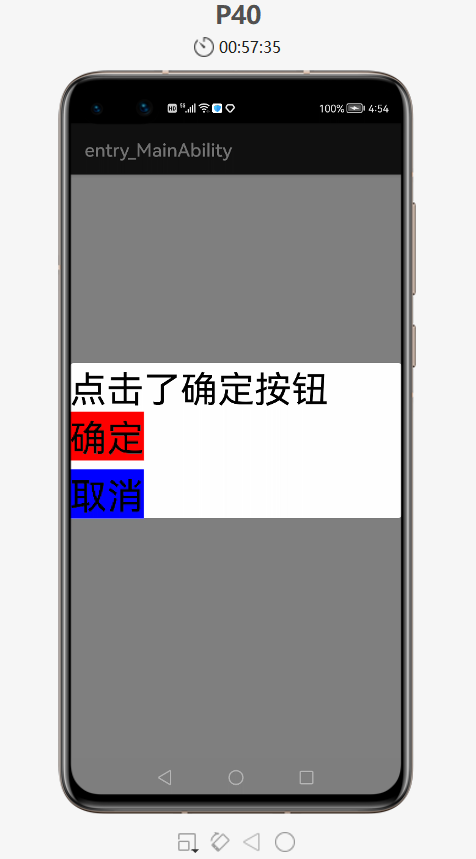
title.setText("点击了确定按钮");
}
});
//取消按钮也要添加点击事件
cancel.setClickedListener(new Component.ClickedListener() {
@Override
public void onClick(Component component) {
//当点击取消按钮之后,把弹框关闭
cd.destroy();
}
});
//此时布局对象和弹框还没有任何关系
//还需要把布局对象交给弹框
cd.setContentCustomComponent(dl);
//让弹框展示出来
cd.show();
}
}
- 点击后,就会弹出弹框
- 点击弹框中的确定按钮后,文本内容发生改变
- 点击取消按钮后,弹框消失,恢复到原界面
3. 优化代码——抽取弹框工具类
- 在工作当中,如果需要用多个弹框,而每次都和上面一样写的话,就会造成代码冗余,不方便管理
- 下面就把弹框抽取成一个工具类,当用到一个弹框的时候,直接调用工具类中的方法就可以了
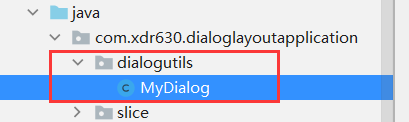
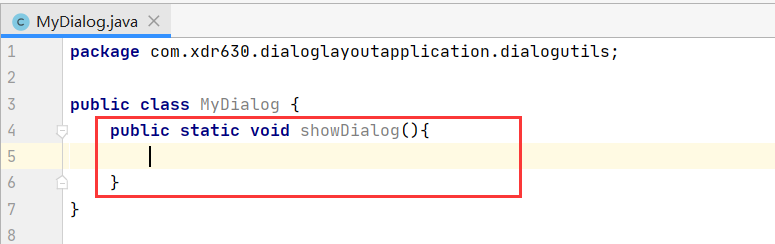
- 创建一个工具类

- 创建一个弹框的工具类:
MyDialog
- 当外界调用了这个方法之后,就会出现一个弹框
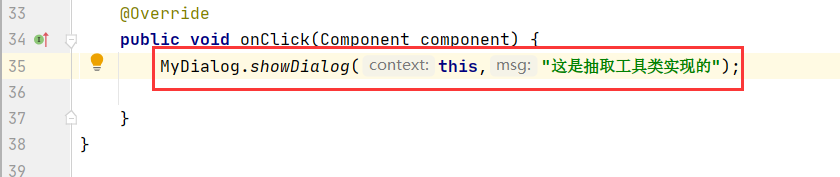
- 把上面的 OnClick 方法中的代码剪切到上面的 showDialog 方法中
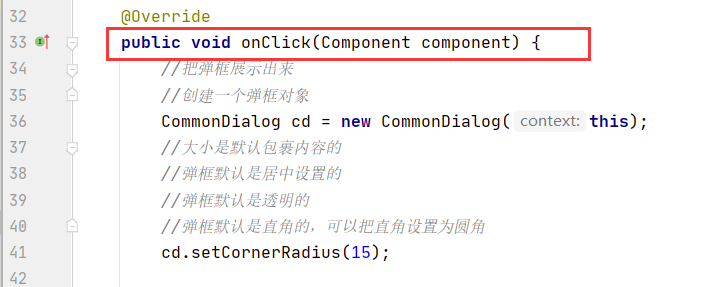
- 粘贴过来后,MyDialog类中部分代码修改如下
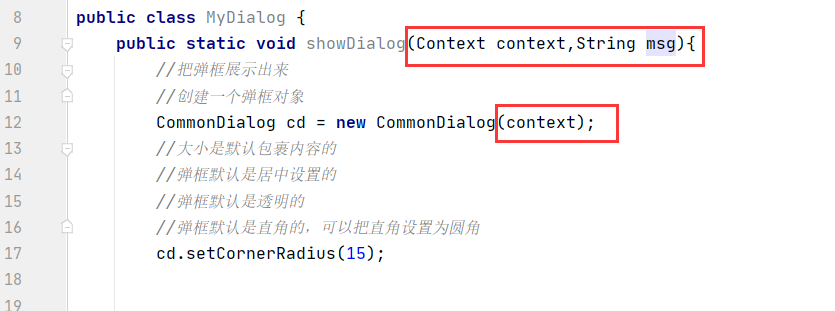
- MainAbilitySlice类中修改如下,直接调用
MyDialog中的方法,传递参数就行了
- 点击确定按钮后,发现Text文本内容是刚刚方法中传递过来
Recommend
-
6
这么全的HarmonyOS开源组件库使用指南,还不快学起来 - osc_86572120的个人空间 - OSCHINA - 中文开源技术交流社区
-
4
作者:韩茹公司:程序咖(北京)科技有限公司鸿蒙巴士专栏作家Button是一种常见的组件,点击可以触发对应的操作,通常由文本或图标组成,也可以由图标和文本共同组成。文本按钮
-
2
组件的位置属性,分为:内边距 和 外边距
-
8
1. 文本组件(Text) 概述: 文本(Text)是用来显示字符串的组件,在界面上显示为一块文本区域。仅仅作为展示数据使用,用户不能在App中修改文本组件中的内容。 Text组件是最基本的组件,后面还会学习其他的子类组件,比如But...
-
2
1. Image图片标签 概述:图片(Image)是用来显示图片的组件。 常见的属性:id,长、宽、高等。 具体可以参考华为开发手册(组件的通用属性):
-
7
【鸿蒙专栏,从入门到实战系列】:https://blog.csdn.net/qq_41684621/category_10128500.html1. TextField组件基本用法 组件说明: ...
-
2
HarmonyOS 基于JS封装渐变圆环进度条组件-51CTO.COM HarmonyOS 基于JS封装渐变圆环进度条组件 作者:杨尚晓 2022-02-17 14:51:39 本文是基于HarmonyOS JSPAI开发,使用canvas画布封装的组件。方便...
-
5
HarmonyOS 自定义列表组件-51CTO.COM HarmonyOS 自定义列表组件 作者:韦海 2022-04-24 15:17:56 根据鸿蒙官网组件,结合相关技术,尝试列表组件的封装,提高开发的效率。
-
5
HarmonyOS - Hyperlink组件和Navigator组件 推荐 原创 本节讲解ArkUI eTS中实现页面跳转的三个方案。包括:使用Hyperlink组件打开浏...
-
11
#夏日挑战赛# HarmonyOS - 自定义组件之switch开关 原创 精华 作者:姚显春 本文正在参加星光...
About Joyk
Aggregate valuable and interesting links.
Joyk means Joy of geeK