

Creating a site using WP Website Builder
source link: https://help.dreamhost.com/hc/en-us/articles/360035254691-Creating-a-site-using-WP-Website-Builder
Go to the source link to view the article. You can view the picture content, updated content and better typesetting reading experience. If the link is broken, please click the button below to view the snapshot at that time.

Creating a site using WP Website Builder
Overview
The following steps describe how to use DreamHost's 'WP Website Builder' — which is a bundle of easy-to-use WordPress plugins and designs tools created by BoldGrid.
If you already have an existing WordPress site
If you recently enabled BoldGrid on your existing WordPress site, you'll need to activate it first:
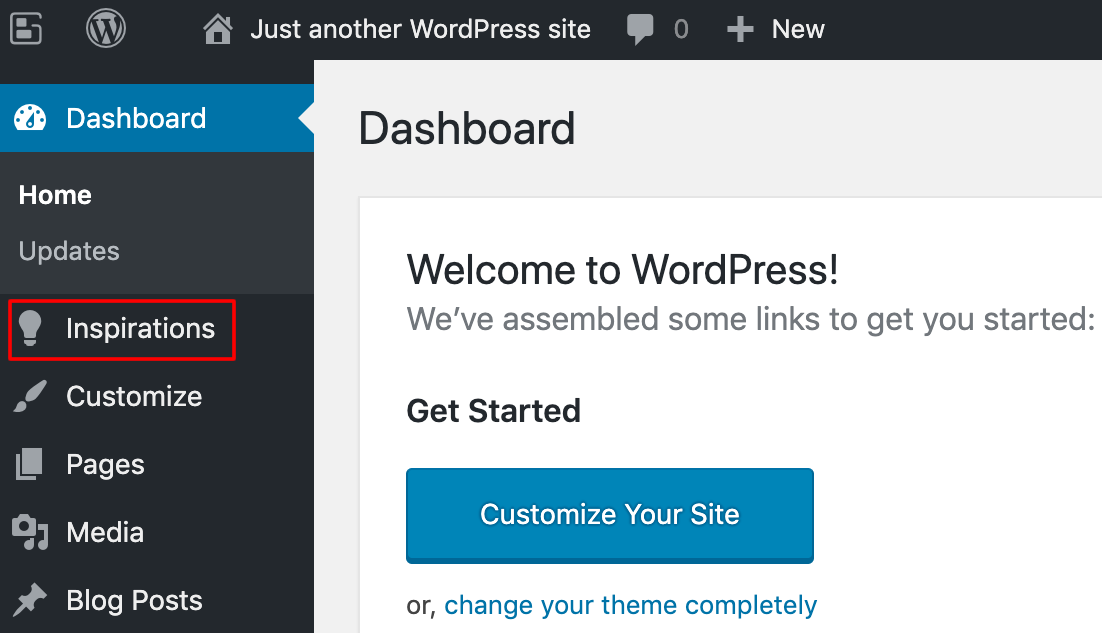
When the WP-Admin page opens after you enable BoldGrid, click the Inspirations link in the left panel and then follow the instructions in the next section.
Creating your site using BoldGrid Inspirations
If you have existing content on your website, Inspirations will make some changes if you proceed. Any existing pages and posts will be put in the 'Trash', which you can easily recover later. Existing images will remain in your Media Library, and your current theme will be deactivated, but it will not be removed.
If you have any important content on your site, you may want to make a backup to ensure peace of mind.
- Log into your site at example.com/wp-admin.
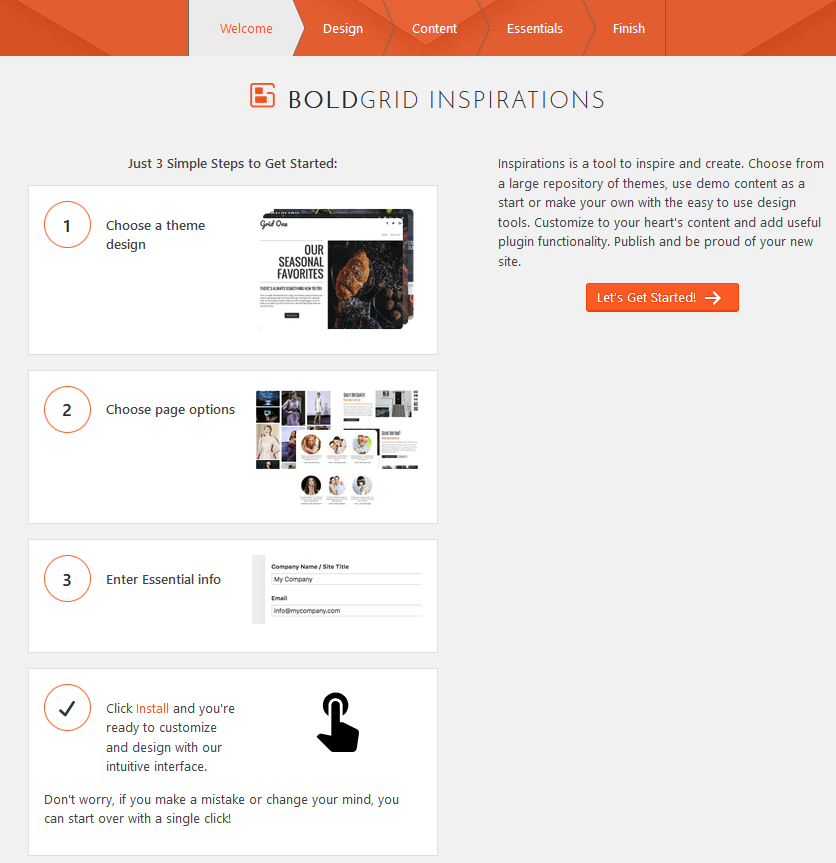
- Click the Let's Get Started! button.
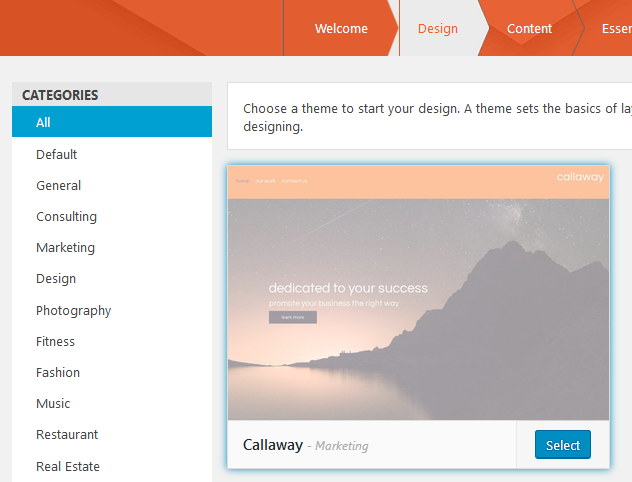
- Choose a theme. On the left, select a category for the type of site you wish to build. New themes display to the right.
- Hover over your selected theme, and then click the Select button.
- Click the Change Content button at the top to select from different page presets.
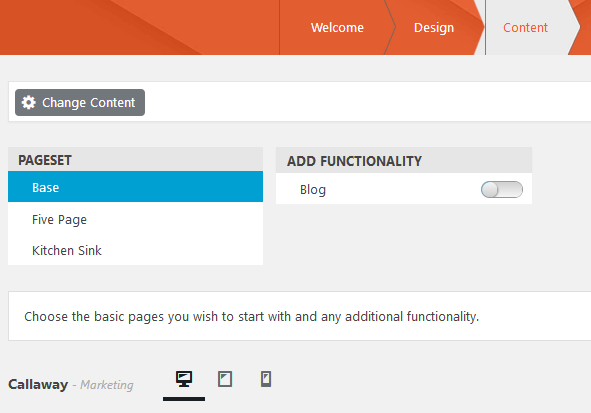
- Make the following selections to customize your site layout and content:
- Choose an option in the PAGESET menu to select 'Base' (3 pages), Five Page (5 pages), or Kitchen Sink (7 pages).
- Toggle the blog button under Add Functionality if you'd like to create a blog.
- Click the screen icons at the bottom to display how your site would appear on different devices.
- Click the Next button.
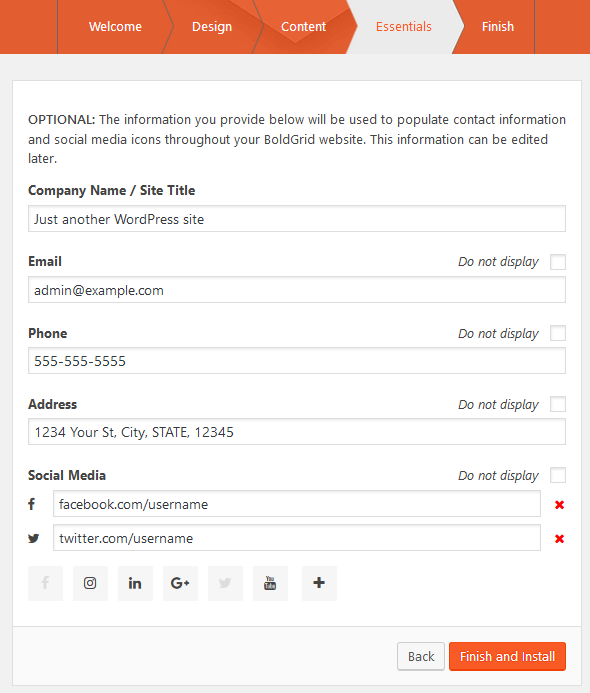
- Enter your contact information. You can also click the checkbox titled Do not display to the right of each field to hide it on your site.
- Click the Finish and Install button to install BoldGrid.
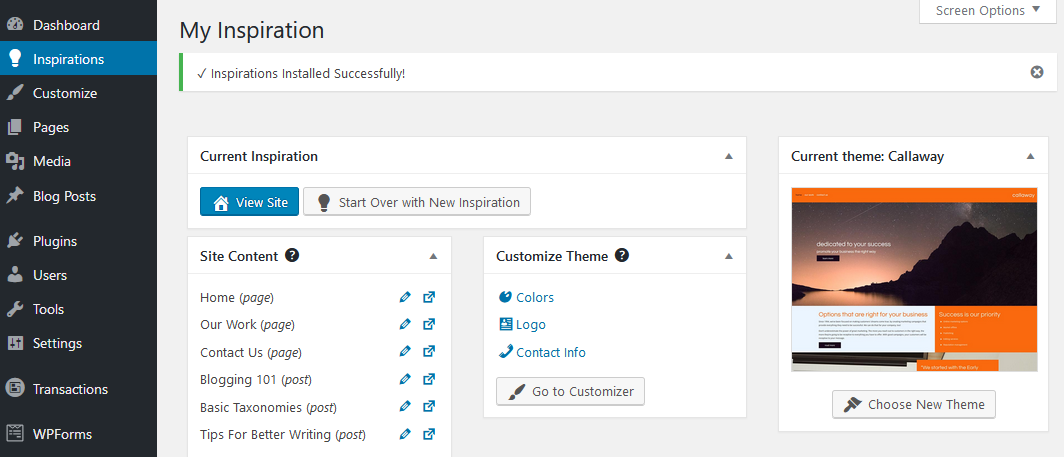
- Wait a few moments for BoldGrid to install. Once installed, you are taken to the Inspirations tab in your WordPress dashboard where you can continue to customize your site.
Making edits to your 'Inspirations' page
After BoldGrid installs your Inspirations setup, you can make further adjustments to it using the Post and Page Builder in the WordPress admin panel. First, you should choose which editor you wish to use.
You can then proceed to edit your pages using BoldGrid.
For more information on how to use the Post and Page Builder, please see the following article:
Did this article answer your questions?
Recommend
About Joyk
Aggregate valuable and interesting links.
Joyk means Joy of geeK