

Pushing your local Git repository to a DreamHost server — Windows
source link: https://help.dreamhost.com/hc/en-us/articles/115000732471-Pushing-your-local-Git-repository-to-a-DreamHost-server-Windows
Go to the source link to view the article. You can view the picture content, updated content and better typesetting reading experience. If the link is broken, please click the button below to view the snapshot at that time.

Pushing your local Git repository to a DreamHost server — Windows
Overview
This article assume that you've created your application (website) on your home computer. The steps below then guide you through how to put this application code under Git version control and push to your DreamHost server.
Creating an SSH key pair
- Download and install Git for Windows:
This example uses 2.14.1.
Select all default options during installation. For example, you should leave the radio button selected for Use Git from Git Bash only and all options for OpenSSL.
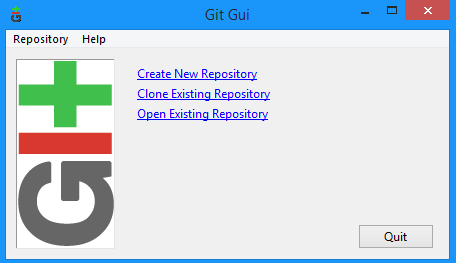
- You must create SSH keys to interact with your DreamHost server. From the start menu, locate the program you just installed. You're looking for Git Gui.
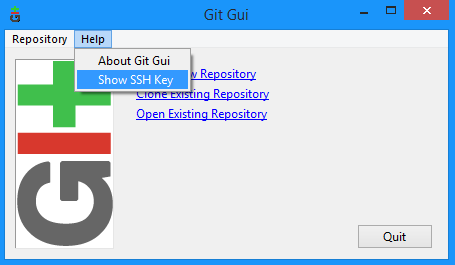
- Click the Help menu and select Show SSH Key.
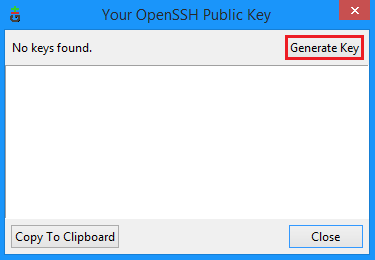
- From the pop-up, click Generate Key on the top right.
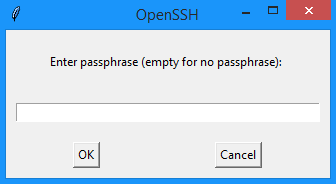
- You are asked for a passphrase. Leave the input field empty and click OK twice.
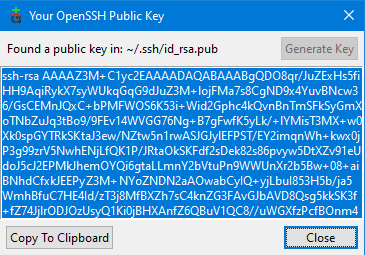
- Your public key is displayed. Click Copy To Clipboard.
- Open your start menu and open the program Notepad. Once opened, paste this public key.
- Save the file and name it something like dreamhost-git-key.pub. Make sure to save it in your Documents folder.
- Download and install Git for Windows:
This example uses 2.14.1.
Uploading the public key to your DreamHost server
- Navigate to your Documents folder.
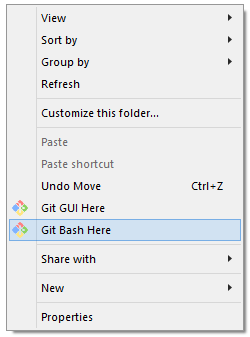
- Right click and select Git Bash Here. This opens a terminal. Since you opened Git Bash inside the Documents folder, the terminal prompt should look like this:
user@computer MINGw64 ~/Documents
$
- In the terminal, run the following command to ensure the dreamhost-git-key.pub you saved above is in this Documents directory.
[server]$ ls -la | grep dreamhost
dreamhost-git-key.pub
The terminal outputs the name of the public key file you saved.

To run the following commands, you need the name of your DreamHost server and the user/pass your website is under. View the following articles to locate this information:
Additionally, the DreamHost website username you're running the command with must be configured as a Shell user. View the following article on instructions on how to configure this:
- Run the following command to upload your public key to your DreamHost server (make sure to use your website's user and server name):
[local ~]$ cat ~/Documents/dreamhost-git-key.pub | ssh [email protected] "mkdir ~/.ssh; cat >> ~/.ssh/authorized_keys"
You may receive the following error when running this command:
mkdir: cannot create directory `/home/username/.ssh': File exists
This simply means the /.ssh directory already exists on the web server. If you see this, remove the portion of the command that creates the directory and run again. For example:
[local ~]$ cat ~/Documents/dreamhost-git-key.pub | ssh [email protected] "cat >> ~/.ssh/authorized_keys"
- Log into your DreamHost server via SSH:
[local ~]$ ssh [email protected]
- Confirm your key has been added to the DreamHost server by running the following (this should output your key):
[local ~]$ cat ~/.ssh/authorized_keys
- Create a new directory for your new remote repository on your DreamHost server. If this code is meant to update your existing website, you could name it the same as your website ending in .git. For example, something like example.com.git.
Since this is a remote repository and not a working repository, the directory name you create must end with .git. You can then checkout this repository in the future to work on it.
[server]$ cd ~
[server]$ mkdir example.com.git
[server]$ cd ~/example.com.git
[server]$ git init --bare
[server]$ exit
Creating a Git repository on your computer
Navigate to your project folder.
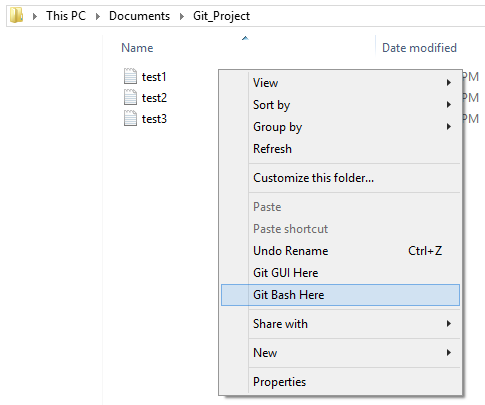
- Right click and then select Git Bash Here. This opens up a terminal that's already running Git.
- Run the following to create your user and email to be used with Git:
This creates a .gitconfig file under your username.
[local ~]$ git config --global user.name "John Doe"
[local ~]$ git config --global user.email [email protected]
- Run the following in your project directory to initialize the repository and create your first commit:
[server]$ git init
[server]$ git add .
[server]$ git commit -m "First Commit"
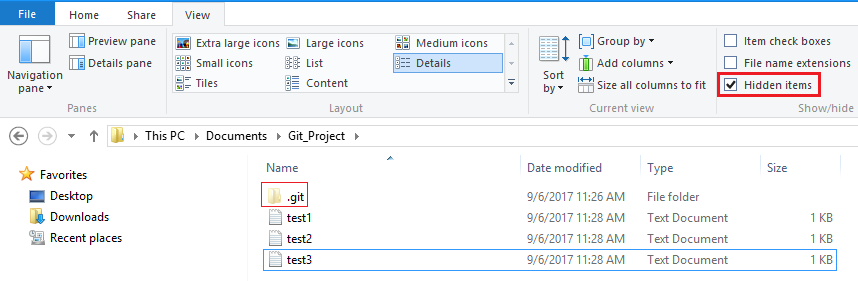
- When you initialize the repository, a directory titled .git is created. By default, you cannot see this in Windows. If you'd like to view hidden files (files that start with a period), click View in the top menu. To the right, check the box for hidden files. You do not need to view this .git folder to proceed with these steps. This is just a way for you to see your commands have created the local repository.
- Add the remote repository. Make sure to user your user and server name.
[local ~]$ git remote add dreamhost ssh://[email protected]/~/example.com.git
[local ~]$ git push -u dreamhost master
- Check your DreamHost server to confirm the repository was correctly pushed by following the instructions in the next section.
Confirming your repository was correctly pushed to your DreamHost server
- Log into your DreamHost server via SSH.
When you run git status in the /example.com.git directory, you'll receive the following error because it's a bare repository:[server]$ git status fatal: This operation must be run in a work tree
- Clone the repo to a new location by running the following in your user's directory:
This directory contains all the files you pushed from your local machine.
[server]$ mkdir ~/clonedproject.git
[server]$ cd ~/clonedproject.git
[server]$ git clone ~/example.com.git ~/clonedproject.git
[server]$ ls -la
How can I use Git for web development?
View the following article for instructions on how to push changes on your local computer to your live website.
See also
Did this article answer your questions?
Recommend
About Joyk
Aggregate valuable and interesting links.
Joyk means Joy of geeK