

How to Install OpenLDAP Server and LDAP Account Manager on Debian 12
source link: https://www.howtoforge.com/how-to-install-openldap-server-on-debian-12/
Go to the source link to view the article. You can view the picture content, updated content and better typesetting reading experience. If the link is broken, please click the button below to view the snapshot at that time.

How to Install OpenLDAP Server and LDAP Account Manager on Debian 12
OpenLDAP is a software implementation of the Lightweight Directory Access Protocol (LDAP). OpenLDAP is free and open-source software with its BSD-style license called OpenLDAP Public License. Its command-line drive LDAP software is available on most Linux distributions such as CentOS, Ubuntu, Debian, SUSE, and many more.
OpenLDAP is a complete software suite for LDAP servers, which includes SLAPD (standalone LDAP daemon), SLURPD (standalone LDAP update replication daemon), and some utilities and tools for managing LDAP servers. OpenLDAP is a highly customizable LDAP server and supports all major computing platforms.
This article will guide you through installing the OpenLDAP server on Debian 12 step-by-step. You will also install the LDAP Account Manager or LAM, a PHP web application that can be used to manage the OpenLDAP server.
Prerequisites
You must have the following to start this guide:
A Debian 12 server - This demo uses a machine with hostname ldap and IP address 192.168.10.15.
A non-root user with administrator privileges.
Setting Up FQDN
In the first step, you must configure the proper fqdn (Fully Qualified Domain Name) of your Debian server. This can be achieved using the hostnamectl utility and modifying the /etc/hosts file.
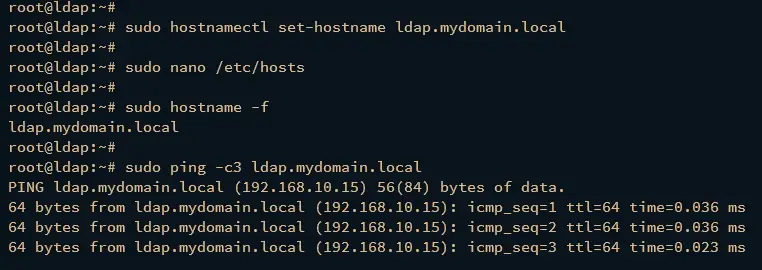
Execute the hostnamectl command below to set up the fqdn for your Debian server. In this case, the fqdn that will be used for the OpenLDAP server is ldap.mydomain.local.
sudo hostnamectl set-hostname ldap.mydomain.local
Using the nano editor command, open the /etc/hosts file.
sudo nano /etc/hosts
Add your OpenLDAP server IP address, hostname, and the fqdn like this:
192.168.10.15 ldap.mydomain.local ldap
Once finished, save the file and exit the editor.
Lastly, run the following command to ensure that you've proper fqdn. Then, ensure that the fqdn is pointed to the correct IP address.
sudo hostname -f
sudo ping -c3 ldap.mydomain.local
In the following output, you should see fqdn of the Debian server is ldap.mydomain.local, which is pointed to the local IP address 192.168.10.15.
Installing and OpenLDAP Server
After configuring the fqdn, you can install the OpenLDAP server package via APT from the official Debian repository. Then, you must configure some basic information about your OpenLDAP server, such as a domain name and the admin password.
Before installing OpenLDAP, run the apt update command to refresh your Debian package index.
sudo apt update
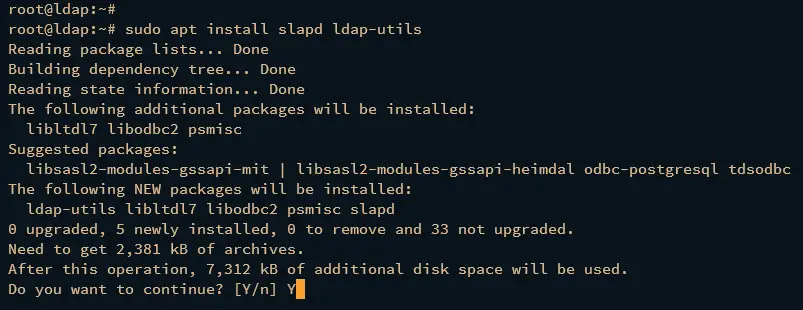
Now run the apt install command below to install the OpenLDAP server package. When prompted, enter y to confirm and proceed with the installation.
sudo apt install slapd ldap-utils
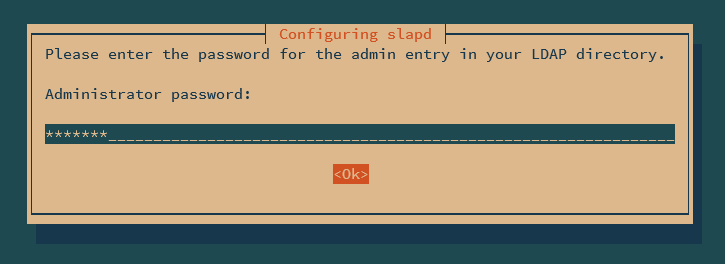
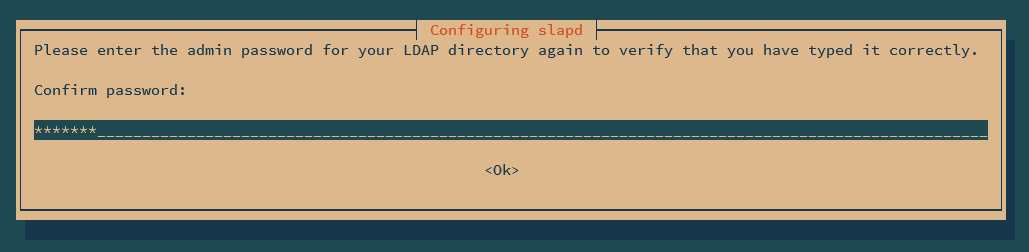
During the installation, you will be asked to set up the admin password for the OpenLDAP server. Input your password and repeat.
After the OpenLDAP server is installed, run the following command to configure your OpenLDAP installation.
sudo dpkg-reconfigure slapd
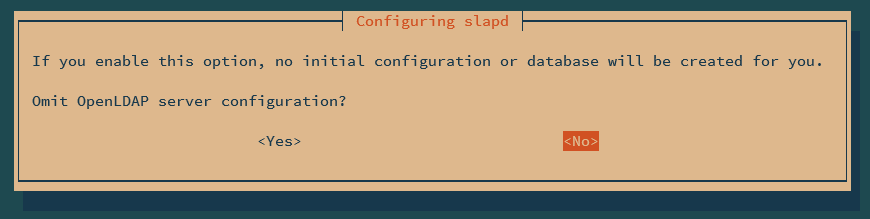
Select NO when asked to omit the default OpenLDAP configuration.
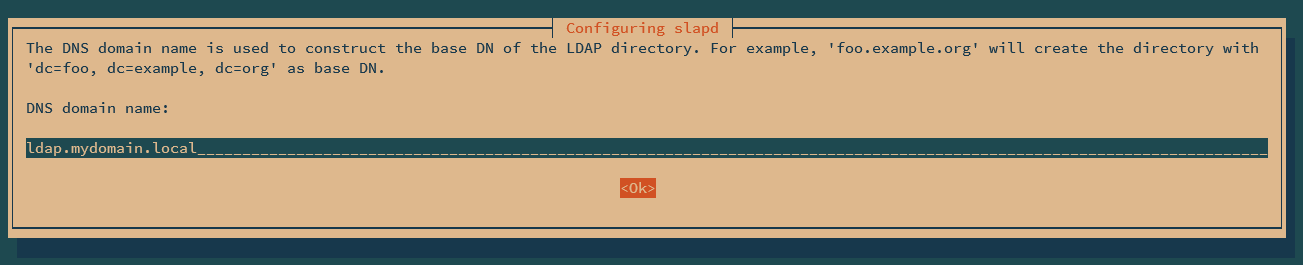
Input the domain name for your OpenLDAP server and select OK.
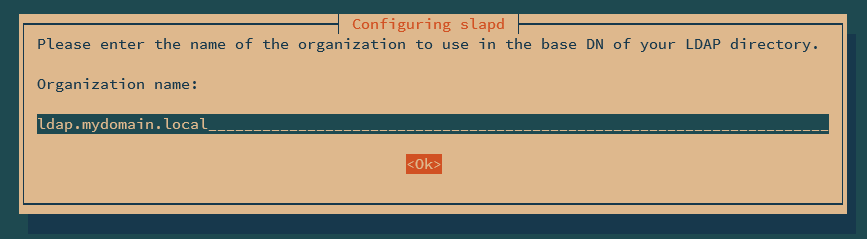
Now input the organization name and select OK.
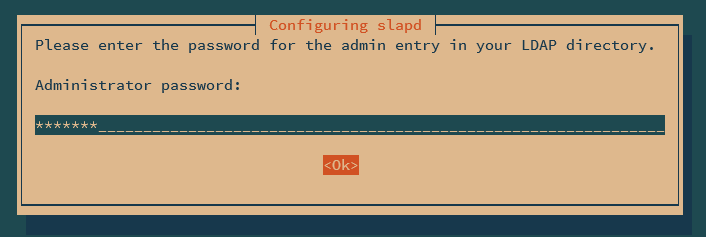
Next, input your admin password for the OpenLDAP server and repeat the password.
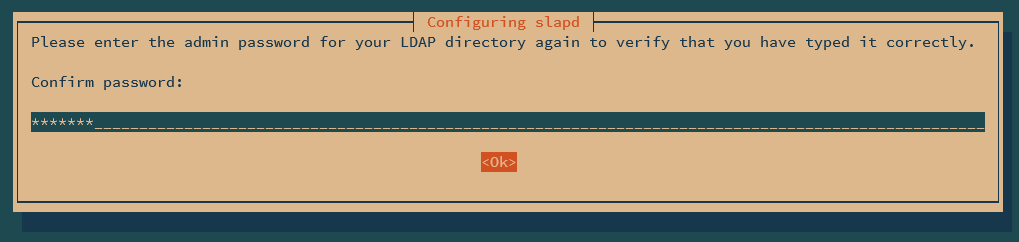
When asked to delete the old database of the OpenLDAP server, select NO.
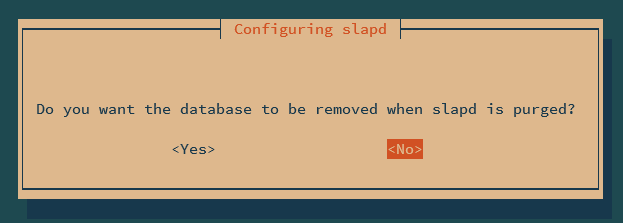
To finish up the OpenLDAP server configuration, select YES when asked to move the old OpenLDAP database to a new location.
When completed, you should get an output like this:
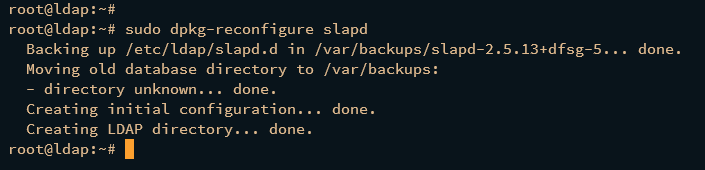
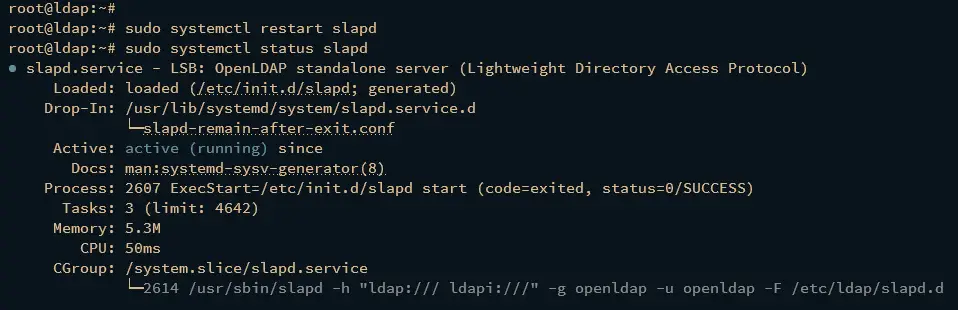
After the OpenLDAP server is configured. execute the systemctl command below to restart the OpenLDAP service slapd and apply the changes. Then, verify the slapd service to ensure that the service is running.
sudo systemctl restart slapd
sudo systemctl status slapd
If running, you should get an output such as active (running).
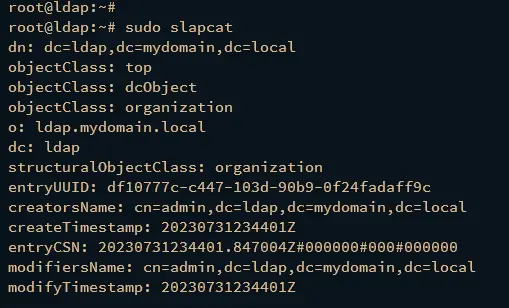
Lastly, run the following command to verify the domain name of your OpenLDAP server.
sudo slapcat
If everything goes well, you should see that the OpenLDAP server is configured with the custom domain. In this case, the domain name is ldap.mydomain.local.
Securing OpenLDAP with UFW
In this case, you will be securing your OpenLDAP server via UFW. So, you will install UFW via APT, then configure UFW and open LDAP, LDAPS, HTTP, and HTTPS protocols.
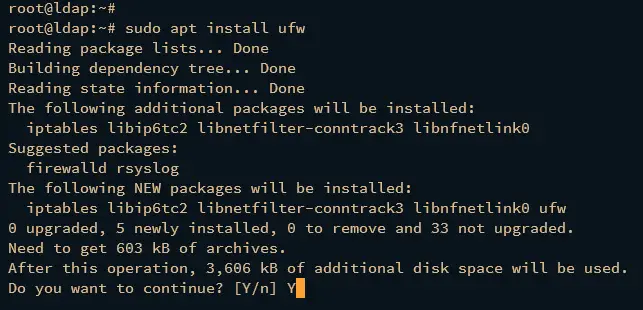
First, install UFW via the apt install command below. Type y to confirm the installation.
sudo apt install ufw
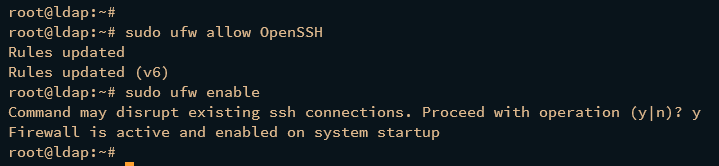
Once UFW is installed, run the following command to add the OpenSSH profile and enable UFW. Input y and press ENTER to confirm.
sudo ufw allow OpenSSH
sudo ufw enable
The output "Firewall is active and enabled on system startup" should indicate that the UFW is now running and enabled.
Next, run the ufw commands below to enable LDAP, LDAPS, and WWW Full profiles on UFW.
sudo ufw allow LDAP
sudo ufw allow LDAPS
sudo ufw allow "WWW Full"
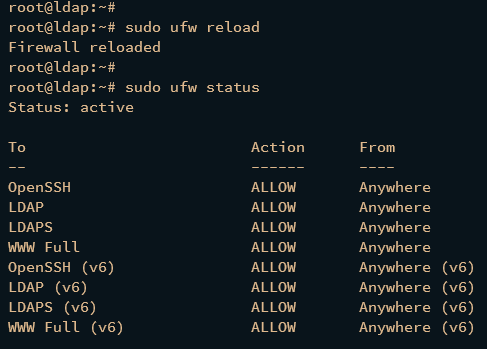
Lastly, run the below command to reload UFW and apply the changes. Then, verify the UFW status to ensure both LDAP and LDAPS available on UFW.
sudo ufw reload
sudo ufw status
Adding Base Group
After installing the OpenLDAP server and UFW, now you will create the base group for your OpenLDAP server via the LDIF file. The base domain here will be used to store OpenLDAP users and groups.
Create a new LDIF file base.ldif using the following nano editor command.
sudo nano base.ldif
Insert the following configuration and be sure to change the domain name with your domain. In this case, you will create two base groups, People and Groups.
# base.ldif

dn: ou=People,dc=ldap,dc=mydomain,dc=local
objectClass: organizationalUnit
ou: people

dn: ou=Groups,dc=ldap,dc=mydomain,dc=local
objectClass: organizationalUnit
ou: groups
When finished, save the file and exit the editor.
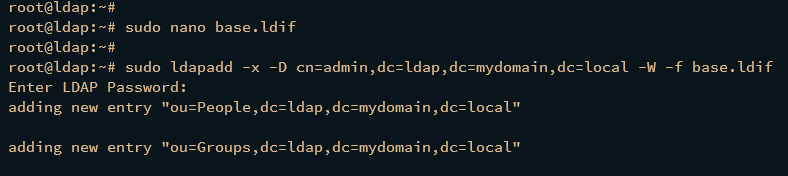
Now run the following command to add a new base group via base.ldif file. When prompted, input your OpenLDAP admin password.
sudo ldapadd -x -D cn=admin,dc=ldap,dc=mydomain,dc=local -W -f base.ldif
Lastly, run the ldapsearch command below to find the available base group on your OpenLDAP server.
sudo ldapsearch -x -b "dc=ldap,dc=mydomain,dc=local" ou
If everything goes well, you should see two base groups People and Groups available on the OpenLDAP.
Adding New User
In this section, you will create a new OpenLDAP user via the LDIF file.
To create a new OpenLDAP user, you must generate the encrypted password via the slappasswd command below. Input your password and repeat, then copy the generated password.
sudo slappasswd
Now use the following nano editor command to create a new LDIF file user.ldif.
nano user.ldif
Insert the following configuration and be sure to change the details of the user, password, and domain name. In this case, you will create a new user and group debian.
# user.ldif

dn: uid=debian,ou=People,dc=ldap,dc=mydomain,dc=local
objectClass: inetOrgPerson
objectClass: posixAccount
objectClass: shadowAccount
cn: debian
sn: bookworm
userPassword: {SSHA}23rFF1ofbNo5MRxEJo6D2Z4PT2GOxeWt
loginShell: /bin/bash
uidNumber: 2000
gidNumber: 2000
homeDirectory: /home/debian
shadowLastChange: 0
shadowMax: 0
shadowWarning: 0

dn: cn=debian,ou=Groups,dc=ldap,dc=mydomain,dc=local
objectClass: posixGroup
cn: debian
gidNumber: 2000
memberUid: debian
After finishing, save and exit the file.
Next, run the ldapadd command below to add your user via the LDIF file user.ldif . Input your OpenLDAP admin password when prompted.
sudo ldapadd -x -D cn=admin,dc=ldap,dc=mydomain,dc=local -W -f user.ldif
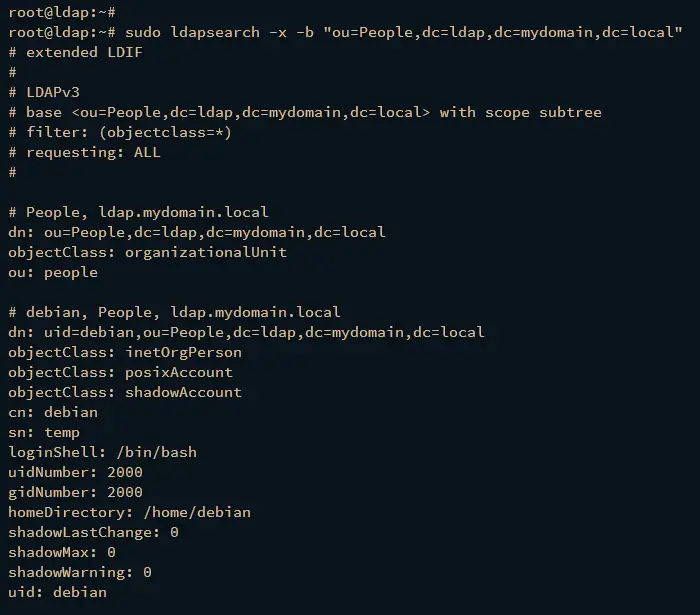
Lastly, run the following command to find users that are available on the base group People. If successful, you should see the user debian added to the OpenLDAP server.
sudo ldapsearch -x -b "ou=People,dc=ldap,dc=mydomain,dc=local"
Installing LDAP Account Manager
At this point, you have finished the OpenLDAP server installation. In the next two steps, you will be installing the LDAP Account Manager (LAM) via the official Debian repository, then you will configure LAM with your OpenLDAP server installation.
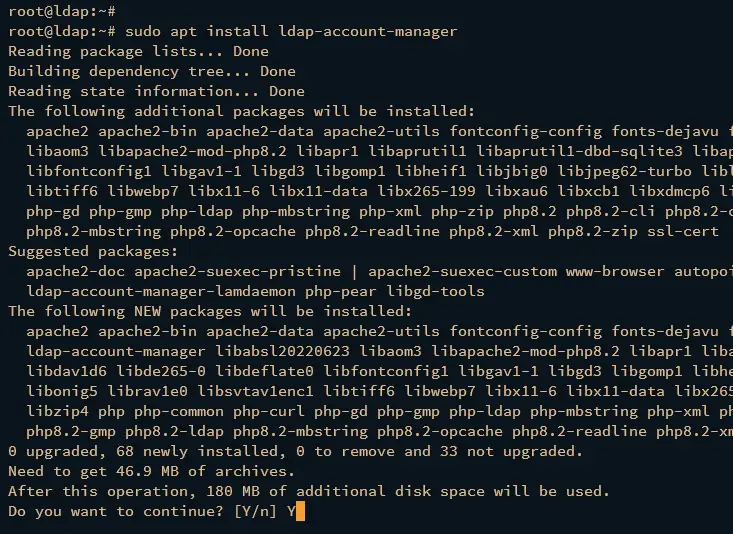
Run the apt install command below to install the ldap-account-manager to your OpenLDAP server. By installing ldap-account-manager, you will also install additional dependencies such as PHP 8.2 and Apache2 web server.
sudo apt install ldap-account-manager
Type y to confirm the installation.
After the ldap-account-manager is installed, use the nano editor command to open the PHP configuration file /etc/php/8.2/apache2/php.ini.
sudo nano /etc/php/8.2/apache2/php.ini
Change the default memory_limit parameter to 256M.
memory_limit = 256M
When finished, save and exit the file.
Next, open the Apache2 configuration for ldap-account-manager /etc/apache2/conf-enabled/ldap-account-manager.conf using the nano editor command.
sudo nano /etc/apache2/conf-enabled/ldap-account-manager.conf
Change the "Require all granted" parameter to "Require ip subnet", and be sure to add your local IP address and allow it to access the LDAP Account Manager.
```
#Require all granted
Require ip 127.0.0.1 192.168.10.0/24
```
Save and exit the file when finished.
Now run the systemctl command below to restart the apache2 service and apply the changes.
sudo systemctl restart apache2
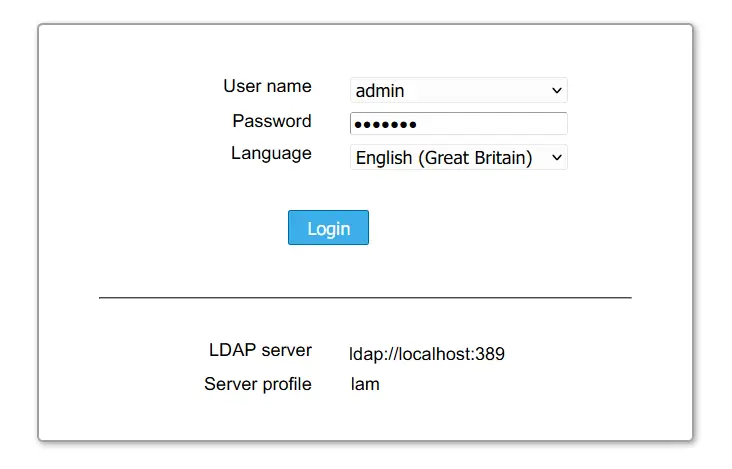
Lastly, launch your web browser and visit the server IP address with path lam (i.e: http://192.168.10.15/lam) to access the LDAP Account Manager. If successful, you should see the LAM page like this:
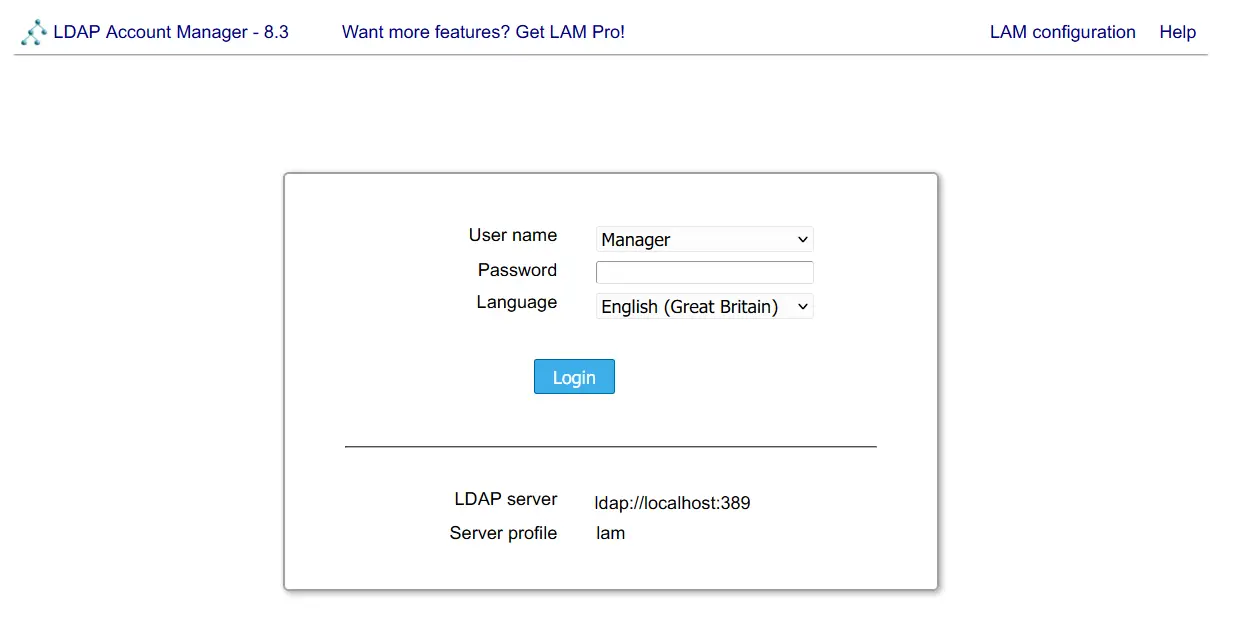
Configuring LDAP Account Manager
You will add your OpenLDAP server to the LDAP Account Manager in the following step. This can be done easily via a web browser.
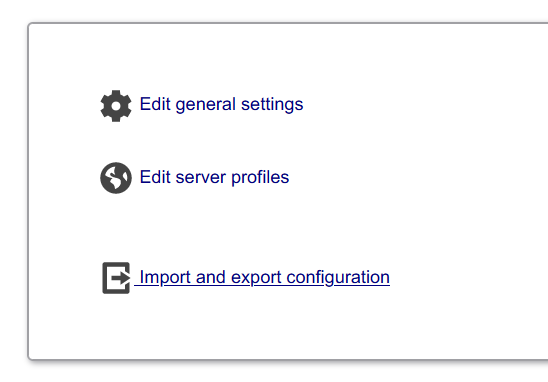
Click the menu LAM configuration on the top right.
Click Edit server profiles to modify the OpenLDAP profile.
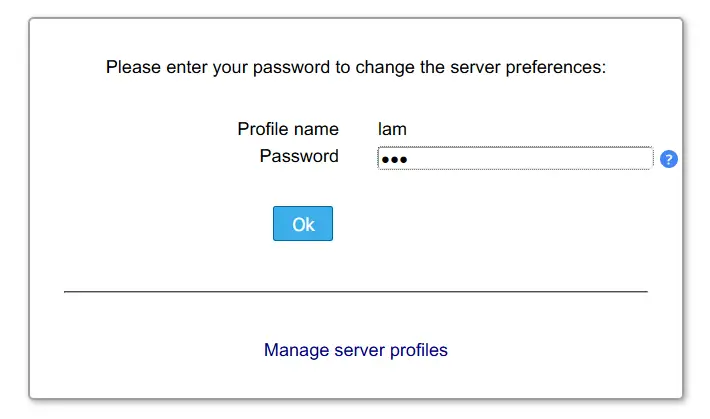
When asked, input the default user and password lam, then click OK to continue.
Now you should see the LAM configuration page.
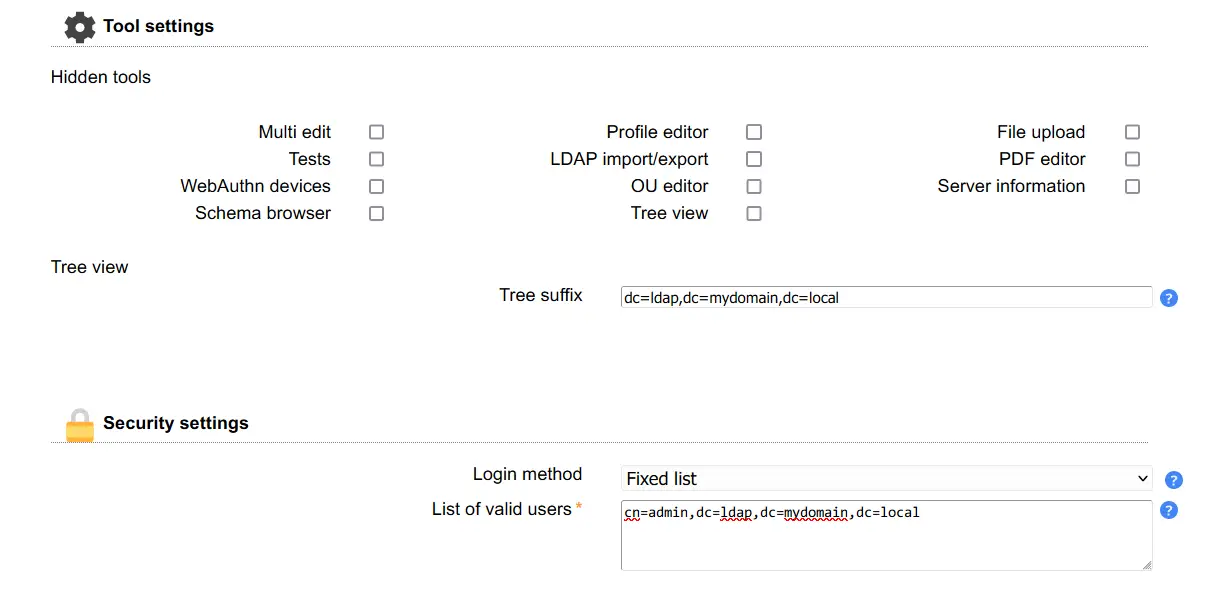
Within the General Settings, configure the following section:
- On the Tool settings, input the domain name of your OpenLDAP server.
- On the Security settings, select the login method as Fixed list and input the details admin user for the OpenLDAP server.
- On the Profile password, input the new password and repeat.
Click Save to apply the changes.
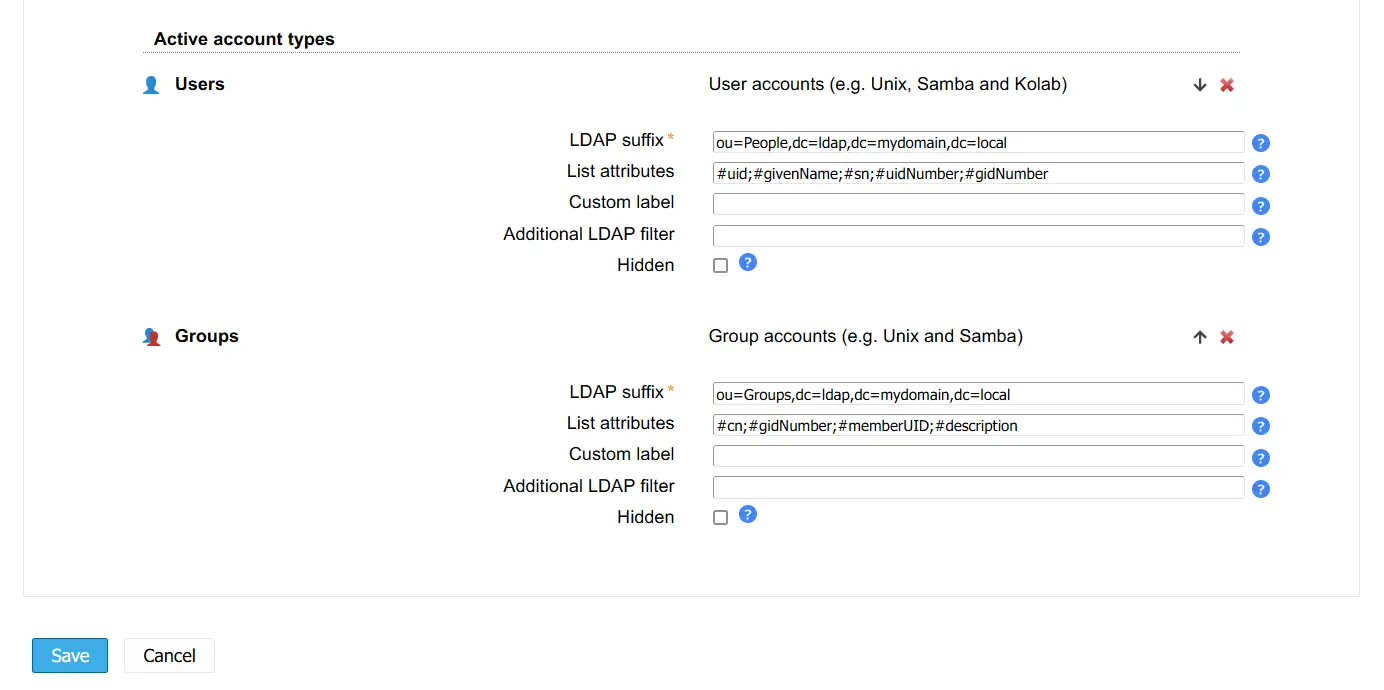
Next, click on the Account Types section the configure the following section:
- On the Users section, input the default base domain for OpenLDAP users. In his case, the default suffix is People.
- On the Groups section, input the default base domain for the group. In this case, the default other group is Groups.
Click Save to apply the changes.
Now you should be redirected to the LAM login page. Input the admin user and password for your OpenLDAP server, then click Login.
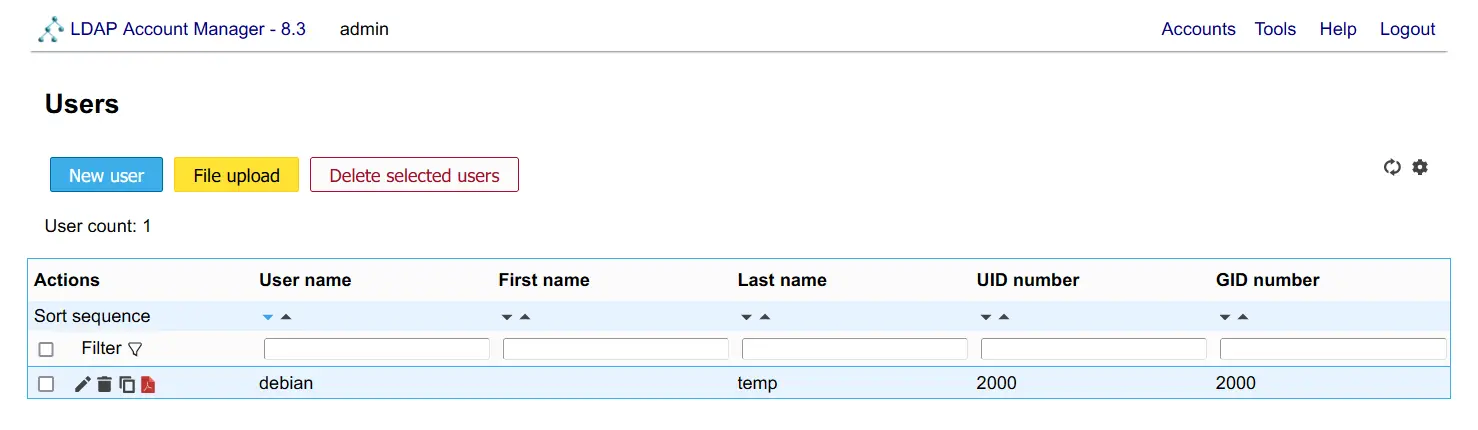
On the Users section, you should see the user debian.
Conclusion
By following this step-by-step guide, you've accomplished the installation of the OpenLDAP server and LDAP Account Manager on Debian 12. You've also secured the OpenLDAP server via UFW and created a user on OpenLDAP via LDIF file. Lastly, you've also integrated LAM with the OpenLDAP server. You can now add more users to the OpenLDAP server via the LDAP Account Manager.
Recommend
About Joyk
Aggregate valuable and interesting links.
Joyk means Joy of geeK