

Converting PFX File to PEM file using OpenSSL in Windows 10
source link: https://microsoftgeek.com/?p=3340
Go to the source link to view the article. You can view the picture content, updated content and better typesetting reading experience. If the link is broken, please click the button below to view the snapshot at that time.

Converting PFX File to PEM file using OpenSSL in Windows 10
Converting PFX File to .Pem file using OpenSSL in Windows 10 .
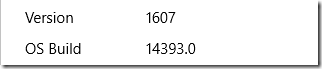
Windows 10 – Version 1607 or Above –
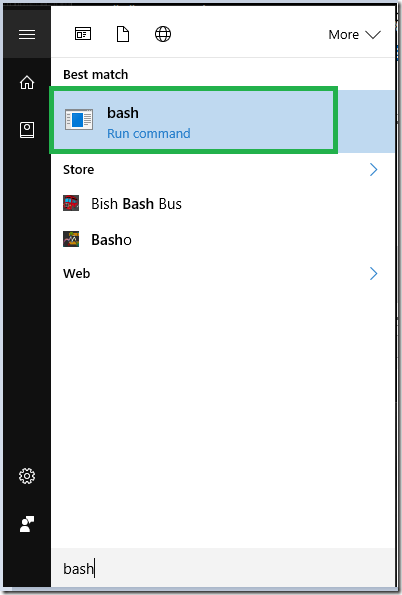
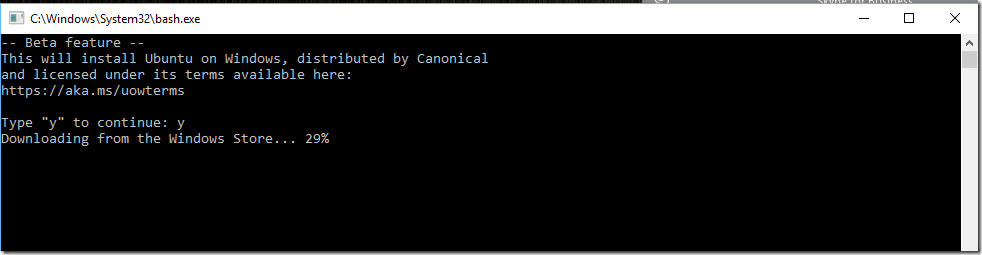
Some Application never allow .pfx file to import directly. Running Ubuntu Bash shell become much simpler in Windows 10
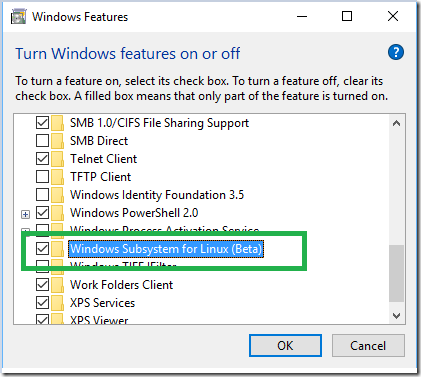
In Windows 10 you can have a linux subsystem . It’s a great feature for sys admins for these sort of tasks.
Start – Run – Appwiz.cpl – Turn Windows Features on or off.
Note : All Commands and Directory Names are Case Sensitive
List the Drives you can mount –
| cd /mnt/ |
Press TAB to list the Drives. Mounting F Drive.
| cd /mnt/f |


Change Directories get inside c:\cert –
| cd /mnt/f/cert/ |
List Directories –

To Export private key from the Pfx File and Make .PEM file –
| openssl pkcs12 -in mycert.pfx -nocerts -out key.pem -nodes |

To Export Certificate from the Pfx file to .PEM file –
| openssl pkcs12 -in mycert.pfx -nokeys -out cert.pem |

Remove the Passphrase from Key.Pem File (Optional) –
| openssl rsa -in key.pem -out server.key |

To Export to .crt
| openssl pkcs12 -in mycert.pfx -clcerts -nokeys -out mycert.crt |

Remove the Passphrase from Key.Pem File (Optional) –
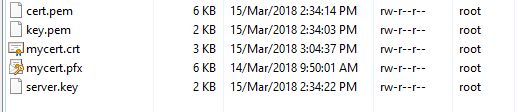
You can see below files –
Recommend
About Joyk
Aggregate valuable and interesting links.
Joyk means Joy of geeK