
3

在 Linux 中使用 netcat 命令扫描端口
source link: https://www.51cto.com/article/744817.html
Go to the source link to view the article. You can view the picture content, updated content and better typesetting reading experience. If the link is broken, please click the button below to view the snapshot at that time.

在 Linux 中使用 netcat 命令扫描端口
作者:Linux迷 2023-01-13 23:21:29
这是使用 netcat 命令扫描开放端口的快速指南。既然你已经找到了打开的端口,也许你想知道如何关闭这些端口。
无论您是要在备用端口上使用 SSH 还是要将Web 应用程序部署到特定端口,第一步始终是检查该端口是否正在使用。

netcat 实用程序是排除网络故障的首选工具之一,也可用于扫描端口。
例如,如果我想检查我的本地 VM 上的端口号 22 是否打开,我将使用 netcat 命令,如下所示:
linuxmi@linuxmi /home/linuxmi/www.linuxmi.com
⚡ nc -zvn 192.168.174.170 22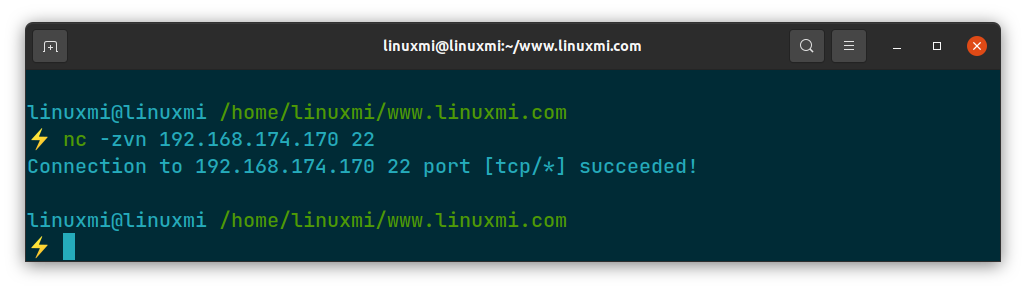
如您所见,端口号 22 已打开供连接使用。那很简单。
但是等等,您可以使用 netcat 命令做更多的事情。
使用 netcat 命令扫描端口
您需要先安装 netcat 命令,因为它没有预装在许多发行版中。
对于基于 Debian/Ubuntu 的发行版:
linuxmi@linuxmi /home/linuxmi/www.linuxmi.com
⚡ sudo apt install netcat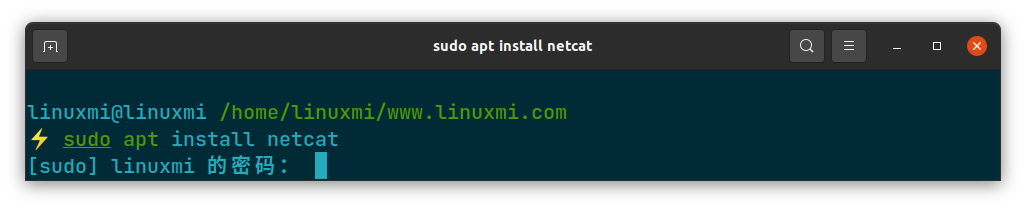
对于 Fedora 和 RHEL:
linuxmi@linuxmi /home/linuxmi/www.linuxmi.com
⚡ sudo dnf install netcat
现在,让我们开始扫描多个端口。
使用netcat命令扫描多个端口
要使用 netcat 一次扫描多个端口,您需要遵循给定的命令语法:
nc -zvn <target> port1 port2 port3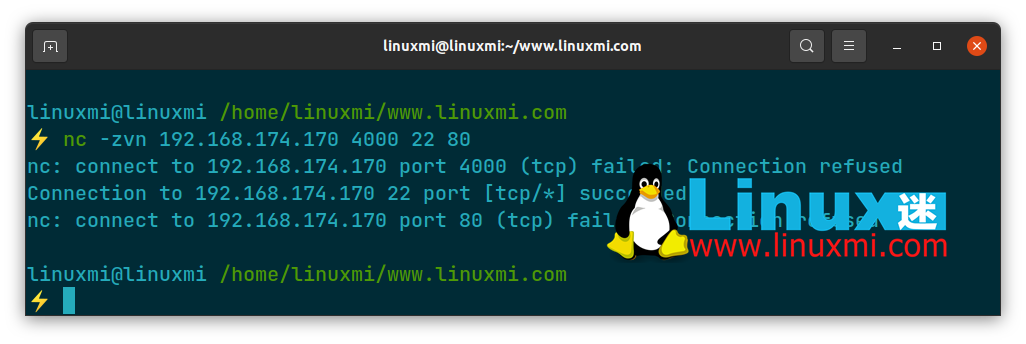
- -z用于指示 netcat 在不建立连接的情况下扫描端口。
- -v产生更详细的输出。
- -n停止netcat进行域名解析。
使用netcat命令扫描特定范围内的端口
确实,您可以使用前面的方法扫描多个端口,但是如果您想扫描超过 50 个或 100 个端口怎么办?您可以定义范围。
例如,如果我想扫描 1 到 100 之间的端口,这将是我的命令:
linuxmi@linuxmi /home/linuxmi/www.linuxmi.com
⚡ nc -vz -w3 bing.com 1-100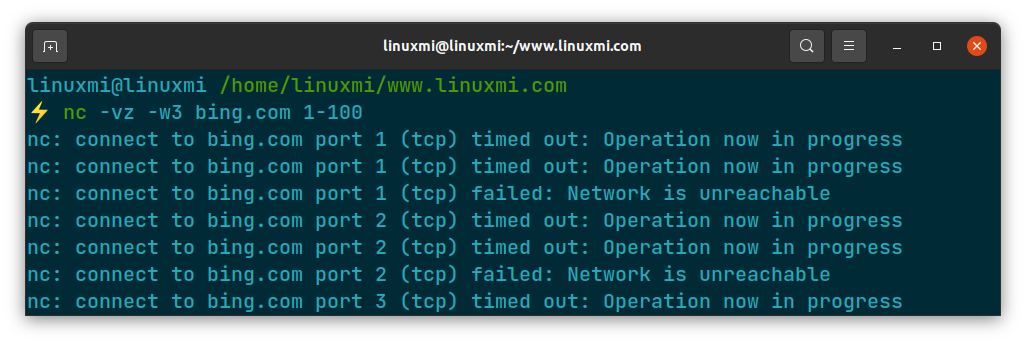
你不能指望让他们给你开放端口。但是你可以将它用于你的服务器并且可能会找到开放端口
不可用端口列表似乎很长,对吗?在这种情况下,您可以使用 grep 命令仅获取打开的端口:
linuxmi@linuxmi /home/linuxmi/www.linuxmi.com
⚡ netcat -w1 -znv 192.168.174.170 1-100 2>&1 | grep succeeded
Connection to 192.168.174.170 22 port [tcp/*] succeeded!
Connection to 192.168.174.170 23 port [tcp/*] succeeded!
Connection to 192.168.174.170 25 port [tcp/*] succeeded!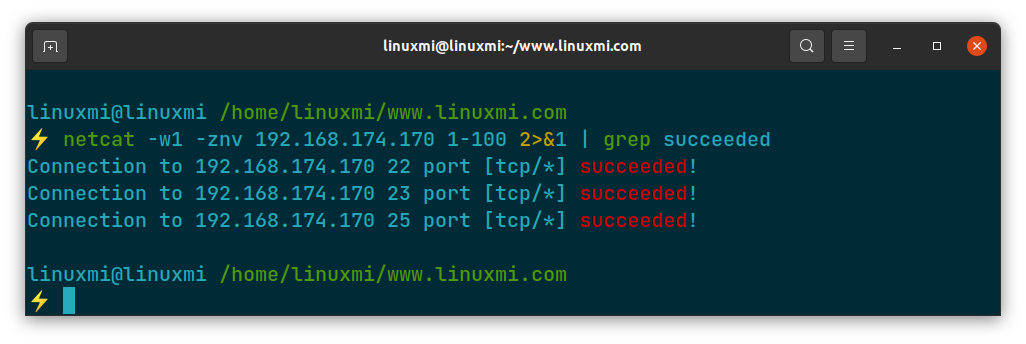
- -w1将强制 netcat 命令为每个端口等待 1 秒。
- 2&1重定向标准错误。
责任编辑:赵宁宁
来源:
Linux迷
Recommend
About Joyk
Aggregate valuable and interesting links.
Joyk means Joy of geeK