

Deploying Python Applications using Github Actions
source link: https://azureossd.github.io/2022/12/29/Deploying-Python-Applications-using-GithubActions/index.html
Go to the source link to view the article. You can view the picture content, updated content and better typesetting reading experience. If the link is broken, please click the button below to view the snapshot at that time.

Deploying Python Applications using Github Actions
3 minute read | By Keegan D'Souza
In this blog post we will cover Github Actions Deployment to a Python App Service.
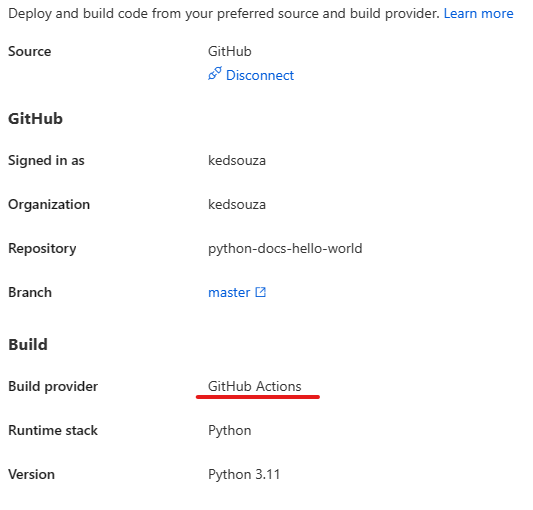
By default when you configure your workflow file using the Deployment Center the build happens still happens using the app service build system (oryx).
The goal of this blog, is to demonstration how to switch the build process to only occur on Github Actions.
You can follow along by forking the following Azure Sample Repository: Azure-Samples/python-docs-hello-world(A simple python application for docs (github.com)
Set Up Initial Deployment:
-
Sync your Github Repository to the app service deployment center.
After doing so you will see the app service will have the below app setting enabled automatically.
SCM_DO_BUILD_DURING_DEPLOYMENT = 1This will enable the app service build system oryx, however for the purpose of this article we would like to disable this as we want the build to only occur on Github Actions.
-
Disable the oryx build system by changing this to 0 or false and save your changes.
SCM_DO_BUILD_DURING_DEPLOYMENT = 0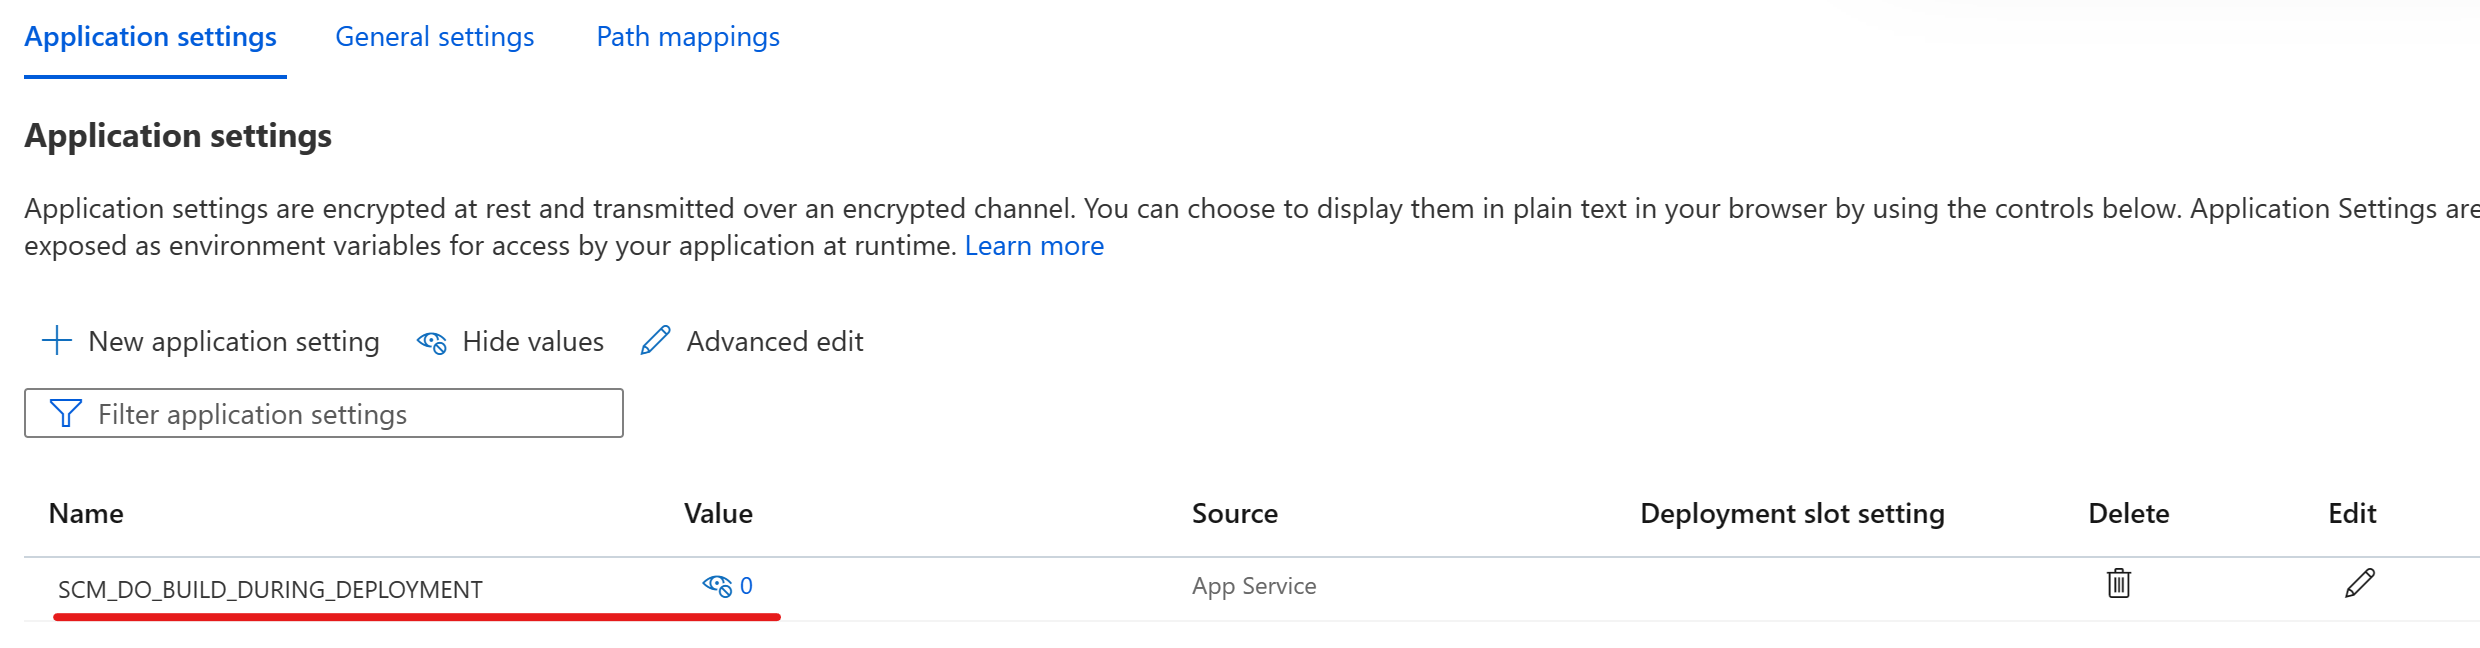
Modify Workflow file
-
Navigate to your Github Actions Repository and open your generated github actions .yml file. It will be located under .github/workflows/{branch_name}_{app service name}.yml.
-
Modify the following sections in your workflow file.
Rename the virtual environment to antenv
Before:
 - name: Create and start virtual environment
     run: |
       python -m venv venv
       source venv/bin/activate
After:
Explanation Currently the default value of the virtual environment the app service looks for is named antenv, we can view this by navigating to the app service startup script under /opt/startup/startup.sh- name: Create and start virtual environment run: | python -m venv antenv source antenv/bin/activateecho 'export VIRTUALENVIRONMENT_PATH="/home/site/wwwroot/antenv"' >> ~/.bashrc echo '. antenv/bin/activate' >> ~/.bashrc PYTHON_VERSION=$(python -c "import sys; print(str(sys.version_info.major) + '.' + str(sys.version_info.minor))") echo Using packages from virtual environment 'antenv' located at '/home/site/wwwroot/antenv'. export PYTHONPATH=$PYTHONPATH:"/home/site/wwwroot/antenv/lib/python$PYTHON_VERSION/site-packages" echo "Updated PYTHONPATH to '$PYTHONPATH'"Include the virtual environment in the archive.
Before:
 - name: Upload artifact for deployment jobs
     uses: actions/upload-artifact@v2
     with:
       name: python-app
       path: |
         .
         !venv/
After:
 - name: Upload artifact for deployment jobs
     uses: actions/upload-artifact@v2
     with:
       name: python-app
       path: .
Explanation Since the build is not occuring on the app service side we need to include the created virtual enviornment in the .zip archive. Previously this was being exculding and the virtual environment was being built by the app service build system again.
You can validate that your virtual environment is included inside the article by downloading it and extracting the content to see if the virtual environment was included.
https://docs.github.com/en/actions/managing-workflow-runs/downloading-workflow-artifacts https://github.com/actions/upload-artifact
Commit your changes and test.
- Commit your changes and monitor your deployment.
-
Your app service should be able to startup successfully using the virtual environment created on Github Actions.
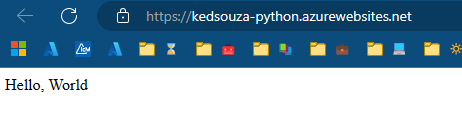
Depending on your project structure you may need to modify your startup command.
More information here: Configure a Linux Python app for Azure App Service
Reasoning
- Simplifies the deployment process by removing the app service oryx build process. By default the pip install is running twice, once on Github Actions and once during the oryx build process.
-
Allows users to take of Advantage of Github Actions Features, such as a build cache to possibly improve deployment times.
More information here: Caching dependencies to speed up workflows
Post questions | Provide product feedback
Tags: App Service Github Actions Python
Categories: Azure App Service on Linux How-To Python
Updated: December 29, 2022
Recommend
About Joyk
Aggregate valuable and interesting links.
Joyk means Joy of geeK