
10

利用Github Action实现Tornadofx/JavaFx打包 - Stars-one
source link: https://www.cnblogs.com/stars-one/p/16357227.html
Go to the source link to view the article. You can view the picture content, updated content and better typesetting reading experience. If the link is broken, please click the button below to view the snapshot at that time.

利用Github Action实现Tornadofx/JavaFx打包
本文为作者原创,转载请注明出处,谢谢配合
作者:stars-one
链接:https://www.cnblogs.com/stars-one/p/16357227.html
本篇大约有2184个字,阅读预计需要2.73分钟
原文地址: 利用Github Action实现Tornadofx/JavaFx打包 - Stars-One的杂货小窝
最近开了个新项目stars-one/xtool: 使用TornadoFx封装的跨平台工具集合桌面程序,主要是个工具软件,也算个人的自娱自乐吧,也算开源的一部分,想着都开源了,顺便上个自动化打包吧
得知github action可以自动完成打包的操作,于是便是来研究了下
注意:本文所研究都是基于JavaFx是JDK8中内置的,不适用了之后的FX版本,仅供参考
本文实现了每次推送一个新的tag到github上,就会触发github action的自动打包,并发布一个release
1.创建github项目并推送代码
这步应该没有什么好讲的,都是常规操作了
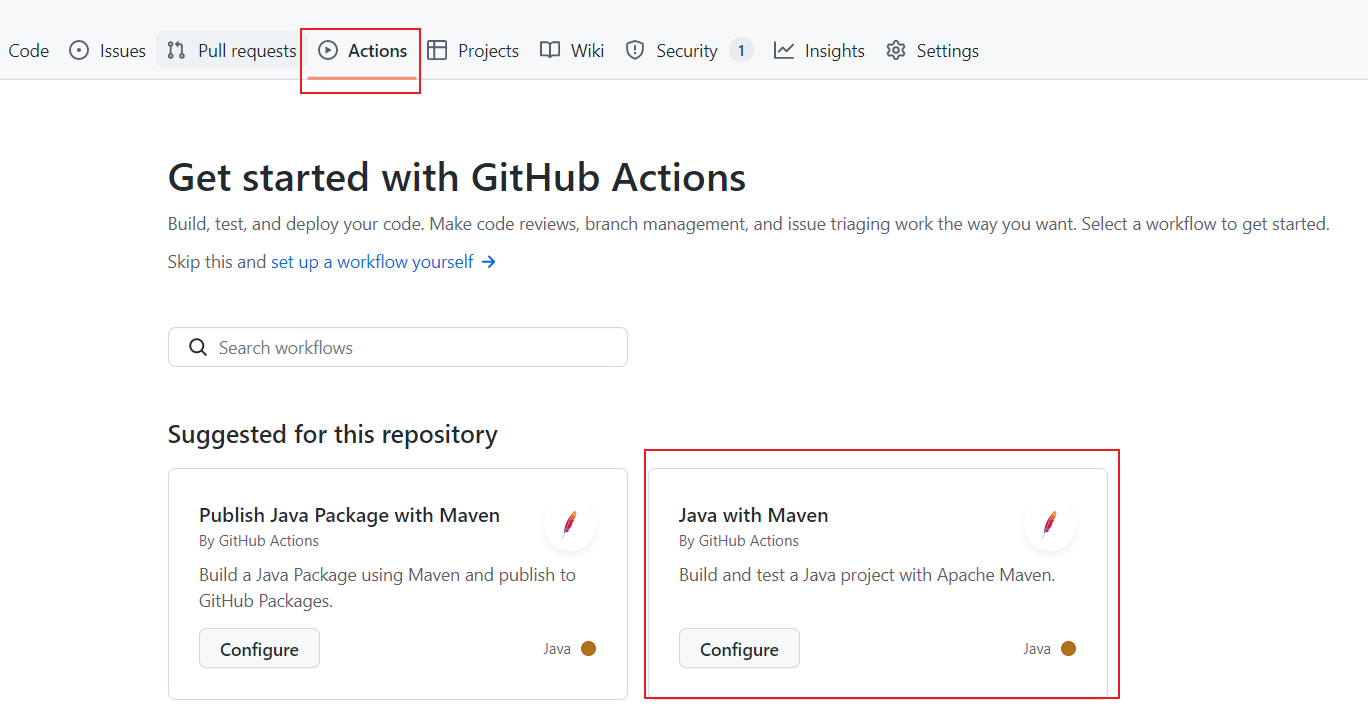
2.创建action脚本
点击github项目的action菜单,按照提示新建一个action,选择某项,点击configure
之后会进入到action的编辑菜单,实际上,默认配置的并不符合我们的需要的情况,我们需要对action进行改造
这里我也是折腾了十几次,最终才成功了,附上成功的action配置
# This workflow will build a package using Maven and then publish it to GitHub packages when a release is created
# For more information see: https://github.com/actions/setup-java/blob/main/docs/advanced-usage.md#apache-maven-with-a-settings-path

name: Maven Package

on:
  # 监听push tag事件,且匹配tag是v开头的
  push:
    tags:
    - 'v*'

jobs:
  build:

    runs-on: ubuntu-latest
    permissions: write-all

    steps:
    - uses: actions/checkout@v3
    - name: Set up JDK 8
      # 安装jdk8环境(且要含有javafx)
      uses: actions/setup-java@v1
      with:
        java-version: '1.8'
        java-package: 'jdk+fx'

    - name: Build with Maven
      # 执行打包的mvn命令
      run: mvn -B compile assembly:single --file pom.xml

    # 移动打包文件
    - run: mkdir staging && cp target/*.jar staging

    - name: Set Release version env variable
      run: |
        echo "RELEASE_VERSION=$(mvn help:evaluate -Dexpression=project.version -q -DforceStdout)" >> $GITHUB_ENV
    - name: "Build & test"
      run: |
        echo "done!"
    # 创建一个release,并将打包后的文件上传到附件
    - name: Automatic Releases
      # You may pin to the exact commit or the version.
      # uses: marvinpinto/action-automatic-releases@919008cf3f741b179569b7a6fb4d8860689ab7f0
      uses: marvinpinto/action-automatic-releases@latest
      with:
        # GitHub secret token
        repo_token: "${{ secrets.GITHUB_TOKEN }}"
        automatic_release_tag: "${{ env.RELEASE_VERSION }}"
        prerelease: false
        title: "Release ${{ env.RELEASE_VERSION }}"
        # Assets to upload to the release
        files: |
          staging/*.jar
3.推送一个新的tag
之后当想发布版本的时候,使用git创建一个tag,并推送到远程分支上,即会触发如下:
git tag v1.0
git push origin v1.0
Recommend
About Joyk
Aggregate valuable and interesting links.
Joyk means Joy of geeK