
5

Linux Mint NFS服务端与客户端配置
source link: https://3mile.github.io/archives/2019/0221203025/
Go to the source link to view the article. You can view the picture content, updated content and better typesetting reading experience. If the link is broken, please click the button below to view the snapshot at that time.

Linux Mint NFS服务端与客户端配置
2019-02-21
发布在 软路由
NFS
早先Sun Microsystems创建了网络文件系统以通过网络共享资源。NFS与SAMBA类似,在共享文件方面确实非常方便。而NFS大多数时候是Linux系统下使用的,在CPU的使用率上,NFS比SAMBA要低。另外Kodi XBMC与OpenELEC都能通过NFS来获取网络音频流,非常方便。 下面就如何配置NFS服务端与客户端区分讲解。(此教程为debian类发行版下的教程翻译及相关笔记,其他Linux发行版类似)
安装服务端软件:
sudo apt-get install nfs-common nfs-kernel-server
创建共享文件夹,当然你也可以使用现有的。
sudo mkdir /mnt/nfsserver
给你的共享文件夹最开放的权限,你也可以自行考虑权限问题。
sudo chmod -R 777 /mnt/nfsserver
用你最喜欢的编辑器编辑用于配置共享路径及权限的NFS exports文件。
sudo vim /etc/exports
配置格式为:
/mnt/nfsserver IP(access)
# 可使用通配符。。。
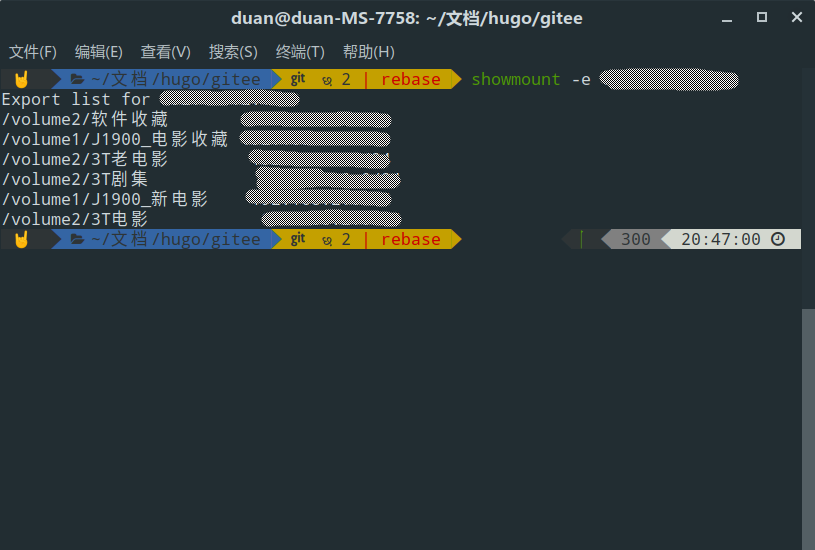
读取新配置:
sudo exportfs
sudo systemctl restart nfs-kernel-server.service
到此基本OK了,如果有错误请尝试:
sudo update-rc.d rpcbind enable
sudo service rpcbind restart
同样,安装工具:
sudo apt-get install nfs-common
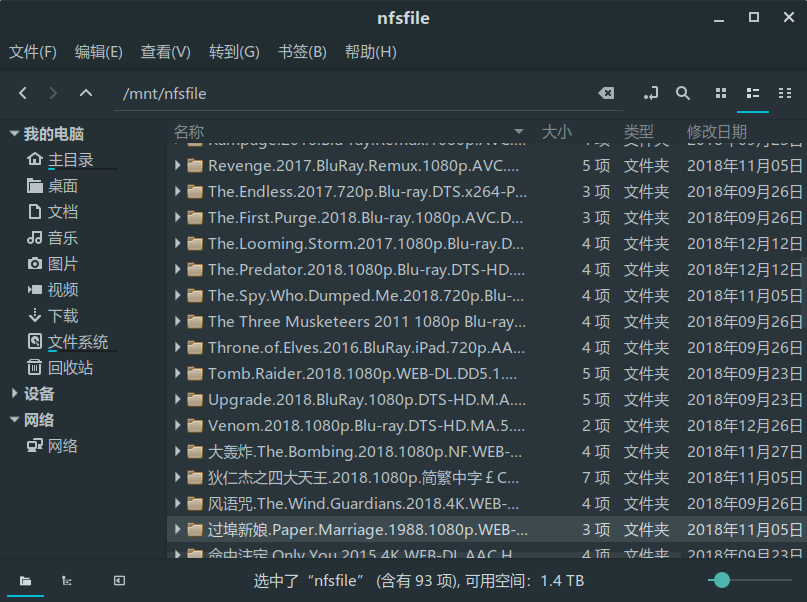
创建挂载文件夹
sudo mkdir -p /mnt/nfs
sudo chown -R your_user:your_user /mnt/nfs
sudo mount your_host:/mnt/nfsserver /mnt/nfs
把需要挂载的网络文件系统写入fstab
sudo nano /etc/fstab
your_host:/mnt/nfsserver /mnt/nfs nfs rw 0 0
标签
Mint
Code -1: Request has been terminated
Possible causes: the network is offline, Origin is not allowed by Access-Control-Allow-Origin, the page is being unloaded, etc. [N/A GET https://us.avoscloud.com/1.1/classes/Comment]
Powered By Valine
v1.4.4
v1.4.4
© 2020 By 3mile
Recommend
About Joyk
Aggregate valuable and interesting links.
Joyk means Joy of geeK