

配置AdGuard Home+V2Ray
source link: https://3mile.github.io/archives/2019/0813100152/
Go to the source link to view the article. You can view the picture content, updated content and better typesetting reading experience. If the link is broken, please click the button below to view the snapshot at that time.

AdGuard简介
AdGuard Home 是一款全网广告拦截与反跟踪软件。在您将其安装完毕后,它将保护您所有家用设备,同时您不再需要安装任何客户端软件。随着物联网与连接设备的兴起,掌控您自己的整个网络环境变得越来越重要。
简单点说AdGuard Home就是一个公共DNS服务,如Google的公共DNS8.8.8.8,和DNSmasq一样AdGuard Home是开源的,可以自行搭建安装后在客户端配置使用。xiaoz之前分享过一个自己写的项目PHPDNS ,PHPDNS在DNSmasq的基础上开发了WEB界面,功能比较简单,不过该项目不在维护,这里推荐功能更加强大的AdGuard Home
AdGuard Home使用Golang开发,编译好了各大平台的二进制文件,因此安装非常简单,这里以CentOS 7为例,其它系统可参考官方帮助文档。
AdGuard Home主要功能
- 拦截随处可见的广告
- 注重隐私保护
- 家庭保护模式
- 自定义过滤
CentOS 7 X64安装 AdGuard Home二进制文件位于https://github.com/AdguardTeam/AdGuardHome/releases 可根据自己的平台下载最新版本。CentOS 7安装方法如下:
安装Adguard:
cd /opt
wget https://github.com/AdguardTeam/AdGuardHome/releases/download/v0.97.1/AdGuardHome_linux_amd64.tar.gz
tar -xzvf AdGuardHome_linux_amd64.tar.gz
rm -rf AdGuardHome_linux_amd64.tar.gz
#放行3000端口(AdGuardHome初始化需要使用)
#firewalld放行3000端口
firewall-cmd --zone=public --add-port=3000/tcp --permanent
firewall-cmd --reload
#检查firewall开放端口
firewall-cmd --list-port
cd AdGuardHome
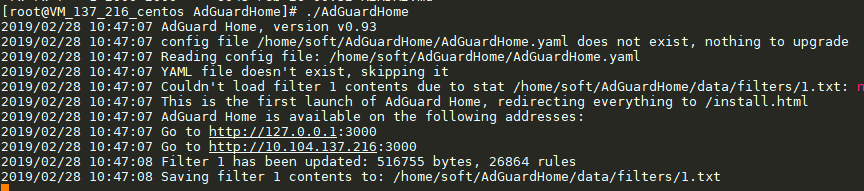
./AdGuardHome -s install
运行AdGuardHome后,会提示打开http://IP:3000端口进行初始化,如下截图。
设置AdGuard
浏览器打开http://IP:3000,根据提示无脑的下一步即可。首次初始化会要求设置账号、密码(请牢记),下次登录需要使用。

AdGuardHome基本设置
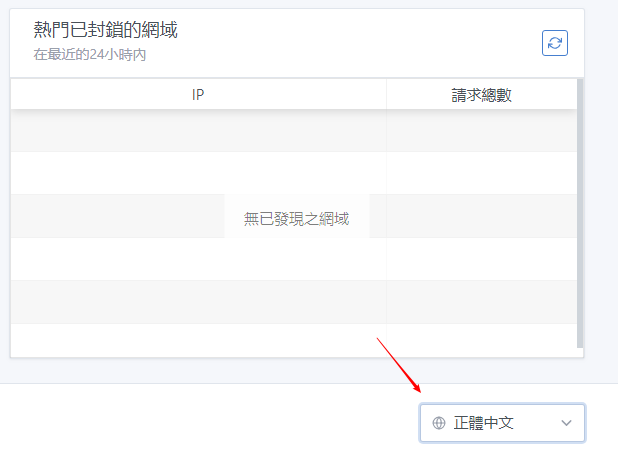
设置中文 进入AdGuardHome后台 - 网页右下方 - 可设置为繁体中文,感觉是机器翻译的,不太准确,将就用。
设置上游DNS
AdGuard Home默认使用Cloudflare DNS作为上游服务器,如果您服务器在国内可能请求上游DNS延迟比较高,在后台 - 设定 - 可以设置为国内的DNS,如腾讯的119.29.29.29,但坏处是不支持DNS over TLS

在后台 - 过滤器,可以看到AdGuardHome内置了部分广告过滤规则,但在中国有点水土不服,如果要想更完美的实现广告屏蔽还需要自己添加规则。
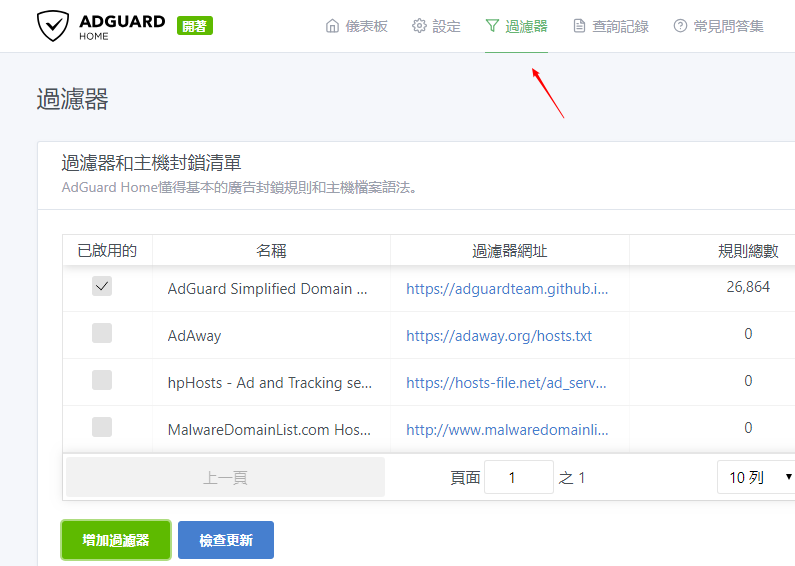
以下是过滤规则的一些说明,更多规则可以在AdGuardHome后台查看或参考官方帮助文档。
- ||example.org^ - 封锁example.org域及其他子域
- @@||example.org^ - 解除封锁example.org域及其他子域
- 127.0.0.1 example.org - 将example.org host指向到127.0.0.1(不包含其他子域)
- ! - 注释符号
- “# - 也是一个注释符号”
- /REGEX/ - 正则表达式模式
为了方便管理,可以继续输入命令./AdGuardHome -s install安装为服务,然后就可以使用下面的命令来进行管理了。
#启动
systemctl start AdGuardHome
#开机自启
systemctl enable AdGuardHome
#重启
systemctl restart AdGuardHome
#停止
systemctl stop AdGuardHome
设置V2Ray
清空默认的配置文件/生成一个UUID:
echo "" > /etc/v2ray/config.json
cat /proc/sys/kernel/random/uuid
编辑配置文件:
nano /etc/v2ray/config.json
下面这是一个KCP服务端的配置示例:
{
  "dns": {
    "servers": [
      "你的服务器公网IP"
    ]
  },
  "inbound": {
    "port": 10087,
    "protocol": "vmess",
    "settings": {
      "clients": [
        {
          "id": "你的UUID",
          "alterId": 64
        }
      ]
    },
    "streamSettings":{
      "network":"kcp",
      "kcpSettings": {
        "mtu": 1350,
        "tti": 20,
        "uplinkCapacity": 30,
        "downlinkCapacity": 100,
        "congestion": false,
        "readBufferSize": 1,
        "writeBufferSize": 1,
        "header": {
          "type": "none"
        }
      }
    }
  },
  "outbound": {
    "protocol": "freedom",
    "settings": {
      "domainStrategy": "UseIP"
    }
  }
}
实际上无论是KCP还是WebSocket,还是其他等等配置,套路都是一样的,只需要先添加一个DNS配置:
  "dns": {
    "servers": [
      "你的服务器公网IP"
    ]
  },
然后在outbound下面的settings内加一条:
"domainStrategy": "UseIP"
重启V2Ray,完成配置:
systemctl restart v2ray
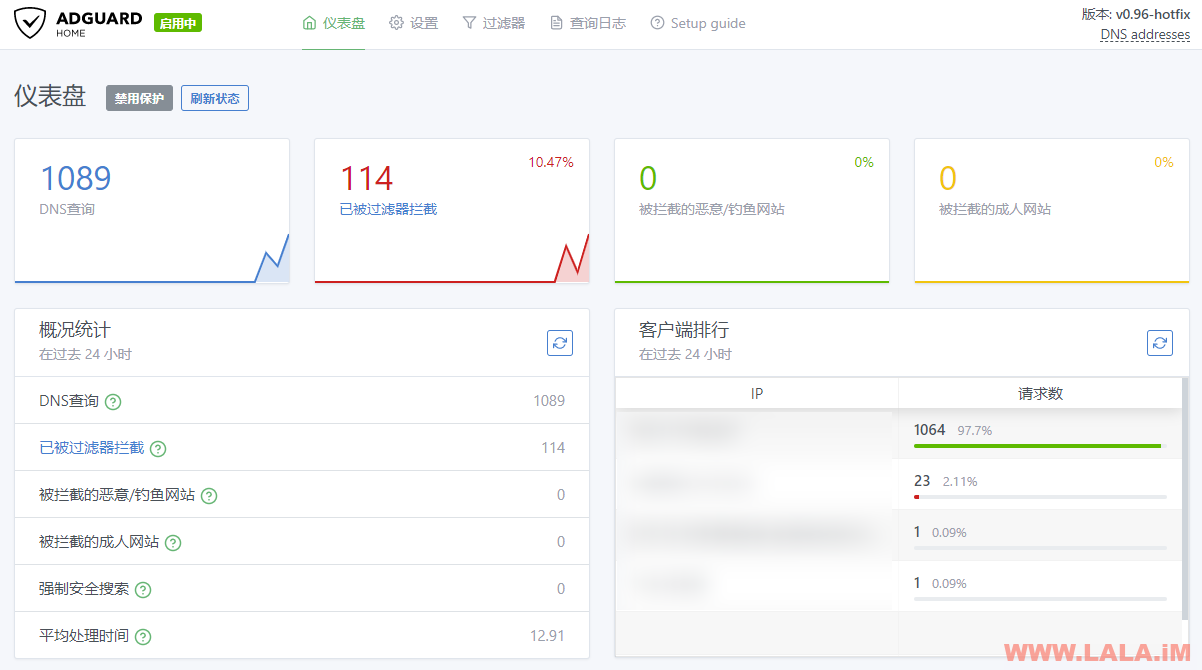
去访问一些网站,然后回到AdGuard的WEB页面,有DNS查询记录就说明OK了:
Recommend
About Joyk
Aggregate valuable and interesting links.
Joyk means Joy of geeK