

Upgrade a WordPress site to DreamPress
source link: https://help.dreamhost.com/hc/en-us/articles/215300567-Upgrade-a-WordPress-site-to-DreamPress
Go to the source link to view the article. You can view the picture content, updated content and better typesetting reading experience. If the link is broken, please click the button below to view the snapshot at that time.

Upgrade a WordPress site to DreamPress
Overview
You can easily transfer any domain to DreamPress that is currently using WordPress as a One-Click Install.
Should you upgrade or import your site?
If you want to test your site before upgrading it to DreamPress, you can first create a temporary dream.press domain and import your One-Click Install into it. View the following articles for details:
If you do not need to test your site first, proceed to the following instructions to upgrade it directly to DreamPress.
What happens to my current hosting plan when upgrading?
If your WordPress site is on a Shared, VPS, or Dedicated Hosting plan, upgrading to DreamPress only adds a new DreamPress plan. It does not remove your old hosting plan, which means you'll still be paying for the old plan as well as the new DreamPress plan.
If you have only one website, you can close your existing hosting plan since you will only be using the DreamPress plan going forward.
If you have multiple websites on the old hosting plan, you must keep it active.
Purchasing a DreamPress plan creates a new hosting plan that's billed separately from any other hosting plan you may have. Any previous balance on another hosting plan does not transfer to the new DreamPress plan.
Upgrading to DreamPress
If your current site is in a subdirectory such as example.com/blog, the site moves into the primary directory when upgraded to DreamPress. For example:
- example.com/blog
becomes - example.com
Also, any files currently in your primary directory will be deleted. Make sure to backup any necessary files before upgrading.
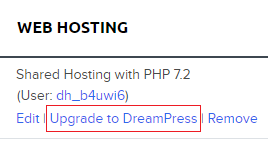
- Navigate to the Manage Domains page and click the Upgrade to DreamPress link to the right of your domain.
 or navigate to the Managed WordPress page.
The main DreamPress page appears:
or navigate to the Managed WordPress page.
The main DreamPress page appears:

- Click the Get Started button.
The 'Add a DreamPress' page opens where you can choose which domain to use:
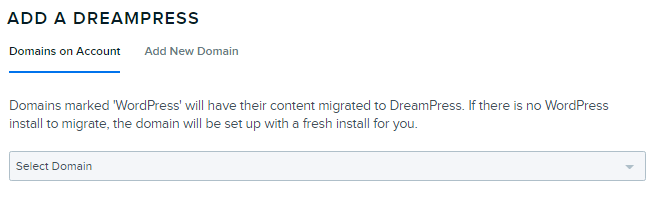
- Click the Domains on Account toggle link, and then select a DreamHost-hosted domain from the drop-down list (shown as "WordPress" next to a domain).
When finished selecting a WordPress domain, scroll to the Term section:
If you need to create a temporary domain, use a dream.press domain. View the following article for details:

- Select either 'Annually' or 'Monthly' payment plan.
Scroll to the Plan section, which shows you the various DreamPress features and pricing plans (DreamPress, Plus, and Pro). If you select Plus, you are also prompted to select a 'Disk Size' (either 60 GB or 80 GB):
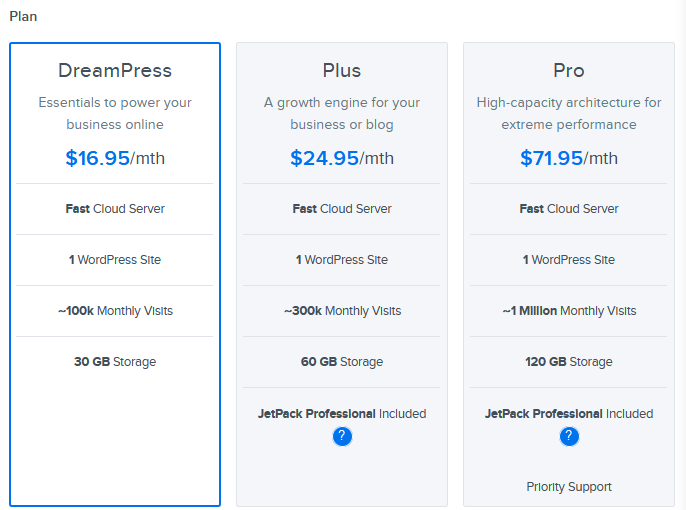
- Select a plan type.
Your selections are summarized within the 'Your Purchase' box on the right:
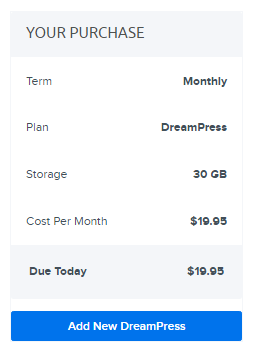
- When finished, click the Add New DreamPress button.
After you add DreamPress, a success message displays on your dashboard page confirming that DreamPress is added to your domain.
What if I don't have a One-Click Install of Wordpress?
If you're not using a One-Click Install of Wordpress, and wish to upgrade to DreamPress, you can contact support who will help you convert your existing WordPress site to a One-Click Install.
See also
Did this article answer your questions?
Recommend
About Joyk
Aggregate valuable and interesting links.
Joyk means Joy of geeK