
2

Ubuntu安装 Phpmyadmin
source link: https://3mile.github.io/archives/2020/0415124611/
Go to the source link to view the article. You can view the picture content, updated content and better typesetting reading experience. If the link is broken, please click the button below to view the snapshot at that time.

在Ubuntu 18.04上安装PhpMyAdmin
安装PhpMyAdmin以便从浏览器的舒适管理MySQL / MariaDB数据库。
$ sudo apt install phpmyadmin
在软件包安装过程中,您将被要求选择应自动配置为运行phpMyAdmin的Web服务器。 Nginx不在Web服务器列表中,只需按TAB键并按Enter即可 。
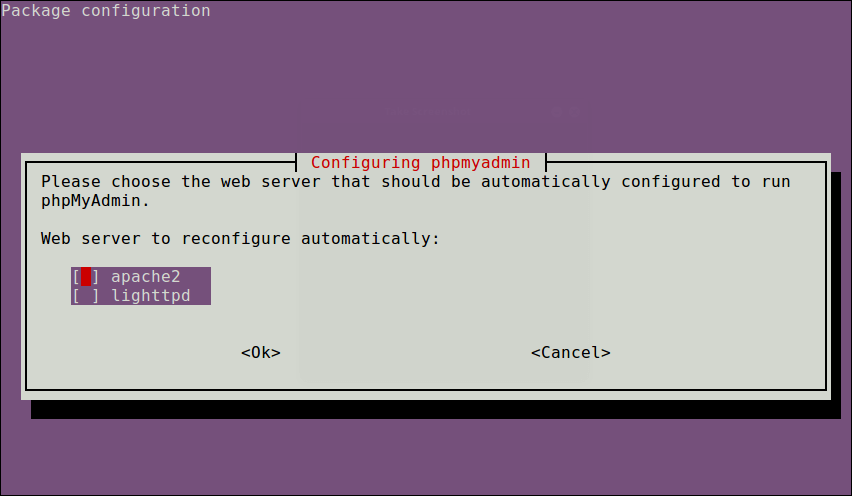
选择PhpMyAdmin Web服务器
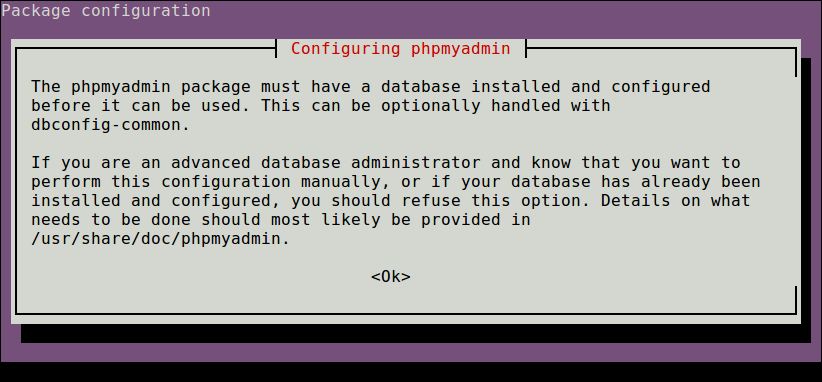
PhpMyAdmin配置
接下来,输入MySQL的密码为phpmyadmin创建一个数据库。
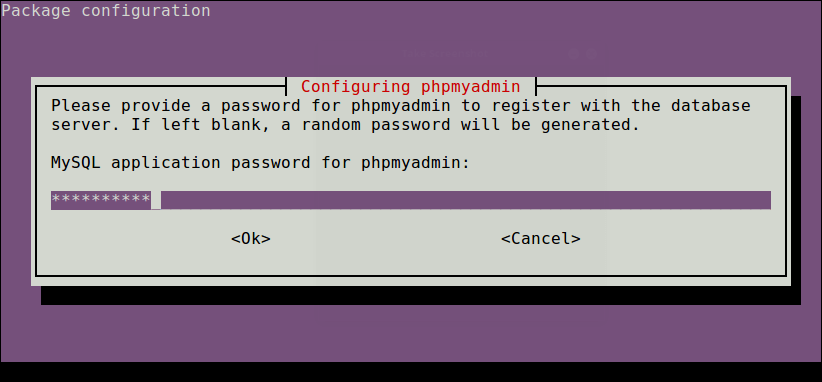
为Phpmyadmin设置密码
配置Nginx和phpMyAdmin
有几种方法可以配置Nginx以提供phpMyAdmin文件。如果您已经设置了域的服务器块来满足PHP请求,则只需创建一个从phpMyAdmin安装文件到域文档根目录的符号链接。
在本指南中,我们将创建一个片段,可以将其包含在我们的任何Nginx服务器块文件中。
打开您的文本编辑器并创建以下文件:
sudo nano /etc/nginx/snippets/phpmyadmin.conf
粘贴以下内容:
/etc/nginx/snippets/phpmyadmin.conf
location /phpmyadmin {
    root /usr/share/;
    index index.php index.html index.htm;
    location ~ ^/phpmyadmin/(.+\.php)$ {
        try_files $uri =404;
        root /usr/share/;
        fastcgi_pass unix:/run/php/php7.2-fpm.sock;
        fastcgi_index index.php;
        fastcgi_param SCRIPT_FILENAME $document_root$fastcgi_script_name;
        include /etc/nginx/fastcgi_params;
    }

    location ~* ^/phpmyadmin/(.+\.(jpg|jpeg|gif|css|png|js|ico|html|xml|txt))$ {
        root /usr/share/;
    }
}
请确保您为fastcgi_pass指令使用了正确的套接字路径或地址/端口。
保存文件并关闭编辑器。
您现在可以将以下行添加到要使用以下方式访问phpMyAdmin的每个
域的服务器块:domain.com/phpmyadmin
include snippets/phpmyadmin.conf;
以下是示例:
/etc/nginx/conf.d/domain.com.conf
server {

    # . . . other code

    include snippets/phpmyadmin.conf;

    # . . . other code

}
访问phpMyAdmin
要访问phpMyAdmin界面,请打开您喜欢的浏览器,然后输入服务器的域名或公共IP地址,然后输入/phpmyadmin:
http(s)://your_domain_or_ip_address/phpmyadmin
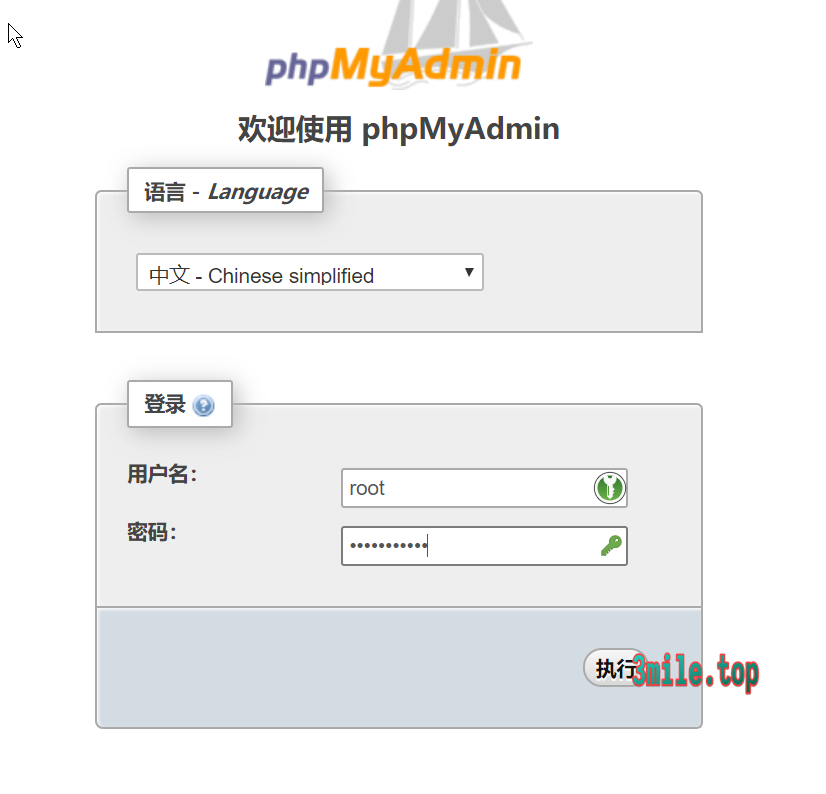
输入管理用户登录凭据,然后单击Go。
登录后,您将看到phpMyAdmin仪表板,该仪表板将如下所示:
Recommend
About Joyk
Aggregate valuable and interesting links.
Joyk means Joy of geeK