

Win10 Vmware Workstation 16 安装 macOS 记录
source link: https://kiprey.github.io/2021/12/vmware_macos/
Go to the source link to view the article. You can view the picture content, updated content and better typesetting reading experience. If the link is broken, please click the button below to view the snapshot at that time.

这里记录了我在 Win10 VMware workstation 上配置 macOS 虚拟机所踩过的坑点。
二、MacOS 安装
-
首先,下载 VMware 解锁 MacOS 选项的补丁。
“解锁 MacOS” 的这个说法其实个人感觉不是特别直接。
这个补丁的用途是让 VMware 额外支持 MacOS。
git clone [email protected]:BDisp/unlocker.git
之后,去任务管理器中,强制退出所有 VMware 开头的进程,防止补丁失败:
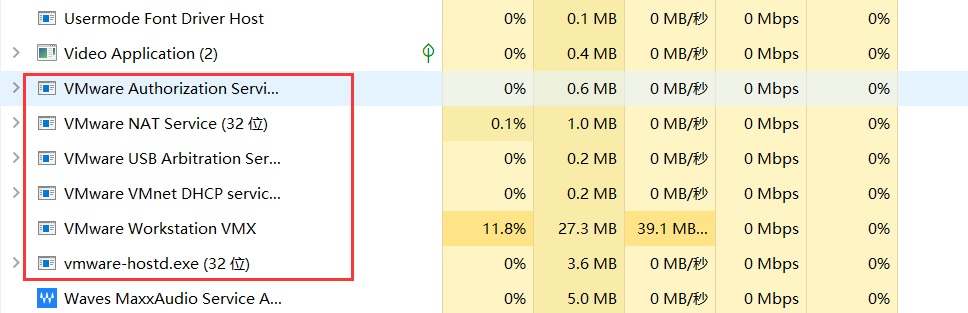
之后管理员执行
win-install.cmd。执行时脚本会去 vmware 官网上下载一些东西,时间取决于网络条件。执行完成后,重启电脑或手动去 服务 底下打开 VMware NAT Service 和 VMware VMnet DHCP service 服务,否则虚拟机将无法连接网络。
坑点:之前忘记重启网络服务了…
-
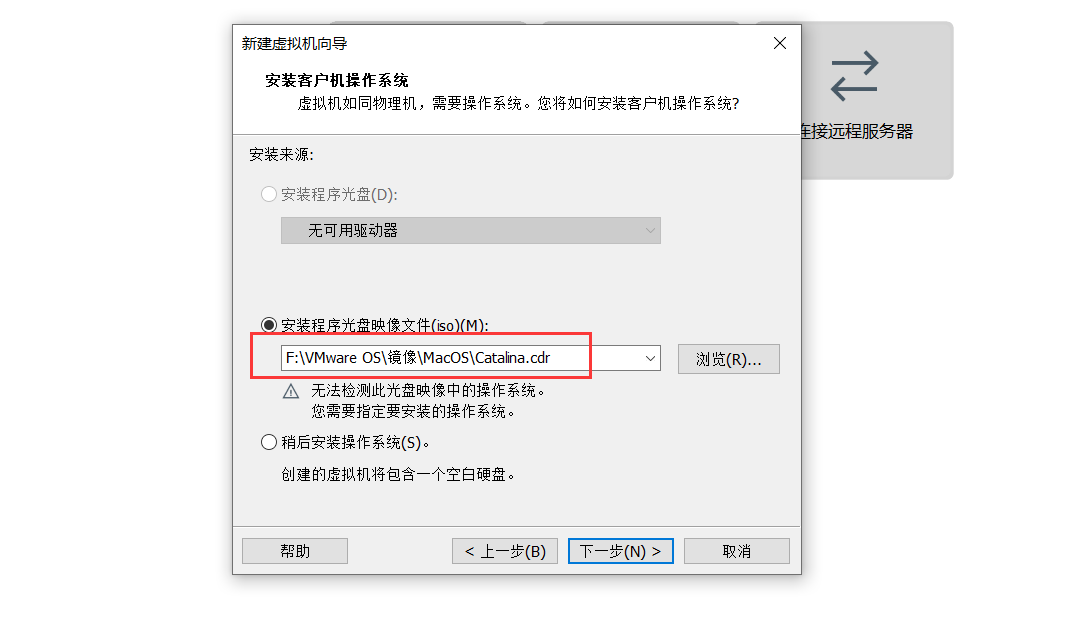
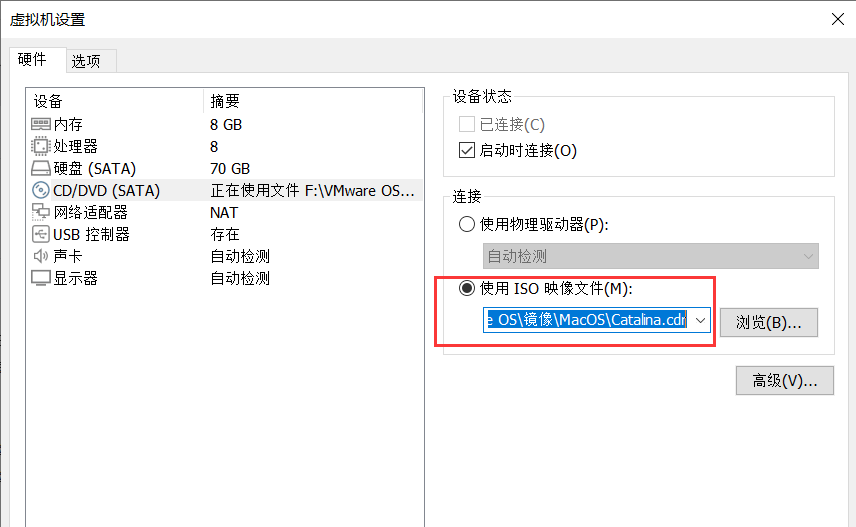
接着,去 Vmware 上新建虚拟机,并指定光盘映像文件为下载下来的 ISO/CDR 文件:
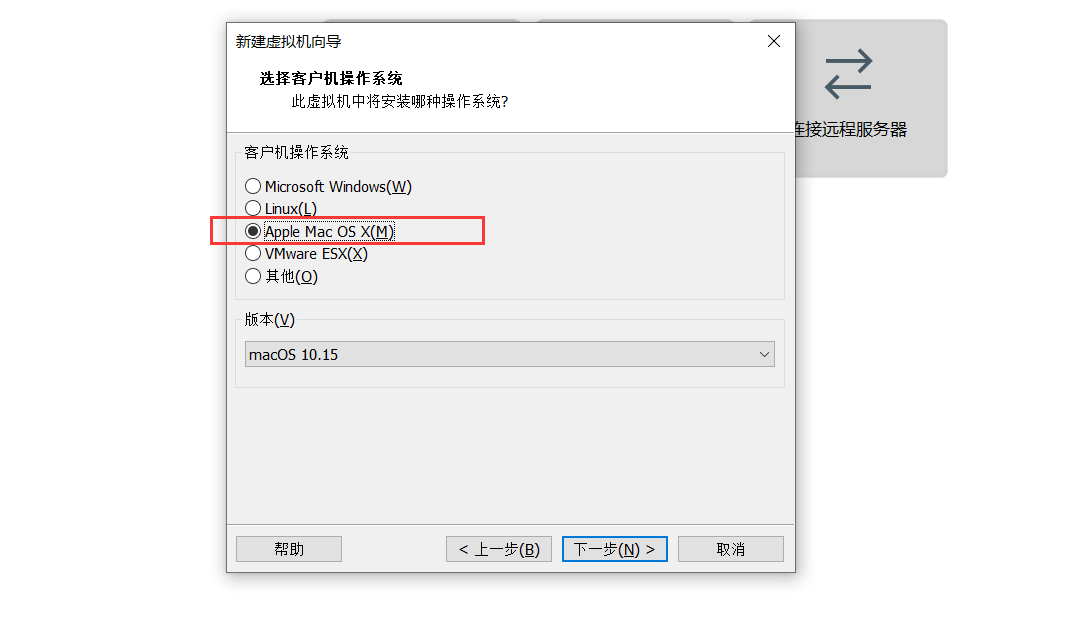
然后选择
Apple Mac OS X,并一路 next 下去。磁盘大小建议 至少分配70GB。如果此时 VMware 里没有这个选项,则说明安装 VMware 补丁失败,需要重新安装最新版的补丁。
-
虚拟机建立好后,启动虚拟机。在磁盘工具处:
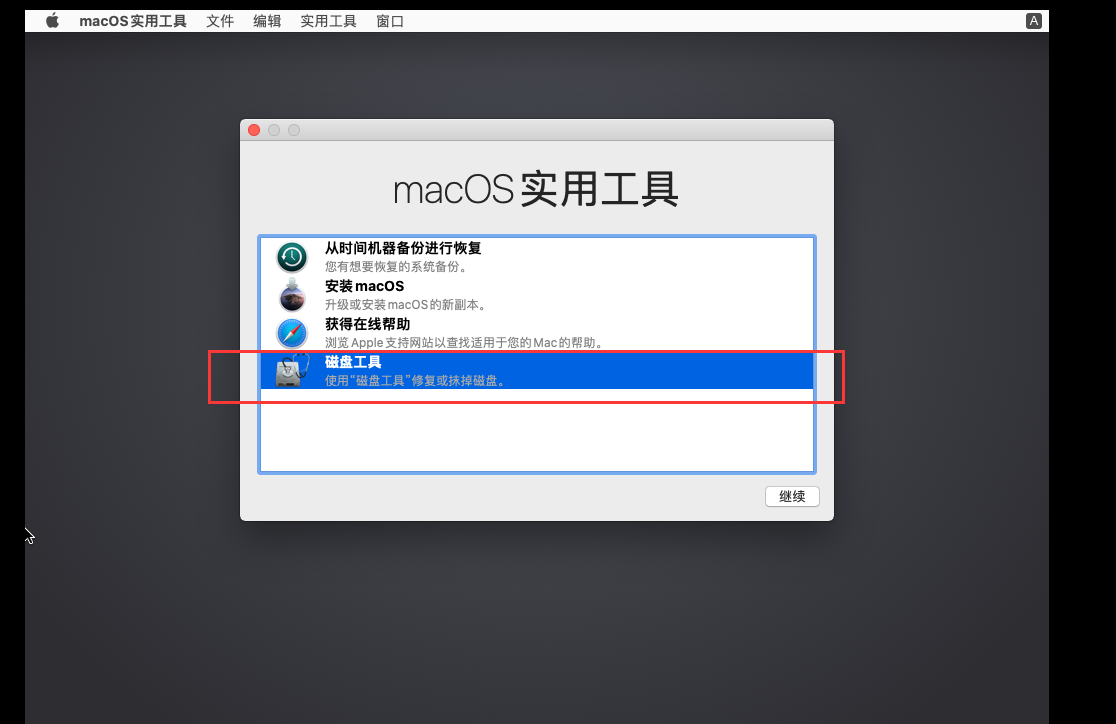
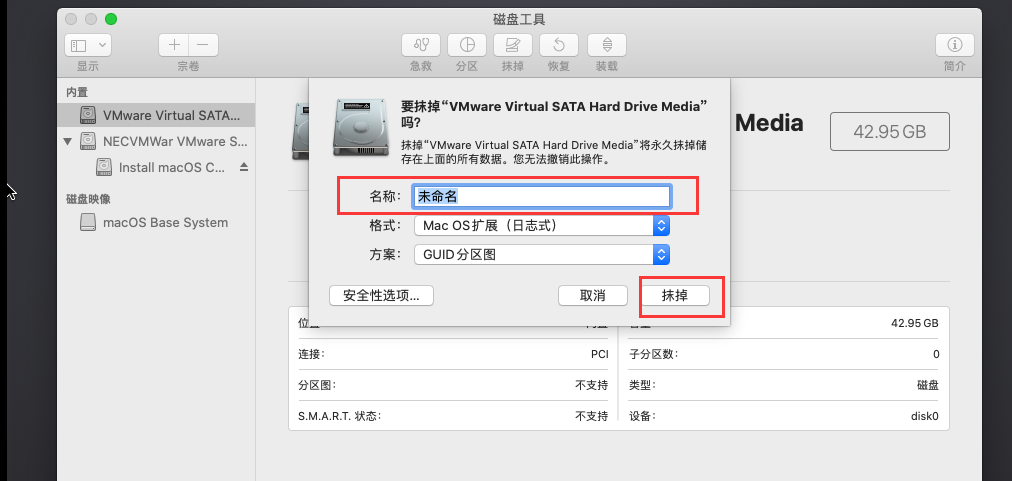
将 Vmware 磁盘抹掉(格式化),不然安装 macOS 时将无法访问到 VMware 磁盘:
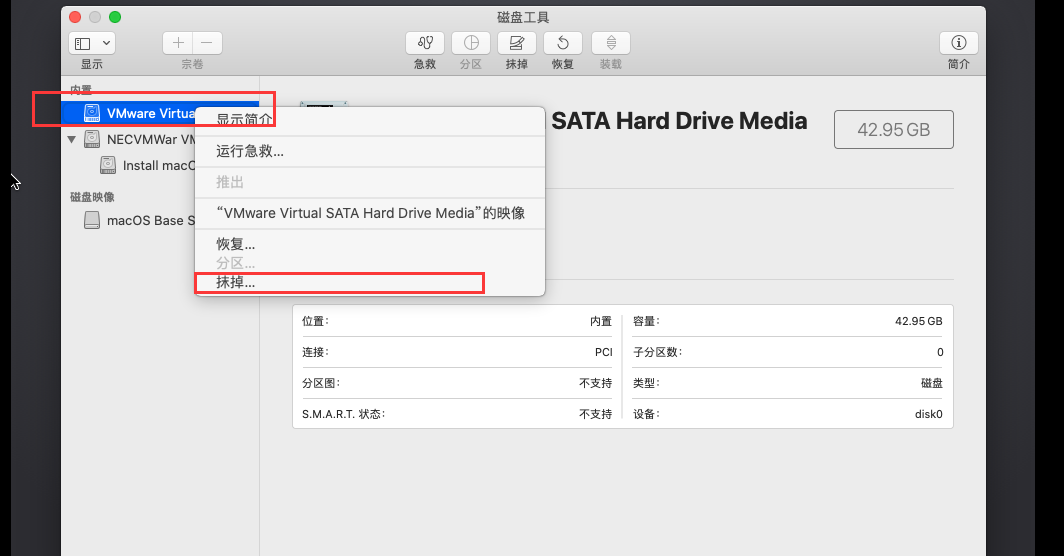
抹掉时改个磁盘名称就可以,其他的都不用动:
格式化磁盘后,在上方 实用工具->终端:
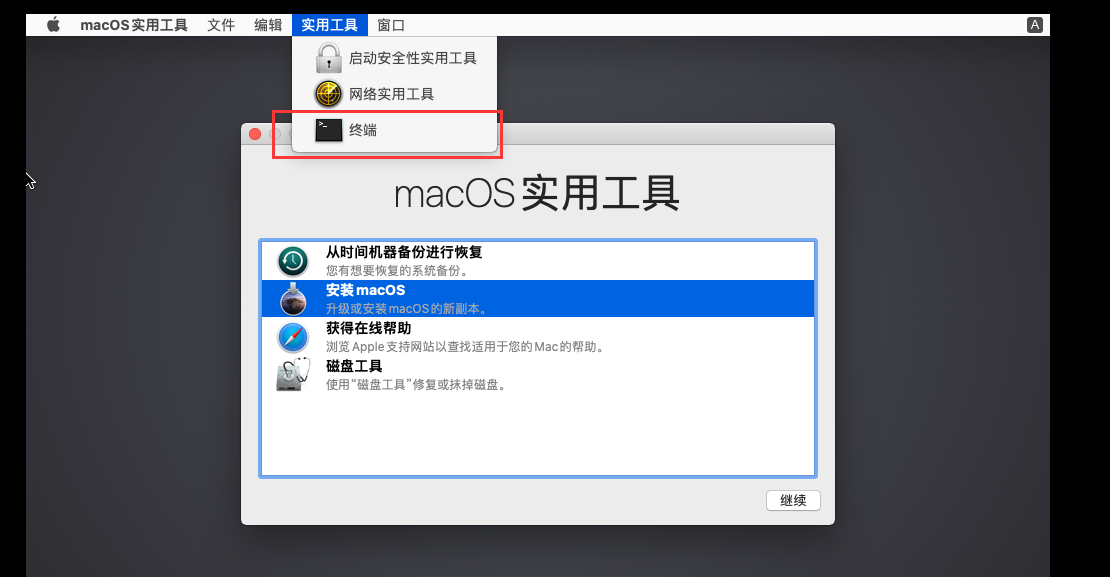
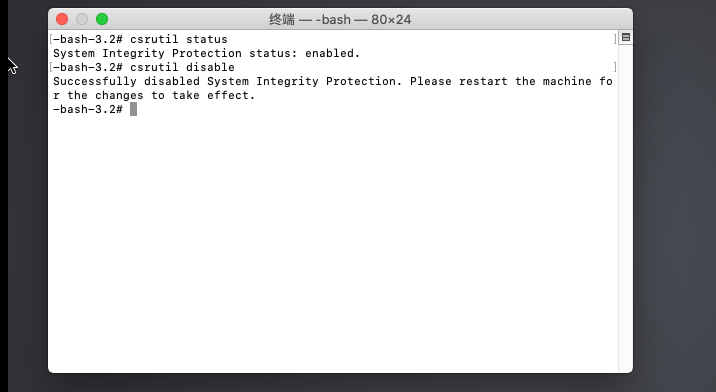
键入
csrutil disable禁用系统完整性保护:因为系统完整性保护会限制 root 权限的行为。
之后键入
csrutil authenticated-root disable以关闭 Authenticated-root 保护。该保护会使得 MacOS 在引导期间,将一个被加密签名后的只读根文件系统快照挂载进根目录,因此我们需要禁用它以便于修改根路径或系统路径下的文件等。如果还是不行,则在 MacOS 安装完成后,执行
sudo mount -uw /试试,注意该指令只在本次开机时有效,下次开机需要重新设置。接下来照常安装 MacOS 即可。
-
MacOS 安装完成后。不要马上启动!不要马上启动!不要马上启动!
要先在该 MacOS 的 vmx 文件末尾追加
smc.version = 0,防止虚拟机出现错误。追加完成后再启动。
-
启动新安装的 MacOS,之后一定要立即升级当前安装的 MacOS 系统(12GB左右)。因为 Apple 对远古版本的 MacOS 支持性非常低,就连安装软件都会有限制。
一定要在完成 MacOS 系统升级后,再去装各类软件以及 IDE 等等。
最好先安装当前远古版本 MacOS 系统的一些补丁,再去升级 MacOS 系统,不然可能有一定概率会升级失败。
我这边更新到的版本是
macOS Monterey 12.0.1。
三、安装各类软件
-
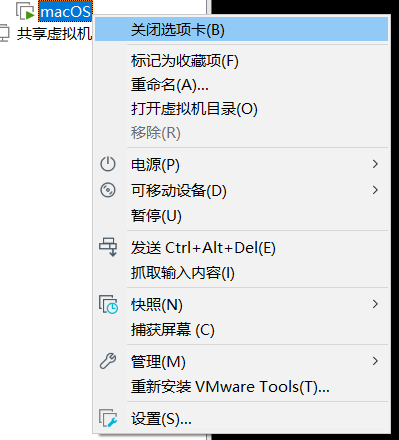
vmtools。右键虚拟机并点击 安装 Vmware Tools,然后根据步骤一步步来就好。
-
AppStore 上安装
- DevCleaner for xcode:释放 Xcode 缓存文件。
- xcode(12GB左右)。不用多说。
- 超级右键。扩展一下自己的右键菜单,使得支持右键打开终端操作。
-
下载 iStat Menus6。这是 MacOS 上的一个系统监测软件,需要付费,可用序列号如下:
Email: [email protected]
SN: GAWAE-FCWQ3-P8NYB-C7GF7-NEDRT-Q5DTB-MFZG6-6NEQC-CRMUD-8MZ2K-66SRB-SU8EW-EDLZ9-TGH3S-8SGA

ref: http://www.pc6.com/mac/111587.html -
安装homebrew 包管理器
安装 homebrew 时需要多次输入密码,切记别走开。
# 安装 homebrew
/bin/bash -c "$(curl -fsSL https://raw.githubusercontent.com/Homebrew/install/HEAD/install.sh)"
# 配置国内 brew 源
cd "$(brew --repo)"
git remote set-url origin https://mirrors.aliyun.com/homebrew/brew.git
git remote get-url origin
如果发现 brew 安装有问题,无法搜索到任何软件包,则尝试运行
brew doctor命令获取解决方案。 -
设置双拼自然码方案。进入 设置->键盘->输入法,选择简体双拼,并在终端键入以下命令以启动自然码方案:
defaults write com.apple.inputmethod.CoreChineseEngineFramework shuangpinLayout 5
-
安装 VSCode for macOS。下载后将其拖入应用程序文件夹下。
-
安装 proxychain
brew install proxychains-ng
nano /usr/local/etc/proxychains.conf
proxychains4 curl -v google.com -
配置 git。
ssh-keygen
cat ~/.ssh/id_rsa.pub # 获取公钥
# 将公钥上传至 github 上
git config --global user.name Kiprey
git config --global user.email [email protected] -
安装 ohmyzsh。
brew install wget
sh -c "$(wget -O- https://raw.githubusercontent.com/ohmyzsh/ohmyzsh/master/tools/install.sh)"
之后安装常用插件
-
autojump
执行以下命令下载:
git clone git://github.com/joelthelion/autojump.git
cd autojump
./install.py
之后
nano ~/.zshrc,将以下内容添加至文件末尾:[[ -s /Users/kiprey/.autojump/etc/profile.d/autojump.sh ]] && source /Users/kiprey/.autojump/etc/profile.d/autojump.sh
autoload -U compinit && compinit -u然后将
autojump添加进.zshrc中的 plugin 字段中:# Which plugins would you like to load?
# Standard plugins can be found in $ZSH/plugins/
# Custom plugins may be added to $ZSH_CUSTOM/plugins/
# Example format: plugins=(rails git textmate ruby lighthouse)
# Add wisely, as too many plugins slow down shell startup.
plugins=(git autojump) -
zsh-autosuggestions 与 zsh-syntax-highlighting
git clone git://github.com/zsh-users/zsh-autosuggestions $ZSH_CUSTOM/plugins/zsh-autosuggestions
git clone git://github.com/zsh-users/zsh-syntax-highlighting $ZSH_CUSTOM/plugins/zsh-syntax-highlighting
将
zsh-autosuggestions和zsh-syntax-highlighting添加进.zshrc中的 plugin 字段中:plugins=(git autojump zsh-autosuggestions zsh-syntax-highlighting)
插件安装完成后,最后执行
source ~/.zshrc重新载入新的 zsh 配置以启动插件。 -
-
安装 ShadowSocksR。下载地址:shadowsocksX-NG-R - github,支持订阅地址。
四、扩容分区
如果发现 MacOS 磁盘大小不够,需要扩容一下虚拟磁盘,则按照以下步骤进行:
-
先去 Vmware 那里扩容一下磁盘
-
在 MacOS 中,执行
diskutil list查看当前磁盘情况: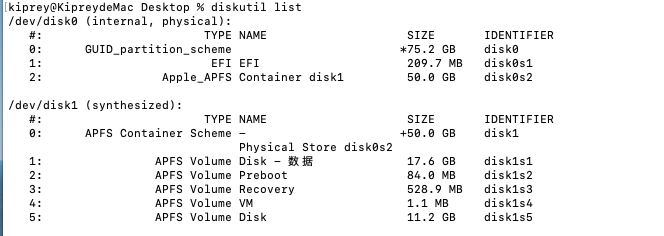
其中,disk0 为整个磁盘,而 disk0s2 分区即 MacOS 此时使用的空间,因此我们需要扩容 disk0s2。
-
尝试扩展磁盘。
网络上都使用的是这个命令:
diskutil resizeVolume disk0s2 50GB
其中 disk0s2 为待扩容磁盘,50GB 为目标扩容大小。
但是由于本人的 disk0s2 为
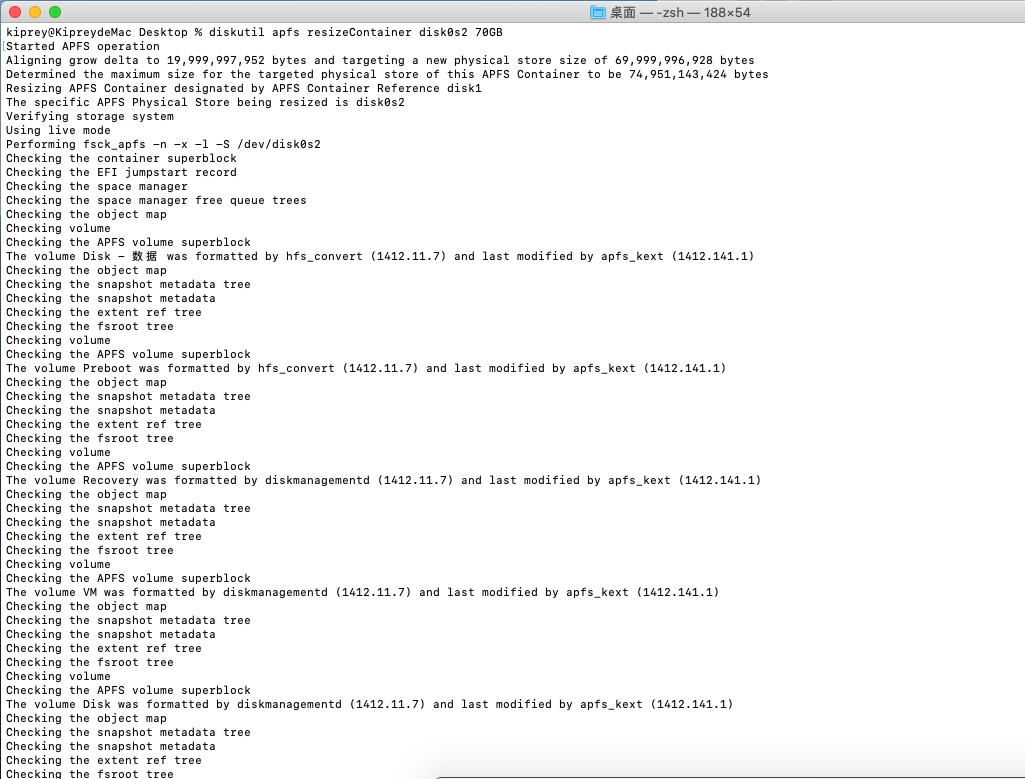
Apple_APFS类型,因此上述命令不可使用。需要使用以下命令:
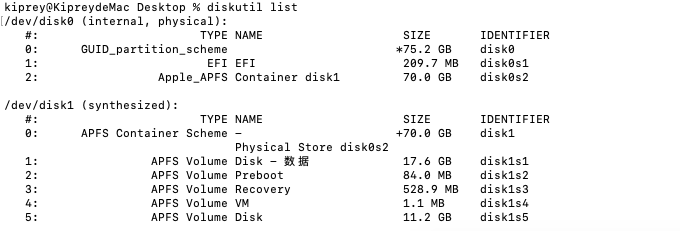
diskutil apfs resizeContainer disk0s2 70GB
之后就开始扩容:
-
五、关闭系统完整性保护
MacOS 中的系统完整性保护(SIP),会限制住 root 用户的权限,因此需要将其关闭。
见过用 root 权限 lldb attach 其他进程时,被拒绝的快乐嘛…
最简单的关闭方式,莫过于上面在一开始安装时就将其关闭。
但要是当时安装时忘记关闭,那么现在去关闭 SIP 就会稍微折腾一点…
-
设置虚拟机 CD/DVD 路径为原先的 MacOS 安装镜像:
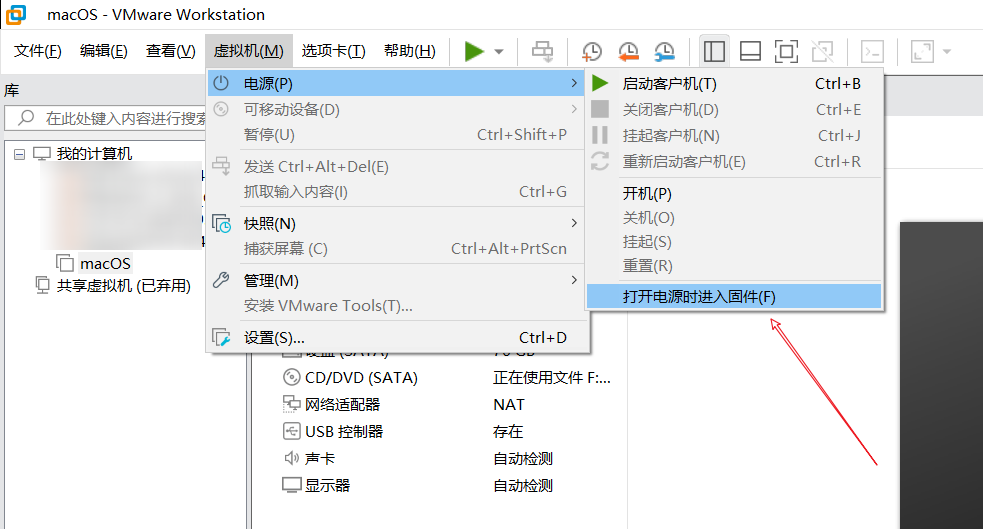
之后,进入虚拟机 BIOS
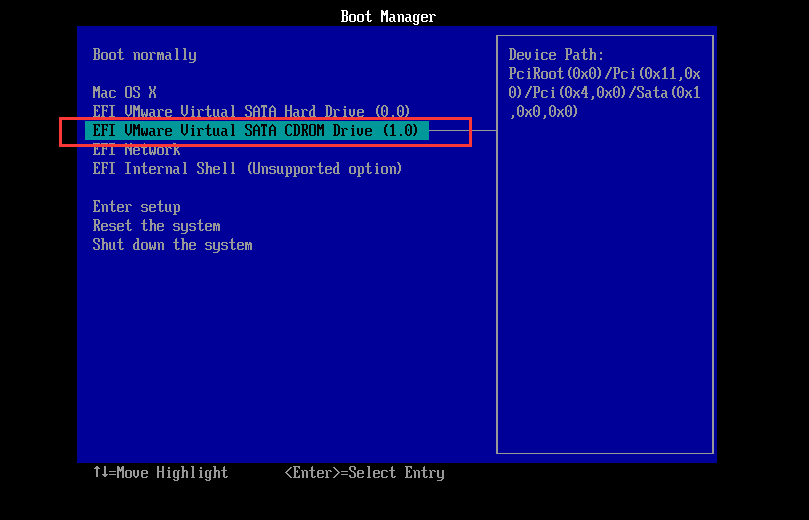
选择以 CD 为启动盘:
之后在启动后的界面,进入 实用工具->终端 下,键入 csrutil disable 命令并重启虚拟机,即可关闭 SIP。
Recommend
About Joyk
Aggregate valuable and interesting links.
Joyk means Joy of geeK