

tep完整教程帮你突破pytest - 测试开发刚哥
source link: https://www.cnblogs.com/df888/p/16000522.html
Go to the source link to view the article. You can view the picture content, updated content and better typesetting reading experience. If the link is broken, please click the button below to view the snapshot at that time.

持续维护的教程
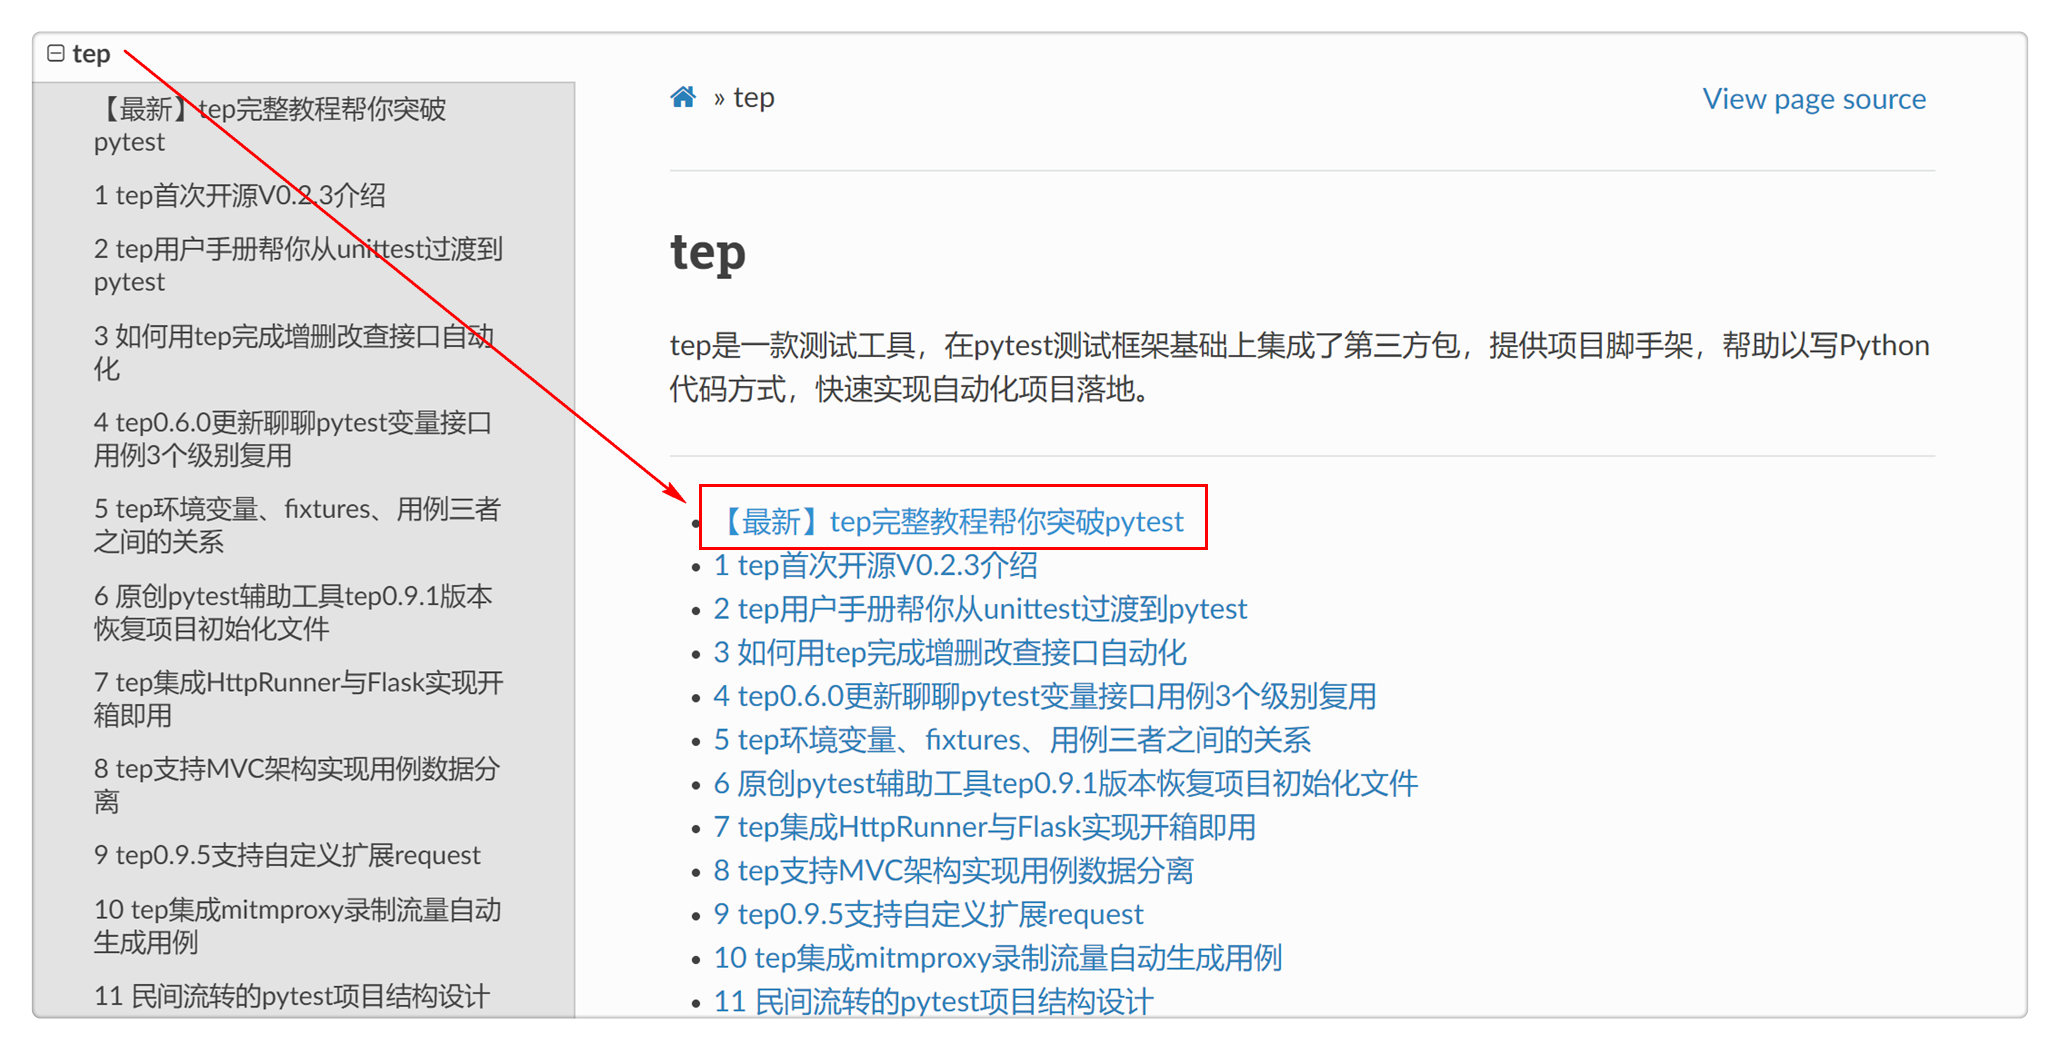
tep教程会随着版本更新或经验积累,持续维护在电子书中,最新的最全的内容请锁定这篇文章【最新】tep完整教程帮你突破pytest:
https://dongfanger.gitee.io/blog/chapters/tep.html
对教程有任何疑问或建议,可添加微信交流哟:cekaigang。
tep是个小工具
tep是Try Easy Pytest的首字母缩写,是一款基于pytest测试框架的测试工具,集成了各种实用的第三方包和优秀的自动化测试设计思想,帮你快速实现自动化项目落地。tep不是测试框架,只是一个小工具。在原理篇就能看出来,它所做的事情,就相当于胶水,把pytest相关的测试技术聚合在一起。假如您的公司想使用或推广tep,那么请不要说我们准备引入tep,而是应该说我们准备用pytest直接写Python代码来实现自动化。tep只是帮你做到这一步的小小工具。
安装tep
pip install tep

新建pytest项目
tep startproject demo
启动自带FastAPI应用
运行utils/fastapi_mock.py脚本。

运行samples文件夹下login_pay脚本。
pytest samples/login_pay --tep-reports

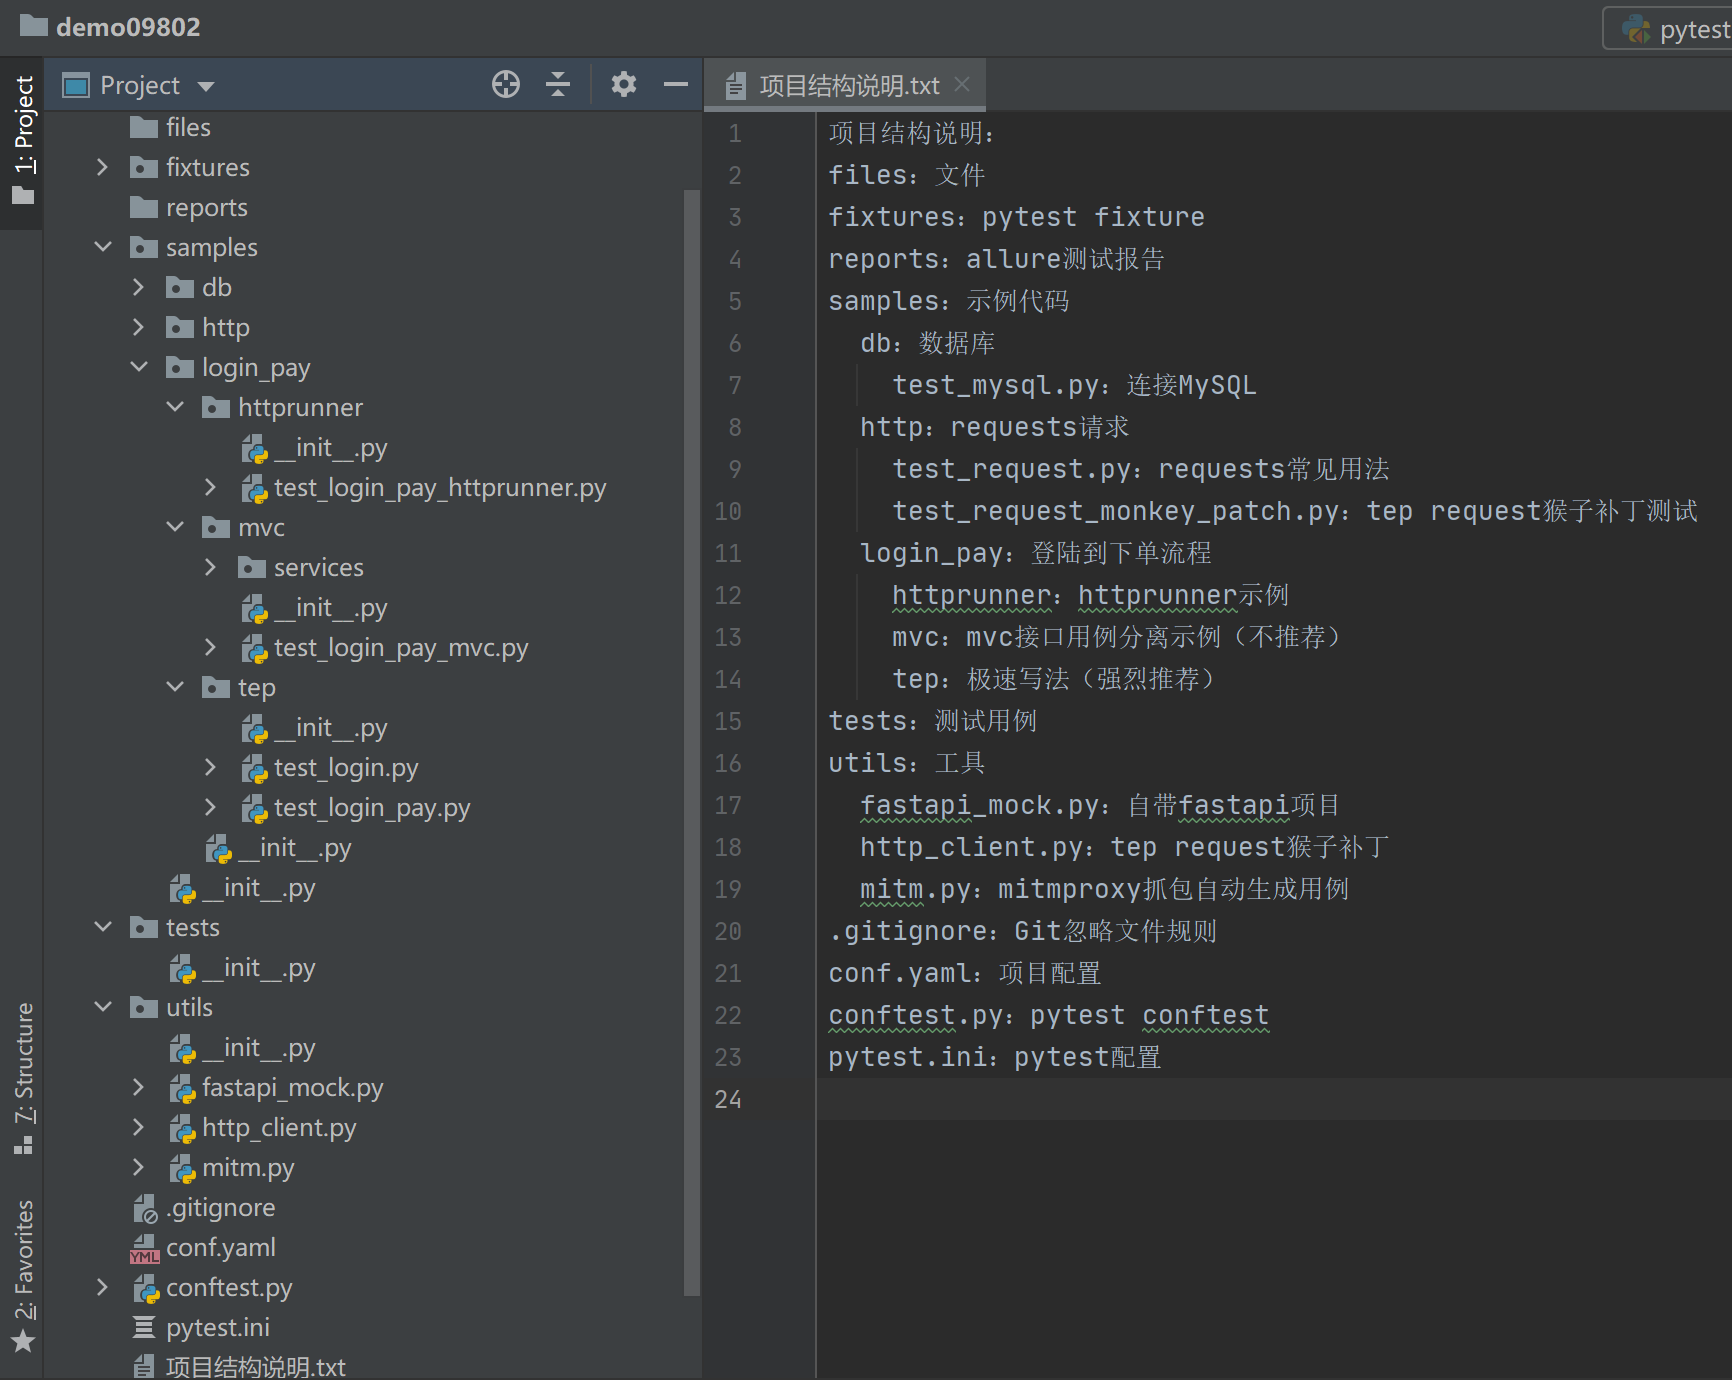
在tests目录下将测试用例按功能模块分成多个用例集:
tests
  user
    user_main_process.py
    user_validate.py
  teacher
    teacher_main_process.py
    teacher_validate.py
  student
    student_main_process.py
    student_validate.py
用例的基本原则是用例解耦:每个.py文件都是单独的可运行的测试用例。
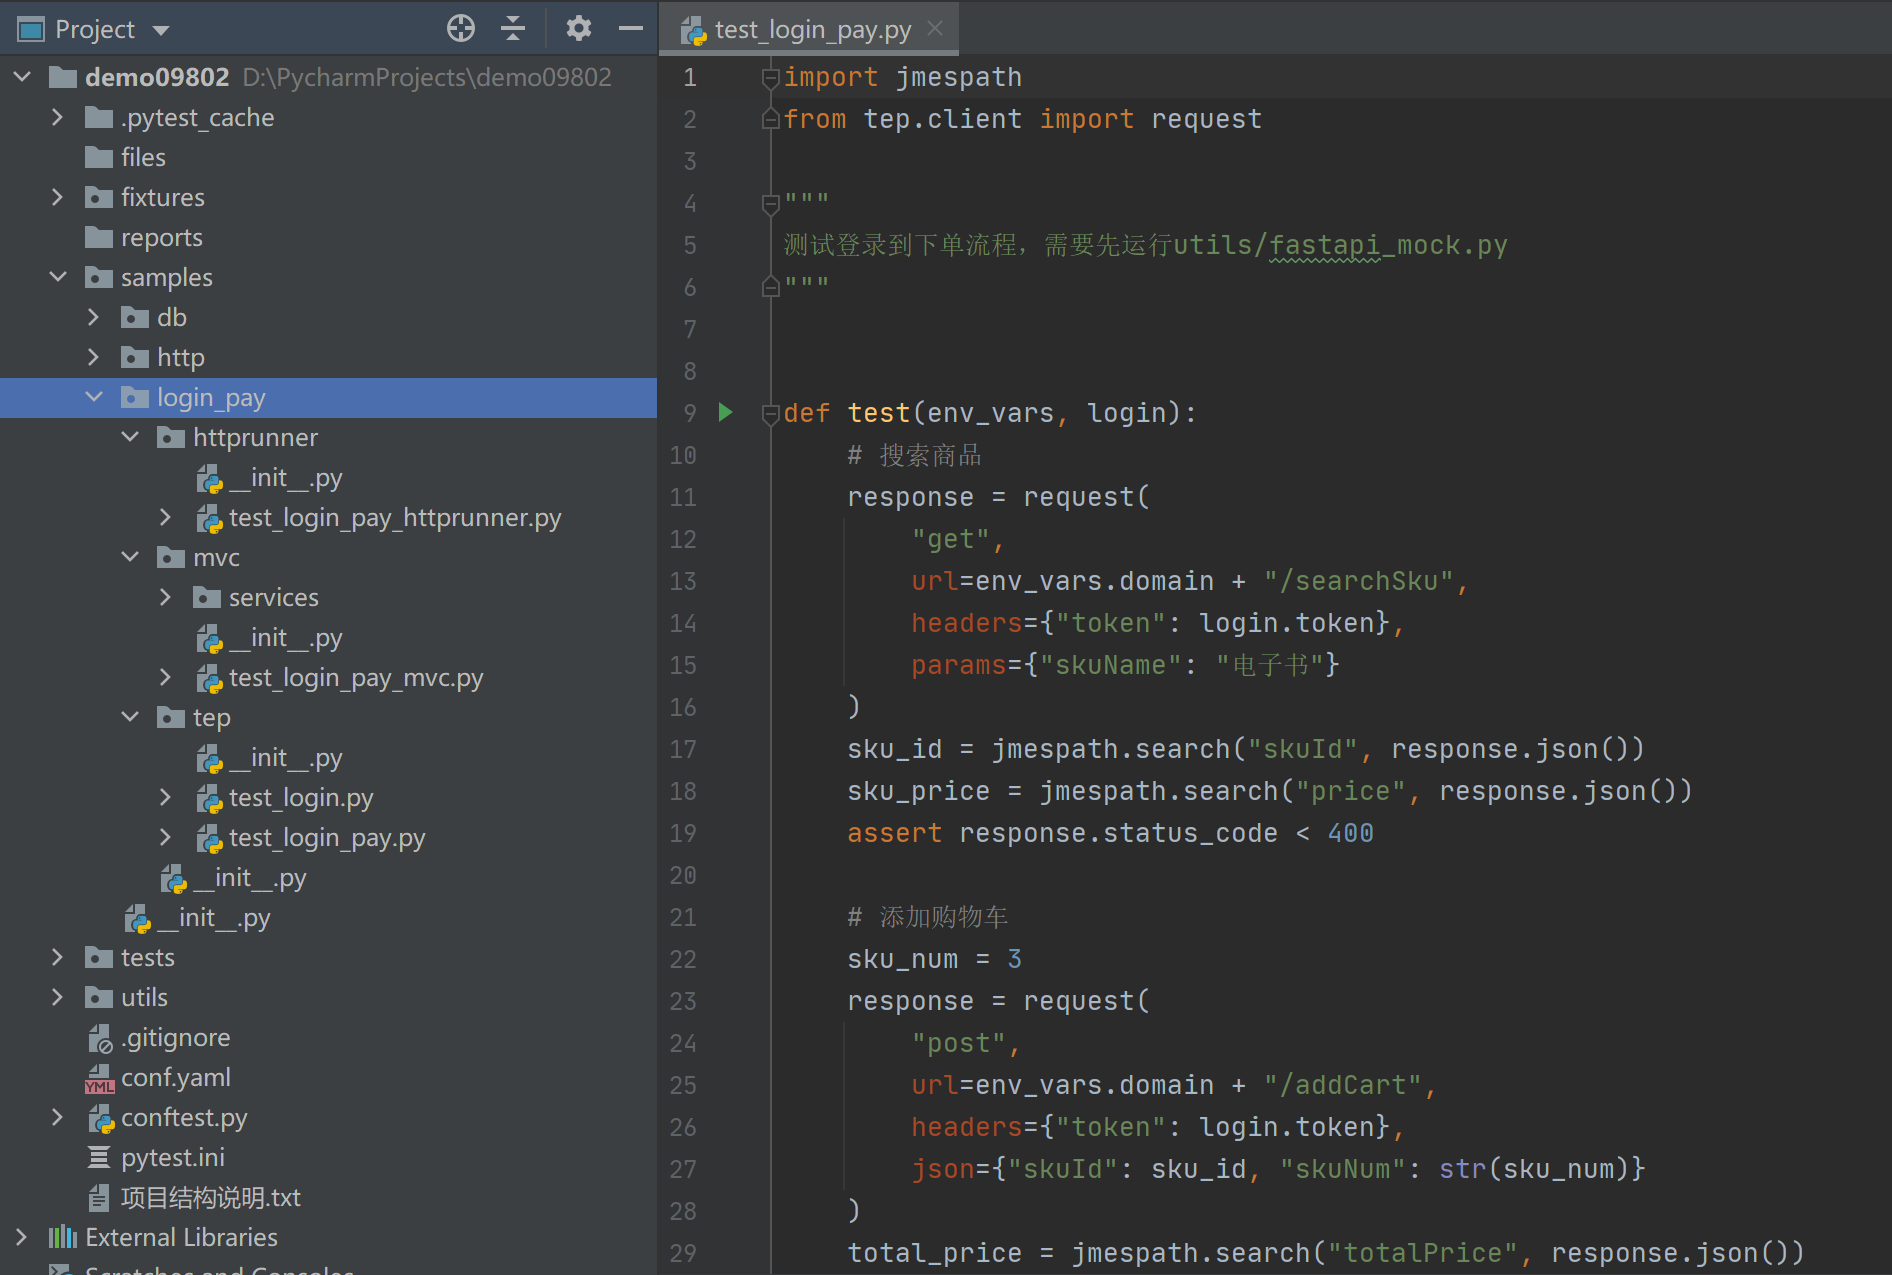
测试用例由测试步骤组成。步骤由描述、数据、请求、提取、断言5个部分组成:
# 描述
# 数据
# 请求
response = request(
    "{method}",
    url="{url}",
    headers={headers},
    {body_grammar}
)
# 提取
# var = response.jmespath("expression")
# 断言
assert response.status_code < 400
强烈推荐直接编写Python代码。无需额外学习新语法,精通Python语言和Python库用法,让你的代码能力直线上升。tep没有做特殊封装,只做了语法约定。tep编写自动化脚本的方法,是一种追求效率的极速写法。
接口写在用例步骤里,不用单独管理,不为了代码数据分离而分离。如果想单独管理,可以参考示例代码中的mvc写法,不推荐这种效率偏低的方式。
接口复用的原则是逻辑相对简单,url+入参+出参,比较固定且重复使用次数很多。符合复用要求的接口可以做成fixture,供测试用例使用。参考fixtures/fixture_login.py脚本:
from tep.client import request
from tep.fixture import *


def _jwt_headers(token):
    return {"Content-Type": "application/json", "authorization": f"Bearer {token}"}


@pytest.fixture(scope="session")
def login(env_vars):
    # 封装登录接口
    logger.info("Administrator login")
    response = request(
        "post",
        url=env_vars.domain + "/login",
        headers={"Content-Type": "application/json"},
        json={
            "username": "dongfanger",
            "password": "123456",
        }
    )
    assert response.status_code < 400
    response_token = jmespath.search("token", response.json())

    class Clazz:
        token = response_token
        jwt_headers = _jwt_headers(response_token)

    return Clazz
返回值使用类包了一层,一是为了在写代码时会有语法智能补全,二是方便后续扩展,直接给类添加新的属性即可,不影响其他用例。
得益于一个.py文件就是一条用例的约定。接口的串联就能通过变量进行实现,从上个接口响应中取值,存入变量,放到下个接口的入参中,轻松完成。
env_vars是全局变量池,提供了put()和get()方法对变量进行动态存取。在fixtures/fixture_env_vars.py可以设置预设变量:
#!/usr/bin/python
# encoding=utf-8

from tep.dao import mysql_engine
from tep.fixture import *


@pytest.fixture(scope="session")
def env_vars(config):
    class Clazz(TepVars):
        env = config["env"]

        """变量定义开始"""
        # 环境变量
        mapping = {
            "qa": {  # qa环境
                "domain": "http://127.0.0.1:5000",  # 变量名:变量值
                "mysql_engine": mysql_engine("127.0.0.1",  # host
                                             "2306",  # port
                                             "root",  # username
                                             "123456",  # password
                                             "qa"),  # dbname
            },
            "release": {  # release环境
                "domain": "https://release.com",  # 变量名:变量值
                "mysql_engine": mysql_engine("127.0.0.1",
                                             "2306",
                                             "root",
                                             "123456",
                                             "release"),
            }
            # 继续添加
        }
        # 定义类属性,敲代码时会自动补全
        domain = mapping[env]["domain"]
        mysql_engine = mapping[env]["mysql_engine"]
        """变量定义结束"""

    return Clazz()
就像正常的Python变量一样使用,没有特殊的语法。
在conf.yaml中可以切换运行环境:
env: qa
环境之间的差别体现在环境变量,环境变量也是在fixtures/fixture_env_vars.py中进行预设的。默认有qa和release2个环境。
推荐使用pytest.mark.parametrize。
//TODO集成对excel、json、yaml文件读写方法。
采用Python原生的assert断言。
//TODO整理assert用法。
在pytest命令行添加参数--tep-reports就能一键生成Allure测试报告,并且会把请求入参和响应出参,记录在测试报告中。
pytest --tep-reports
自定义日志
编辑utils/http_client.py对日志进行自定义,用例中引用新版本request:
from utils.http_client import request
参考示例samples/http/test_request_monkey_patch.py。
Pairwise算法生成功能用例
Pairwise算法能针对多条件组合用例,从笛卡尔积中,根据两两组合过滤,生成更为精简的测试用例。
输入3个条件:
- 'M', 'O', 'P'
- 'W', 'L', 'I'
- 'C', 'E'
from tep.func import pairwise

def test_pairwise():
    enum = [['M', 'O', 'P'], ['W', 'L', 'I'], ['C', 'E']]
    result = pairwise(enum)
    print(f"\npair total:{len(result)}")
    for p in result:
        print(p)
笛卡尔积有18种组合,经过Pairwise算法过滤后,只会保留9组用例:
cartesian product total:18
 100% [■■■■■■■■■■]
pair total:9
('M', 'W', 'E')
('M', 'L', 'E')
('M', 'I', 'C')
('O', 'W', 'E')
('O', 'L', 'E')
('O', 'I', 'C')
('P', 'W', 'C')
('P', 'L', 'C')
('P', 'I', 'E')
录制流量生成自动化用例
①手动设置系统代理。
②命令行cd到utils目录下,在mitm.py中设置过滤域名。
③mitmdump -s mitm.py开始录制。
用例会自动生成到tests/mitm文件夹下。
代码是最好的文档:
https://github.com/dongfanger/tep
//TODO完善代码注释
pypi库
tep可以通过pip直接安装,这是因为源码上传到了pypi官方库。上传借助了poetry来实现:
poetry install --no-dev
poetry build
poetry publish
执行这3条命令,然后输入pypi注册的用户名和密码即可。
集成第三方包
poetry包管理器可以通过命令安装包:
poetry install package
poetry remove package
集成以后的包会随着tep一起安装。
项目脚手架
tep能从系统命令行来调用,也是借助poetry来实现的:
#  pyproject.toml
[tool.poetry.scripts]
tep = "tep.cli:main"
这相当于注册了系统命令,调用后会执行tep.cli:main函数:
import argparse
import sys

from tep import __description__, __version__
from tep.scaffold import init_parser_scaffold, main_scaffold


def main():
    """Parse command line options and run commands.
    """
    parser = argparse.ArgumentParser(description=__description__)
    parser.add_argument(
        "-V", "--version", dest="version", action="store_true", help="show version"
    )
    subparsers = parser.add_subparsers(help="sub-command help")
    sub_parser_scaffold = init_parser_scaffold(subparsers)

    if len(sys.argv) == 1:
        # tep
        parser.print_help()
        sys.exit(0)
    elif len(sys.argv) == 2:
        # print help for sub-commands
        if sys.argv[1] in ["-V", "--version"]:
            # tep -V
            print(f"{__version__}")
        elif sys.argv[1] in ["-h", "--help"]:
            # tep -h
            parser.print_help()
        elif sys.argv[1] == "startproject":
            # tep startproject
            sub_parser_scaffold.print_help()
        sys.exit(0)

    args = parser.parse_args()

    if args.version:
        print(f"{__version__}")
        sys.exit(0)

    if sys.argv[1] == "startproject":
        main_scaffold(args)
startproject会调用main_scaffold函数,这里面的逻辑很简单,就是创建文件夹和文件,文件内容是已经写好的样板代码。
变量池是在tep/fixture.py中实现的:
class TepVars:
    def __init__(self):
        self.vars_ = {}

    def put(self, key, value):
        self.vars_[key] = value

    def get(self, key):
        value = ""
        try:
            value = self.vars_[key]
        except KeyError:
            logger.error(f"env_vars doesnt have this key: {key}")
        return value
它就是一个具有get和put方法的类,变量存在self.vars_这个全局字典中,所有脚本共享同一个变量池。
环境配置是通过config来读取的:
@pytest.fixture(scope="session")
def config():
    config_path = os.path.join(Project.dir, "conf.yaml")
    with open(config_path, "r", encoding="utf-8") as f:
        conf = yaml.load(f.read(), Loader=yaml.FullLoader)
        return conf
它是个fixture,会在fixtures/fixture_env_vars.py中引用到:
@pytest.fixture(scope="session")
def env_vars(config):
    class Clazz(TepVars):
        env = config["env"]
这样就能设置环境变量了。
fixture自动导入
在conftest.py中,进行了fixture自动导入:
# 自动导入fixtures
_fixtures_dir = os.path.join(_project_dir, "fixtures")
_fixtures_paths = []
for root, _, files in os.walk(_fixtures_dir):
    for file in files:
        if file.startswith("fixture_") and file.endswith(".py"):
            full_path = os.path.join(root, file)
            import_path = full_path.replace(_fixtures_dir, "").replace("\\", ".").replace("/", ".").replace(".py", "")
            _fixtures_paths.append("fixtures" + import_path)
pytest_plugins = _fixtures_paths
它会扫描fixtures目录下所有以fixture_开头和.py结尾的文件,然后以pytest_plugins形式添加到运行环境中。
requests猴子补丁
requests借助于装饰器打了猴子补丁,tep/client.py:
def tep_request_monkey_patch(req, *args, **kwargs):
    start = time.process_time()
    response = req(*args, **kwargs)
    end = time.process_time()
    elapsed = str(decimal.Decimal("%.3f" % float(end - start))) + "s"
    log4a = "{}{} status:{}  response:{}  elapsed:{}"
    try:
        kv = ""
        for k, v in kwargs.items():
            # if not json, str()
            try:
                v = json.dumps(v, ensure_ascii=False)
            except TypeError:
                v = str(v)
            kv += f" {k}:{v} "
        args = list(args)
        args += ["", ""]
        method, url, *t = args
        method_url = ""
        if method:
            method_url = f'method:"{method}" '
        if url:
            method_url += f'\nurl:"{url}" '
        request_response = log4a.format(method_url, kv, response.status_code, response.text, elapsed)
        logger.info(request_response)
        allure.attach(request_response, f'request & response', allure.attachment_type.TEXT)
    except AttributeError:
        logger.error("request failed")
    except TypeError:
        logger.warning(log4a)
    return TepResponse(response)


def request_wrapper(req):
    def send(*args, **kwargs):
        return tep_request_monkey_patch(req, *args, **kwargs)

    return send


@request_wrapper
def request(method, url, **kwargs):
    # 这是reqeusts原生方法
没有对requests做任何改动,只加了日志和报告内容。
一键生成Allure测试报告
--tep-reports是通过pytest plugin来实现的:
#!/usr/bin/python
# encoding=utf-8

import os
import shutil
import tempfile

import allure_commons
from allure_commons.logger import AllureFileLogger
from allure_pytest.listener import AllureListener
from allure_pytest.plugin import cleanup_factory

from tep.fixture import Project
from tep.func import current_time

allure_temp = tempfile.mkdtemp()


class Plugin:
    @staticmethod
    def pytest_addoption(parser):
        parser.addoption(
            "--tep-reports",
            action="store_const",
            const=True,
            help="Create tep allure HTML reports."
        )

    @staticmethod
    def _tep_reports(config):
        if config.getoption("--tep-reports") and not config.getoption("allure_report_dir"):
            return True
        else:
            return False

    @staticmethod
    def pytest_configure(config):
        if Plugin._tep_reports(config):
            test_listener = AllureListener(config)
            config.pluginmanager.register(test_listener)
            allure_commons.plugin_manager.register(test_listener)
            config.add_cleanup(cleanup_factory(test_listener))

            clean = config.option.clean_alluredir
            file_logger = AllureFileLogger(allure_temp, clean)
            allure_commons.plugin_manager.register(file_logger)
            config.add_cleanup(cleanup_factory(file_logger))

    @staticmethod
    def pytest_sessionfinish(session):
        if Plugin._tep_reports(session.config):
            reports_dir = os.path.join(Project.dir, "reports")
            new_report = os.path.join(reports_dir, "report-" + current_time().replace(":", "-").replace(" ", "-"))
            if os.path.exists(reports_dir):
                his_reports = os.listdir(reports_dir)
                if his_reports:
                    latest_report_history = os.path.join(reports_dir, his_reports[-1], "history")
                    shutil.copytree(latest_report_history, os.path.join(allure_temp, "history"))
            os.system(f"allure generate {allure_temp} -o {new_report}  --clean")
            shutil.rmtree(allure_temp)
通过pytest_sessionfinish钩子函数,在pytest运行结束时,生成测试报告。同时会把历史数据保留下来,以在Allure报告的趋势图中进行展示。
//TODO其他原理慢慢更新,欢迎提出疑问,不断补充。
tep相比于pytest优势
【项目创建】
项目脚手架快速创建自动化项目;
良好的项目结构设计;
【上手简单】
遵循Python原生语法,没有额外负担;
提供丰富的接口自动化实践示例;
【优雅集成】
保留requests库用法,采用猴子补丁动态输出日志;
pytest命令行参数一键生成Allure测试报告;
【平台支持】
teprunner测试平台在线管理pytest脚本;
支持Git一键同步至平台;
tep测试平台化思路
teprunner是基于tep的测试平台。
从测试工具转变到测试平台,最重要是要想清楚用例的运行流程。从前端录入用例信息后,通过后端保存到数据库,再把数据组装出来,变成可执行的文件。teprunner的做法是,把pytest作为引擎,用例全部转化为文件,然后使用pytest命令运行用例。
用例解耦是实现平台化的关键原则。tep是按照一个.py文件一条用例的约定来编写脚本的,使得每个文件都是独立的可运行的。这就能很好的对应到,前端测试用例的增删改查。假如用例没有解耦,Python文件之间存在非常多的依赖,那么想做成Web平台是很困难的,在界面上根本无法操作。
项目脚手架为平台化提供了非常大的便利。在测试平台创建项目时,就会调用tep startproject创建一个项目脚手架,相当于给脚本运行初始化了一套隔离的运行环境,项目的用例之间互不干扰。
至于fixtures、环境变量等功能,如果做好了分层设计,这些都是水到渠成的事了。在做平台之前,只是为了多人协作方便,把conftest里面的fixture抽了出来,但是在平台化时,抽出来的fixtures正好可以做成一个单独的功能点。环境变量也是在做平台之前,只是想用yaml来管理配置,但是在平台化时,正好可以用来在前端切换环境,结合fixture_env_vars.py做成环境变量的功能。
找准测试平台定位才能游刃有余。测试平台只是一个壳子,做成什么样的平台,取决于对平台的定位,以及技术实现的能力。正是因为没有大牛的技术,无法做成大而全的测试平台,teprunner测试平台的才定位于pytest脚本在线管理平台。这对于tep来说,恰好是刚刚好的选择。
Recommend
About Joyk
Aggregate valuable and interesting links.
Joyk means Joy of geeK