

Easy Access to OAuth 2.0 Protected Resources With the Spring WebClient
source link: https://dzone.com/articles/early-access-to-oauth-2-protected-resources-with-the-spring-webclient
Go to the source link to view the article. You can view the picture content, updated content and better typesetting reading experience. If the link is broken, please click the button below to view the snapshot at that time.

Easy Access to OAuth 2.0 Protected Resources With the Spring WebClient
Learn how to secure an application with Okta OIDC login, access a third-party OAuth 2 resource with Spring WebClient, and more.
Join the DZone community and get the full member experience.
Join For FreeSpring Framework 5.0 introduced Spring WebClient as part of the WebFlux reactive web stack. WebClient is a reactive HTTP client that provides a functional and fluent API based on Reactor, allowing declarative composition of asynchronous non-blocking requests. No need to manage concurrency issues. Support for filter registration means it can intercept and modify requests, which can be used for cross-cutting concerns such as authentication, as demonstrated in this tutorial.
The WebTestClient is also an HTTP client designed for application testing. With a testing interface wrapper to check replies, WebClient can be used to execute end-to-end HTTP testing and connect to a live server. It can also bind to a controller or application context and simulate requests and responses without requiring a running server.
Spring Security 5 includes WebTestClient integration and SecurityMockServerConfigurers, which can be used to mock authenticated users and authorized clients during testing to prevent authorization handshakes. This feature is useful for secured applications that access third-party OAuth 2.0 resources. We'll explore this in-depth in the following sections.
In this tutorial, you will learn how to:
- Secure an application with Okta OIDC Login
- Access a third-party OAuth 2 resource with Spring WebClient
- Carry out integration testing for code that uses WebClient
- Use mock third-party authorization in WebTestClient
Prerequisites
Create a Secure Microservice With Okta Authentication
Start by building a simple microservice that returns the total count of a GitHub code search by keyword. The third-party service in this example is GitHub REST API.
Create a microservice application using Spring Initializr and HTTPie. In a terminal window, request a Spring Boot Maven project with webflux for reactive, okta for security and lombok:
http -d https://start.spring.io/starter.zip type==maven-project \
  language==java \
  bootVersion==2.4.5 \
  baseDir==search-service \
  groupId==com.okta.developer \
  artifactId==search-service \
  name==search-service \
  packageName==com.okta.developer.search \
  javaVersion==11 \
  dependencies==webflux,okta,lombok
NOTE: The Lombok dependency allows reducing boilerplate code with annotations, but requires additional configuration in your IDE to work. Check out the instructions at projectlombok.org
Unzip the project:
unzip search-service.zip
cd search-service
Before you begin, you’ll need a free Okta developer account. Install the Okta CLI and run okta register to sign up for a new account. If you already have an account, run okta login. Then, run okta apps create. Select the default app name, or change it as you see fit. Choose Web and press Enter.
Select Okta Spring Boot Starter. Accept the default Redirect URI values provided for you. That is, a Login Redirect of http://localhost:8080/login/oauth2/code/okta and a Logout Redirect of http://localhost:8080.
Rename application.properties to application.yml, the following properties must be set:
okta:
  oauth2:
    issuer: https://{yourOktaDomain}/oauth2/default
    client-secret: {clientSecret}
    client-id: {clientId}
    scopes: openid, profile, email

service:
  github: https://api.github.com
Add security configuration for enabling OIDC authentication in the application. Create the package com.okta.developer.search.security and add the class SecurityConfiguration:
package com.okta.developer.search.security;

import org.springframework.context.annotation.Bean;
import org.springframework.context.annotation.Configuration;
import org.springframework.security.config.web.server.ServerHttpSecurity;
import org.springframework.security.web.server.SecurityWebFilterChain;
import org.springframework.security.web.server.authentication.RedirectServerAuthenticationEntryPoint;

import static org.springframework.security.config.Customizer.withDefaults;

@Configuration
public class SecurityConfiguration {

    @Bean
    public SecurityWebFilterChain configure(ServerHttpSecurity http) {

        http
            .authorizeExchange((exchanges) ->
                exchanges.anyExchange().authenticated()
            )
            .oauth2Login(withDefaults())
            .exceptionHandling()
            .authenticationEntryPoint(new RedirectServerAuthenticationEntryPoint("/oauth2/authorization/okta"));
        return http.build();

    }
}
In the configuration above, any request must be authenticated, and the authentication entry point will redirect to Okta. The entry point definition is required as a second client registration will be configured later in the tutorial for the third-party requests. For this example, login is enabled, to verify the flow with the browser.
Create a com.okta.developer.search.controller package and add a SearchCount class for the totalCount result:
package com.okta.developer.search.controller;

import com.fasterxml.jackson.annotation.JsonProperty;
import lombok.AllArgsConstructor;
import lombok.Data;
import lombok.NoArgsConstructor;

@Data
@NoArgsConstructor
@AllArgsConstructor
public class SearchCount {

    @JsonProperty("total_count")
    private Integer totalCount;
}
Then add a SearchController class:
package com.okta.developer.search.controller;

import org.springframework.beans.factory.annotation.Autowired;
import org.springframework.beans.factory.annotation.Value;
import org.springframework.security.oauth2.client.OAuth2AuthorizedClient;
import org.springframework.security.oauth2.client.annotation.RegisteredOAuth2AuthorizedClient;
import org.springframework.web.bind.annotation.GetMapping;
import org.springframework.web.bind.annotation.PathVariable;
import org.springframework.web.bind.annotation.RestController;
import org.springframework.web.reactive.function.client.WebClient;
import reactor.core.publisher.Mono;

import static org.springframework.security.oauth2.client.web.reactive.function.client.ServerOAuth2AuthorizedClientExchangeFilterFunction.oauth2AuthorizedClient;

@RestController
public class SearchController {

    @Value("${service.github}")
    private String apiUrl;

    @Autowired
    private WebClient webClient;


    @GetMapping(value = "/totalCount/{keyword}")
    public Mono<SearchCount> getSearchCountAuthorized(@PathVariable String keyword,
                                                      @RegisteredOAuth2AuthorizedClient( "github")OAuth2AuthorizedClient authorizedClient){
        return this.webClient.get().uri(apiUrl, uriBuilder -> uriBuilder
                .path("/search/code")
                .queryParam("q", keyword).build())
                .attributes(oauth2AuthorizedClient(authorizedClient))
                .retrieve()
                .bodyToMono(SearchCount.class);
    }

}
Independent of how the user authenticates, in this case using Okta, another client registration is in play for the search request.
The SearchController requires a github authorized client, that is set as an attribute in the WebClient. With this parameter, Spring Security will resolve the access token for accessing the GitHub REST API. Notice the controller automatically wires a WebClient instance that will be configured in the next section, along with the GitHub client registration. Also, notice the mentioned declarative composition of the request. The URI, parameters, request attributes, and response extraction are defined through method chaining.
Access an OAuth 2.0 Third-Party Resource With Spring WebClient
For the WebClient to handle the GitHub grant flow, it must include the ServerOAuth2AuthorizedClientExchangeFilterFunction filter. Create the package com.okta.developer.search.configuration and add the class WebClientConfiguration:
package com.okta.developer.search.configuration;

import org.springframework.context.annotation.Bean;
import org.springframework.context.annotation.Configuration;
import org.springframework.security.oauth2.client.registration.ReactiveClientRegistrationRepository;
import org.springframework.security.oauth2.client.web.reactive.function.client.ServerOAuth2AuthorizedClientExchangeFilterFunction;
import org.springframework.security.oauth2.client.web.server.ServerOAuth2AuthorizedClientRepository;
import org.springframework.web.reactive.function.client.WebClient;

@Configuration
public class WebClientConfiguration {

    @Bean
    public WebClient webClient(ReactiveClientRegistrationRepository clientRegistrations,
                               ServerOAuth2AuthorizedClientRepository authorizedClients)  {
        ServerOAuth2AuthorizedClientExchangeFilterFunction oauth =
                new ServerOAuth2AuthorizedClientExchangeFilterFunction(clientRegistrations, authorizedClients);

        return WebClient.builder()
                .filter(oauth)
                .build();
    }
}
The ServerOAuth2AuthorizedClientExchangeFilterFunction provides a mechanism for using an OAuth2AuthorizedClient to make requests including a Bearer Token, and supports the following features:
- setDefaultOAuth2AuthorizedClient: explicitly opt into using
oauth2Login()to provide an access token implicitly. For this use case, theWebClientis used to access a third-party service, so the tokens obtained from Okta are not valid for accessing GitHub. - setDefaultClientRegistrationId: set a default
ClientRegistration.registrationId. This could be a useful option, as theWebClientwould be already initialized with the required GitHub client registration. But for some reason, the integration test will not pick up the mock client registration, and a grant flow will be triggered to production GitHub. That’s the reason why instead of using this feature, theWebClientis passed the GitHub authorized client through attributes when invoked in theSearchController.
For the GitHub client registration, you need a GitHub account. Sign in and go to the top-right user menu and choose Settings. Then on the left menu, choose Developer settings. From the left menu, select OAuth Apps, then click on New OAuth App. For the example, set the following values:
- Application name: search-service
- Homepage URL: http://localhost:8080
- Authorization callback URL: http://localhost:8080
Click Register application. Now, on the application page, click on Generate a new client secret. Copy the Client ID and the generated Client secret.

Edit your application.yml and set the following properties:
spring:
  security:
    oauth2:
      client:
        registration:
          github:
            client-id: {githubClientID}
            client-secret: {githubClientSecret}
Spring WebClient Testing With MockWebServer
For testing code that uses the WebClient, Spring Framework documentation recommends OkHttp MockWebServer, in the WebClient chapter. This recommendation should also be included in the Integration Testing chapter, as only clients that use RestTemplate internally are mentioned in that chapter. Different aspects of Spring WebClient and WebTestClient are covered across the three references Spring Framework, Spring Boot, and Spring Security, and navigating through documentation is not an easy task.
For this example, the MockWebServer will mock the GitHub REST API. With this library and the help of Spring Security Test, hitting to production can be avoided, and the third-party authorization can be mocked.
Edit your pom.xml to add Spring Security Test and MockWebServer dependencies:
<dependency>
    <groupId>org.springframework.security</groupId>
    <artifactId>spring-security-test</artifactId>
    <version>5.4.5</version>
    <scope>test</scope>
</dependency>
<dependency>
    <groupId>com.squareup.okhttp3</groupId>
    <artifactId>okhttp</artifactId>
    <version>4.0.1</version>
    <scope>test</scope>
</dependency>
<dependency>
    <groupId>com.squareup.okhttp3</groupId>
    <artifactId>mockwebserver</artifactId>
    <version>4.0.1</version>
    <scope>test</scope>
</dependency>
Create the test class SearchControllerIntegrationTest with the following code:
package com.okta.developer.search;

import okhttp3.mockwebserver.MockResponse;
import okhttp3.mockwebserver.MockWebServer;
import org.junit.jupiter.api.AfterAll;
import org.junit.jupiter.api.BeforeAll;
import org.junit.jupiter.api.Test;
import org.springframework.beans.factory.annotation.Autowired;
import org.springframework.boot.test.autoconfigure.web.reactive.AutoConfigureWebTestClient;
import org.springframework.boot.test.context.SpringBootTest;
import org.springframework.http.MediaType;
import org.springframework.test.context.DynamicPropertyRegistry;
import org.springframework.test.context.DynamicPropertySource;
import org.springframework.test.web.reactive.server.WebTestClient;

import java.io.IOException;

import static org.springframework.security.test.web.reactive.server.SecurityMockServerConfigurers.mockOAuth2Client;
import static org.springframework.security.test.web.reactive.server.SecurityMockServerConfigurers.mockOidcLogin;

@SpringBootTest(webEnvironment = SpringBootTest.WebEnvironment.RANDOM_PORT)
@AutoConfigureWebTestClient
public class SearchControllerIntegrationTest {

    @Autowired
    private WebTestClient webTestClient;

    public static MockWebServer mockWebServer;

    @BeforeAll
    static void setUp() throws IOException {
        mockWebServer = new MockWebServer();
        mockWebServer.start();
    }

    @DynamicPropertySource
    static void properties(DynamicPropertyRegistry registry) throws IOException {
        registry.add("service.github", () -> "http://localhost:" + mockWebServer.getPort());
    }

    @Test
    public void testGetTotalCount(){

        mockWebServer.enqueue(new MockResponse()
                .addHeader("Content-Type", "application/json; charset=utf-8")
                .setBody("{ \"totalCount\": 9}"));

        webTestClient
                .mutateWith(mockOidcLogin())
                .mutateWith(mockOAuth2Client("github"))
                .get()
                .uri("/totalCount/bleble")
                .accept(MediaType.APPLICATION_JSON)
                .exchange()
                .expectStatus().isOk()
                .expectBody().jsonPath("$.tocalCount", 9);
    }

    @AfterAll
    static void tearDown() throws IOException {
        mockWebServer.shutdown();
    }
}
Let’s break down what is going on in this test.
The @BeforeAll and @AfterAll annotated methods start and shut down the MockWebServer that will mock GitHub REST API. The @DynamicPropertySource annotated method overwrites the GitHub REST API URL and makes it point to the mockWebServer instance.
The call to mockWebServer.enqueue() sets up the mock response for the third-party call.
In the WebTestClient, the test request is configured with a mock OidcUser with the mutateWith(mockOidcLogin()) call, avoiding some kind of simulation of the grant flow with the Okta authorization server.
As mentioned before, independent of how the user authenticates, there is a second client registration in play for the request under test. The call mutateWith(mockOAuth2Client("github")) creates an OAuth2AuthorizedClient, avoiding the simulation of a handshake with the third-party authorization server.
Run the integration test with Maven:
./mvnw test
Now, run the application to manually verify the request flow with a browser.
./mvnw spring-boot:run
Open an incognito window and go to http://localhost:8080/totalCount/root:%20DEBUG to request a code search for the string root: DEBUG.
First, the authentication flow will redirect to Okta for the login:
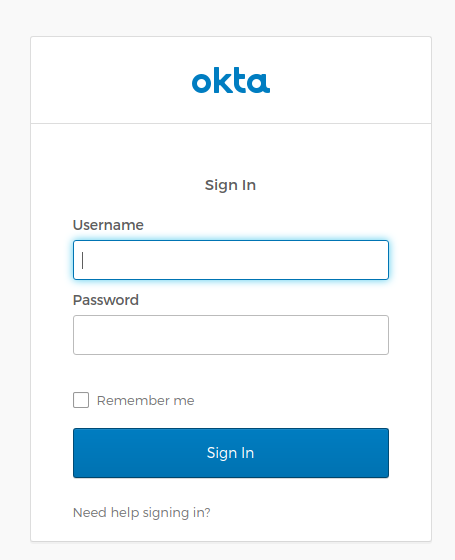
Once you sign in with your Okta user, Spring Security will trigger the GitHub authorization flow, to instantiate the authorized client required for the API request:
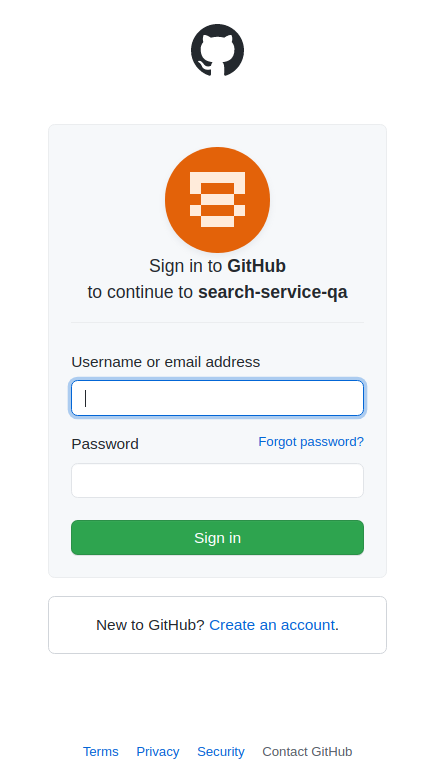
After the GitHub login, then you must authorize the search application for sending requests to the GitHub REST API on your behalf:
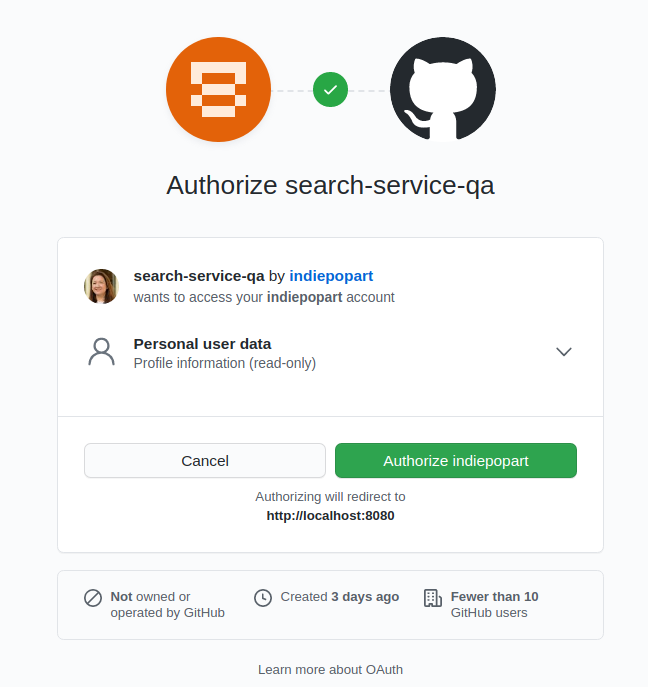
After you authorize access, the search result will show:
{"total_count":114761362}
Learn More About Reactive Spring Boot and WebClient
I hope you enjoyed this tutorial and got a clear picture of WebClient testing for applications that access third-party services. As mentioned before, WebClient and WebTestClient documentation pieces are covered in the three references, Spring Framework, Spring Boot, and Spring Security, so I recommend taking a thorough look at all of them.
An additional aspect to explore is how to add layering, given that client registrations must be injected as controller parameters, to trigger the authorization flows when required. Keep learning about Reactive Applications with Spring Boot and OAuth security, and check out the following links:
You can find the application code on GitHub in the okta-spring-webclient-example repository.
Recommend
About Joyk
Aggregate valuable and interesting links.
Joyk means Joy of geeK