

How do I install a third-party SSL certificate?
source link: https://help.dreamhost.com/hc/en-us/articles/215089668-How-do-I-install-a-third-party-SSL-certificate-
Go to the source link to view the article. You can view the picture content, updated content and better typesetting reading experience. If the link is broken, please click the button below to view the snapshot at that time.

How do I install a third-party SSL certificate?
If you find yourself in a situation that requires changes to your site, and your developer isn't available to help, DreamHost's skilled support team may be able to assist you for a small fee. You can find more information about supported services and associated costs in the DreamHost Professional Services article.
Creating a CSR at DreamHost
If you would like to purchase an SSL certificate from another company, make sure to first create a CSR at DreamHost before requesting it from your chosen Certificate Authority. That company will then be able to use this CSR to generate your SSL certificate.
What if I already have my certificate information?
If you already have a private key, intermediate certificate, and signed SSL certificate, you will still need to have a CSR created at DreamHost before installing. You can then give this CSR to your Certificate Authority who will re-issue the certificate to you. You can then use these new files to install them into your DreamHost panel.
Make sure you have the private key
If you already have a signed SSL certificate but do NOT have the corresponding private key, you won't be able to install it on DreamHost's servers. Also, do NOT create a private key that is password-protected, as the DreamHost panel does not accept these.
Some Certificate Authorities put all the SSL certificate files into a .zip file for you. To view the files, make sure to first decompress the zip file.
On a Mac, double click the file.
In Windows, right-click and select 'Extract All'.
Installing the certificate
All of the following commands must be run on the server where your website is hosted.
- Navigate to the Secure Certificates page. A list of your domains display.

- Click the Add button to the right of your domain.
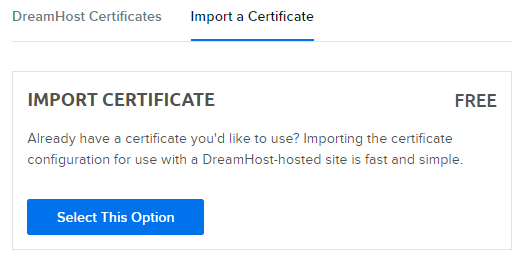
- Click the tab titled Import a Certificate at the top
- Click the Select This Option button.
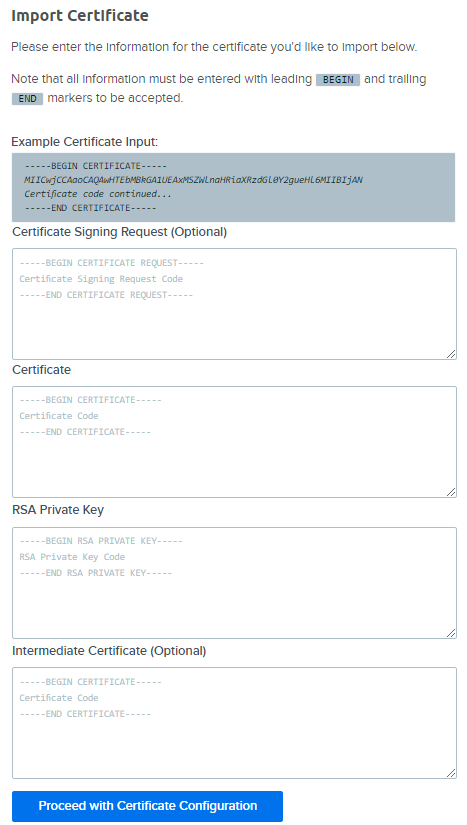
The next page displays four empty boxes.
- Certificate Signing Request
- Certificate
- Private Key
- Intermediate Certificate
Into these fields, enter your 3rd party certificate information.
- When finished, click the Proceed with Certificate Configuration button.
- If there aren't any errors, the new certificate is pushed out to the live servers within 15 minutes.

- Back on the Secure Certificates page, you can see the certificate now shows as 'Imported'.
- Load your site in a browser using https.
- You can see the padlock icon at the beginning of the URL; if you click on the icon, you’ll see that the cert is verified and active.
If you see the error message "key does not match cert", that means that the SSL certificate you're trying to install does not match the private key that is currently installed. This typically means that the Certificate Signing Request that was used to purchase the SSL certificate was not generated with the private key that is in the panel.
See also
Did this article answer your questions?
Recommend
About Joyk
Aggregate valuable and interesting links.
Joyk means Joy of geeK