

Setting up a Raspberry Pi with 2 Network Interfaces as a very simple router
source link: https://www.jeffgeerling.com/blog/2021/setting-raspberry-pi-2-network-interfaces-very-simple-router
Go to the source link to view the article. You can view the picture content, updated content and better typesetting reading experience. If the link is broken, please click the button below to view the snapshot at that time.

Setting up a Raspberry Pi with 2 Network Interfaces as a very simple router
May 20, 2021
I needed a very basic 'Internet sharing' router setup with one of my Raspberry Pis, and I thought I'd document the setup process here in case I need to do it again.
I should note that for more complex use cases, or where you really need to worry about security and performance, you should use something like OpenWRT, pfSense, or VyOS—or just buy a decent out-of-the-box router!
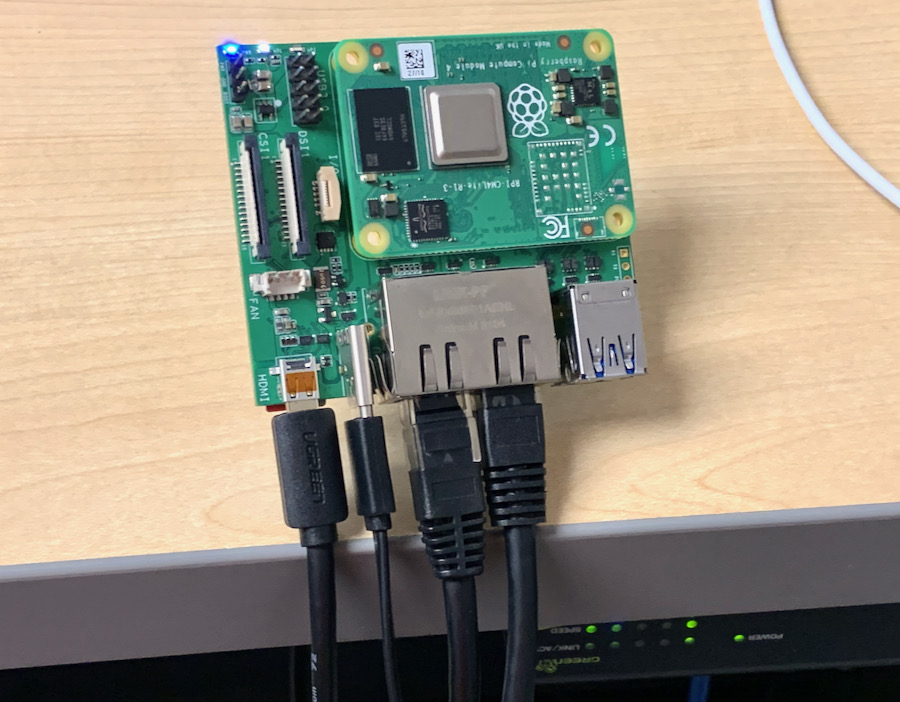
But I needed a super-simple router setup for some testing (seriously... look at the picture—the thing's about to fall off my desk!), and I had two network interfaces on a Raspberry Pi running the 64-bit build of Raspberry Pi OS. These instructions work on that OS, as well as Debian, Ubuntu, and derivative distros.
I'm going to assume you're okay with the first interface (eth0) using DHCP to get an IP address from a DCHP server, router, or modem it's plugged into. That will be the 'WAN' side of the router.
The 'LAN' side interface (which I'm assuming is eth1) will connect through to another computer or a switch so it can distribute connections to one or more computers.
Since the OS uses DHCPCD to manage network interfaces, edit /etc/dhcpcd.conf and add in a static IP address configuration for the 2nd ethernet interface:
interface eth1
static ip_address=192.168.1.1/24
static routers=192.168.1.1
static domain_name_servers=8.8.8.8
Reload dhcpcd with: sudo systemctl daemon-reload && sudo systemctl restart dhcpcd.
Then save the following script (which comes from the Ubuntu wiki) as nat.sh, and make it executable with chmod +x nat.sh:
echo -e "\n\nLoading simple rc.firewall-iptables version $FWVER..\n"
DEPMOD=/sbin/depmod
MODPROBE=/sbin/modprobe

EXTIF="eth0"
INTIF="eth1"
echo "   External Interface:  $EXTIF"
echo "   Internal Interface:  $INTIF"

#======================================================================
#== No editing beyond this line is required for initial MASQ testing ==
echo -en "   loading modules: "
echo "  - Verifying that all kernel modules are ok"
$DEPMOD -a
echo "----------------------------------------------------------------------"
echo -en "ip_tables, "
$MODPROBE ip_tables
echo -en "nf_conntrack, "
$MODPROBE nf_conntrack
echo -en "nf_conntrack_ftp, "
$MODPROBE nf_conntrack_ftp
echo -en "nf_conntrack_irc, "
$MODPROBE nf_conntrack_irc
echo -en "iptable_nat, "
$MODPROBE iptable_nat
echo -en "nf_nat_ftp, "
$MODPROBE nf_nat_ftp
echo "----------------------------------------------------------------------"
echo -e "   Done loading modules.\n"
echo "   Enabling forwarding.."
echo "1" > /proc/sys/net/ipv4/ip_forward
echo "   Enabling DynamicAddr.."
echo "1" > /proc/sys/net/ipv4/ip_dynaddr
echo "   Clearing any existing rules and setting default policy.."

iptables-restore <<-EOF
*nat
-A POSTROUTING -o "$EXTIF" -j MASQUERADE
COMMIT
*filter
:INPUT ACCEPT [0:0]
:FORWARD DROP [0:0]
:OUTPUT ACCEPT [0:0]
-A FORWARD -i "$EXTIF" -o "$INTIF" -m conntrack --ctstate ESTABLISHED,RELATED -j ACCEPT
-A FORWARD -i "$INTIF" -o "$EXTIF" -j ACCEPT
-A FORWARD -j LOG
COMMIT
EOF

echo -e "\nrc.firewall-iptables v$FWVER done.\n"
Run that script with sudo sh ./nat.sh, and at this point the Pi should be routing traffic for something simple like a bridge or Internet sharing.
Since it's not also operating as a DHCP server, you need to manually specify an IP address on the computer (or all the computers, if using a switch) connected to the eth1 / 'LAN' interface of the Pi, so set them to IP addresses greater than .1, e.g. 192.168.1.2, with the router set to 192.168.1.1.
Like I said, this is not meant to be a full-featured router by any means—it's just bridging a connection through one Raspberry Pi between a 'WAN' and a 'LAN', and I didn't even configure it so it would be persistent after a reboot!
Check out Ubuntu's full Router setup guide for a more thorough setup, or use just install OpenWRT ;)
Recommend
About Joyk
Aggregate valuable and interesting links.
Joyk means Joy of geeK