

博客折腾记:使用 Travis CI 自动部署
source link: https://xiang578.com/post/use-travis-ci-to-auto-update.html
Go to the source link to view the article. You can view the picture content, updated content and better typesetting reading experience. If the link is broken, please click the button below to view the snapshot at that time.

博客折腾记:使用 Travis CI 自动部署
前几天,看到其他人在 V2 上讨论利用 Docker 更新 hexo 博客。不过自己对使用 Docker 不是很感兴趣,倒是了解到 Travis CI 的作用。
参考使用 Travis 自动构建 Hexo 到 GitHub | Zthxxx's Blog和使用travis-ci自动部署Hexo到github和coding - 掘金这两篇文章,完成了博客自动部署的修改,也解决了一些,之前没有在意的问题,写下来备忘一下。
介绍一下与这个博客先关的 git 项目。博客相关的原始文件放在 xiang578/blog,主题文件放在 xiang578/hexo-theme-even: A super concise theme for Hexo(我对这个主题有一些修改,所以自己 fork 了一份,最后发布的文件放在xiang578/xiang578.github.io: Welcome to My blog!(实际上这也是一个备份,访问时的文件是从 coding 服务器上读取的)。
按照上面两篇博文配置好 Travis CI 之后,每次向存放博客原始文件的仓库 push 时,travis-ci.com 都会拉取代码进行 build ,成功之后会出现下图。

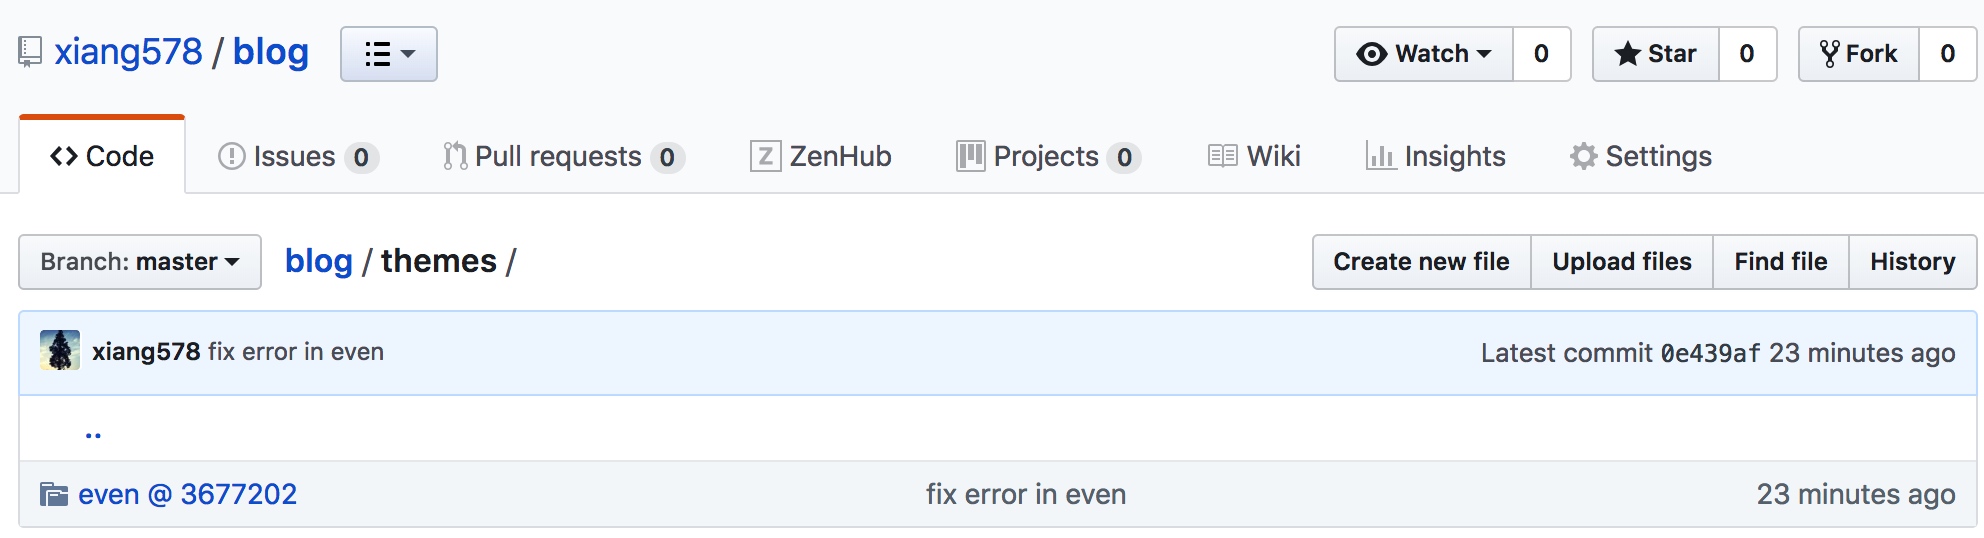
之前都是使用 git clone 下载主题的,如果把本机上的博客相关文件直接推送到 github 上会遇到问题。简单地说就是一个 git 文件夹包含了另外一个 git 文件夹。所以,需要使用 git modules 来解决。通过这种方法可以在 clone 主仓库时,会自动clone子仓库。

博客仓库中会链接到其他仓库,其中 @ 之后的那一串就是 commit 编号,主要是用来做版本控制的。
完成这样的设置,修改主题文件后,需要先将修改 push 到主题的仓库,然后在博客文件夹下 push 修改到远端仓库。最终,才能再网页上看到修改效果。
Recommend
About Joyk
Aggregate valuable and interesting links.
Joyk means Joy of geeK