

Retrofit Authenticator Refresh Token Tutorial
source link: https://www.simplifiedcoding.net/retrofit-authenticator-refresh-token/
Go to the source link to view the article. You can view the picture content, updated content and better typesetting reading experience. If the link is broken, please click the button below to view the snapshot at that time.

Retrofit Authenticator Refresh Token Tutorial
Ever heard about Refresh Token? Refresh token can get you a new access token, without prompting the user to login again. In this post we will learn how you can use Retrofit Authenticator to Refresh Token. And refreshing token means getting a new access token with the help of refresh token.
Building Backend API
Now, to follow this post you should know about Access Token and Refresh Token, and you should have an API to provide these. If you do not have the API, then first you may want to learn about the API Development.
You can follow this step by step tutorial to learn building a RESTful API with OAuth2 Authentication. I am using laravel framework here to build the API.
So I hope you already have an API to login the user (If you don’t have, you can get the source code from above tutorial). And your API is giving the following response when the user logs in.
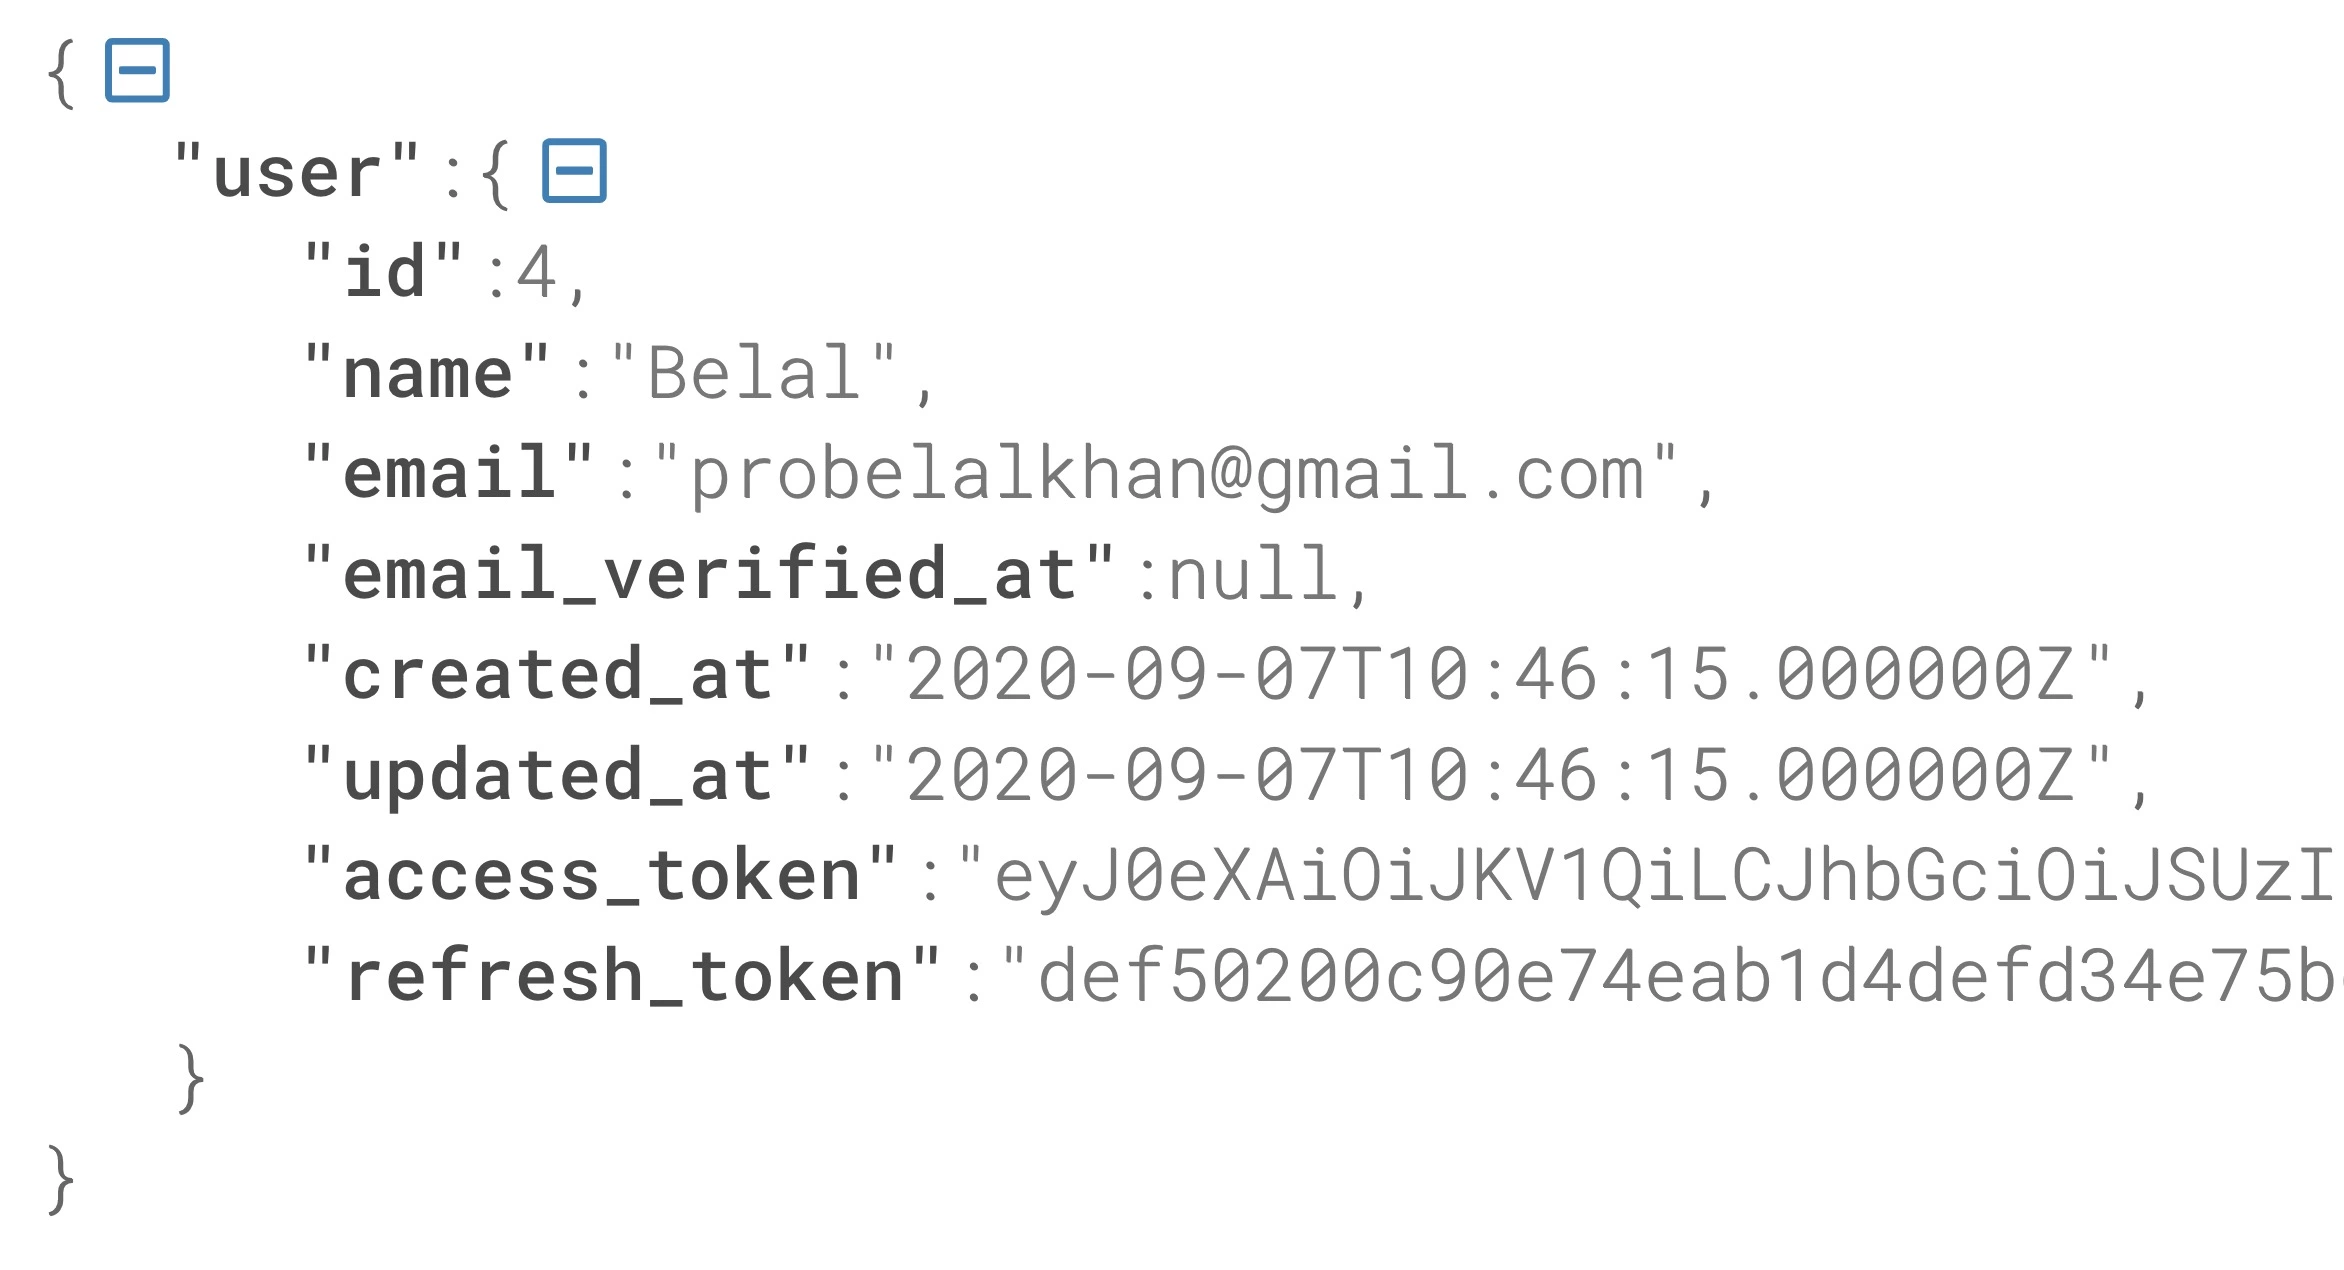 User Login Response
As you can see upon successful login, the api is returning access_token and refresh_token.
What are Access and Refresh Tokens?
Now, let’s understand the tokens. When a user successfully authenticates in our backend, we provide him two tokens. Access Token, and Refresh Token.
Access Token is mandatory for every other request that requires authentication and with Access Token we identifies the authenticated user in backend. If access token is expired then we may use the refresh token to generate the access token again without prompting the user to login again.
To generate a new access token using refresh token, we have another api end point, in my case it is /refresh-token and we will pass the refresh token to this api and it will return us the new access_token.
Now let’s understand how we can use it in our Android Project.
But before moving I hope you know the basics about Retrofit and Hitting APIs from android side.
Retrofit Authenticator Refresh Token
I hope you already have Retrofit and networking setup in your project. After this the first thing that we have to do is, we need to create an interface to define our refresh-token api call.
This api call will give us the new access_token and refresh_token .
Creating an Authenticator
Now we need to build an Authenticator .
Here you can see we have a function called authenticate() , this function will be called everytime your api will return a 401 error; that means unauthenticated .
Inside this function we are calling the function getUpdatedToken() . This function will either get the new tokens successfully, or we may get an error. In case we get the token successfully, we will update the tokens in our local storage. And we will also build a new request, with the updated access_token . In case we get error, we will return null so that our api will not just keep trying to refresh the token.
Now we will use this Authenticator, to our Retrofit Client.
And that’s it. Now everytime you will get a 401 error, authenticator will try to refresh the token. If refresh succeeded, your user will not be logged out, and if it failed user will be logged out.
Get Full Source Code
Do you need the complete source code of this project? Of course you can get it.
So that is all for this post friends, and if you learned something from this post, please share it with your friends. Thank You 🙂
Hi, my name is Belal Khan and I am a Google Developers Expert (GDE) for Android. The passion of teaching made me create this blog. If you are an Android Developer, or you are learning about Android Development, then I can help you a lot with Simplified Coding.
Checkout these tutorials as well:


Recommend
About Joyk
Aggregate valuable and interesting links.
Joyk means Joy of geeK