

使用Harbor搭建Docker私有仓库
source link: https://www.pkslow.com/archives/harbor-docker-registry
Go to the source link to view the article. You can view the picture content, updated content and better typesetting reading experience. If the link is broken, please click the button below to view the snapshot at that time.

1 开源的仓库管理工具Harbor
Harbor是一个由CNCF托管的开源的Docker镜像仓库管理工具,我们可以通过它快速的建立起自己的私有仓库。当然,搭建私有仓库的选择很多,如Docker官方提供的registry镜像或者Nexus等。但Harbor不失为一种不错的选择。
Harbor的安装方式也很多,如通过命令行安装、Helm安装等,本文演示通过命令行的脚本安装。
2.1 安装Docker和Docker-compose
首先Docker是要安装的,Harbor是通过一堆容器来启动的。另外还需要安装docker-compose,并对版本有一定要求,这里通过在Rancher的资源库找到软件包,配置一下即可:
安装Docker-compose:
wget http://rancher-mirror.cnrancher.com/docker-compose/v1.27.4/docker-compose-Linux-x86_64
mv docker-compose-Linux-x86_64 /usr/local/bin/docker-compose
chmod a+x /usr/local/bin/docker-compose
2.2 安装Harbor
2.2.1 下载解压
先到GitHub Release下载对应的包,有offline和online两种,offline比较大,包含的对应的依赖;online没有包含对应的依赖组件,安装的时候还需要进行下载。这里使用online的包,因为从Github下载东西也不见得有多快。
wget https://github.com/goharbor/harbor/releases/download/v2.1.1/harbor-online-installer-v2.1.1.tgz
tar zxvf harbor-online-installer-v2.1.1.tgz
2.2.2 配置并安装
准备配置文件:
cp harbor.yml.tmpl harbor.yml
修改配置:vi harbor.yml,主要把https去掉,并配置服务器地址和密码。关键配置有:
hostname: 8.134.18.166
http:
  port: 8088
# https related config
#https:
  # https port for harbor, default is 443
  # port: 443
  # The path of cert and key files for nginx
  #certificate: /your/certificate/path
  #private_key: /your/private/key/path
harbor_admin_password: Harbor12345
改完配置后就开始执行安装:
./install.sh
安装成功会有提示。
3 简单使用
3.1 用admin创建用户
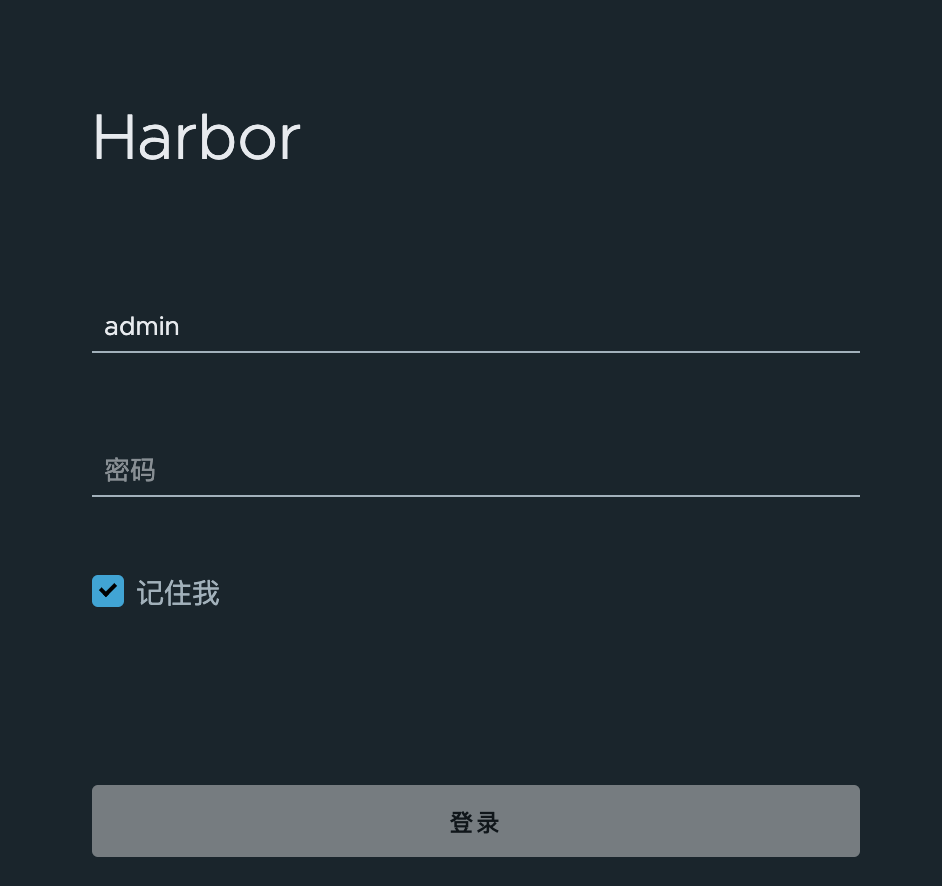
访问:http://8.134.18.166:8088/,即可登陆使用,用户名为admin,密码默认为Harbor12345。
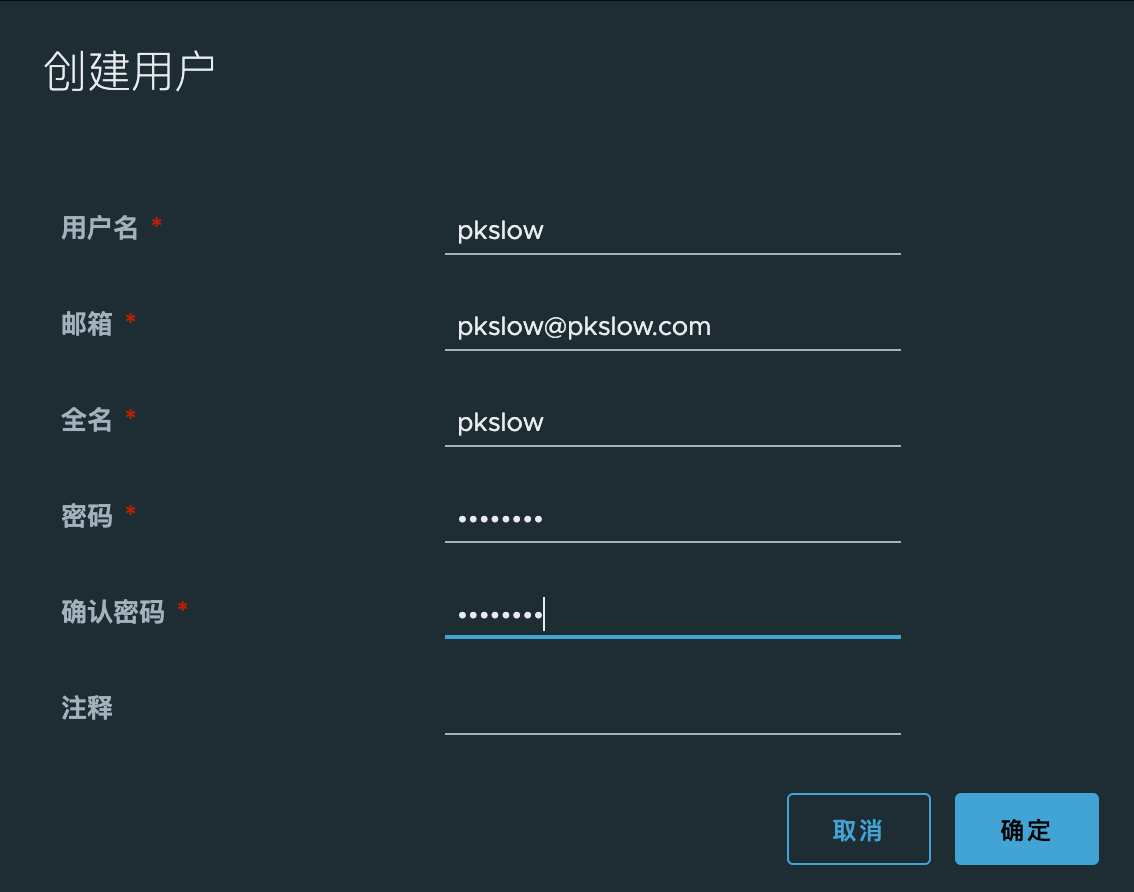
管理用户admin权限太高,要创建一个普通用户:

创建用户的信息:
3.2 新用户创建项目
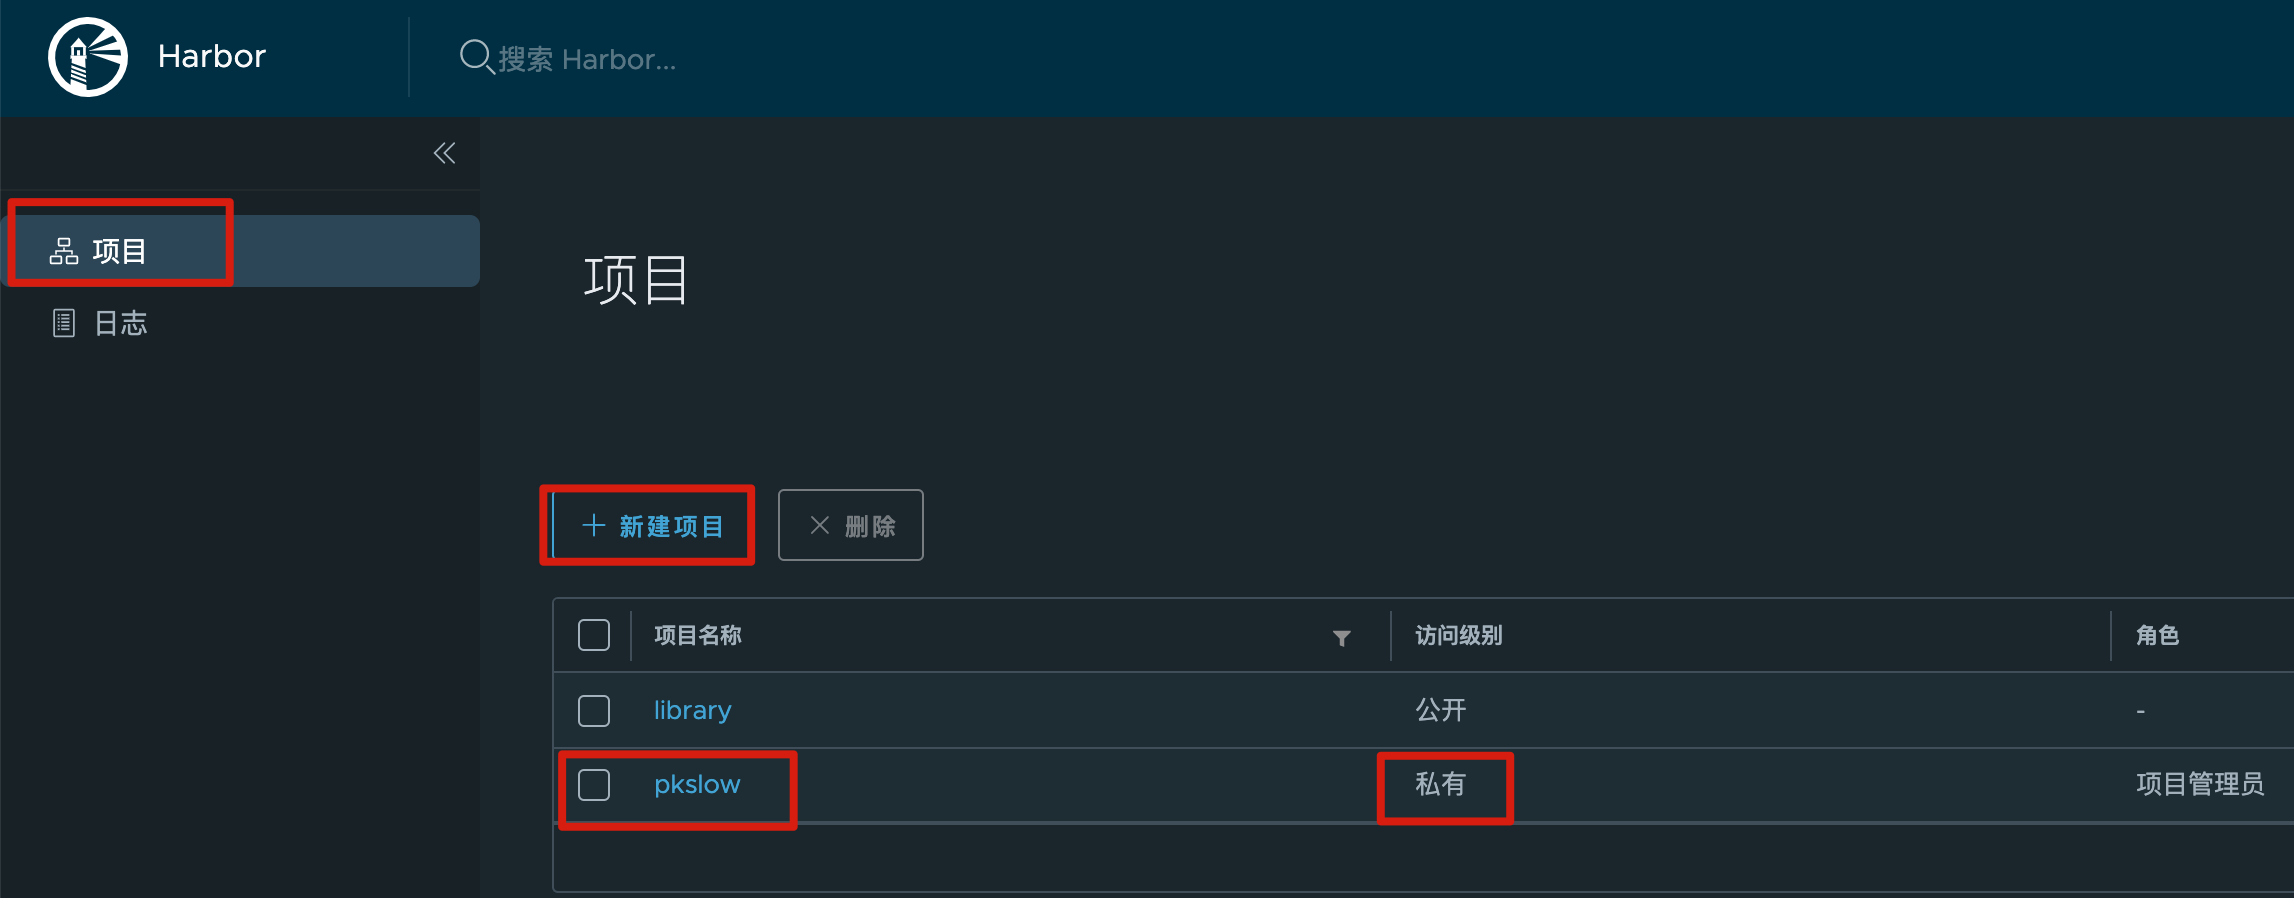
退出admin,用新创建的用户登陆,然后创建一个项目,用于存放镜像:

项目创建成功:
3.3 Docker连接仓库
3.3.1 修改docker配置并重启
在一台有docker的机器上配置daemon.json,增加"insecure-registries": ["http://8.134.18.166:8088"],
vi /etc/docker/daemon.json
配置后内容如下:
{
  "insecure-registries": ["http://8.134.18.166:8088"],
  "registry-mirrors": ["https://xxx.mirror.aliyuncs.com"],
  "exec-opts": ["native.cgroupdriver=systemd"],
  "log-driver": "json-file",
  "log-opts": {
    "max-size": "100m"
  },
  "storage-driver": "overlay2"
}
重启Docker:
systemctl restart docker
3.3.2 登陆与推送镜像
登陆新建的仓库:
$ docker login http://8.134.18.166:8088 --username pkslow --password Pk123456
WARNING! Using --password via the CLI is insecure. Use --password-stdin.
WARNING! Your password will be stored unencrypted in /root/.docker/config.json.
Configure a credential helper to remove this warning. See
https://docs.docker.com/engine/reference/commandline/login/#credentials-store

Login Succeeded
给其中一个镜像打个tag:
docker tag nginx 8.134.18.166:8088/pkslow/nginx:latest
上传镜像到仓库:
$ docker push 8.134.18.166:8088/pkslow/nginx:latest
The push refers to repository [8.134.18.166:8088/pkslow/nginx]
cdd1d8ebeb06: Pushed
fe08d9d9f185: Pushed
280ddd108a0a: Pushed
f14cffae5c1a: Pushed
d0fe97fa8b8c: Pushed
latest: digest: sha256:4949aa7259aa6f827450207db5ad94cabaa9248277c6d736d5e1975d200c7e43 size: 1362
到网页检查一下,已经有对应的镜像了:
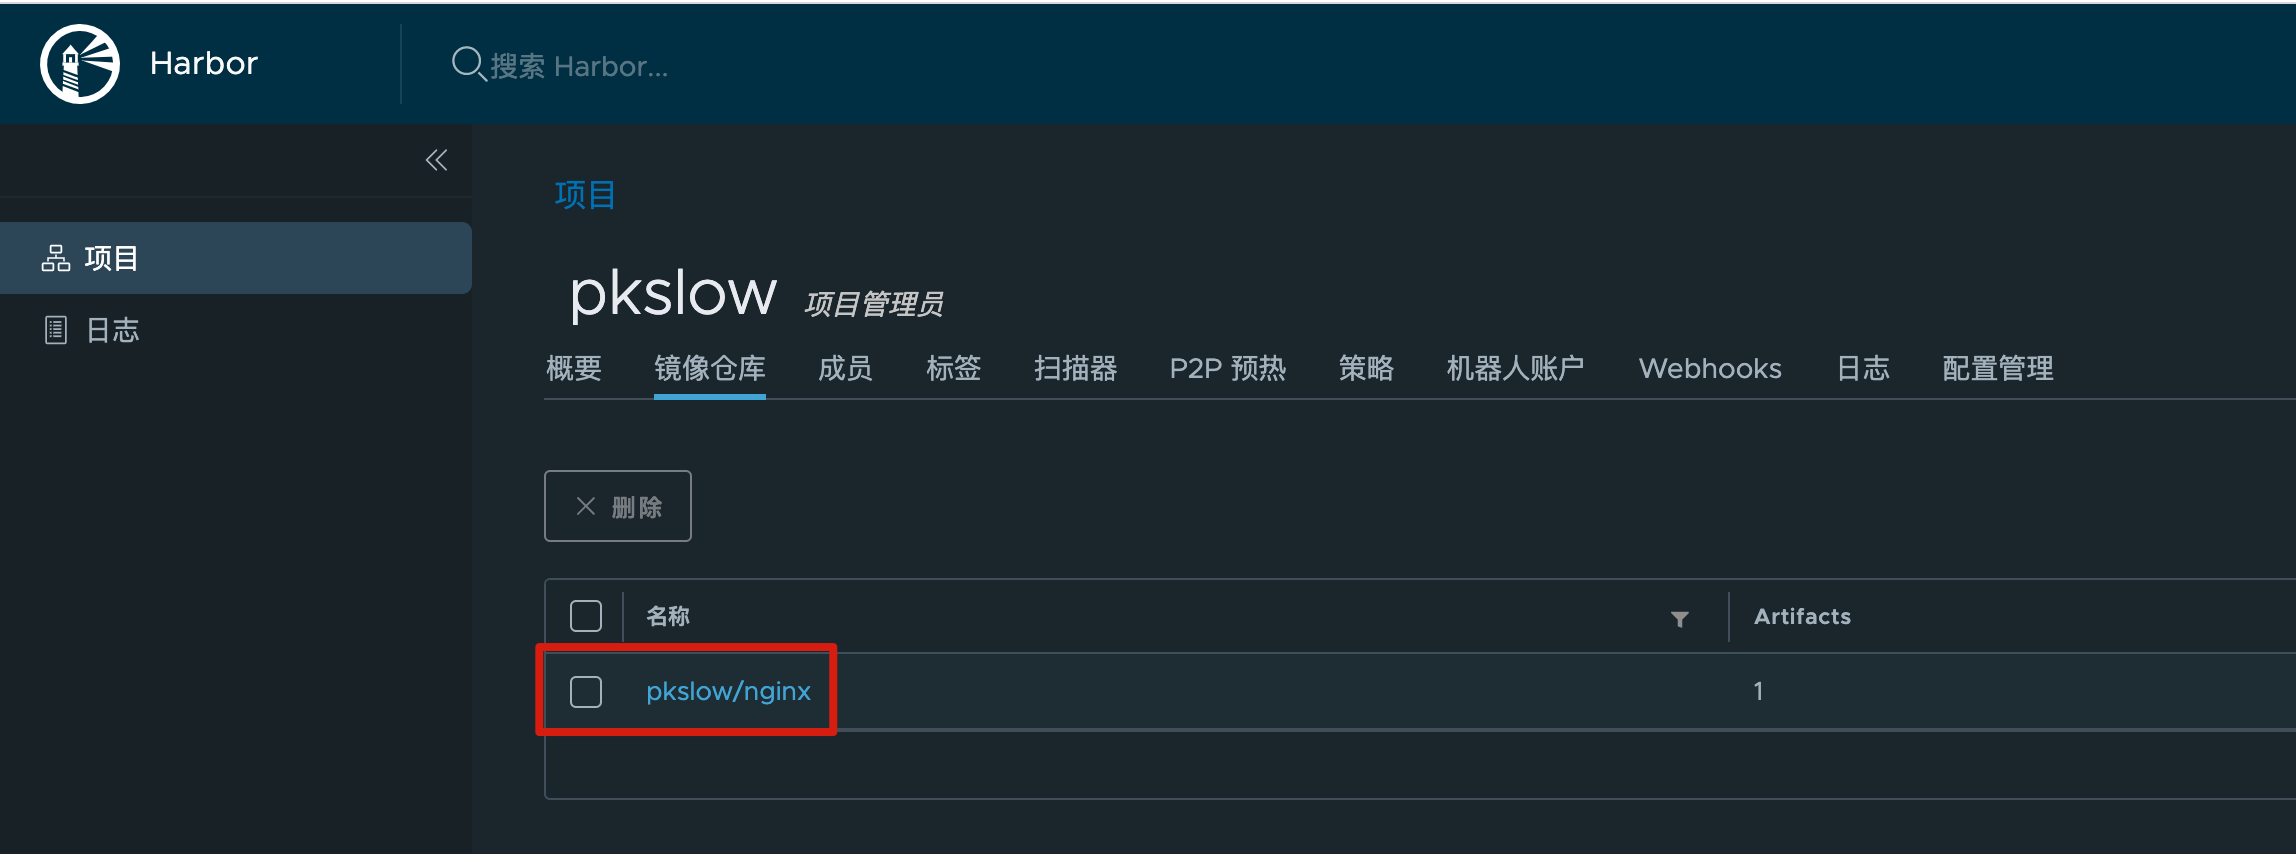
拉取就不演示了。
欢迎关注微信公众号<南瓜慢说>,将持续为你更新...

推荐阅读:
如何制定切实可行的计划并好好执行
容器技术(Docker-Kubernetes)
SpringBoot-Cloud相关
Https专题
Recommend
About Joyk
Aggregate valuable and interesting links.
Joyk means Joy of geeK