
5

HACS的两种安装方法
source link: https://www.taterli.com/9846/
Go to the source link to view the article. You can view the picture content, updated content and better typesetting reading experience. If the link is broken, please click the button below to view the snapshot at that time.

HACS的两种安装方法
HACS的两种安装方法
HACS可以增强HA的功能,至少,可以更漂亮一些.
方法1就是一键脚本了,这也是最快的方法,进入容器环境内部直接装就行,之前容器已经改名为homeassistant了,所以也照着抄就行.
root@debian:~# docker exec -it homeassistant bash
debian:/config# wget -O - https://get.hacs.xyz | bash -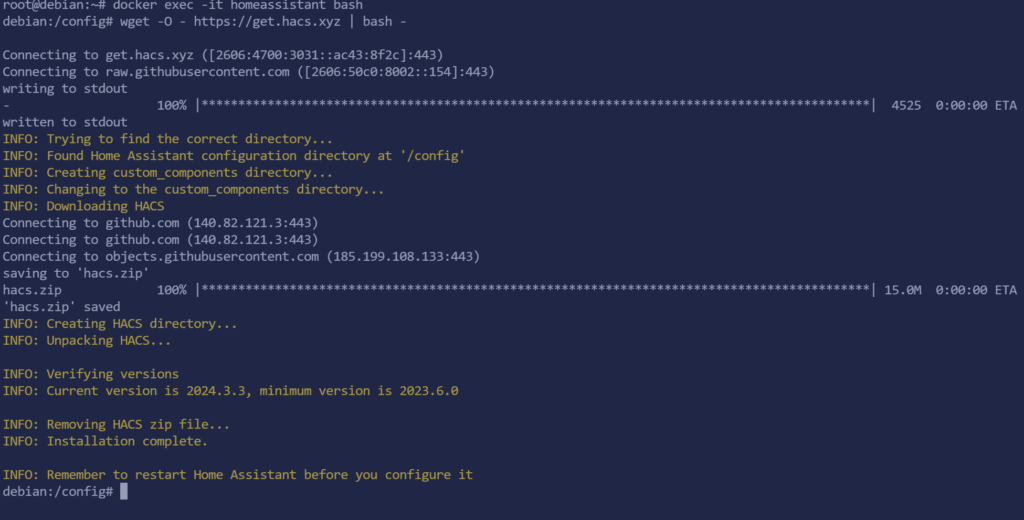
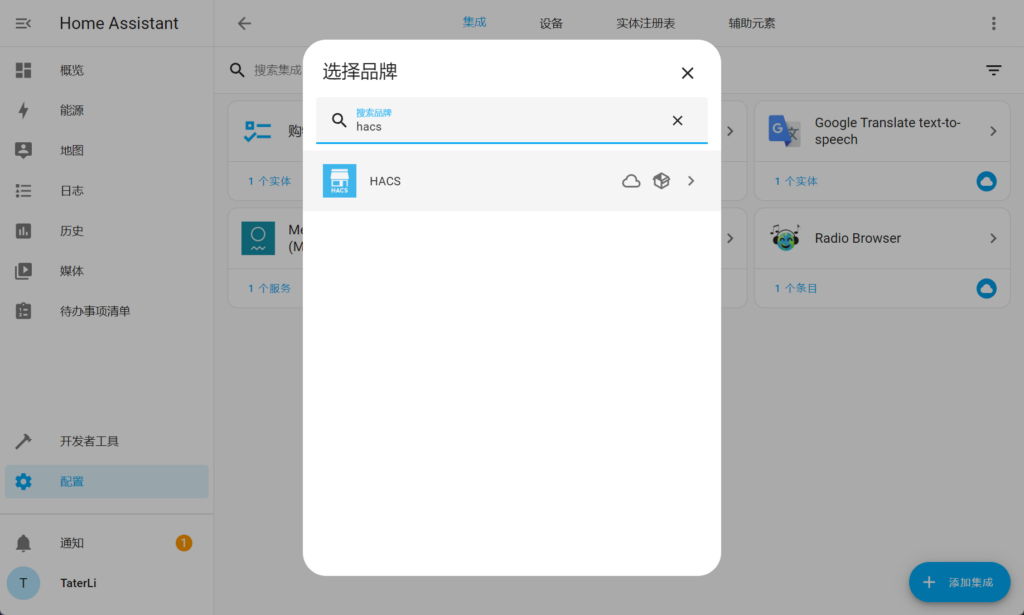
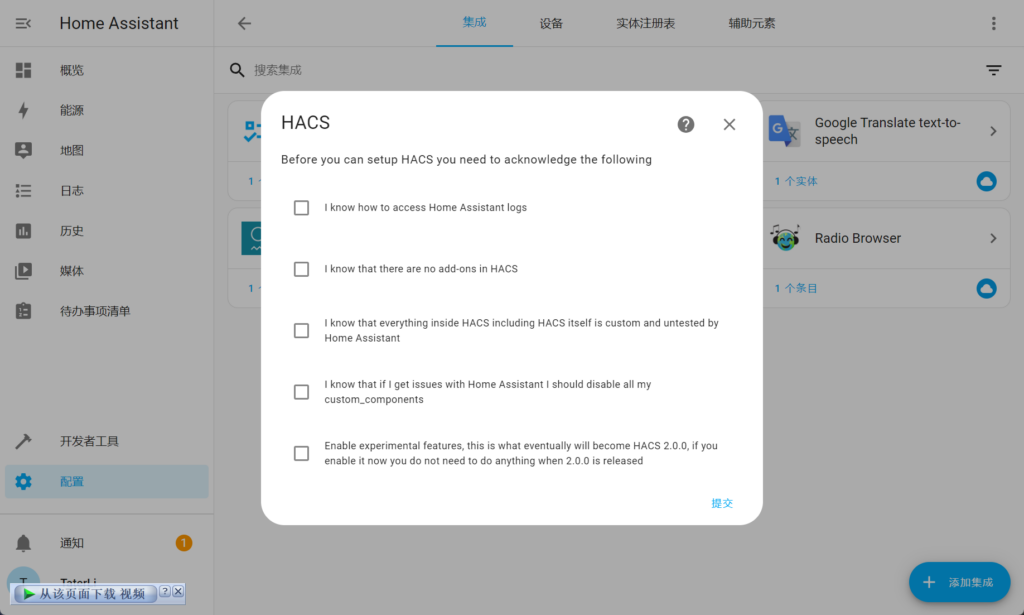
重启HA之后,点击"配置->集成->添加集成,在搜索框里输入HACS,关联GitHub然后就完成了.
HACS市场也可以用了,打开看到很多漂亮组件,可以自由安装,
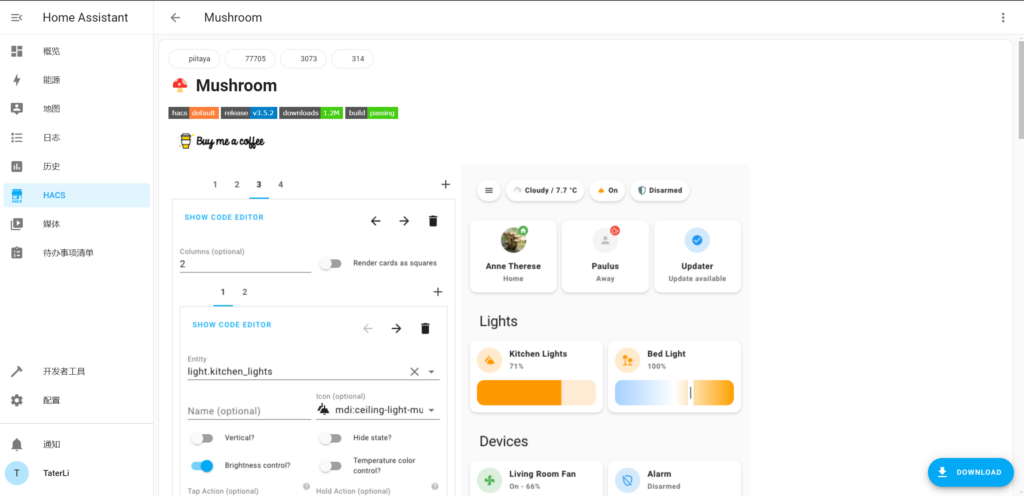
添加卡片时候就看到很多蘑菇卡了.
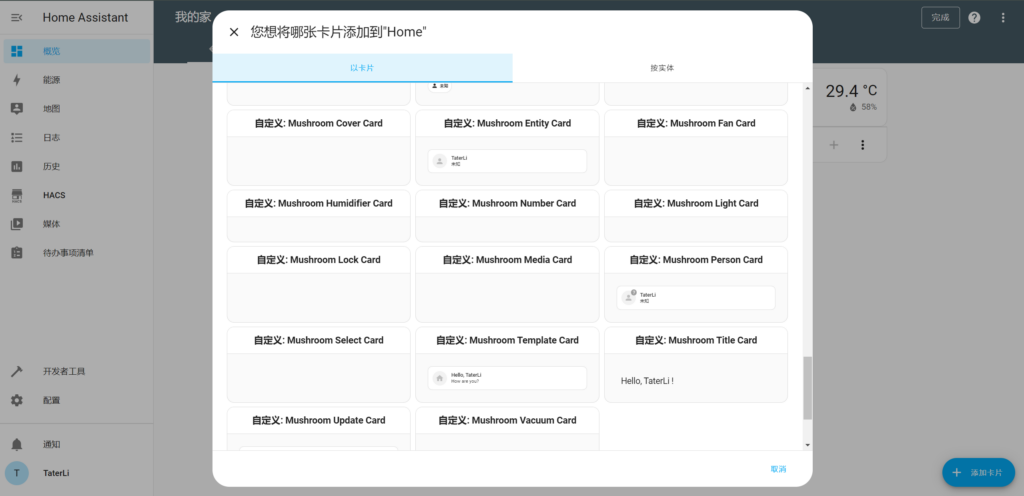
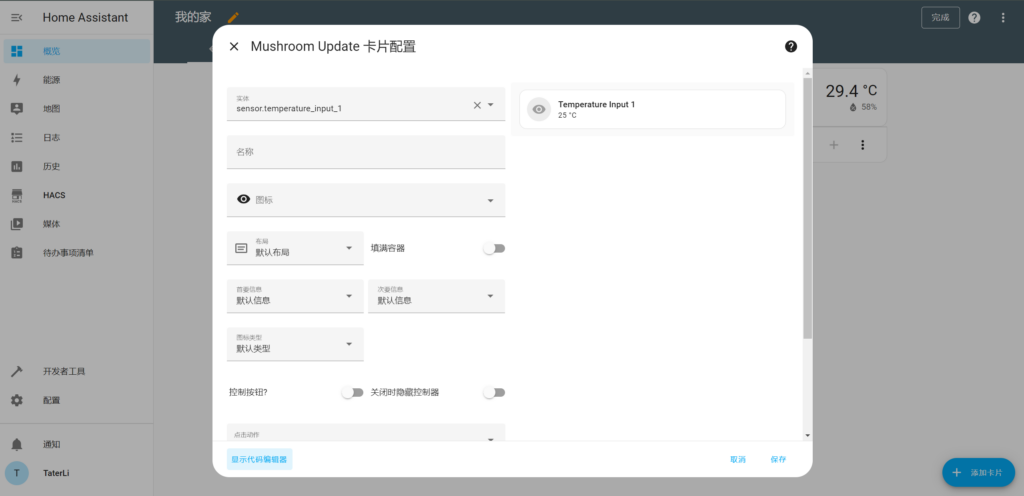
比如我新增的Mushroom Update,各种更多功能可以自己关联.
墙内用户还是适合手动安装一些,之后的操作就是在网页上的操作.
- 中国源包:https://github.com/hacs-china/integration/releases/latest/download/hacs.zip 国外源包:https://github.com/hacs/integration/releases/download/1.34.0/hacs.zip
- 在HA配置目录下(比如我这里的 /opt/homeassistant )创建
custom_components文件夹 (如果已有请忽略) - 在
custom_components目录下创建hacs文件夹 (如果已有请删除重新创建) - 將解压出来的文件复制到刚创建的
hacs文件夹

Recommend
About Joyk
Aggregate valuable and interesting links.
Joyk means Joy of geeK