

Oh My Zsh and Powerlevel10k in macOS
source link: https://www.lorenzobettini.it/2024/01/oh-my-zsh-and-powerlevel10k-in-macos/
Go to the source link to view the article. You can view the picture content, updated content and better typesetting reading experience. If the link is broken, please click the button below to view the snapshot at that time.

Oh My Zsh and Powerlevel10k in macOS
I know there are many blog posts on installing and configuring “Oh My Zsh” and Powerlevel10k (p10k for short) in macOS. However, they are a bit outdated, and the installation/configuration process is now much easier. So, here’s my blog post on installing and configuring Oh My Zsh with Powerlevel10k (p10k for short) in macOS (for Linux, I have already blogged about my Ansible playbook for Oh My Zsh installation with Powerlevel10k or Starship prompt).
Let’s start!
First of all, install iTerm2 (because it provides a much better experience with Oh My Zsh and Powerlevel10k); either download it and install it from here https://iterm2.com/downloads.html or use “homebrew”:
brew install --cask iterm2 |
Then, install Oh My Zsh; since I have “curl” installed, I’m using this command (otherwise, see the Oh My Zsh URL for alternative options):
sh -c "$(curl -fsSL https://raw.githubusercontent.com/ohmyzsh/ohmyzsh/master/tools/install.sh)" |
You should see something like the following output (if Zsh is not your current shell, at the end of the installation you’ll get asked whether to switch to Zsh):

Then, we install p10k:
git clone --depth=1 https://github.com/romkatv/powerlevel10k.git ${ZSH_CUSTOM:-$HOME/.oh-my-zsh/custom}/themes/powerlevel10k |
To enable it, edit “~/.zshrc” and set the variable ZSH_THEME accordingly:
ZSH_THEME="powerlevel10k/powerlevel10k" |
Now, either “source” the .zshrc file or open a new instance of iterm2 to see the initial configuration of p10k (remember you can always reconfigure it by running “p10k configure”):
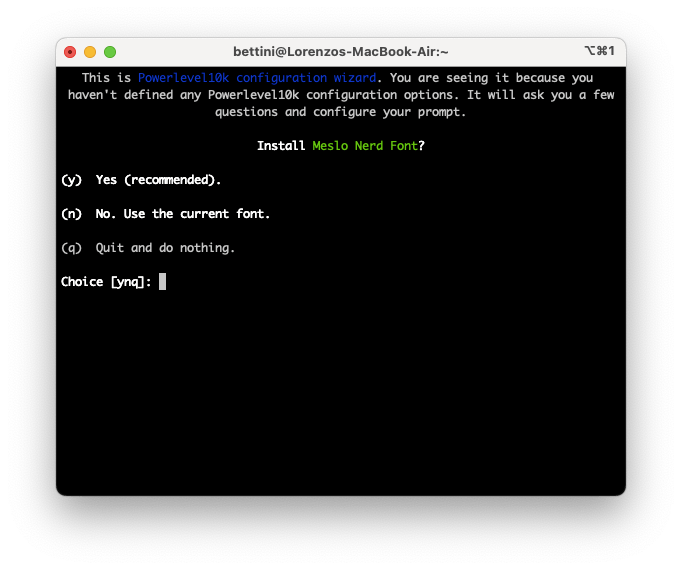
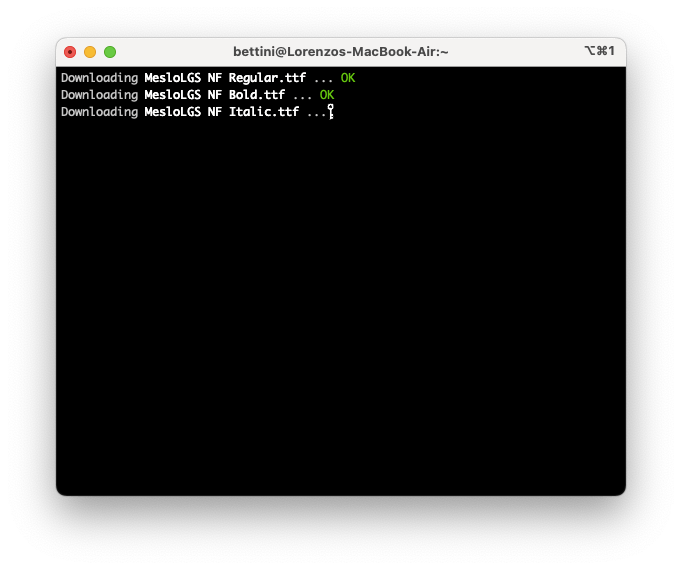
Meslo fonts are recommended to have nice icon fonts, so it’s best to accept the proposal to install the Meslo fonts (in macOS, you have this nice automatic procedure, while in Linux distributions, you must install them manually). Let’s wait for the fonts to be downloaded:
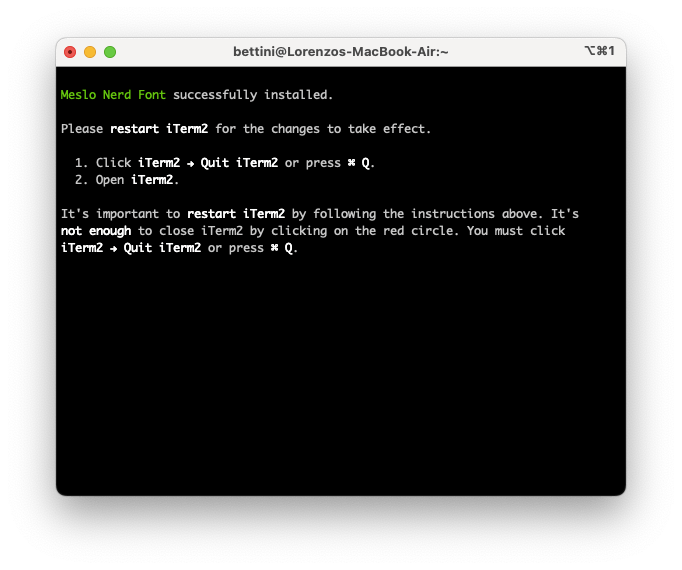
And then, we must restart iterm2:
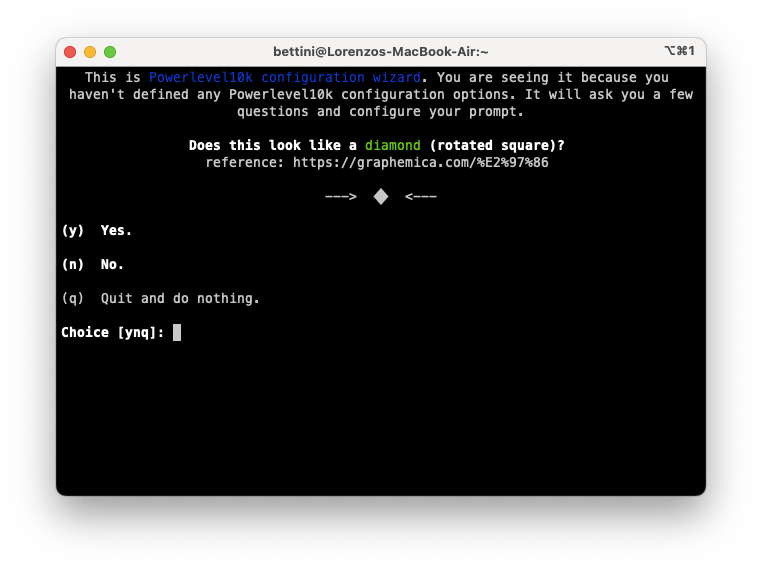
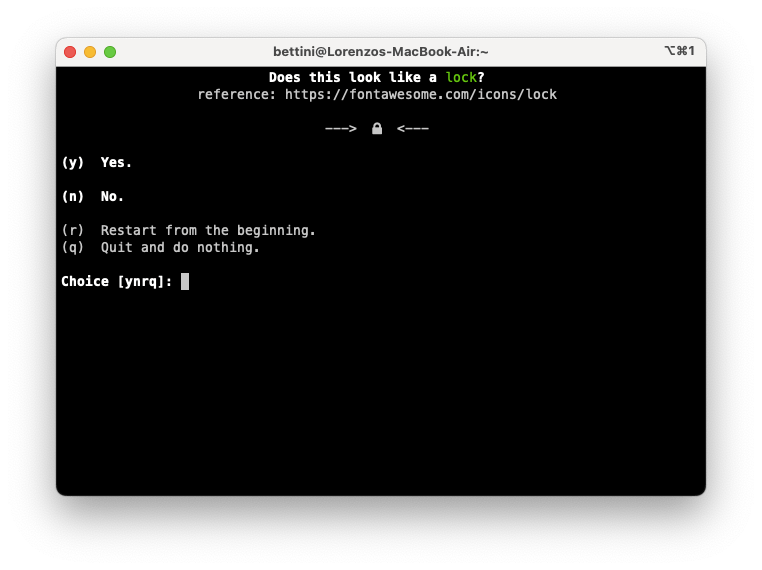
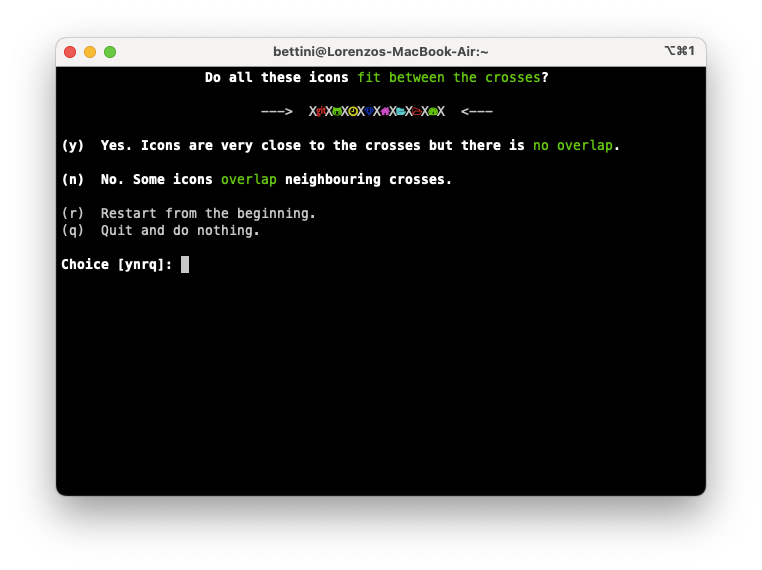
Now, we start a new iterm2 instance, and we start p10k from scratch, answering the questions for checking whether we can see the font icons correctly:
Then, we can start choosing our preferred options:
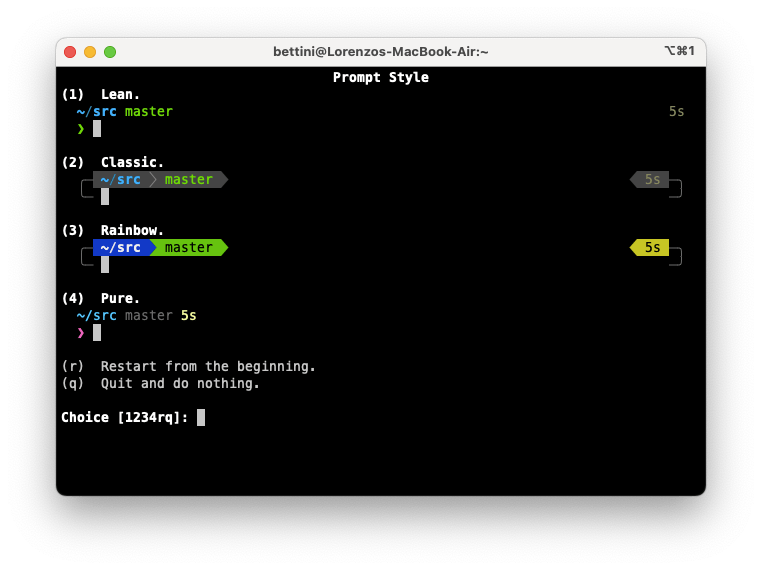
I like “Rainbow”.
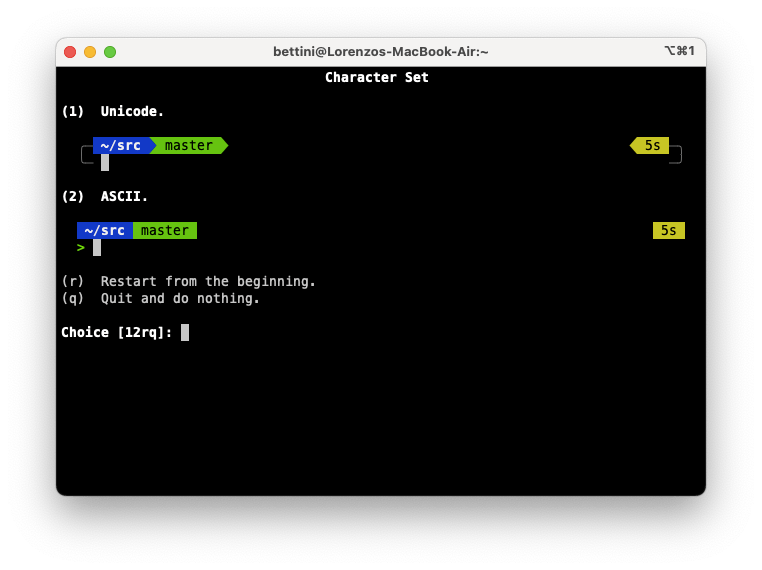
In the question above, I chose “Unicode” to have lots of nice-looking icons like, as we see in a minute, the Git branch and OS icon.
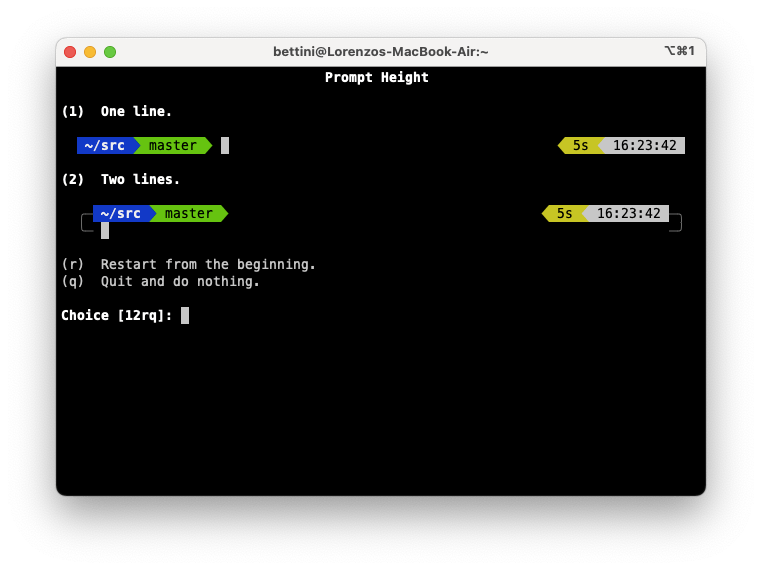
Above, I chose two lines to have more space on the prompt.
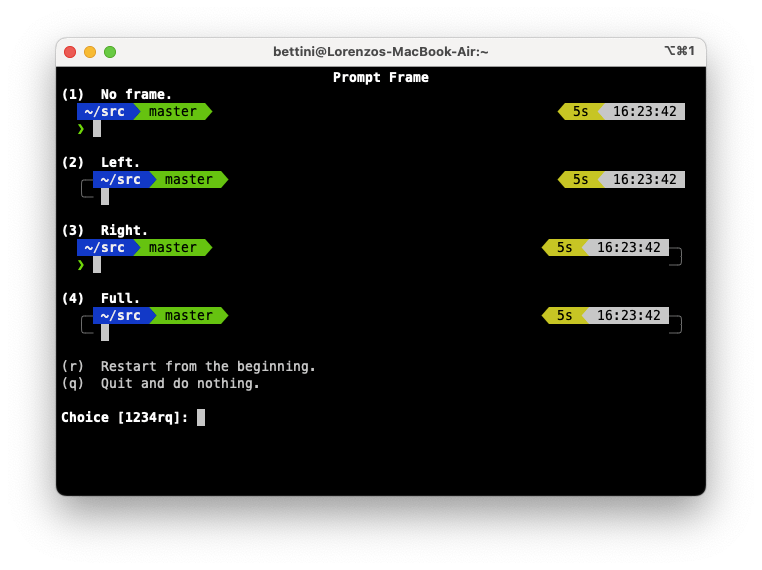
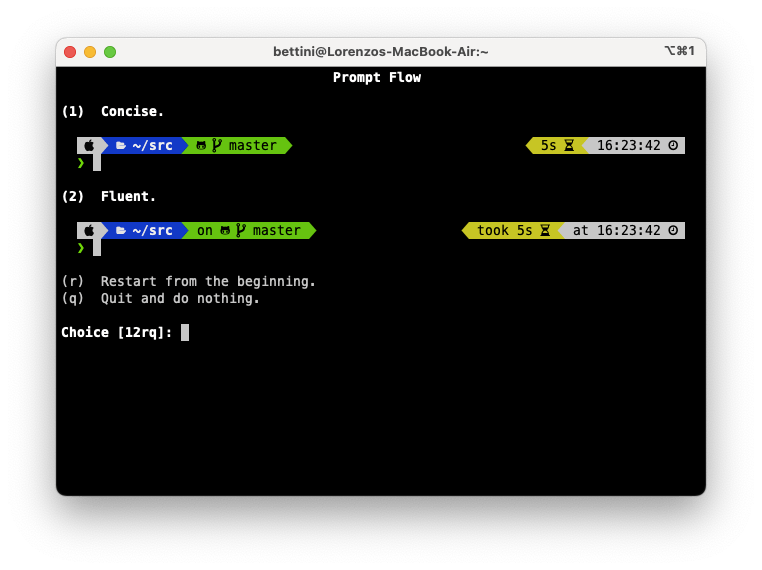
Here are other options you can choose:

Note above the “many icons” I previously talked about (I chose to have many icons).
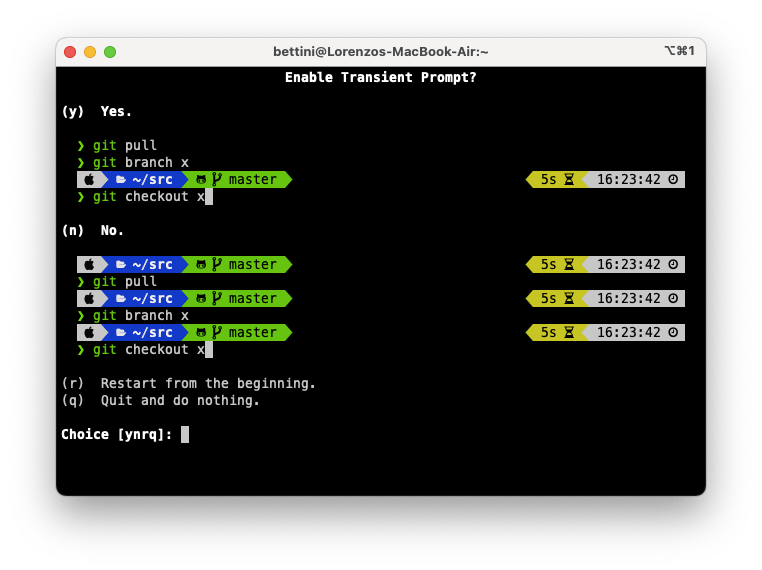
Note the “Transient Prompt” option, which is the one I prefer.
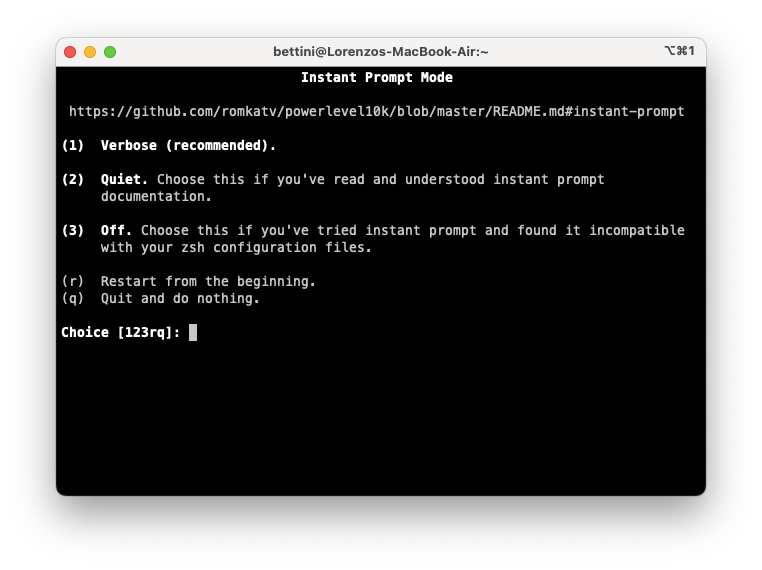
Here, I select the recommended option.
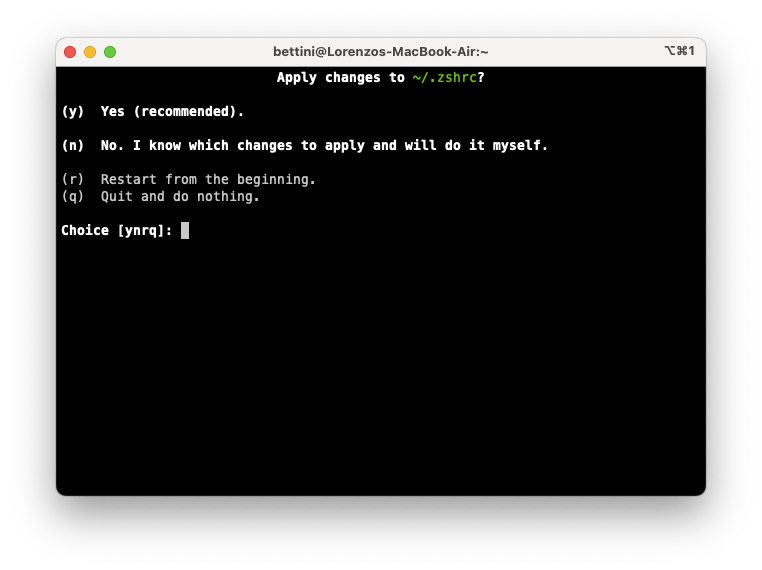
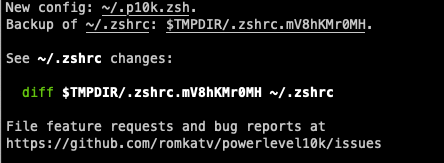
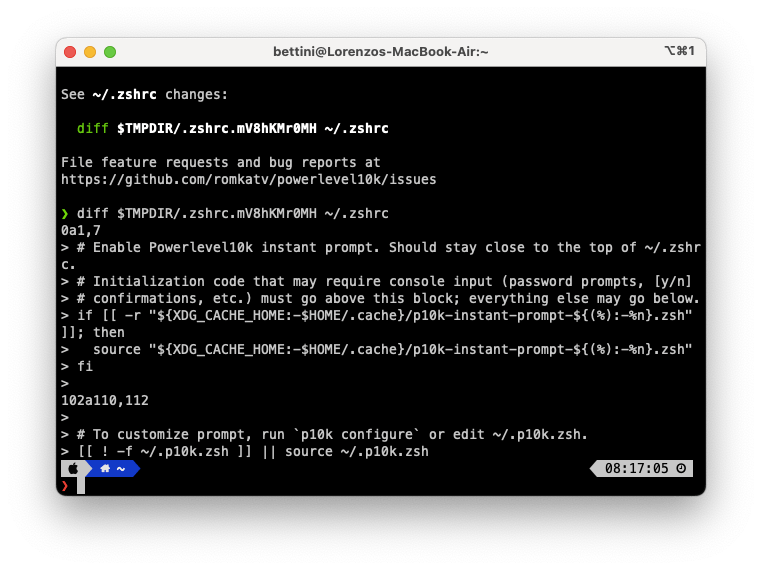
Again, I let the configuration process change the ~/.zshrc file. You can then inspect the changes made as suggested:
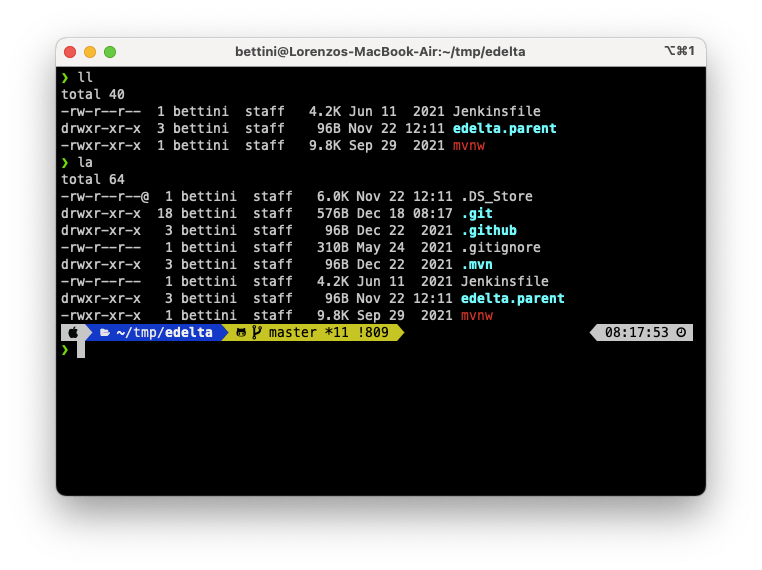
Here’s an example of a nice-looking prompt inside a directory with a GitHub repository:
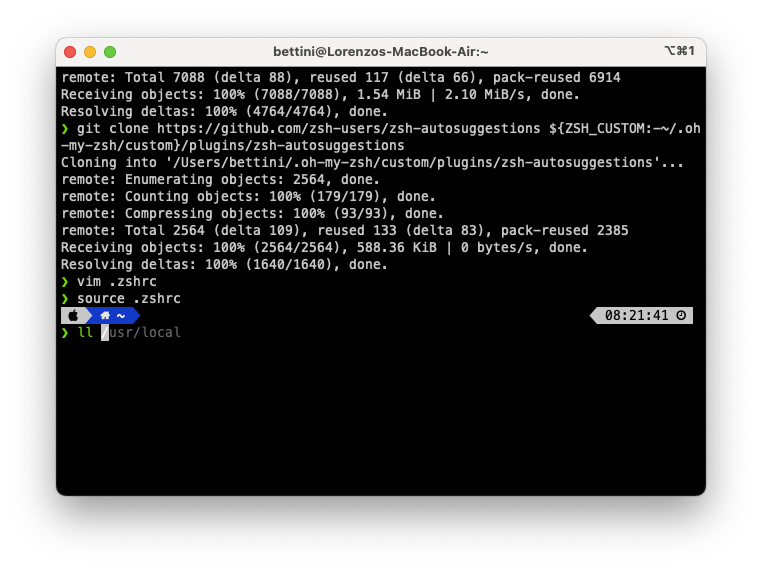
Now, I have installed two other useful plugins (to have syntax highlighting on the command line and to have suggested commands as you type based on history and completions):
git clone https://github.com/zsh-users/zsh-syntax-highlighting.git ${ZSH_CUSTOM:-~/.oh-my-zsh/custom}/plugins/zsh-syntax-highlighting git clone https://github.com/zsh-users/zsh-autosuggestions ${ZSH_CUSTOM:-~/.oh-my-zsh/custom}/plugins/zsh-autosuggestions |
The plug-ins must be enabled in the proper section of ~/.zshrc:
plugins=( ... exsiting plugins... zsh-syntax-highlighting zsh-autosuggestions |
Here, you can see the two plugins in action (note the syntax highlighting in green for correct commands and suggestions to complete the command):
I also like to have fzf, a general-purpose command-line fuzzy finder. This must be first installed as a program, e.g., with homebrew:
brew install fzf |
And then enable the corresponding plug-in:
plugins=( ... exsiting plugins... |
I also enable a few more standard plugins. This is my list of plugins in ~/.zshrc:
plugins=( zsh-syntax-highlighting zsh-autosuggestions zsh-interactive-cd zsh-navigation-tools |
Fzf has a few default shortcuts:
- CTRL-T – Paste the selected files and directories onto the command line
- CTRL-R – Paste the selected command from history onto the command line
- ALT-C – cd into the selected directory
Unfortunately, the last one (which is one of my favorites) does not work out of the box in iterm2 because the “option/alt” key does not act like “Meta” (as in Linux). This is documented in the FAQ:
Q: How do I make the option/alt key act like Meta or send escape codes?
A: Go to Preferences > Profiles tab. Select your profile on the left, and then open the Keyboard tab. At the bottom is a set of buttons that lets you select the behavior of the Option key. For most users, Esc+ will be the best choice.
If you don’t want to perform that change, you can use “ESC c” to achieve the same result.
That’s all! Enjoy your ZSH 
Like this:
Related
Recommend
About Joyk
Aggregate valuable and interesting links.
Joyk means Joy of geeK