
5

私有化GPT分析文档 -- LocalGPT
source link: https://blog.dreamtobe.cn/local_gpt_deploy/
Go to the source link to view the article. You can view the picture content, updated content and better typesetting reading experience. If the link is broken, please click the button below to view the snapshot at that time.

私有化GPT分析文档 -- LocalGPT - Jacks Blog
本文最后更新于:2023年12月30日 凌晨
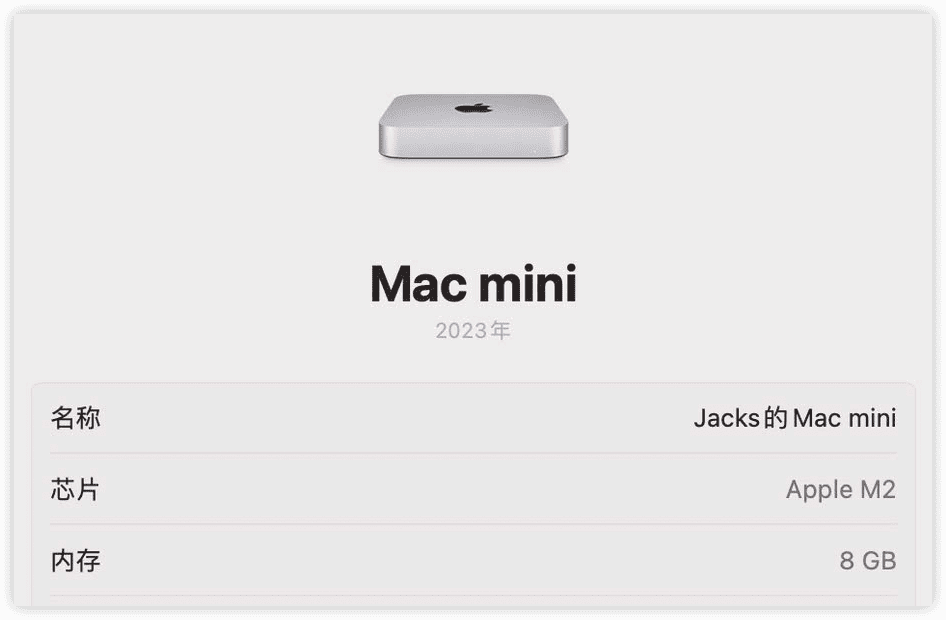
今天主要是通过localGPT这个开源框架,使用我家闲置的Mac Mini使用LLAMA-CPP模型,私有化部署并分析本地文档。

1. 克隆项目
git clone https://github.com/PromtEngineer/localGPT.git
2. 安装conda来做虚拟环境管理
conda create -n localGPT python=3.10.0
4. 启动localGPT的虚拟环境
conda activate localGPT

5. 安装依赖
pip install -r requirements.txt
6. 安装LLAMA-CPP:
CMAKE_ARGS="-DLLAMA_METAL=on" FORCE_CMAKE=1 pip install llama-cpp-python==0.1.83 --no-cache-dir
ROUTEROS至此已经安装完成。
配置与运行
1. 选择模型
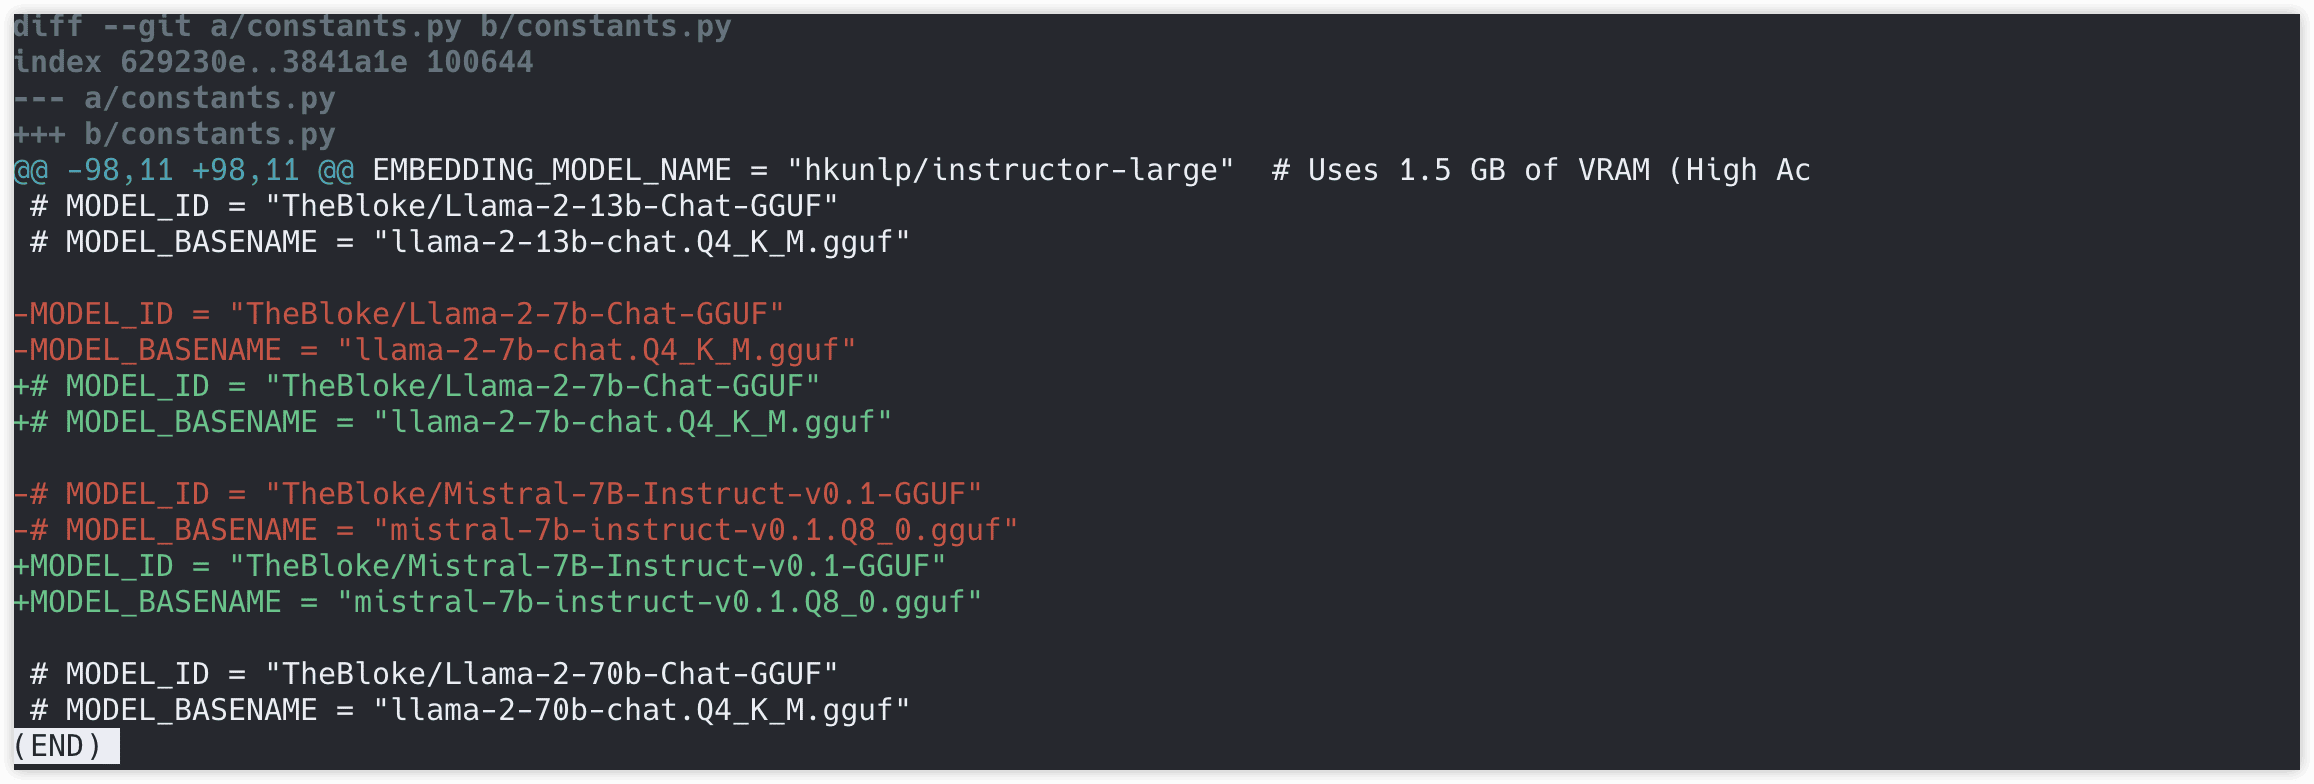
如果你希望修改想要的模型,就可以打开constants.py文件:

比如我换了一个模型:
2. 提取数据
通过执行,以下代码来提取默认的SOURCE_DOCUMENA目录下的所有文件内容:
python ingest.py --device_type mps

你可以将你想要提取的文件放在该目录下,然后重新提取。
3. 下载模型并且在命令行中执行
python run_localGPT.py --device_type mps
执行后就可以在Terminal中直接询问了:

Recommend
About Joyk
Aggregate valuable and interesting links.
Joyk means Joy of geeK