

Vagrant 没了 VirtualBox 的话可以配 Qemu
source link: https://yanbin.blog/vagrant-leave-virtualbox-for-qemu/
Go to the source link to view the article. You can view the picture content, updated content and better typesetting reading experience. If the link is broken, please click the button below to view the snapshot at that time.

Vagrant 没了 VirtualBox 的话可以配 Qemu
开源虚拟机软件 VirtualBox 从当初不可一世的 Sun 易手到 Oracle 之间,变得不那么被许多公司信任了。之前一直是用 Vagrant 搭配 VirtualBox 在 Mac 下使用 Linux 虚拟机,因为不需要用到 Linux 桌面,用 Vagrant 操作虚拟机非常方便。但现在不得不要考虑别的方式,那就是 Vagrant + Qemu。Vagrant 的默认 Provider 是 VirtualBox, 我们搜索 Vagrant Box https://app.vagrantup.com/boxes/search 的时候,注意到 Vagrant 其实支持的 Provider 是一个很长的列表:
aws, cloudstack, digitalocean, docker, google, hyperv, libvirt, lxc, openstack, parallels, qemu, rackspace, softlayer, veertu, virtubalbox, vmware, vmware_desktop, vmware_fusion, vmware_ovf, vmware_workstation, vsphere, xenserver
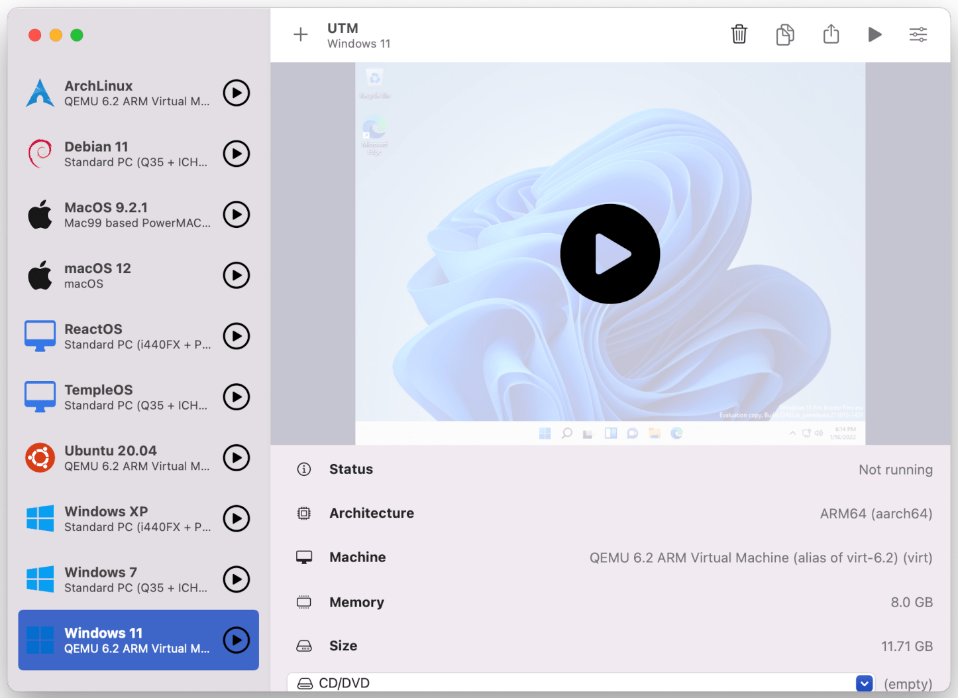
有些尚未听说过,还有一些虽说支持,但别人提供的相应的 box 不多,Qemu 还算不错的 virtualbox 的替代品。Qemu 也是一款开源的虚拟机软件,它支持 Linux, macOS 和 Windows 平台,但它本身未提供友好的 UI 工具,所以创建一个 Qemu 虚拟机的命令会让人畏而却步。在 macOS 下有一个 Qemu 的 UI 工具 UTM
Qemu 像 VirtualBox 一样可支持多种操作系统,而且还不限于当前的 CPU 架构,还能模拟不同的 CPU 架构,如运行在 x86 上,可模拟 Arm, RISC-V 等,当然 Arm 等别的 CPU 下也能模板 x86 架构。
有了 UTM 使用 Qemu 也很方便,如果无需操作系统桌面,如运行 Linux Server 版本,那可用 Vagrant + Qemu 组合,也用不着 UTM。
下面来体验下在 macOS 下如何安装使用 Vagrant + Qemu,所用平台是 MacBook Pro 2019, Intel 芯片, OS 为 macOS Ventura - Version 13.6
brew install qemu
brew install vagrant
vagrant plugin update
vagrant plugin install vagrant-qemu
初始始 box
vagrant init -m generic/ubuntu2004
这时会在当前目录下生成 Vagrantfile
# -*- mode: ruby -*- # vi: set ft=ruby : Vagrant.configure("2") do |config| config.vm.box = "generic/ubuntu2004" |
还需对 Vagrantfile 进行修改为
Vagrant.configure("2") do |config| config.vm.box = "generic/ubuntu2004" config.vm.provider :qemu do |qe| qe.arch = "x86_64" qe.machine = "q35" qe.cpu = "qemu64" qe.net_device = "virtio-net-pci" qe.qemu_dir = '/usr/local/share/qemu' config.vm.provider "qemu" |
qe.qemu_dir 的值可通过命令以下命令获得
echo
brew --prefix/share/qemu
启动命令 vagrant up
Bringing machine 'default' up with 'qemu' provider...
==> default: Checking if box 'generic/ubuntu2004' version '4.3.8' is up to date...
==> default: Machine already provisioned. Runvagrant provisionor use the--provision
==> default: flag to force provisioning. Provisioners marked to run always will still run.
ssh 连接 vagrant ssh
vagrant ssh
Last login: Sat Dec 23 05:41:48 2023 from 10.0.2.2
vagrant@ubuntu2004:~$
但得来上面的结果可不是一帆风顺的,比如启动时的各种错误
Invalid config.
Error: Invalid qemu dir: /opt/homebrew/share/qemu
Stderr: qemu-system-x86_64: unsupported machine type
Stderr: qemu-system-aarch64: invalid accelerator hvf
Stderr: qemu-system-x86_64: CPU model 'host' requires KVM or HVF
其实一切的错误根源都都冲着 Qemu 而去的,也就是命令 qemu-system-x86_64, 像
qemu-system-x86_64 --help
qemu-system-x86_64 -machine help # 列出所有支持的 machine
qemu-system-x86_64 -cpu help # 列出 cpu mode
把错误信息发问到 ChatGPT, 它仍然发扬着一本正经胡说八道的作风,完全得不到我想要的答案。最有效的还是 Vagrant QEMU Provider 的官方文档 https://github.com/ppggff/vagrant-qemu/tree/v0.3.5?tab=readme-ov-file
如果不在 Vagrantfile 文件中用
config.vm.provider "qemu"
指定 provider 是 qemu 的话,就必须 vagrant up 指定 provider, 如
vagrant up --provider qemu
或者用 VAGRANT_DEFAULT_PROVIDER 环境变量修改 provider, 如
export VAGRANT_DEFAULT_PROVIDER=qemu
vagrant up
当然,方便起见可把环境变量 VAGRANT_DEFAULT_PROVIDER 定义移入 shell 的相应配置文件中,如 .zshrc, .bashrc 等。
如果 vagrant up 不指定 --provider qemu, 就会默认尝试用 virtualbox 或 libvirt, 因为本机没有安装 VirtualBox, 所以直接 vagrant up 会失败
vagrant up
Bringing machine 'default' up with 'libvirt' provider...
Error while connecting to Libvirt: Error making a connection to libvirt URI qemu:///system:
Call to virConnectOpen failed: Failed to connect socket to '/usr/local/var/run/libvirt/virtqemud-sock': No such file or directory
在执行 vagrant plugin install vagrant-qemu 出现过错误
Unable to resolve dependency: user requested 'vagrant-libvirt (= 0.12.0)'
执行 vagrant plugin update 可解决。
看来 Qemu 本身还依赖于 Libvirt, 而 libvirt 也是 Vagrant 所支持的 provider 的一种,应该可以用 Vagrant + Libvert 的方式, 参见 GitHub 的 vagrant-libvirt 项目 。
当前配置从宿主机无法访问到虚拟机,可以使用端口映射或桥接的网络配置方式,留待以后再细究吧。
Recommend
-
68
README.md helm-tramp
-
43
README.md #Vagrant TRAMP Synopsis vagrant-tramp adds an Emacs TRAMP method for Vagrant
-
67
Docker took the software development industry by storm, greatly changing the way we develop the software. However, Vagrant is still a viable option. What are the pros and cons of each tool? "Works on my computer"...
-
2
Install Vagrant and VirtualBox on Fedora 34/33/32/31/30/29Let’s look at how you can Install Vagrant and VirtualBox on Fedora 34/33/32/31/30/29 Linux system. Vagrant is an open source tool for building and managing virtual machine environment...
-
5
Run CentOS 8 VM using Vagrant on KVMSearch ComputingForGeeksHow to create a CentOS 8 VM using Vagrant?, how...
-
26
How to set Default Vagrant Provider to Virtualbox on Linux; Fedora,Debian,UbuntuSearch ComputingForGeeks
-
7
How To Install Fedora on Physical ServerSearch ComputingForGeeksFedora operating system gets a new release e...
-
7
How to add,install and run CentOS 7 Vagrant box to Virtualbox using VagrantHello guys. Today we’ll look at How to install centos 7 box with vagrant on virtualbox. Below are the steps to follow1) First download the Centos 7 vagrant box f...
-
14
Set Default Vagrant Provider to Virtualbox on Linux; Fedora,Debian,UbuntuI have been using Vagrant to manage my Virtual Machines for a long time now. Vagrant provides you with such cool Virtual Machines control system. While trying to create...
-
5
~ From WampServer, to Vagrant, to QEMU Posted on Tue 8 2022 to Programming ...
About Joyk
Aggregate valuable and interesting links.
Joyk means Joy of geeK