
使用Kuboard快速部署Kubernetes集群
source link: https://jasonkayzk.github.io/2023/12/14/%E4%BD%BF%E7%94%A8Kuboard%E5%BF%AB%E9%80%9F%E9%83%A8%E7%BD%B2Kubernetes%E9%9B%86%E7%BE%A4/
Go to the source link to view the article. You can view the picture content, updated content and better typesetting reading experience. If the link is broken, please click the button below to view the snapshot at that time.

之前的文章中提到过如何在CentOS上手动部署Kubernetes集群,这种方式需要修改大量系统参数,并且需要自行安装大量软件比较麻烦;
而KuboardSpray提供了图形化界面,可以迅速的安装并管理Kubernetes集群;
系列文章:
官方文档:
使用Kuboard快速部署Kubernetes集群
前言
本次要部署的Kubernetes集群配置如下:
- control-plane: ubuntu-1
- worker: ubuntu-2
- worker: ubuntu-3
同时,还需要一台机器安装 Kuboard-Spray,以执行 Ansible 脚本进行安装;
这里使用的操作系统都是 Ubuntu 22.04.3;
注意:需要使用 Kuboard-Spray 支持的操作系统进行安装,否则 Ansible 检测会报错!
例如:不能使用 Debian!
前期准备
安装 Kuboard-Spray
对于安装 Kuboard-Spray 的机器,只需要安装 Docker,并且创建 Kuboard-Spray 容器即可:
docker run -d \
  --privileged \
  --restart=unless-stopped \
  --name=kuboard-spray \
  -p 80:80/tcp \
  -v /var/run/docker.sock:/var/run/docker.sock \
  -v ~/kuboard-spray-data:/data \
  eipwork/kuboard-spray:latest-amd64
  # 如果抓不到这个镜像,可以尝试一下这个备用地址:
  # swr.cn-east-2.myhuaweicloud.com/kuboard/kuboard-spray:latest-amd64
在浏览器打开地址 http://这台机器的IP,输入用户名 admin,默认密码 Kuboard123,即可登录 Kuboard-Spray 界面;
创建Ubuntu集群机器
这里的 Ubuntu 集群机器可以是真实的物理机,也可以是 VMWare 或者 KVM 创建的虚拟机;
需要保证三台机器为:
- 静态 IP
- 互相能 ping 通
- 修改了各自的 hostname
- 在 hosts 中添加了解析
以 ubuntu-1 为例:
# 1:静态IP
$ cat /etc/netplan/00-installer-config.yaml

# This is the network config written by 'subiquity'
network:
  ethernets:
    ens33:
      addresses:
      - 192.168.31.201/24
      nameservers:
        addresses:
        - 8.8.8.8
        search:
        - 8.8.8.8
      routes:
      - to: default
        via: 192.168.31.1
  version: 2

# 2:修改hostname
$ cat /etc/hostname

ubuntu-1

# 3:hosts添加解析
cat /etc/hosts
127.0.0.1 localhost localhost.localdomain
127.0.1.1 ubuntu-1

# The following lines are desirable for IPv6 capable hosts
::1 ip6-localhost ip6-loopback localhost6 localhost6.localdomain
fe00::0 ip6-localnet
ff00::0 ip6-mcastprefix
ff02::1 ip6-allnodes
ff02::2 ip6-allrouters

192.168.31.201 ubuntu-1
192.168.31.202 ubuntu-2
192.168.31.203 ubuntu-3
测试 ping:
root@ubuntu-1:~# ping ubuntu-1
PING ubuntu-1 (127.0.1.1) 56(84) bytes of data.
64 bytes from ubuntu-1 (127.0.1.1): icmp_seq=1 ttl=64 time=0.050 ms
64 bytes from ubuntu-1 (127.0.1.1): icmp_seq=2 ttl=64 time=0.030 ms
^C
--- ubuntu-1 ping statistics ---
2 packets transmitted, 2 received, 0% packet loss, time 1015ms
rtt min/avg/max/mdev = 0.030/0.040/0.050/0.010 ms

root@ubuntu-1:~# ping ubuntu-2
PING ubuntu-2 (192.168.31.202) 56(84) bytes of data.
64 bytes from ubuntu-2 (192.168.31.202): icmp_seq=1 ttl=64 time=0.215 ms
64 bytes from ubuntu-2 (192.168.31.202): icmp_seq=2 ttl=64 time=0.168 ms
^C
--- ubuntu-2 ping statistics ---
2 packets transmitted, 2 received, 0% packet loss, time 1012ms
rtt min/avg/max/mdev = 0.168/0.191/0.215/0.023 ms

root@ubuntu-1:~# ping ubuntu-3
PING ubuntu-3 (192.168.31.203) 56(84) bytes of data.
64 bytes from ubuntu-3 (192.168.31.203): icmp_seq=1 ttl=64 time=0.189 ms
64 bytes from ubuntu-3 (192.168.31.203): icmp_seq=2 ttl=64 time=0.152 ms
^C
--- ubuntu-3 ping statistics ---
2 packets transmitted, 2 received, 0% packet loss, time 1019ms
rtt min/avg/max/mdev = 0.152/0.170/0.189/0.018 ms
保证这些即可,其他配置都不需要修改,kubeadm 等工具也会由 Ansible 脚本安装!
正式安装
加载离线资源包
根据官方文档导入 Kuboard-Spray 离线资源包即可!
官方文档:
规划并安装集群
在 Kuboard-Spray 界面中,导航到 集群管理 界面,点击 添加集群安装计划 按钮;
配置集群名称、资源包;
然后根据文档配置节点信息,最后保存并执行即可!
官方文档:
安装完成
等待 Ansible 执行结束,Kubernetes 集群就部署完成了!
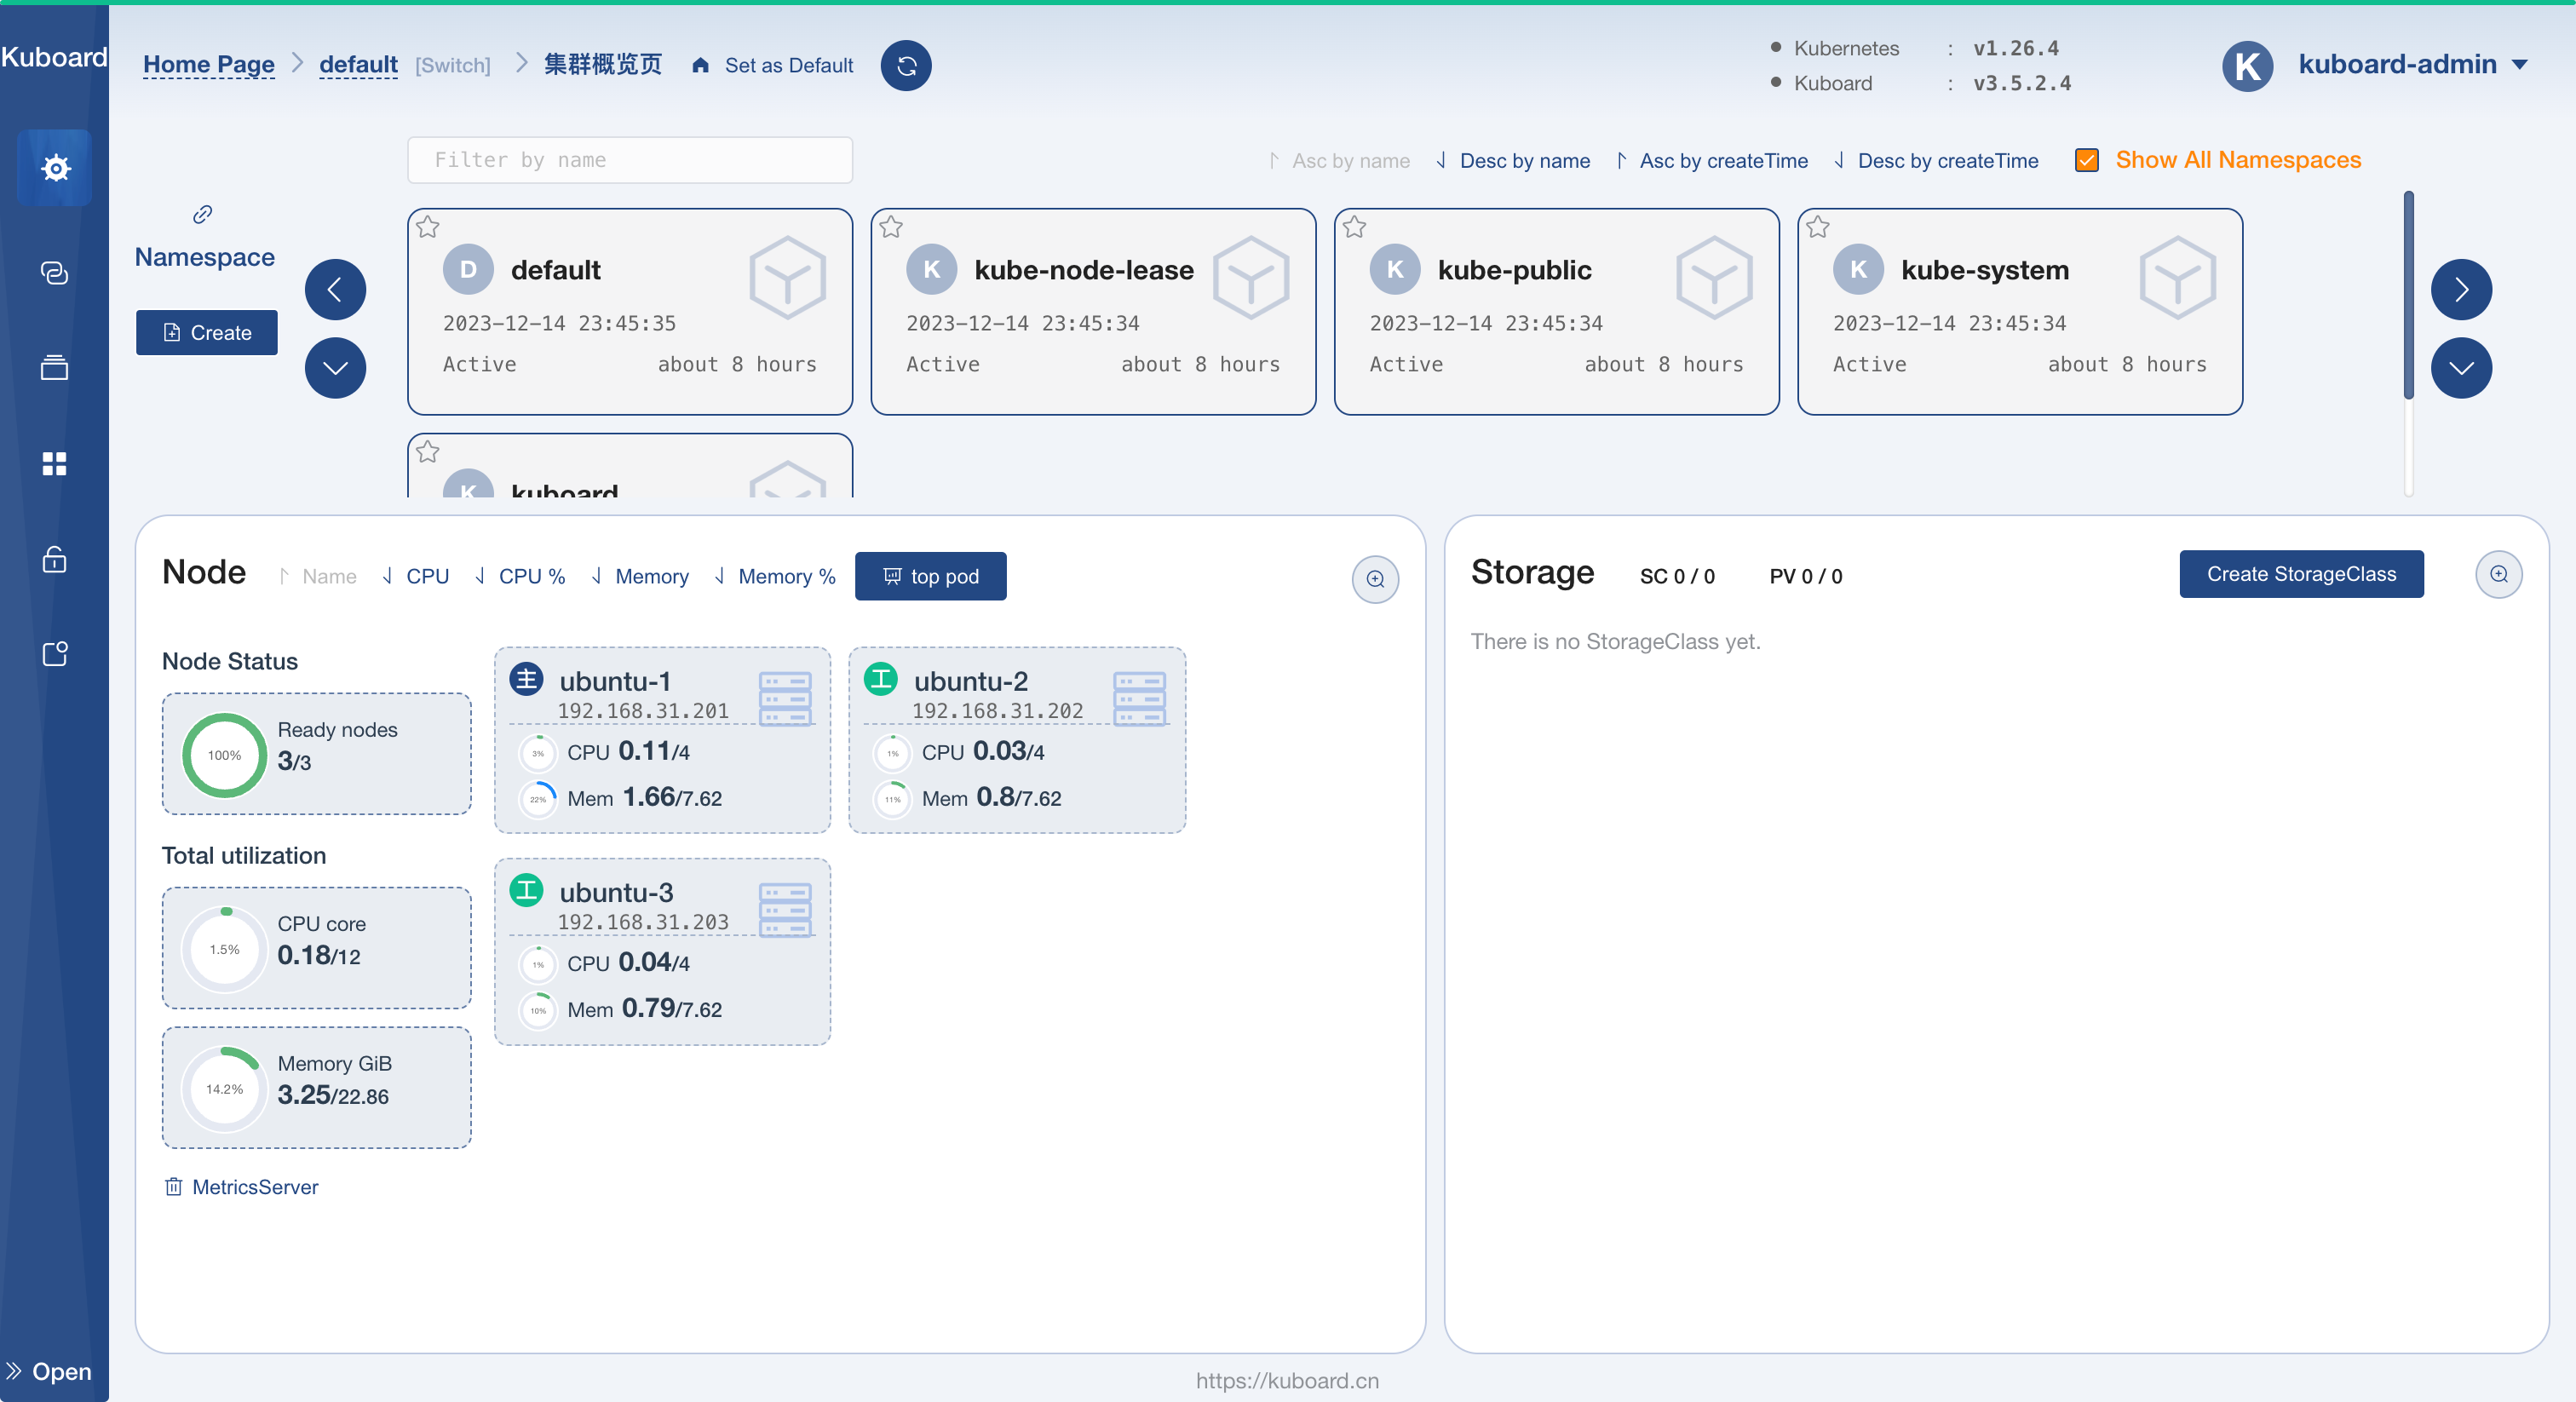
可以通过在 Kuboard-Spray 访问集群 标签页查看访问集群的方式;
我使用的是访问 control-plane 上部署的 Kuboard 的方式,访问:
http://<control-plane-ip>即可!
即完成了 Kubernetes 的集群部署;
Have fun!
附录
系列文章:
官方文档:
Recommend
About Joyk
Aggregate valuable and interesting links.
Joyk means Joy of geeK
