

How to Install Apache Cassandra on Ubuntu
source link: https://www.geeksforgeeks.org/how-to-install-apache-cassandra-on-ubuntu/
Go to the source link to view the article. You can view the picture content, updated content and better typesetting reading experience. If the link is broken, please click the button below to view the snapshot at that time.

How to Install Apache Cassandra on Ubuntu
Apache Cassandra is an open-source NoSQL database engine with fault tolerance, linear scalability, and consistency across many nodes. Apache Cassandra’s distributed architecture allows it to manage massive amounts of data with dynamo-style replication. When replicas are kept on several nodes in a cluster, high availability and zero points of failure are achieved. Apache Cassandra is suited for IoT applications that collect large amounts of data. It’s also useful in applications like social media analytics, messaging services, and shopping. In this article, we will be going through the installation process of Apache Cassandra in the Ubuntu system.
Installation of Apache Cassandra on Ubuntu
Step 1: In this step, we will check whether the java environment is set up or not.
java --version
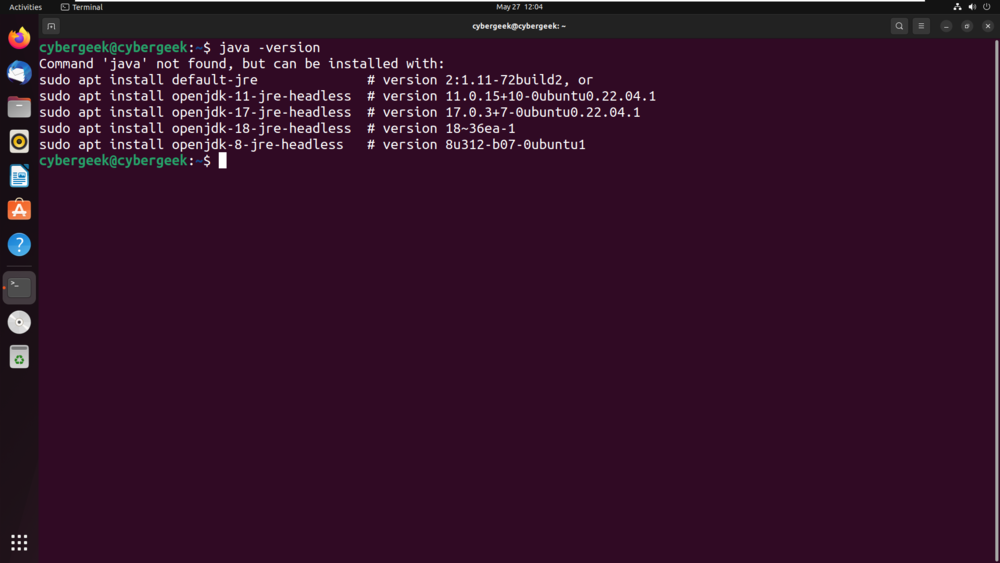
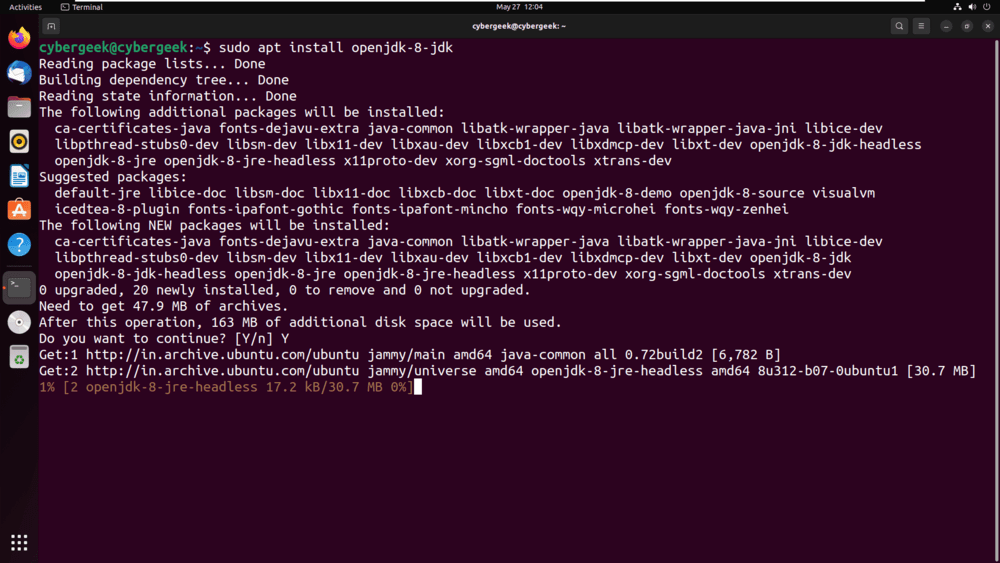
Step 2: As the java environment is not available on the system, we will install openjdk-8-jdk using the below command.
sudo apt install openjdk-8-jdk
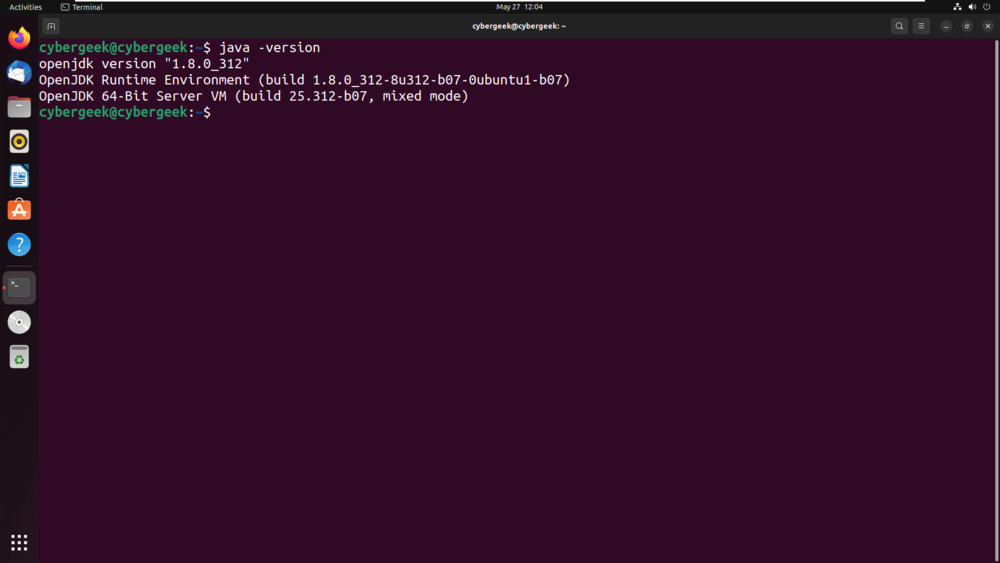
Step 3: Now, once again check the java version to verify the installation.
java -version
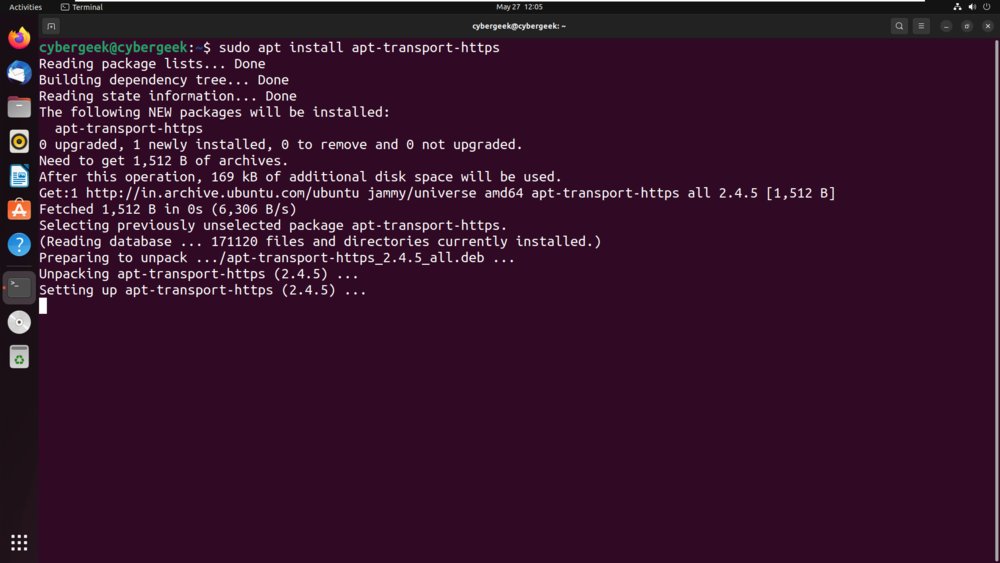
Step 4: Install the apt-transport-https package to permit access of repositories via the HTTPS protocol.
sudo apt install apt-transport-https
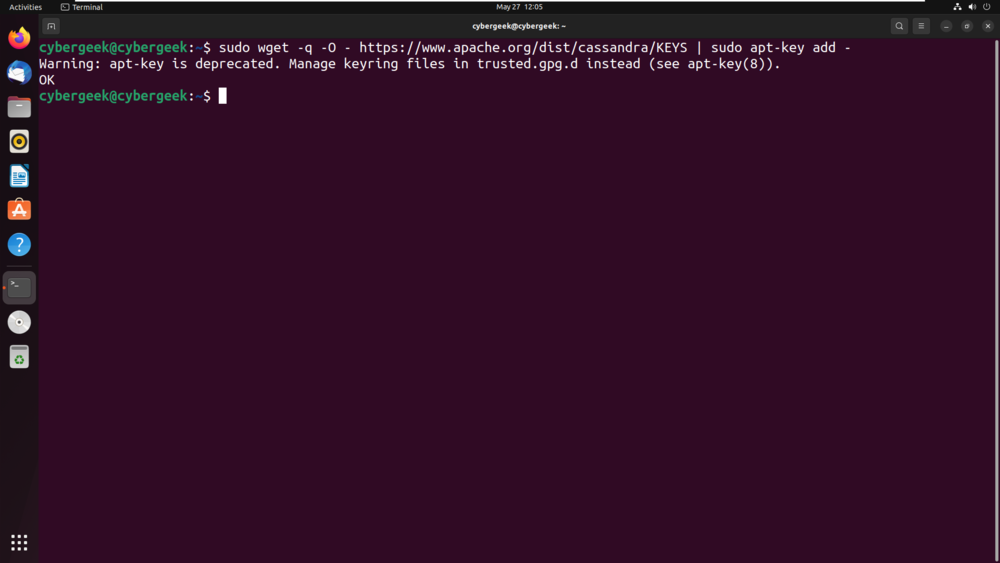
Step 5: Import the GPG key using the following wget command shown in the below screenshot.
wget -q -O – https://www.apache.org/dist/cassandra/KEYS | sudo apt-key add –
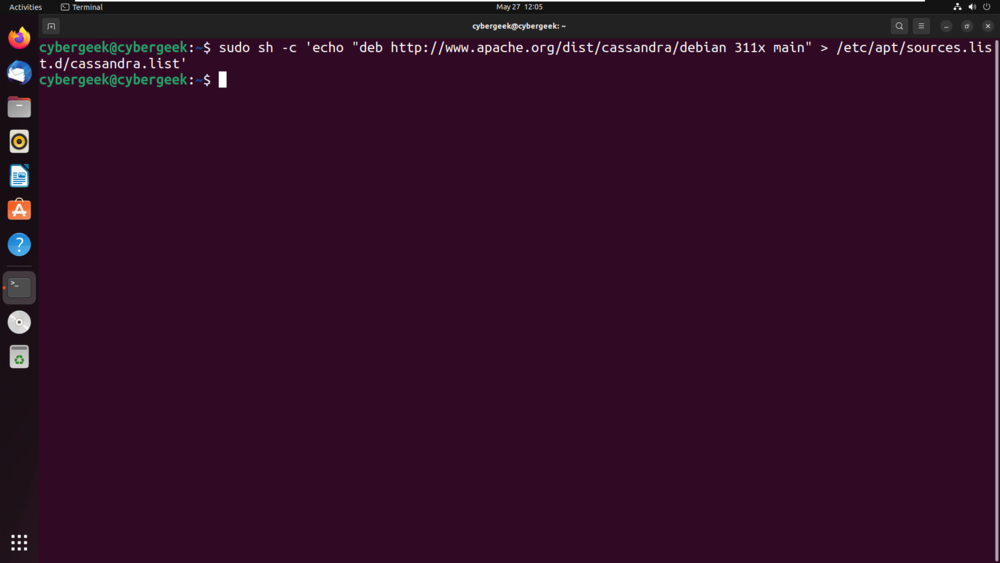
Step 6: Now, we will add Apache Cassandra’s repository to the system’s sources list file by using the below command.
sudo sh -c ‘echo “deb http://www.apache.org/dist/cassandra/debian 311x main” > /etc/apt/sources.list.d/cassandra.list’
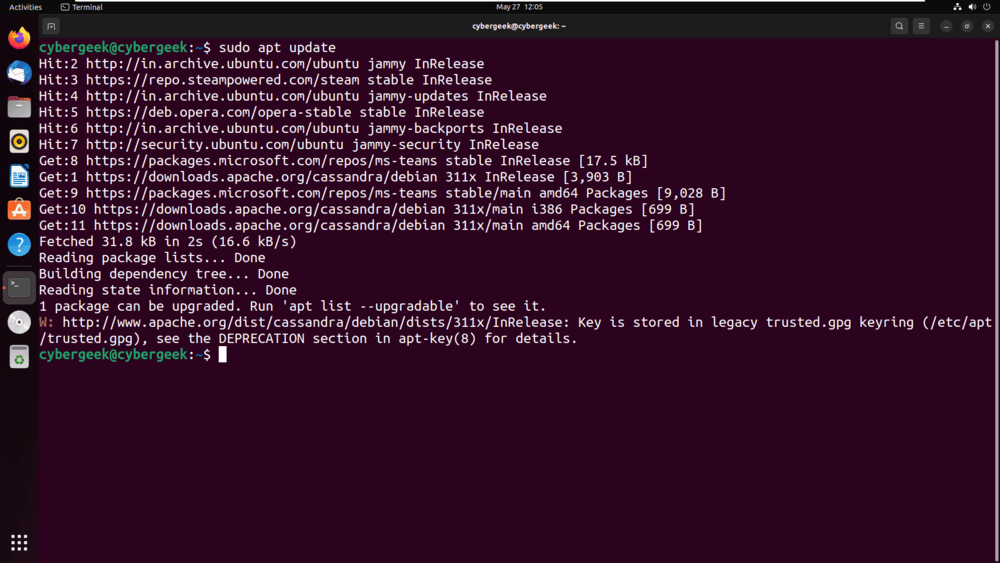
Step 7: Update the repositories by using the below command.
sudo apt update
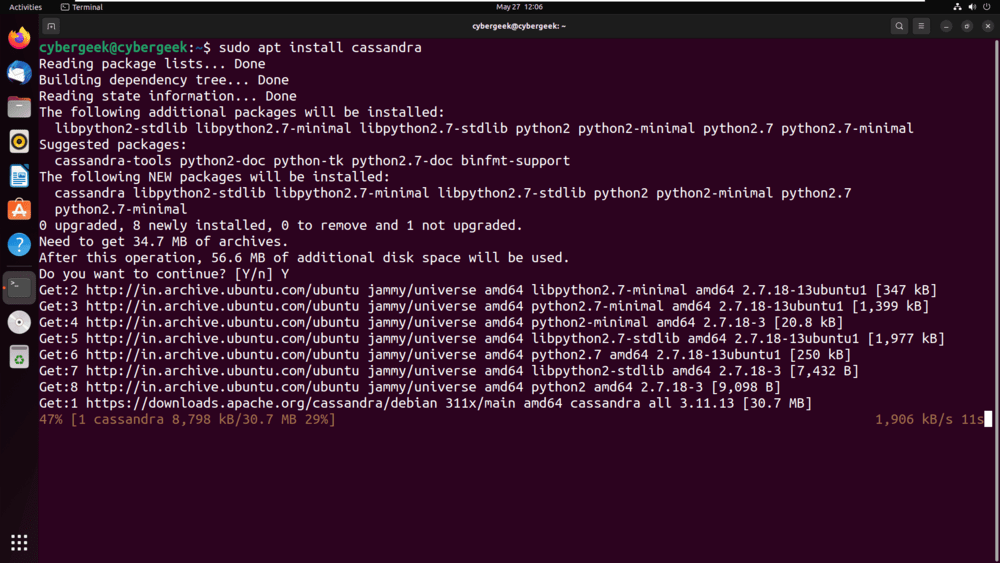
Step 8: Now, install the Cassandra via the apt manager. Run the below command to install the application.
sudo apt install cassandra
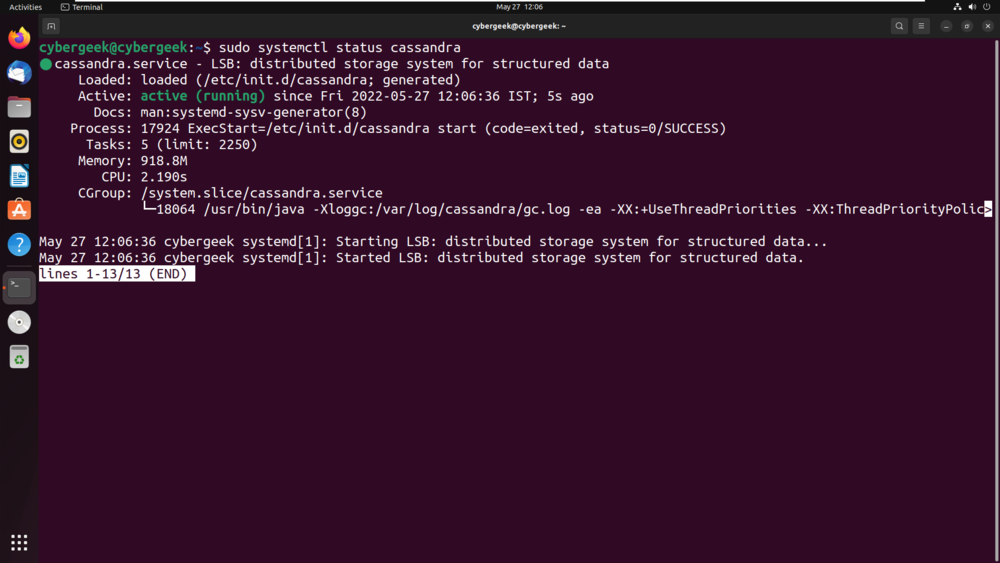
Step 9: Check the status of the Cassandra service.
sudo systemctl status cassandra
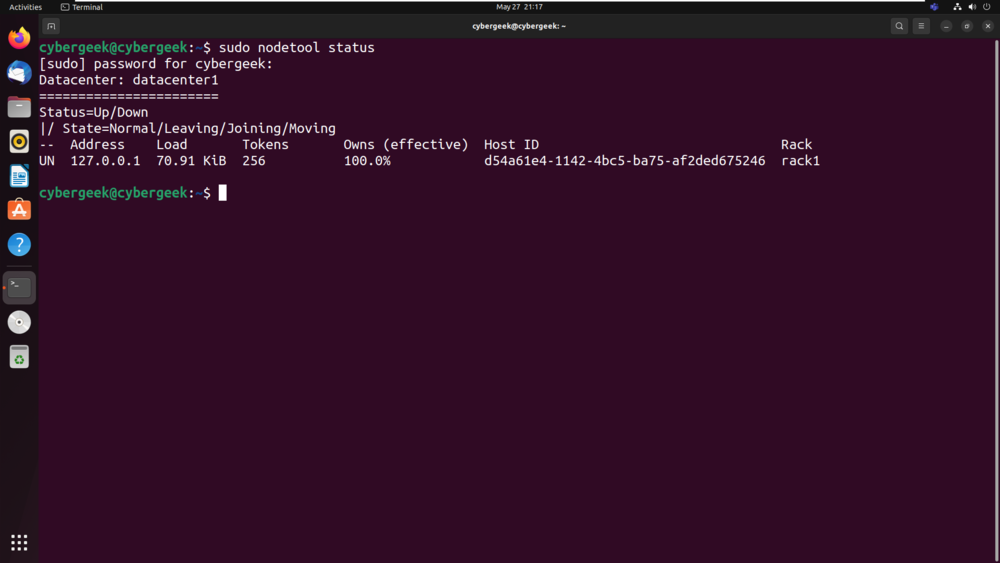
Step 10: Now, verify the stats of your node by running the command.
sudo nodetool status
Configuring Apache Cassandra in Ubuntu
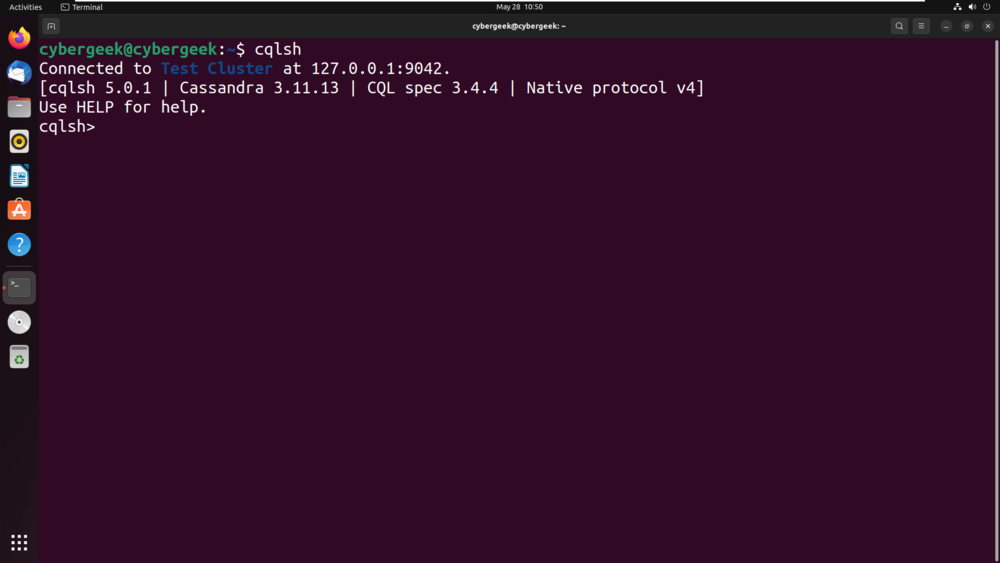
Step 1: Log in to Cassandra for changing the cluster name. Here the default cluster name is “Test Cluster“.
cqlsh
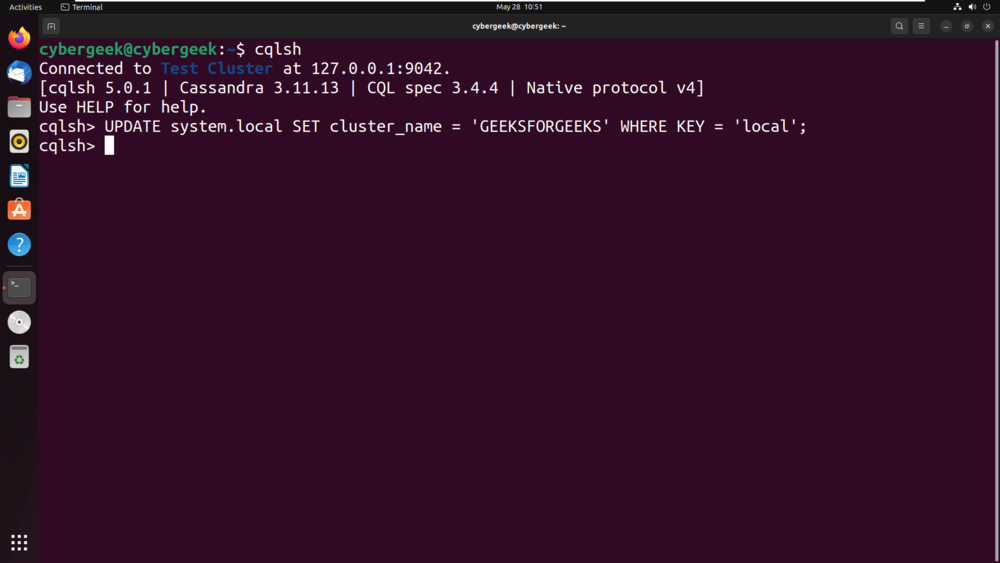
Step 2: To set the Cluster name to our own preference, run the command shown below in the screenshot. We have given the cluster name “GEEKSFORGEEKS“.
UPDATE system.local SET cluster_name = ‘GEEKSFORGEEKS’ WHERE KEY = ‘local’;
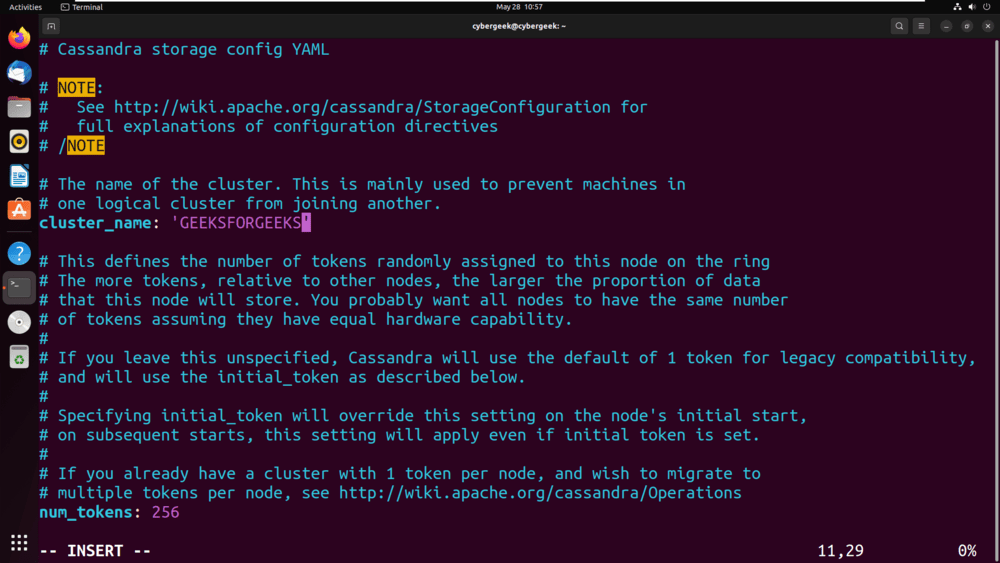
Step 3: Open the yaml or configuration file to see the changes in the cluster name.
sudo vim /etc/cassandra/cassandra.yaml
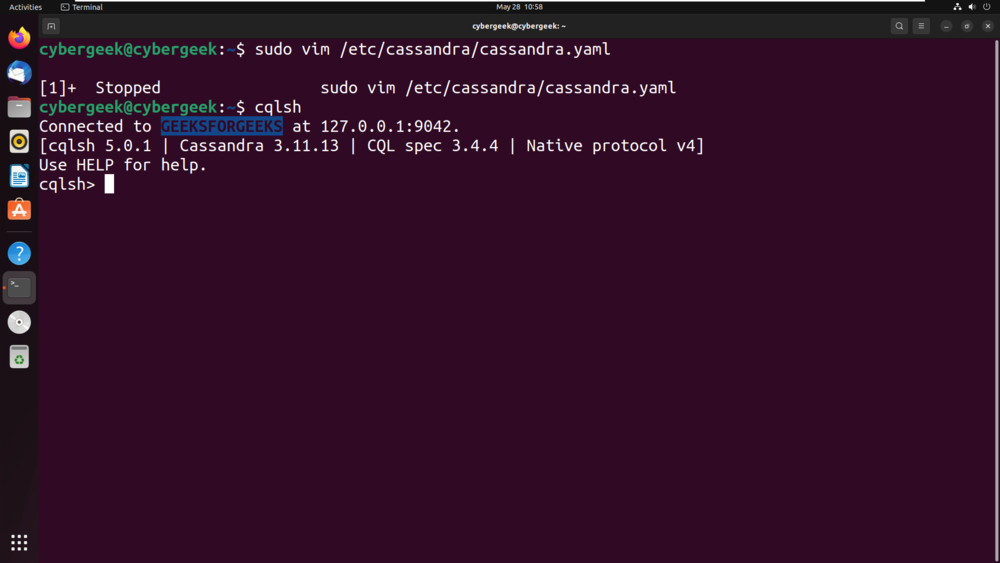
Step 4: Now once again run the Cassandra shell command to see the new cluster name in the terminal.
cqlsh
Recommend
About Joyk
Aggregate valuable and interesting links.
Joyk means Joy of geeK