

Get Started with Copilot on Microsoft Power Apps
source link: https://techcommunity.microsoft.com/t5/educator-developer-blog/get-started-with-copilot-on-microsoft-power-apps/ba-p/3897524
Go to the source link to view the article. You can view the picture content, updated content and better typesetting reading experience. If the link is broken, please click the button below to view the snapshot at that time.

Get Started with Copilot on Microsoft Power Apps
Copilot is an AI feature that allows you describe what you need in plain English. In Microsoft Power Apps, this gives you the opportunity to describe what type of app you need and what data the app should collect. Copilot builds a responsive Canvas Apps application and through the processing of building, it creates a Dataverse Table with columns and populated sample data. An environment deployed in the United States region and English language (United States) is required to use Copilot in your Power Apps Environment.
In this blog post, I will be showing you how to create a new environment deployed in the United States region and how to create a Leave Management Application using Copilot. For this blog post I am using a Microsoft 365 Developer Account which is free

Step by Step Process
Create an environment and deploy the environment in United States
Step 1
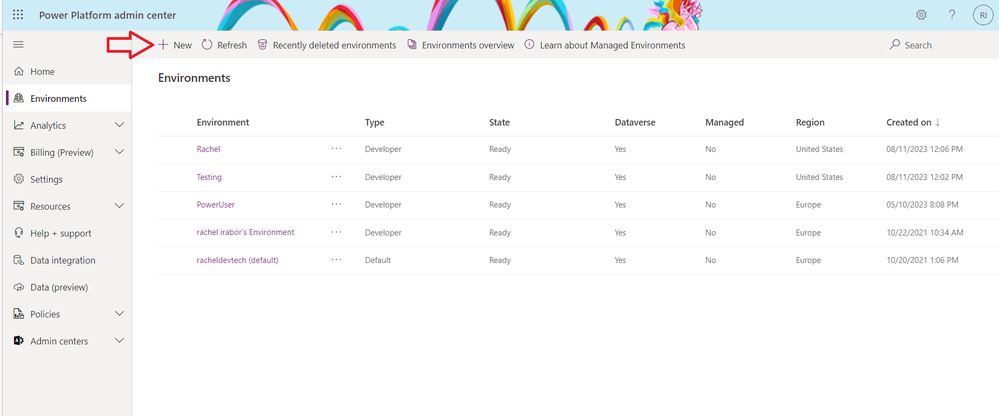
Login into Power Platform Admin center
Step 2
At the left hand side, click on Environment

Step 3
Click on New
Step 4
After clicking on New, at the right hand side, Enter the name of the Environment on Name
BlogPost-Testing- Select United State as the region
- This step is a little tricky here, turn on Add a Dataverse data store
- Select Developer on Environment
- Click on Next

Step 5
After clicking on Next
- Language selected should be English Language (United States)
- On currency, select the currency you need.
- Turn on Deploy sample apps and data? to Yes
- Click on Save

Developer environment in a Microsoft 365 Developer Account has limitation on the number of environments that can created, so please take notice of it. After creating the environment, I had an error message. I had to delete the environment that I was not using and start the process of recreating another developer environment.
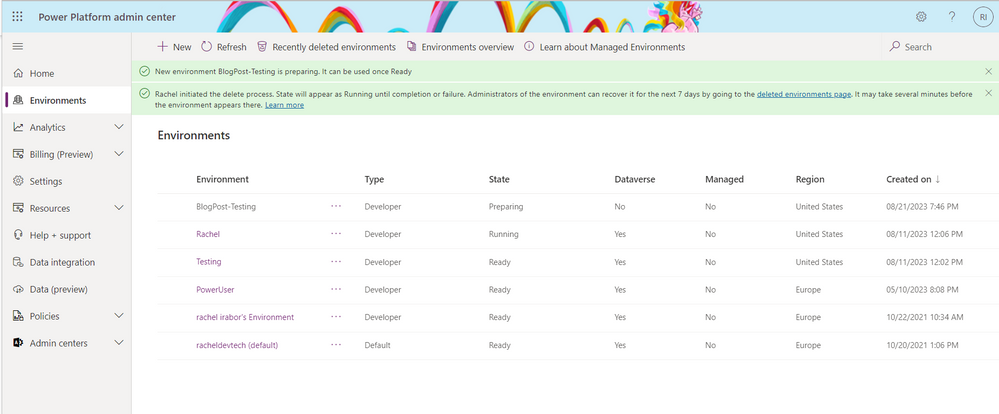
Let’s continue, after clicking on Save. Wait for a few minutes for the state of the new Environment to change to Ready

Step 6
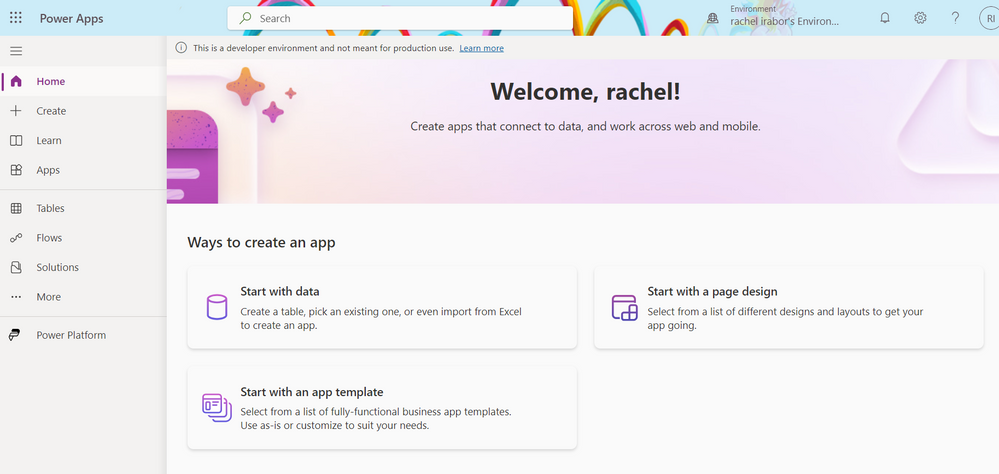
Login into Power Apps
Step 7
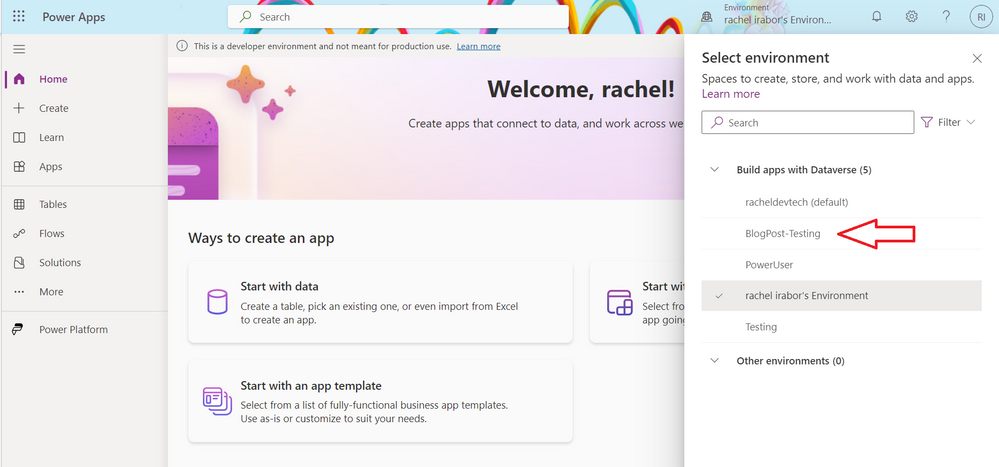
Change the environment to the newly created environment
Click on Environment

Step 8
Click on the newly created Environment
Step 9
You can easily use the options given to create your Application and have the experience of how it works.
But here we will be creating a Leave Management System Application.
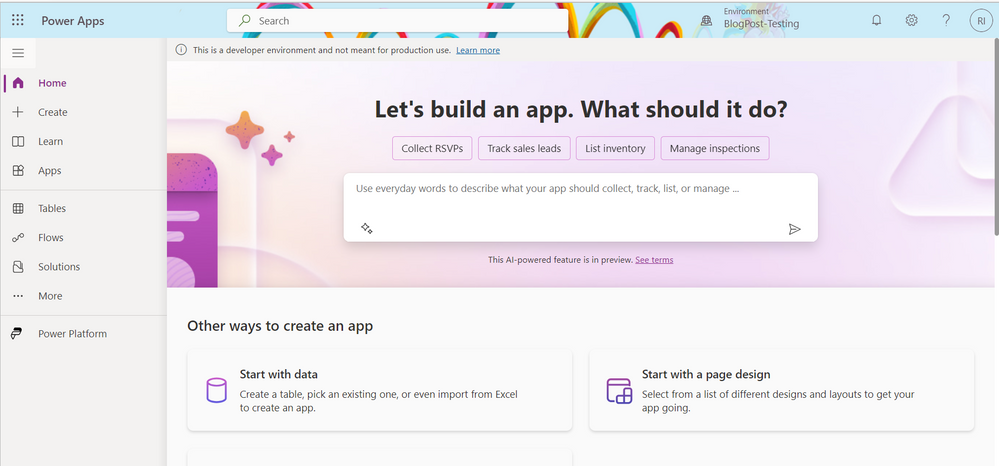

Step 10
On the text boxt, enter
Leave Management SystemWait for it to load
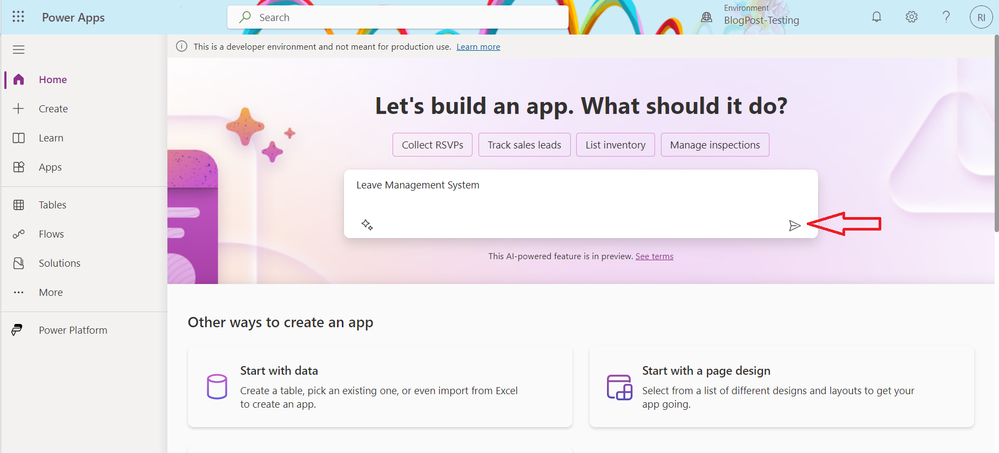

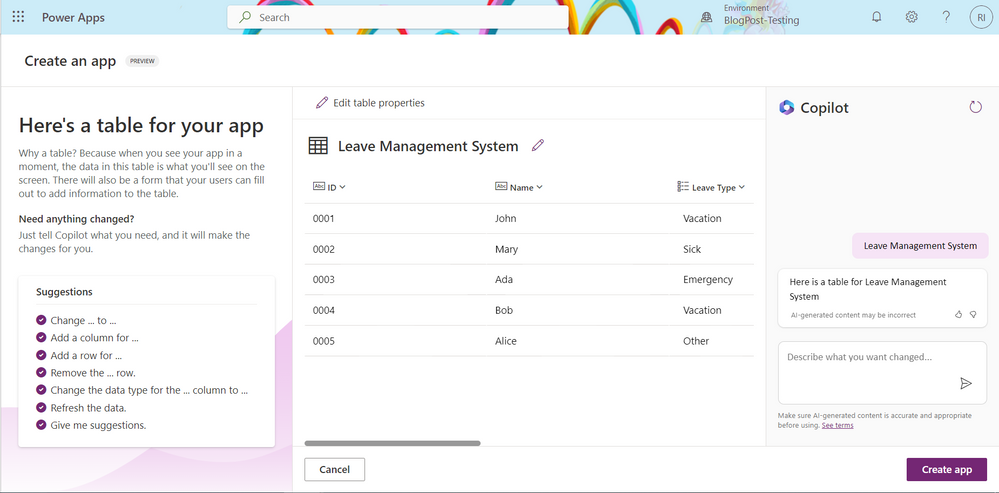
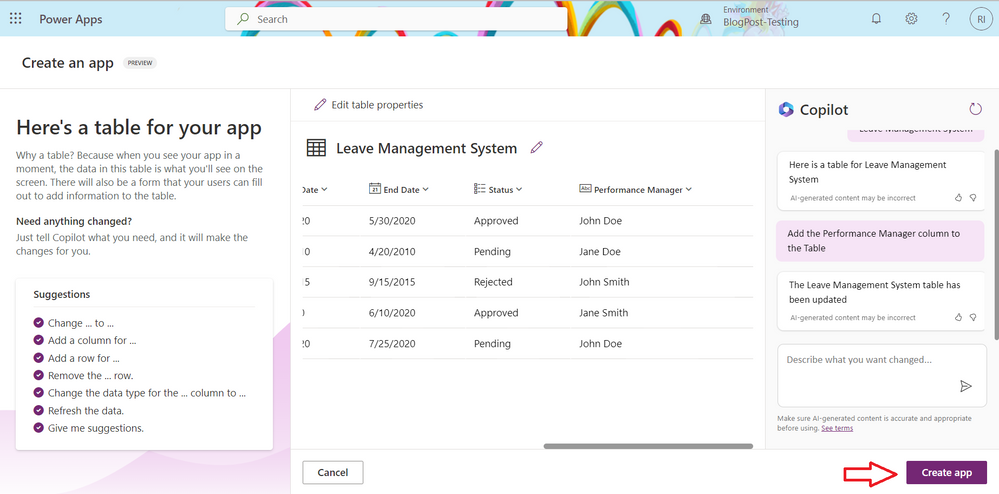
Copilot creates a Leave Management System Dataverse Table with columns and a few populated data in the columns.
Column that has been created
Leave Type
Start Date
End Date
Status
Reason
Comment
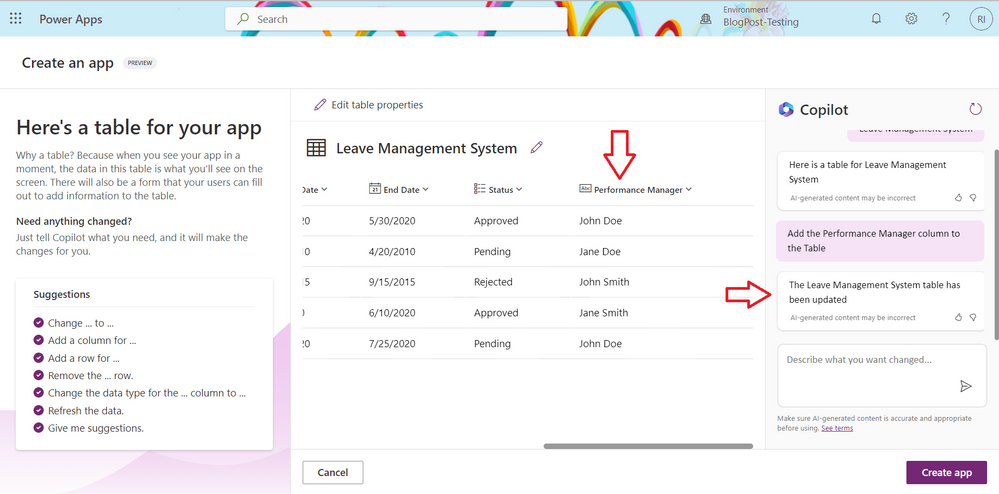
Let’s go ahead and create a new column by asking Copilot
Step 11
On the chat at the right hand side, describe the column you want added to the Dataverse Table
Here I used:
Add the Performance Manager Column to the TableNext, click on the icon

The new column, Performance Manager has been created.
Step 12
Click on Create app

This creates a responsive Canvas apps application that has a Form and Gallery on the same screen.

This video shows where you can enter the new data, edit the already existing data and delete the data.

Thank you for reading
Learning Resources
Recommend
About Joyk
Aggregate valuable and interesting links.
Joyk means Joy of geeK