

Stable Diffusion 硬核生存指南:WebUI 中的 GFPGAN
source link: https://soulteary.com/2023/08/04/stable-diffusion-hardcore-survival-guide-gfpgan-in-webui.html
Go to the source link to view the article. You can view the picture content, updated content and better typesetting reading experience. If the link is broken, please click the button below to view the snapshot at that time.

Stable Diffusion 硬核生存指南:WebUI 中的 GFPGAN
本篇文章聊聊 Stable Diffusion WebUI 中的核心组件,强壮的人脸图像面部画面修复模型 GFPGAN 相关的事情。
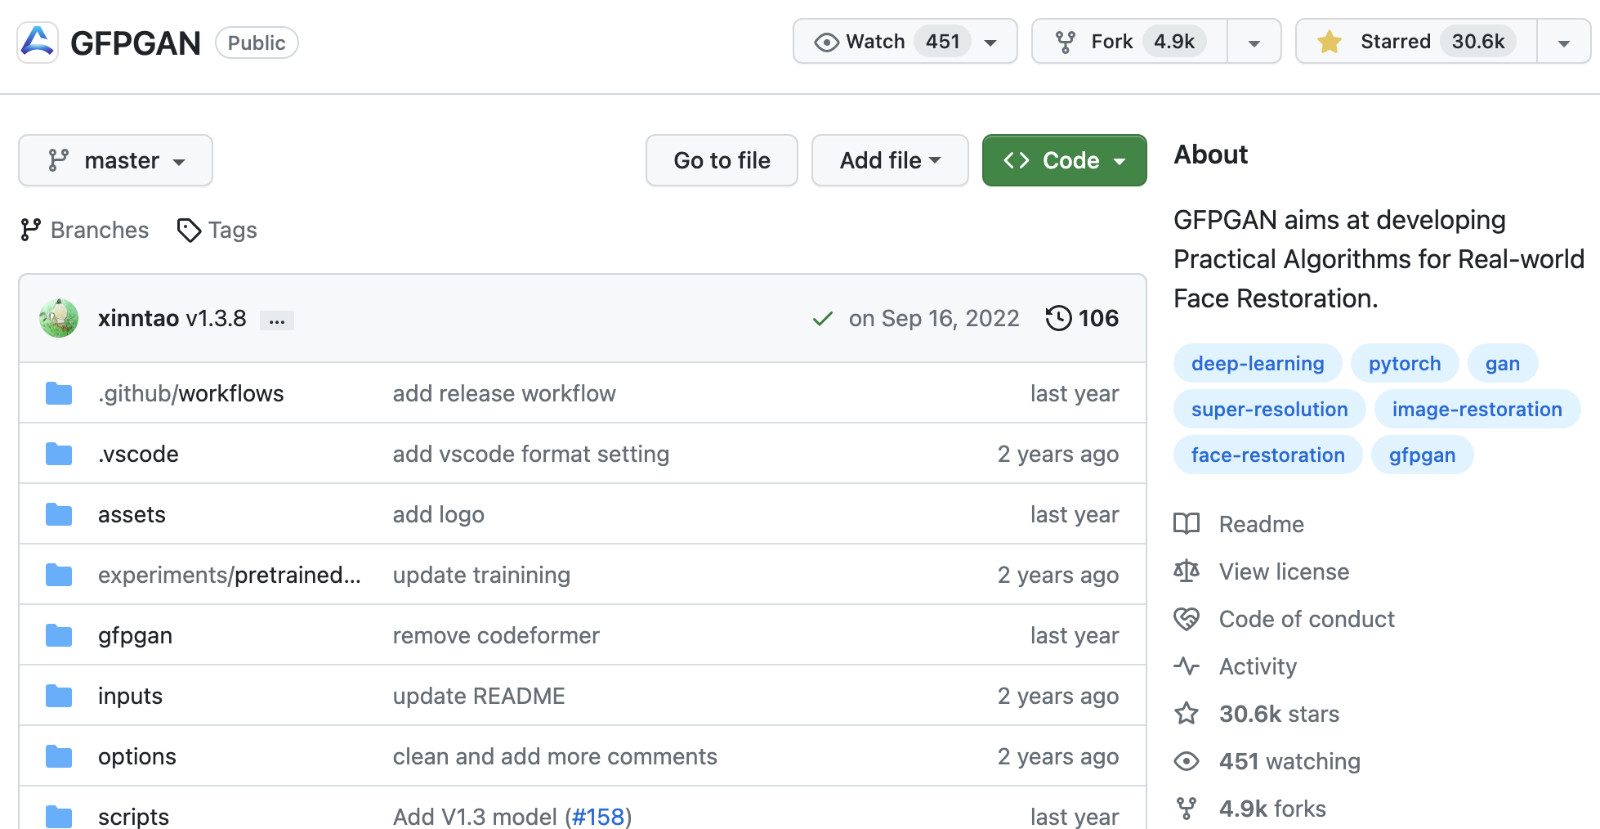
本篇文章的主角是开源项目 TencentARC/GFPGAN,和上一篇文章《Stable Diffusion 硬核生存指南:WebUI 中的 CodeFormer》提到的项目在某种程度上算是“开源项目的竞争者”。
有趣的是,上一篇文章中的 CodeFormer 在实现过程中,有非常多的项目代码有借鉴和使用 GFPGAN 主力维护者 xintao 的项目,某种程度上来说,两个项目存在一定的“亲缘”关系。
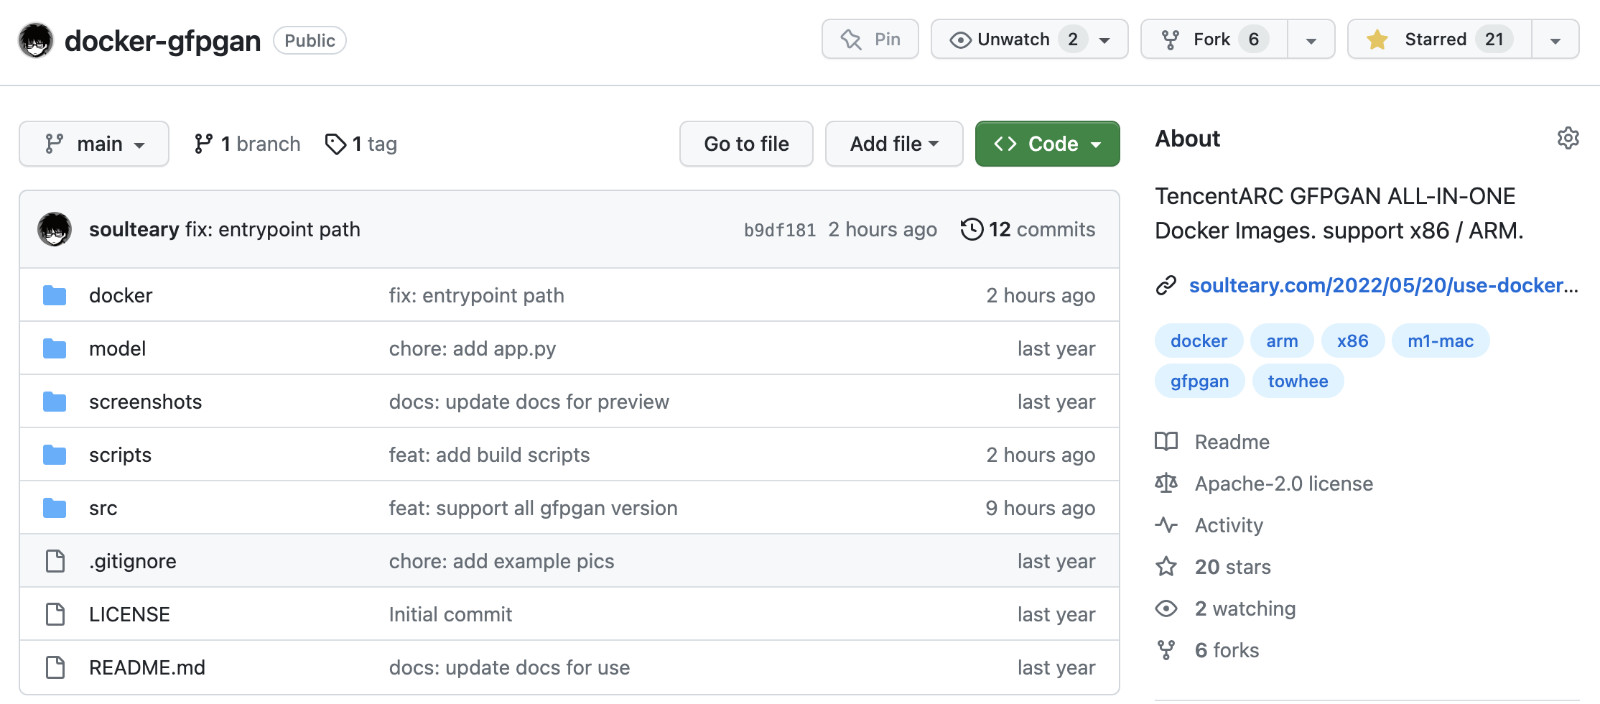
在去年五月份,我写过一篇《使用 Docker 来运行 HuggingFace 海量模型》,其中就使用了 GFPGAN 做了一期例子,本文中提到的内容,已经更新至之前的开源项目 soulteary/docker-gfpgan。
相关模型文件已经上传到网盘里了,感兴趣可以自取,别忘记“一键三连”。
下面依旧先进入热身阶段。
GFPGAN 相关前置知识
如果你对前置知识不感兴趣,只是想快速上手,可以跳过这个章节,阅读“快速上手”部分。
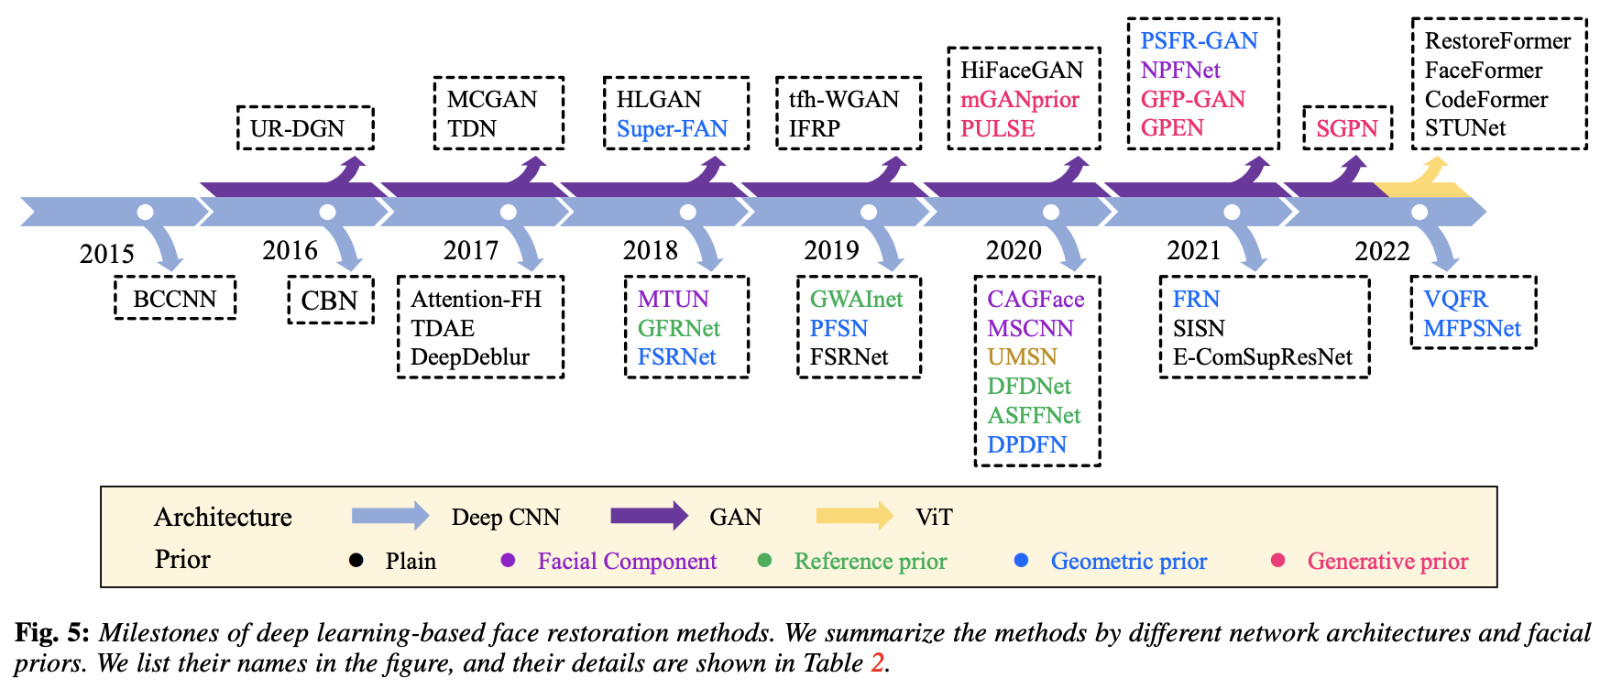
如果你想系统的了解人脸恢复相关的知识,强烈推荐扩展阅读这篇内容《A Survey of Deep Face Restoration: Denoise, Super-Resolution, Deblur, Artifact Removal》。
本文提到的 GFPGAN 属于 2021 年的“七代目”方案:基于 GAN 网络和预训练模型来进行人脸修复。
主要思路是先通过 “degradation removal module (U-Net)” 模块对图片进行质量降低,并添加一些模糊和燥点。(看过《Stable Diffusion 硬核生存指南:WebUI 中的 VAE》的同学是不是觉得有相似之处呢。
接着,使用诸如 StyleGAN 方式的预训练人脸 GAN 模型,处理这些获得人脸细节的潜在向量特征,生成具备真实性但细节不完善的图像,并结合一些 “Channel-Split Spatial Feature Transform (CS-SFT) ”通道连接不同模块的潜在向量特征,然后结合其他模块进行数据处理。
在图像变清晰的过程中,主要有四种挑战:“Reconstruction Loss” 使用预训练的 VGG-19 网络来完成分辨率的增强;“Adversarial Loss” 使用 StyleGAN2 中类似的方法来生成逼真的纹理;“Facial Component Loss” 为了让面部细节真实,使用辨别器单独生成和应用面部区块的补丁,特别处理了眼睛、嘴巴等局部细节;“Identity Preserving Loss” 使用预训练的 ArcFace 模型,来帮助将原始图片中的身份特征恢复到 GFPGAN 生成的新图片中。
模型训练过程使用的数据集很有趣,“真真假假” 两种都有:
- 大量的合成数据,在使用时预先对这些图片进行质量降低,模拟真实场景。
- CelebFaces Attributes Dataset (CelebA),包含 20 万张名人的图片数据集。
在 Stable Diffusion WebUI 中的使用
在 Stable Diffusion 图片生成过程中,它和前一篇文章《Stable Diffusion 硬核生存指南:WebUI 中的 CodeFormer》中提到的 CodeFormer 一样,也并不直接参与图片生成工作,而是在图片绘制完毕之后,在“后处理”阶段,进行面部细节恢复操作,这个后处理过程在 Stable Diffusion WebUI 的 process_images_inner 过程中。
同样的,因为本文主角是 GFPGAN,所以,我们就先不过多展开不相关的细节啦。有关于 WebUI 和 GFPGAN 相关需要注意的部分,在本文下面的章节中会聊。
准备工作部分,我们依旧只需要做两个工作:准备模型文件和模型运行环境。
关于模型运行环境,可以参考之前的文章《基于 Docker 的深度学习环境:入门篇》,如果你是 Windows 环境的用户,可以参考这篇《基于 Docker 的深度学习环境:Windows 篇》。
如果你不熟悉如何在 Docker 环境中使用 GPU,建议仔细阅读。考虑篇幅问题,本文就不赘述相关的话题啦。
只要你安装好 Docker 环境,配置好能够在 Docker 容器中调用显卡的基础环境,就可以进行下一步啦。
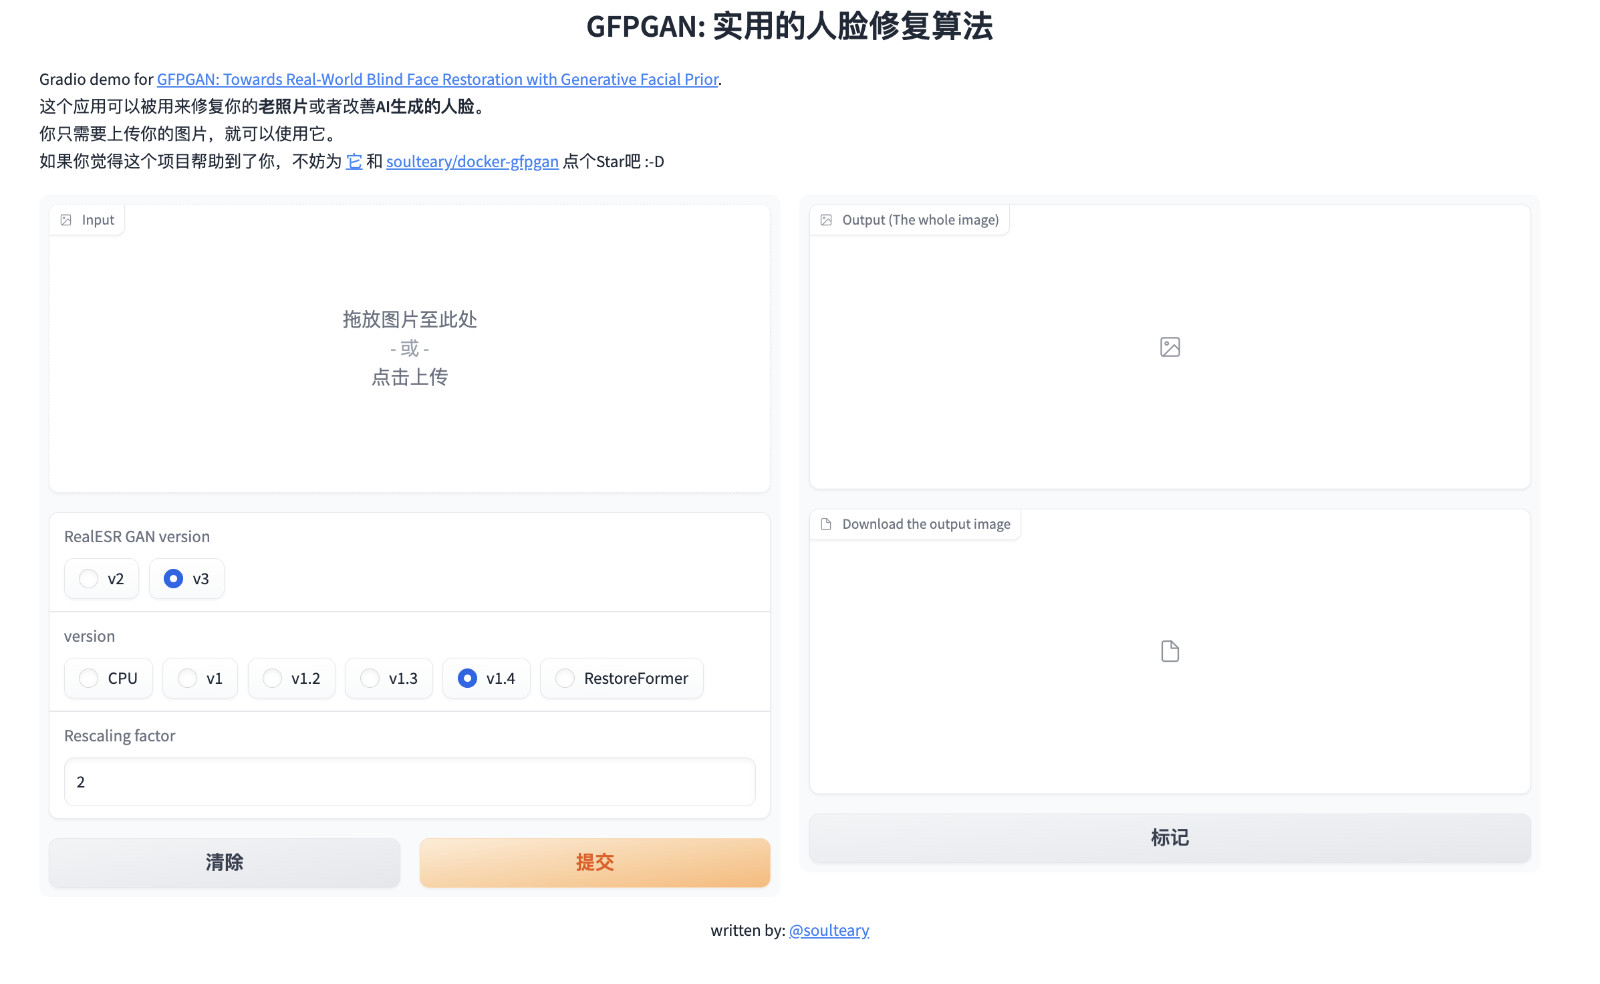
快速封装一个 GFPGAN Docker 容器应用
从 Docker GFPGAN 项目下载代码,并进入项目目录:
git clone https://github.com/soulteary/docker-gfpgan.git

cd docker-gfpgan
执行项目中的镜像构建工具:
scripts/build.sh
耐心等待镜像构建完毕:
# bash scripts/build.sh

[+] Building 71.8s (9/9) FINISHED
 => [internal] load .dockerignore                                                                                                                                                              0.1s
 => => transferring context: 2B                                                                                                                                                                0.0s
 => [internal] load build definition from Dockerfile                                                                                                                                           0.1s
 => => transferring dockerfile: 277B                                                                                                                                                           0.0s
 => [internal] load metadata for nvcr.io/nvidia/pytorch:23.04-py3                                                                                                                              0.0s
 => CACHED [1/4] FROM nvcr.io/nvidia/pytorch:23.04-py3                                                                                                                                         0.0s
 => [internal] load build context                                                                                                                                                              0.1s
 => => transferring context: 5.69kB                                                                                                                                                            0.0s
 => [2/4] RUN pip install gfpgan==1.3.8 realesrgan==0.3.0 facexlib==0.3.0 gradio==3.39.0                                                                                                      70.1s
 => [3/4] WORKDIR /app                                                                                                                                                                         0.1s
 => [4/4] COPY src/app.py ./                                                                                                                                                                   0.1s
 => exporting to image                                                                                                                                                                         1.5s
 => => exporting layers                                                                                                                                                                        1.5s
 => => writing image sha256:5ff7f79fe177c581f22c87bf575273ae4710fc604782cdbd5c955b7c27ef3b10                                                                                                   0.0s
 => => naming to docker.io/soulteary/docker-gfpgan                                                                                                                                             0.0s
同样,因为项目锁定了 Python 3.8,所以我们暂时只能使用 nvidia/pytorch:23.04-py3 来作为基础镜像。
在完成基础镜像构建之后,可以从网盘下载 models.zip (如果地址失效,请前往项目 issue 反馈)。模型应用运行需要的所有模型都在这里了,下载完毕后,解压缩模型压缩包,将 gfpgan、model 两个目录放置到项目的根目录中,完整的项目结构是这样的:
├── docker
├── gfpgan
│   └── weights
│       ├── detection_Resnet50_Final.pth
│       └── parsing_parsenet.pth
├── LICENSE
├── model
│   ├── GFPGANCleanv1-NoCE-C2.pth
│   ├── GFPGANv1.2.pth
│   ├── GFPGANv1.3.pth
│   ├── GFPGANv1.4.pth
│   ├── GFPGANv1.pth
│   ├── README.md
│   ├── RealESRGAN_x2plus.pth
│   ├── realesr-general-x4v3.pth
│   └── RestoreFormer.pth
├── README.md
├── scripts
└── src
准备好模型文件之后,使用下面的命令启动模型应用:
docker run --gpus all --ipc=host --ulimit memlock=-1 --ulimit stack=67108864 --rm -it -v `pwd`/model:/app/model -v `pwd`/gfpgan:/app/gfpgan -p 7860:7860 soulteary/docker-gfpgan
稍等片刻,我们将看到类似下面的日志:
Running on local URL:  http://0.0.0.0:7860

To create a public link, set `share=True` in `launch()`.
接着,我们就可以打开浏览器访问 http://localhost:7860 或者 http://你的IP地址:7860 来试试看啦。

完整的代码和 Docker 封装逻辑,都在 soulteary/docker-gfpgan 里,因为接下来要聊 GFPGAN 的逻辑,所以我们就不展开啦。
如果你想使用包含 v1 最初发布版本模型在内的功能,可以参考文末 Stable Diffusion WebUI 小节中的方法。
显卡资源使用
GFPGAN 和 CodeFormer 类似,显卡资源需求不多,处理过程中一般情况也不需要额外的显存申请:
+-----------------------------------------------------------------------------+
| NVIDIA-SMI 525.125.06   Driver Version: 525.125.06   CUDA Version: 12.0     |
|-------------------------------+----------------------+----------------------+
| GPU  Name        Persistence-M| Bus-Id        Disp.A | Volatile Uncorr. ECC |
| Fan  Temp  Perf  Pwr:Usage/Cap|         Memory-Usage | GPU-Util  Compute M. |
|                               |                      |               MIG M. |
|===============================+======================+======================|
|   0  NVIDIA GeForce ...  Off  | 00000000:01:00.0  On |                  Off |
| 32%   41C    P2    68W / 450W |   2395MiB / 24564MiB |      4%      Default |
|                               |                      |                  N/A |
+-------------------------------+----------------------+----------------------+

+-----------------------------------------------------------------------------+
| Processes:                                                                  |
|  GPU   GI   CI        PID   Type   Process name                  GPU Memory |
|        ID   ID                                                   Usage      |
|=============================================================================|
|    0   N/A  N/A      7156      G   /usr/lib/xorg/Xorg                244MiB |
|    0   N/A  N/A      7534      G   /usr/bin/gnome-shell              142MiB |
|    0   N/A  N/A      7551      G   ...libexec/mutter-x11-frames       14MiB |
|    0   N/A  N/A      8826      G   ...AAAAAAAA== --shared-files       20MiB |
|    0   N/A  N/A      9756      G   /usr/bin/nautilus                  24MiB |
|    0   N/A  N/A     10042      C   python                           1944MiB |
+-----------------------------------------------------------------------------+
图片处理简单测试对比
GFPGAN 的模型版本有许多种,所以这里我就不展开测试了,各种模型的差异就留给有好奇心的你啦。
GFPGAN 代码执行逻辑
GFPGAN 的模型执行逻辑,简单来说和 CodeFormer 类似,也是读取图片,分析人脸使用模型进行处理、替换原图中的人脸,保存图片。
模型的加载和使用逻辑
在 TencentARC/GFPGAN/gfpgan/utils.py 文件中,定义了 GFPGANer 工具类,包含了主要的流程逻辑,默认提取并处理图像中的面部,然后将图片尺寸调整为 512x512,以及包含了对 GFPGAN 项目发布的各版本模型进行了调用上的兼容性处理。
在创建 GFPGAN 模型实例的时候,我们可以选择三种 GFPGAN 架构的模型:
clean适用于第一个版本(v1)模型之外的模型架构,使用 StyleGAN2 Generator 搭配 SFT 模块 (Spatial Feature Transform),这个选项也是程序的默认值,程序文件在 gfpgan/archs/gfpganv1_clean_arch.py。bilinear适用于在第三个版本(v1.3)和之后的模型,双线性算法实现,没有复杂的UpFirDnSmooth,程序文件在 gfpgan/archs/gfpgan_bilinear_arch.py。original第一个版本(v1)模型使用的架构,模型文件在 gfpgan/archs/gfpganv1_arch.py
在实际代码定义中,前两种架构的调用参数是一致的,而第三种 original 在参数 fix_decoder 上和前两者数值有差异,为 True。
还有一种全新的架构:RestoreFormer。这种架构就是我们第一篇硬核生存指南中提到的《Stable Diffusion 硬核生存指南:WebUI 中的 VAE》,相关程序文件在 gfpgan/archs/restoreformer_arch.py
在面部恢复过程中,还会使用到上一篇文章中提到的 facexlib 项目中的 retinaface_resnet50 模型,来对图片进行恢复和保存。
下面是简化后的程序,包含了 GFPGAN 的处图片理流程:
import cv2
import torch
from basicsr.utils import img2tensor, tensor2img
from torchvision.transforms.functional import normalize

class GFPGANer():
    """Helper for restoration with GFPGAN.
    Args:
        model_path (str): The path to the GFPGAN model. It can be urls (will first download it automatically).
        upscale (float): The upscale of the final output. Default: 2.
        arch (str): The GFPGAN architecture. Option: clean | original. Default: clean.
        channel_multiplier (int): Channel multiplier for large networks of StyleGAN2. Default: 2.
        bg_upsampler (nn.Module): The upsampler for the background. Default: None.
    """

    def __init__(self, model_path, upscale=2, arch='clean', channel_multiplier=2, bg_upsampler=None, device=None):
        self.upscale = upscale
        self.bg_upsampler = bg_upsampler
        ...
        self.gfpgan = self.gfpgan.to(self.device)

    @torch.no_grad()
    def enhance(self, img, has_aligned=False, only_center_face=False, paste_back=True, weight=0.5):
        self.face_helper.clean_all()

        if has_aligned:  # the inputs are already aligned
            img = cv2.resize(img, (512, 512))
            self.face_helper.cropped_faces = [img]
        else:
            self.face_helper.read_image(img)
            # get face landmarks for each face
            self.face_helper.get_face_landmarks_5(only_center_face=only_center_face, eye_dist_threshold=5)
            # eye_dist_threshold=5: skip faces whose eye distance is smaller than 5 pixels
            # TODO: even with eye_dist_threshold, it will still introduce wrong detections and restorations.
            # align and warp each face
            self.face_helper.align_warp_face()

        # face restoration
        for cropped_face in self.face_helper.cropped_faces:
            # prepare data
            cropped_face_t = img2tensor(cropped_face / 255., bgr2rgb=True, float32=True)
            normalize(cropped_face_t, (0.5, 0.5, 0.5), (0.5, 0.5, 0.5), inplace=True)
            cropped_face_t = cropped_face_t.unsqueeze(0).to(self.device)

            try:
                output = self.gfpgan(cropped_face_t, return_rgb=False, weight=weight)[0]
                # convert to image
                restored_face = tensor2img(output.squeeze(0), rgb2bgr=True, min_max=(-1, 1))
            except RuntimeError as error:
                print(f'\tFailed inference for GFPGAN: {error}.')
                restored_face = cropped_face

            restored_face = restored_face.astype('uint8')
            self.face_helper.add_restored_face(restored_face)

        if not has_aligned and paste_back:
            # upsample the background
            if self.bg_upsampler is not None:
                # Now only support RealESRGAN for upsampling background
                bg_img = self.bg_upsampler.enhance(img, outscale=self.upscale)[0]
            else:
                bg_img = None

            self.face_helper.get_inverse_affine(None)
            # paste each restored face to the input image
            restored_img = self.face_helper.paste_faces_to_input_image(upsample_img=bg_img)
            return self.face_helper.cropped_faces, self.face_helper.restored_faces, restored_img
        else:
            return self.face_helper.cropped_faces, self.face_helper.restored_faces, None
在 GFPGANer 初始化完毕后,就可以调用 enhance 方法,来对图片进行画面增强了,依次会清理之前任务的战场、判断图片是否已经对齐,如果是已经对齐的图片,则直接将扣出来的人脸区域传递给下一个流程,如果尚未进行图片对齐,则读取图片然后获取所有的人脸区域。
接着依次将每一张人脸画面传递给 GFPGAN 模型进行处理,将处理后的结果使用 tensor2img 转换回图片,接着将处理好的人脸图像区域粘贴回原始图片。
这里如果用户设置了背景采样器,则会调用相关模型方法处理背景。整体上和 CodeFormer 的流程差不多。
在项目的 gfpgan/train.py 程序中,包含了训练模型的入口。
执行程序实际会调用 gfpgan/models/gfpgan_model.py 文件进行模型训练,这部分不是本文重点,和 WebUI 关联性不大就不展开了。
Stable Diffusion WebUI 中的调用逻辑
在 WebUI 程序入口 webui.py 程序中,能够看到 GFPGAN 在程序初始化时进行了模型的加载,在 SD 主要绘图模型和上一篇文章提到的 CodeFormer 初始化之后:
def initialize():
...
    modules.sd_models.setup_model()
    startup_timer.record("setup SD model")
    codeformer.setup_model(cmd_opts.codeformer_models_path)
    startup_timer.record("setup codeformer")
...
    gfpgan.setup_model(cmd_opts.gfpgan_models_path)
    startup_timer.record("setup gfpgan")
...
上一篇文章中,CodeFormer 只能够通过一个参数来改变加载行为,到了 GFPGAN 后,我们能够使用的参数增加到了四个:
parser.add_argument("--gfpgan-dir", type=str, help="GFPGAN directory", default=('./src/gfpgan' if os.path.exists('./src/gfpgan') else './GFPGAN'))
parser.add_argument("--gfpgan-model", type=str, help="GFPGAN model file name", default=None)
parser.add_argument("--unload-gfpgan", action='store_true', help="does not do anything.")
parser.add_argument("--gfpgan-models-path", type=str, help="Path to directory with GFPGAN model file(s).", default=os.path.join(models_path, 'GFPGAN'))
程序在启动过程中,会调用 modules/launch_utils.py 程序中的 prepare_environment 来准备组件代码:
def prepare_environment():
...
    gfpgan_package = os.environ.get('GFPGAN_PACKAGE', "https://github.com/TencentARC/GFPGAN/archive/8d2447a2d918f8eba5a4a01463fd48e45126a379.zip")
...
    if not is_installed("gfpgan"):
        run_pip(f"install {gfpgan_package}", "gfpgan")
...
这里使用的版本,其实是 v1.3.5 版本后发布的一个临时提交 “update cog predict”,而在项目的 requirement 依赖声明文件中,我们能够看到项目会使用 1.3.8 版本的 GFPGAN。
当然,这个代码只会在本地依赖缺失的时候执行,但考虑到一致性,我们可以将其更新,改为相同版本,这里我提交了一个版本修正的 PR,如果作者合并之后,这个不一致的潜在问题就没有啦。
类似的,在模块程序 modules/gfpgan_model.py 中,定义了使用 GFPGAN 的图片处理过程,和上文中的处理逻辑也是一致的:
import modules.face_restoration
from modules import shared

def gfpgann():
    return model

def send_model_to(model, device):
    model.gfpgan.to(device)
    model.face_helper.face_det.to(device)
    model.face_helper.face_parse.to(device)

def gfpgan_fix_faces(np_image):
    return np_image

gfpgan_constructor = None

def setup_model(dirname):
    def my_load_file_from_url(**kwargs):
        return load_file_from_url_orig(**dict(kwargs, model_dir=model_path))

    def facex_load_file_from_url(**kwargs):
        return facex_load_file_from_url_orig(**dict(kwargs, save_dir=model_path, model_dir=None))

    def facex_load_file_from_url2(**kwargs):
        return facex_load_file_from_url_orig2(**dict(kwargs, save_dir=model_path, model_dir=None))

    class FaceRestorerGFPGAN(modules.face_restoration.FaceRestoration):
        def name(self):
            return "GFPGAN"

        def restore(self, np_image):
            return gfpgan_fix_faces(np_image)

    shared.face_restorers.append(FaceRestorerGFPGAN())
不过,默认的加载模型是 v1.4 版本,如果你有风格上的指定速度,或许也可以切换到 v1.3 版本。
实际调用 GFPGAN 的逻辑在 modules/postprocessing.py 和 scripts/postprocessing_gfpgan.py,依旧是依赖后处理脚本执行逻辑。
当然,因为 GFPGAN 和 CodeFormer 在项目中的作用类似,所以存在选择到底使用哪一种方案的选择题,这个模型选择功能,程序文件在 scripts/xyz_grid.py:
def apply_face_restore(p, opt, x):
    opt = opt.lower()
    if opt == 'codeformer':
...
    elif opt == 'gfpgan':
        is_active = True
        p.face_restoration_model = 'GFPGAN'
    else:
...

    p.restore_faces = is_active
Stable Diffusion WebUI 中 GFPGAN 的额外注意事项
GFPGAN 的模型加载策略比 CodeFormer 写的健壮一些。所以不用担心加载不到模型,整个程序无法使用的问题。不过,它在初始化过程中,也不是没有问题,比如初始化过程中,这个模块会无限挂起(如果遇到网络问题)。
默认程序会查找程序目录下的 gfpgan/weights 的两个模型文件,如果下载不到,就会进行下载:
Downloading: "https://github.com/xinntao/facexlib/releases/download/v0.1.0/detection_Resnet50_Final.pth" to .../gfpgan/weights/detection_Resnet50_Final.pth

Downloading: "https://github.com/xinntao/facexlib/releases/download/v0.2.2/parsing_parsenet.pth" to .../gfpgan/weights/parsing_parsenet.pth
这段行为的调用逻辑来自 GFPGAN 中的 gfpgan/utils.py:
from basicsr.utils.download_util import load_file_from_url

...

if model_path.startswith('https://'):
    model_path = load_file_from_url(url=model_path, model_dir=os.path.join(ROOT_DIR, 'gfpgan/weights'), progress=True, file_name=None)
loadnet = torch.load(model_path)
...
下载函数来自 XPixelGroup/BasicSR/basicsr/utils/download_util.py 程序中,简单封装的 torch.hub 中的方法:
from torch.hub import download_url_to_file, get_dir

def load_file_from_url(url, model_dir=None, progress=True, file_name=None):
    """Load file form http url, will download models if necessary.

    Reference: https://github.com/1adrianb/face-alignment/blob/master/face_alignment/utils.py

    Args:
        url (str): URL to be downloaded.
        model_dir (str): The path to save the downloaded model. Should be a full path. If None, use pytorch hub_dir.
            Default: None.
        progress (bool): Whether to show the download progress. Default: True.
        file_name (str): The downloaded file name. If None, use the file name in the url. Default: None.

    Returns:
        str: The path to the downloaded file.
    """
    if model_dir is None:  # use the pytorch hub_dir
        hub_dir = get_dir()
        model_dir = os.path.join(hub_dir, 'checkpoints')

    os.makedirs(model_dir, exist_ok=True)

    parts = urlparse(url)
    filename = os.path.basename(parts.path)
    if file_name is not None:
        filename = file_name
    cached_file = os.path.abspath(os.path.join(model_dir, filename))
    if not os.path.exists(cached_file):
        print(f'Downloading: "{url}" to {cached_file}\n')
        download_url_to_file(url, cached_file, hash_prefix=None, progress=progress)
    return cached_file
而 PyTorch 中的 _modules/torch/hub.html#download_url_to_file 方法,实现的也非常简单,不包括任何重试、超时、握手错误等处理逻辑:
def download_url_to_file(url, dst, hash_prefix=None, progress=True):
    r"""Download object at the given URL to a local path.

    Args:
        url (str): URL of the object to download
        dst (str): Full path where object will be saved, e.g. ``/tmp/temporary_file``
        hash_prefix (str, optional): If not None, the SHA256 downloaded file should start with ``hash_prefix``.
            Default: None
        progress (bool, optional): whether or not to display a progress bar to stderr
            Default: True

    Example:
        >>> # xdoctest: +REQUIRES(env:TORCH_DOCTEST_HUB)
        >>> # xdoctest: +REQUIRES(POSIX)
        >>> torch.hub.download_url_to_file('https://s3.amazonaws.com/pytorch/models/resnet18-5c106cde.pth', '/tmp/temporary_file')

    """
    file_size = None
    req = Request(url, headers={"User-Agent": "torch.hub"})
    u = urlopen(req)
    meta = u.info()
    if hasattr(meta, 'getheaders'):
        content_length = meta.getheaders("Content-Length")
    else:
        content_length = meta.get_all("Content-Length")
    if content_length is not None and len(content_length) > 0:
        file_size = int(content_length[0])

    # We deliberately save it in a temp file and move it after
    # download is complete. This prevents a local working checkpoint
    # being overridden by a broken download.
    dst = os.path.expanduser(dst)
    dst_dir = os.path.dirname(dst)
    f = tempfile.NamedTemporaryFile(delete=False, dir=dst_dir)

    try:
        if hash_prefix is not None:
            sha256 = hashlib.sha256()
        with tqdm(total=file_size, disable=not progress,
                  unit='B', unit_scale=True, unit_divisor=1024) as pbar:
            while True:
                buffer = u.read(8192)
                if len(buffer) == 0:
                    break
                f.write(buffer)
                if hash_prefix is not None:
                    sha256.update(buffer)
                pbar.update(len(buffer))

        f.close()
        if hash_prefix is not None:
            digest = sha256.hexdigest()
            if digest[:len(hash_prefix)] != hash_prefix:
                raise RuntimeError('invalid hash value (expected "{}", got "{}")'
                                   .format(hash_prefix, digest))
        shutil.move(f.name, dst)
    finally:
        f.close()
        if os.path.exists(f.name):
            os.remove(f.name)
所以,在实际使用的过程中,如果存在网络问题,最好预先下载好模型,放在程序读取的到的位置,然后再初始化程序。
另外,在使用 v1 版本最初发布的模型时,如果我们直接在程序中切换使用最初的发布的模型时,会收到类似下面的错误信息:
NameError: name 'fused_act_ext' is not defined
这是因为上文提到的架构不同,除了传递参数有变化之外,我们还需要指定一个环境变量:
BASICSR_JIT=True python app.py
在 Docker 中使用,可以使用下面的命令,将环境变量传递到容器内部:
docker run --gpus all --ipc=host --ulimit memlock=-1 --ulimit stack=67108864 --rm -it -e BASICSR_JIT=True -v `pwd`/model:/app/model -v `pwd`/gfpgan:/app/gfpgan -p 7860:7860 soulteary/docker-gfpgan
想比较直接执行,这里会进行 CUDA 插件的编译,所以会需要额外的时间,完成之后,我们熟悉的界面将多两个选项: “v1” 版本的模型和 RealESR GAN 的“v2” 版本,这是项目最初发布时的组合。
还有几个不影响实际使用的小问题。在安装准备环境过程中因为子依赖版本冲突,报错的问题,因为我们实际代码没有依赖和使用 google-auth-oauthlib 相关功能,可以暂时忽略这个问题:
ERROR: pip's dependency resolver does not currently take into account all the packages that are installed. This behaviour is the source of the following dependency conflicts.
tensorboard 2.9.0 requires google-auth-oauthlib<0.5,>=0.4.1, but you have google-auth-oauthlib 1.0.0 which is incompatible.
tensorboard 2.9.0 requires tensorboard-data-server<0.7.0,>=0.6.0, but you have tensorboard-data-server 0.7.1 which is incompatible.
本篇文章就先写到这里吧,下一篇文章再见。
Recommend
About Joyk
Aggregate valuable and interesting links.
Joyk means Joy of geeK