

Upscale AI created images like a PRO!
source link: https://uxplanet.org/upscale-ai-created-images-like-a-pro-d7fd6ebe50fb
Go to the source link to view the article. You can view the picture content, updated content and better typesetting reading experience. If the link is broken, please click the button below to view the snapshot at that time.

Upscale AI created images like a PRO!
If you want to achieve the best possible results and elevate your images like only the top 1% can, you need to dig deeper. In this comprehensive guide, I’ll walk you through the process of using Ultimate Upscale extension with Automatic 1111 Stable Diffusion UI to create stunning, high-resolution AI images.
If you learn better with videos, here’s complete youtube tutorial for it. Please like and subscribe if you are interested in similar stuff 🤗
Why Ultimate upscale?
It upscales and fix last minute issues in the image, adds more details as well.
Higher the Denoising Strength, more it will be changing the image to fix or to add more details.

Let’s Begin!
Step 1: Install Automatic 1111 Stable Diffusion UI
You can find steps to install the UI from my tutorial here,
Will only take 5 minutes 😎
Step 2: Add Ultimate Upscale extension
Once your SD UI is up and running, copy this link to the Ultimate upscale repo :
https://github.com/Coyote-A/ultimate-upscale-for-automatic1111
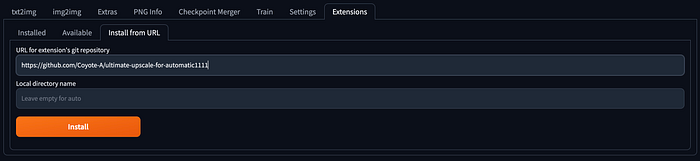
Then go to Extensions > “Install from URL” tab and paste the URL. Click Install button.
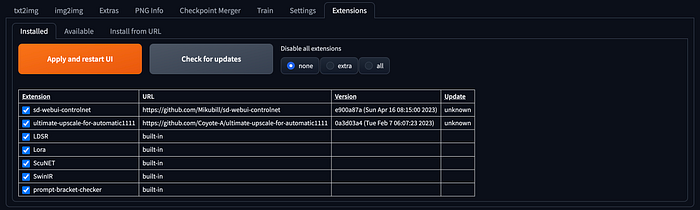
Once installed, it will appear in the Extensions > Installed Tab, Select the ultimate-upscale checkbox, if it’s already not selected and then Click “Apply & Restart UI”
Step 3: Create an Image Using Stable Diffusion Console
Now that you have the tools in place, it’s time to create an AI-generated image using the Stable Diffusion console. You can learn creating images with Stable diffusion from my beginners tutorial here:
Generate Stunning AI Images: A Comprehensive Guide
Artificial Intelligence (AI) has revolutionised the way we create and consume digital art. With AI-powered image…
Step 4: Select the Ultimate SD Upscaler
Once you have your AI-generated image, it’s time to upscale it using the Ultimate SD Upscaler.
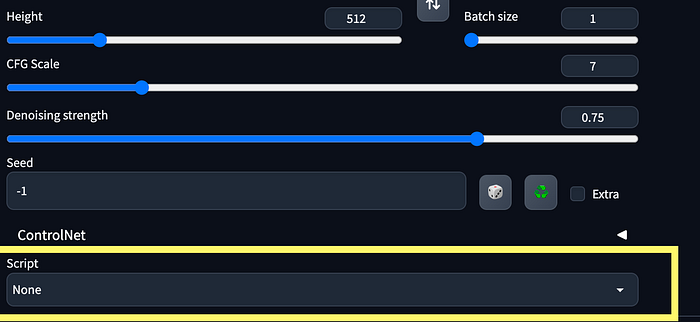
Reduce your batch count to 1 and select the Ultimate upscale option from “Script” drop down.
Step 5: Tweak the Upscaling Settings
The key to achieving stunning upscaled images lies in fine-tuning the upscaling settings.
You can start with these settings for moderate fix and just change the Denoising Strength as per your needs.
**Only change these parameters under the Ultimate Upscale section**

Target Size type : "Scale from image size"
Scale : 2
Upscaler : R-ESRGAN 4x+

-----

Also you can shift Denoising Strength between 0.2-0.5
Press Generate button.
And you’re done!
By using the Ultimate Upscale plugin with Automatic 1111 Stable Diffusion UI, you can join the elite 1% of people who know how to upscale AI-created images to their maximum potential.
To follow more such tutorials, subscribe my youtube channel “The AI Guy”
Recommend
About Joyk
Aggregate valuable and interesting links.
Joyk means Joy of geeK