

abp(net core)+easyui+efcore实现仓储管理系统——模块管理升级(六十) - DotNet菜园
source link: https://www.cnblogs.com/chillsrc/p/17300643.html
Go to the source link to view the article. You can view the picture content, updated content and better typesetting reading experience. If the link is broken, please click the button below to view the snapshot at that time.

Abp(net core)+easyui+efcore实现仓储管理系统目录
1.在Visual Studio 2022的解决方案资源管理器中,选中“ABP.TPLMS.Web.Mvc”项目,然后单击鼠标右键,在弹出菜单中选中“设为启动项目”。按F5运行应用程序。
2.在浏览器将呈现登录页面,然后输入管理员用户名进行登录。浏览器跳转到首页面。如下图。
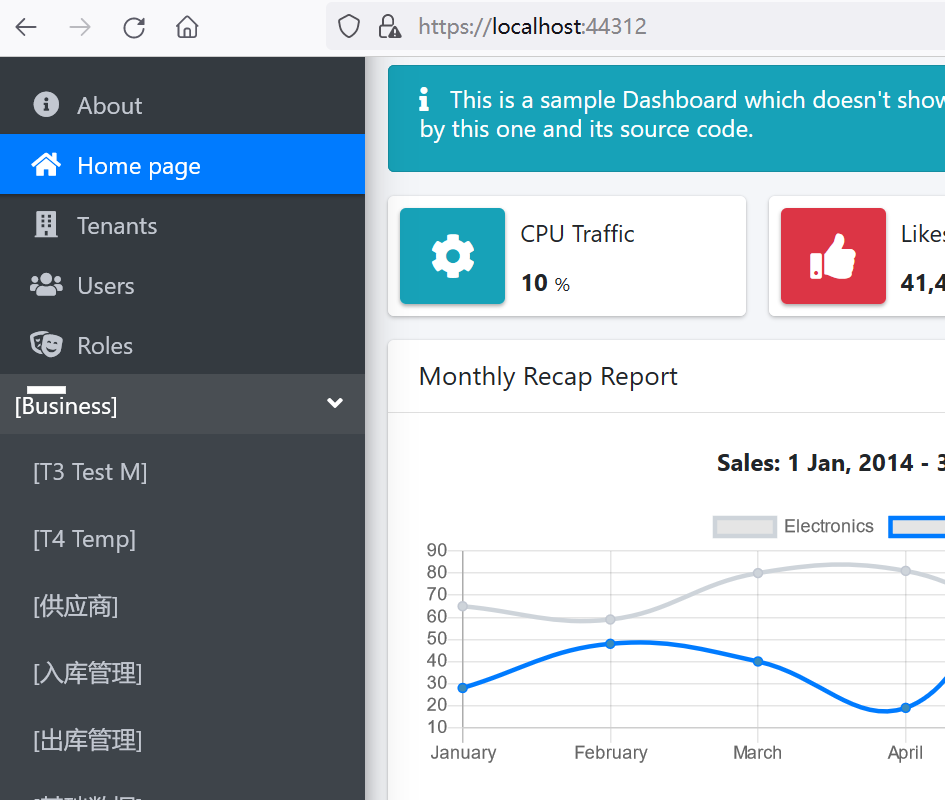
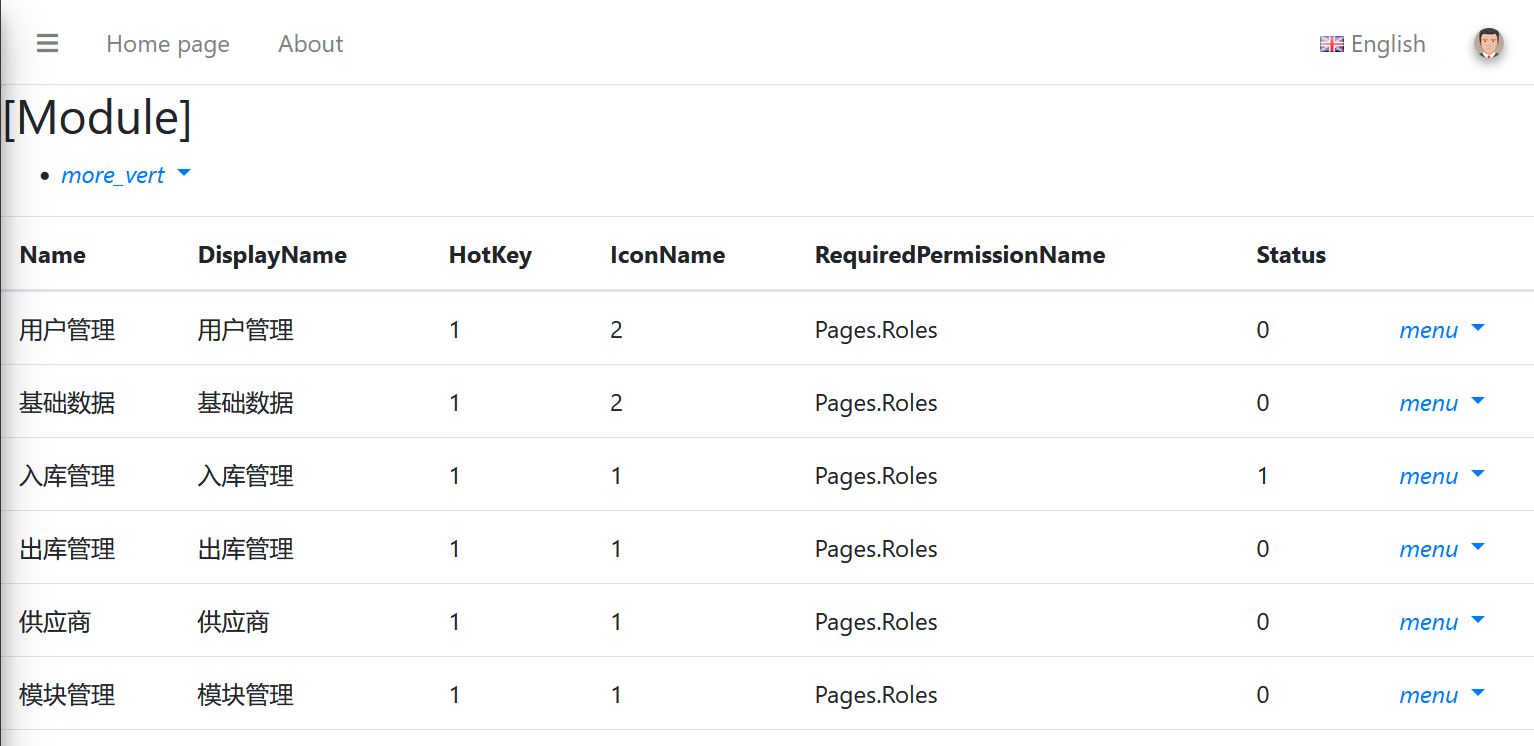
3.在主界面的菜单中,选择“Business->Module”菜单项,浏览器中呈现一个模块信息列表页面,我们发现此页面的顶部与右边的菜单部分缺失css,样式不好看。如下图。
4. 在Visual Studio 2017的“解决方案资源管理器”中,右键单击在领域层“ABP.TPLMS.Web.Mvc”项目中的Views\Module目录。 找到Index.cshmtl文件,修改顶部的代码与按钮的代码。具体代码如下:
@using ABP.TPLMS.Web.Startup

@model ABP.TPLMS.Web.Models.Module.EditModuleModalViewModel

@{
    ViewData["Title"] = PageNames.Module;
}

@section scripts
    {
        <script src="~/view-resources/Views/Module/Index.js" asp-append-version="true"></script>
   }


   <section class="content-header">
    <div class="container-fluid">
        <div class="row">
            <div class="col-sm-6">
                <h1>@L("Module")</h1>
            </div>
                         <div class="col-sm-4 text-sm-right">
                         <a id="RefreshButton" href="javascript:void(0);" ><i class="fas fa-redo-alt"></i></a>
                         </div>
            <div class="col-sm-2">
                <a  asp-action="Create"  class="btn bg-blue float-sm-right">
                    <i class="fa fa-plus-square"></i>
                    @L("Create")
                </a>
            </div>
        </div>
    </div>
</section>
<div class="row clearfix">
    <div class="col-lg-12 col-md-12 col-sm-12 col-xs-12">
        <div class="card">
            <div class="body table-responsive">
                <table class="table">
                    <thead>
                        <tr>
                            <th>
                                @Html.DisplayNameFor(model => model.Module.Name)
                            </th>
                            <th>
                                @Html.DisplayNameFor(model => model.Module.DisplayName)

                            </th>
                            <th>
                                @Html.DisplayNameFor(model => model.Module.HotKey)

                            </th>
                            <th>

                                @Html.DisplayNameFor(model => model.Module.IconName)
                            </th>
                            <th>
                                @Html.DisplayNameFor(model => model.Module.RequiredPermissionName)
                            </th>
                            <th>
                                @Html.DisplayNameFor(model => model.Module.Status)

                            </th>
                            <th></th>

                        </tr>
                    </thead>

                    <tbody>
                        @foreach (var item in Model.Modules)

                        {
                            <tr>
                                <td>
                                    @Html.DisplayFor(modelItem => item.Name)
                                </td>
                                <td>
                                    @Html.DisplayFor(modelItem => item.DisplayName)
                                </td>
                                <td>
                                    @Html.DisplayFor(modelItem => item.HotKey)
                                </td>
                                <td>

                                    @Html.DisplayFor(modelItem => item.IconName)
                                </td>
                                <td>
                                    @Html.DisplayFor(modelItem => item.RequiredPermissionName)
                                </td>
                                <td>
                                    @Html.DisplayFor(modelItem => item.Status)
                                </td>
                                <td>

                                   <a asp-action="Edit" class="btn btn-sm bg-secondary" asp-route-id="@item.Id"><i class="fas fa-pencil-alt"></i>@L("Edit")</a>

                                    <a asp-action="Delete" class="btn btn-sm bg-danger" asp-route-id="@item.Id"><i class="fas fa-trash"></i>@L("Delete")</a>

                                </td>
                            </tr>
                        }
                    </tbody>
                </table>
            </div>
        </div>
    </div>
</div>
5.在Visual Studio 2022中按F5运行应用程序。在浏览器将呈现登录页面,然后输入管理员用户名进行登录。浏览器跳转到首页面。
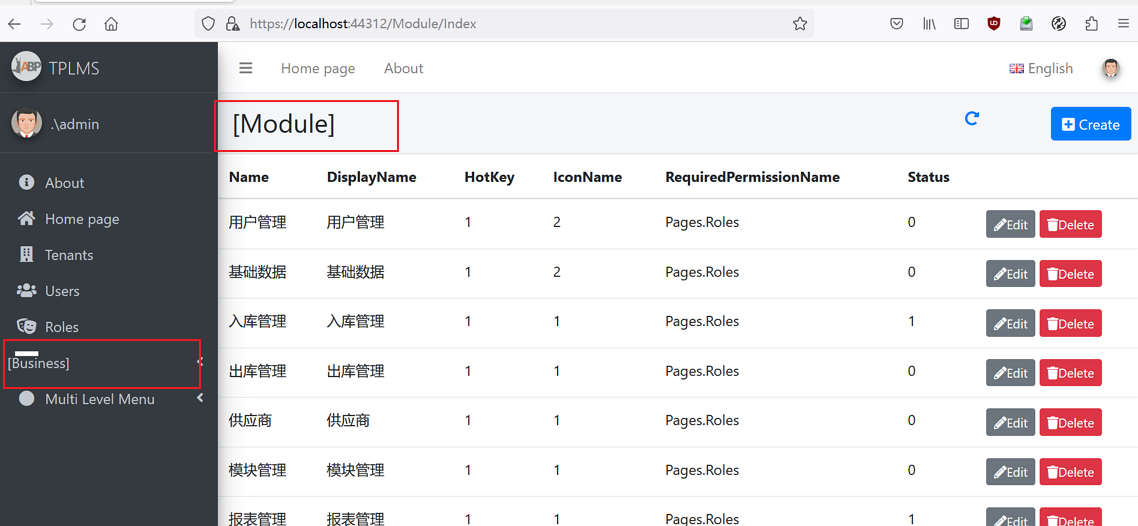
6.在主界面的菜单中,选择“Business->模块管理”菜单项,浏览器中呈现一个模块信息列表页面,如下图。

7.Business菜单已经添加到左侧菜单栏中,不过这个Business菜单好像没有英文名称,即没有英文名称也没有中文名称。模块管理的列表页面中也没有。如下图。
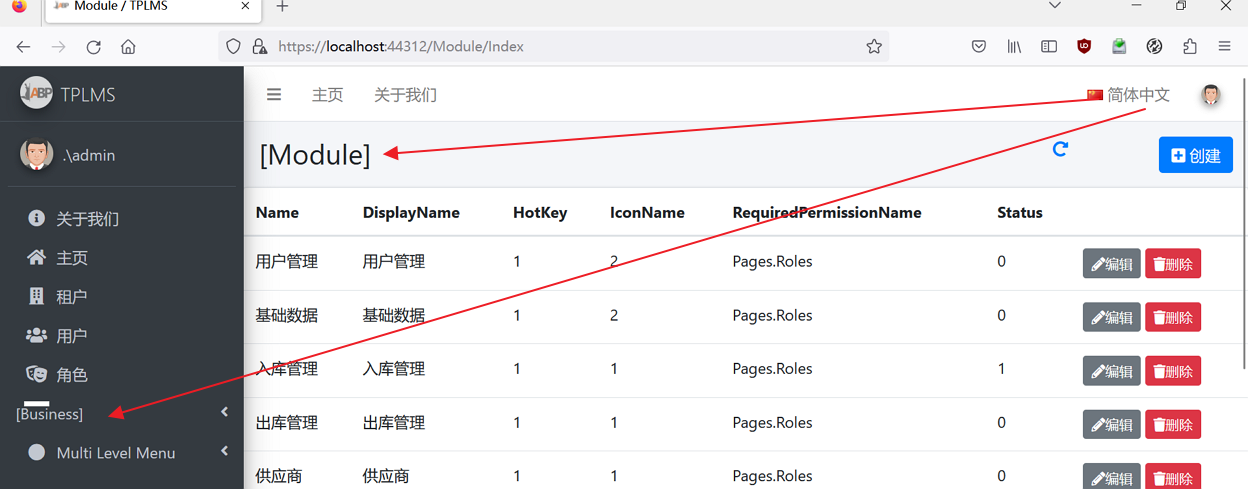
8.使用鼠标在页面中右上角处的语言选项选择了“简体中文”这一选项,其他菜单都跟随语言的变化而变化了,我们新增加的Business菜单和Module模块没有变化。如下图。
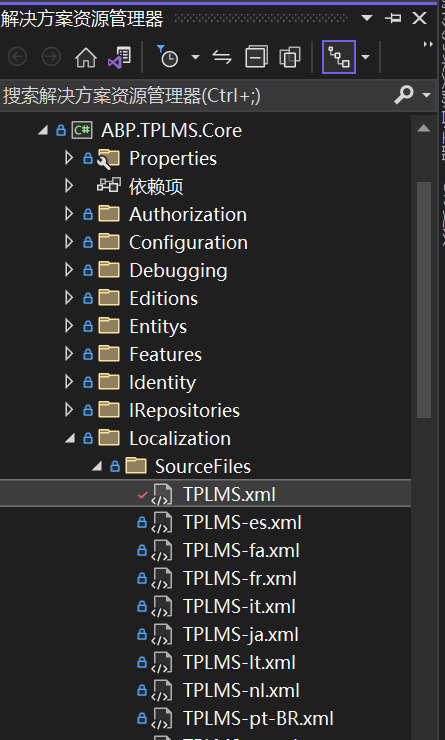
9. 在Visual Studio 2022的“解决方案资源管理器”中,找到“ABP.TPLMS.Core”项目中的Localization目录。 使用鼠标双击打开TPLMS.xml与TPLMS-zh-Hans.xml两个文件。如下图。
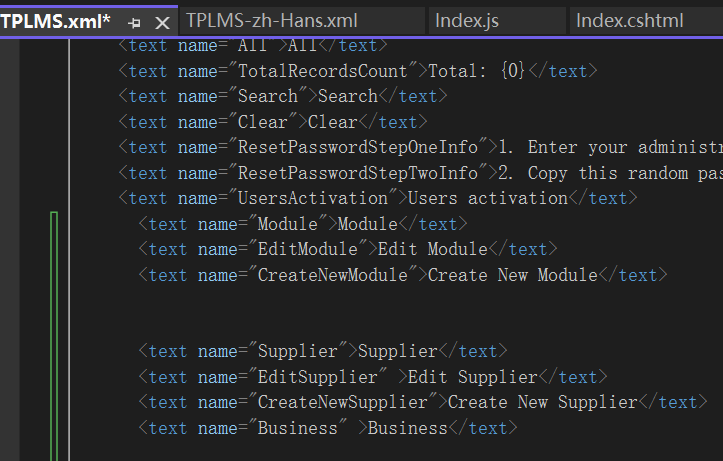
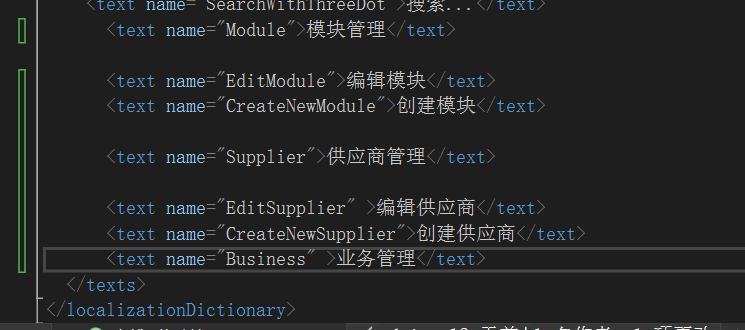
10. 在Visual Studio 2022的“解决方案资源管理器”中,打开TPLMS.xml与TPLMS-zh-Hans.xml两个文件。分别添加关于Business菜单和Module模块的英文与中文信息。如下图1与图2.。
11. 在Visual Studio 2022中按F5,运行我们的应用程序。在登录界面登录之后。当我们改变页面中右上角处的语言选项时,Business菜单和Module模块跟随语言的变化而变化了,当语言选择为中文时,菜单名称由“Business”变为“业务管理”,Module变为了“模块管理”。如下图。

Recommend
About Joyk
Aggregate valuable and interesting links.
Joyk means Joy of geeK