

6-step tutorial on installing Ansible 2.3 on RHEL 9.1
source link: https://developers.redhat.com/articles/2023/03/07/install-ansible-23-on-rhel-91
Go to the source link to view the article. You can view the picture content, updated content and better typesetting reading experience. If the link is broken, please click the button below to view the snapshot at that time.

The Red Hat Ansible Automation Platform is an enterprise framework for sharing automation across your organization. This article will demonstrate how to install Ansible Automation Platform 2.3 on a machine running Red Hat Enterprise Linux 9.1.
6 steps to install Ansible Automation Platform 2.3 on RHEL 9.1
6 steps to install Ansible Automation Platform 2.3 on RHEL 9.1
Follow these quick and easy steps to installation.
1. Set up prerequisites
Make sure you have the following prerequisites before starting the installation process:
- Red Hat Ansible Automation Platform subscription
- Minimum 4GB of RAM
- Minimum of 2 CPUs
- 20GB of dedicated hard disk space
2. Download the Ansible Automation Platform
Download the Ansible Automation Platform 2.3 and then extract the files. Figure 1 displays the download page.
Figure 1: The Ansible Automation Platform software download page.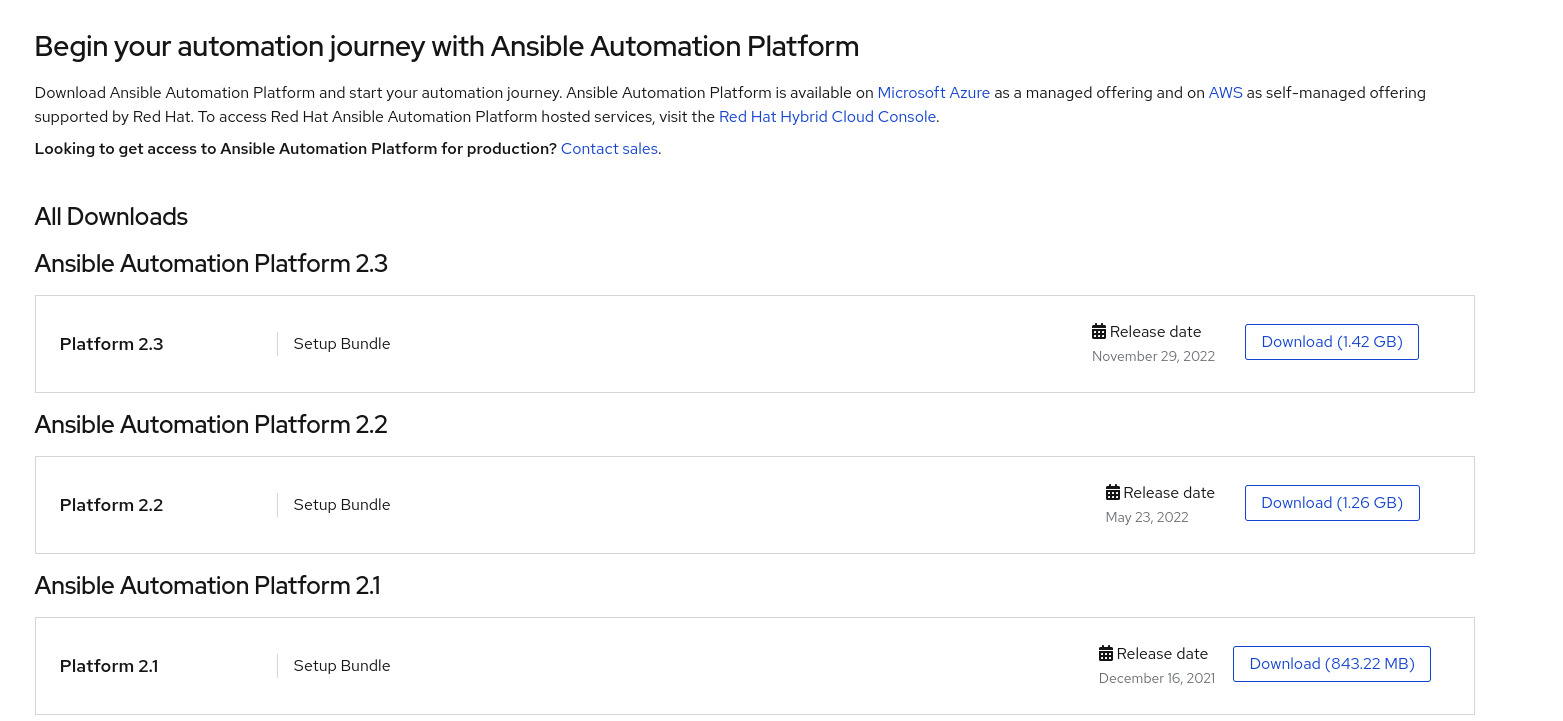
You will see the following files in the extracted directory:
[user@user ~ ]$ ls

bundle collections group_vars inventory licenses README.md setup.shBefore attempting to the install Ansible Automation Platform, update all the system libraries by running the following command:
sudo dnf update -y && dnf upgrade -y3. Configuring the Ansible inventory file
Configure the credentials for Ansible and PostgreSQL in the Ansible inventory file. The inventory file also contains details about the database.
[automationcontroller]

fqdn ansible_connection=local


[database]


[all:vars]

admin_password='redhat'


pg_host=''

pg_port=''


pg_database='awx'

pg_username='awx'

pg_password='redhat'Update the fields according to the requirements. Then, we will be good to go with our installation.
4. Running the setup script
Run the setup.sh file in the extracted folder. There are also various installation scenarios listed here.
sudo ./setup.sh5. Accessing the Ansible Automation Platform console
After successfully installing the Ansible Automation Platform 2.3, access the Ansible Automation Platform console via the URL: - https://localhost/. Log in with the admin username and password set in the inventory file, as shown in Figure 2.
Figure 2: The Ansible Automation Platform login page.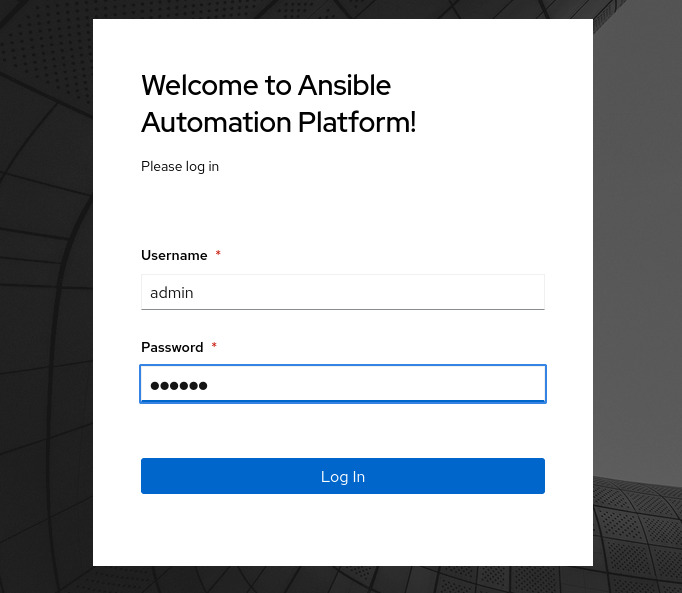
6. Create a subscription allocation
Create a subscription allocation in the Red Hat Customer Portal and export the manifest from the overview page. Upload the manifest to activate your subscription. You can also register for a trial subscription by clicking the Request Subscription button shown in Figure 3.
Figure 3: The Ansible Subscription page.
You can explore more ways to import a subscription here.
Figure 4 shows the Ansible Automation Platform web console.
Figure 4: The Ansible Automation Platform 2.3 web console.What's next in your automation journey?
What's next in your automation journey?
You can get started with the Ansible Automation Platform by exploring interactive labs at Red Hat Developer. Ansible Automation Platform is also available as a managed offering on Microsoft Azure and as a self-managed offering on Amazon Web Services.
Recommend
About Joyk
Aggregate valuable and interesting links.
Joyk means Joy of geeK