

The Terminal: First Steps and Useful Commands
source link: https://realpython.com/terminal-commands/
Go to the source link to view the article. You can view the picture content, updated content and better typesetting reading experience. If the link is broken, please click the button below to view the snapshot at that time.

First Steps and Useful Commands – Real Python
Install and Open the Terminal
Back in the day, the term terminal referred to some clunky hardware that you used to enter data into a computer. Nowadays, people are usually talking about a terminal emulator when they say terminal, and they mean some kind of terminal software that you can find on most modern computers.
Note: There are two other terms that you might hear now and then in combination with the terminal:
In other words, the shell provides the commands that you use in a command-line interface, and the terminal is the application that you run to access the shell.
If you’re using a Linux or macOS machine, then the terminal is already built in. You can start using it right away.
On Windows, you also have access to command-line applications like the Command Prompt. However, for this tutorial and terminal work in general, you should use the Windows terminal application instead.
Read on to learn how to install and open the terminal on Windows and how to find the terminal on Linux and macOS.
Windows
The Windows terminal is a modern and feature-rich application that gives you access to the command line, multiple shells, and advanced customization options. If you have Windows 11 or above, chances are that the Windows terminal is already present on your machine. Otherwise, you can download the application from the Microsoft Store or from the official GitHub repository.
Before continuing with this tutorial, you need to get the terminal working on your Windows computer. You can follow the Your Python Coding Environment on Windows: Setup Guide to learn how to install the Windows terminal.
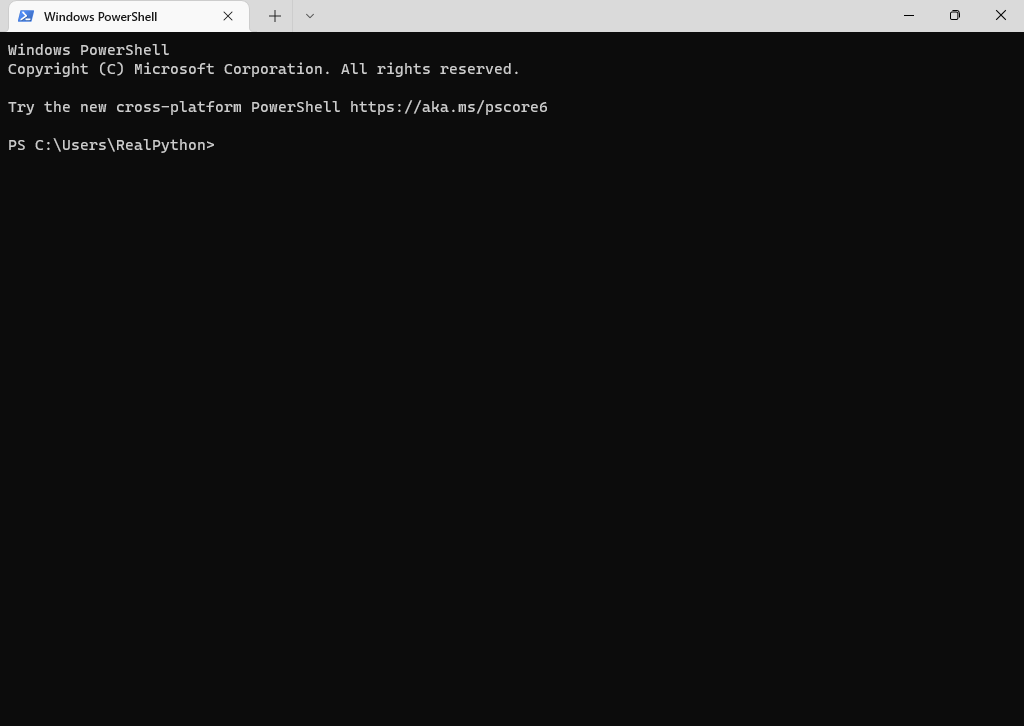
After you install the Windows terminal, you can find it in the Start menu under Terminal. When you start the application, you should see a window that looks like this:
It can be handy to create a desktop shortcut for the terminal or pin the application to your task bar for easier access.
Linux
You can find the terminal application in the application menu of your Linux distribution. Alternatively, you can press Ctrl+Alt+T on your keyboard or use the application launcher and search for the word Terminal.
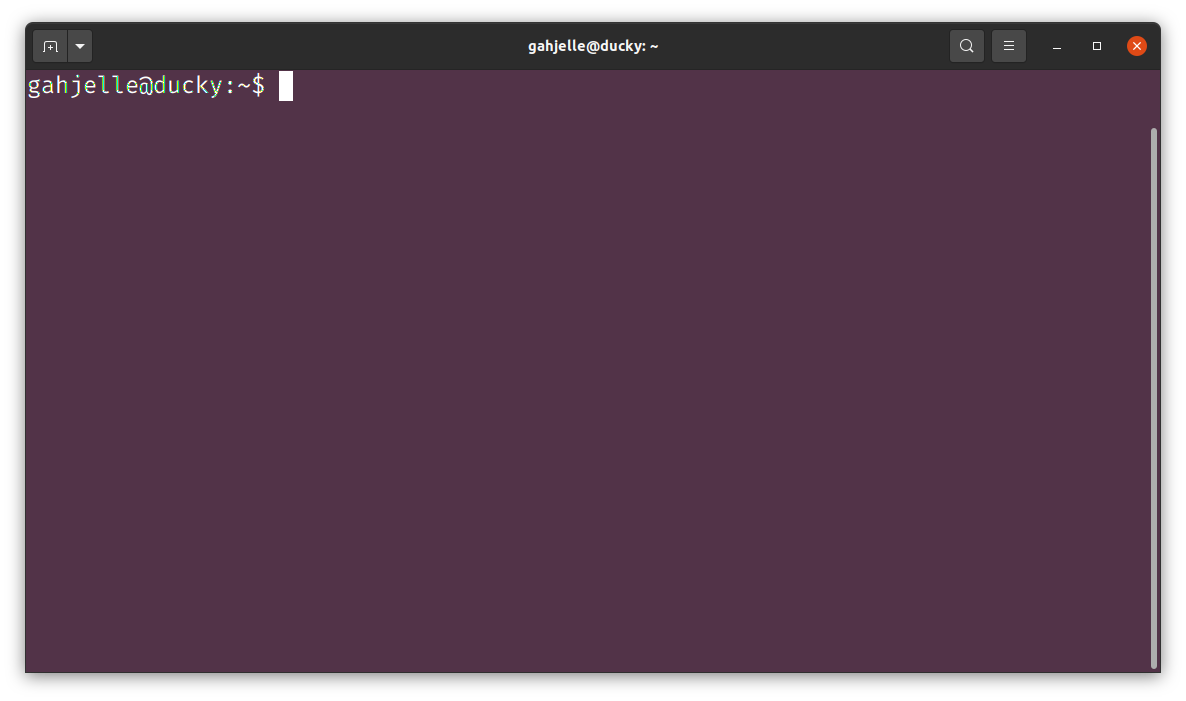
After opening the terminal, you should see a window similar to the screenshot below:
How you open the terminal may also depend on which Linux distribution you’re using. Each one has a different way of doing it. If you have trouble opening the terminal on Linux, then the Real Python community will help you out in the comments below.
macOS
A common way to open the terminal application on macOS is by opening the Spotlight Search and searching for Terminal. You can also find the terminal app in the application folder inside Finder.
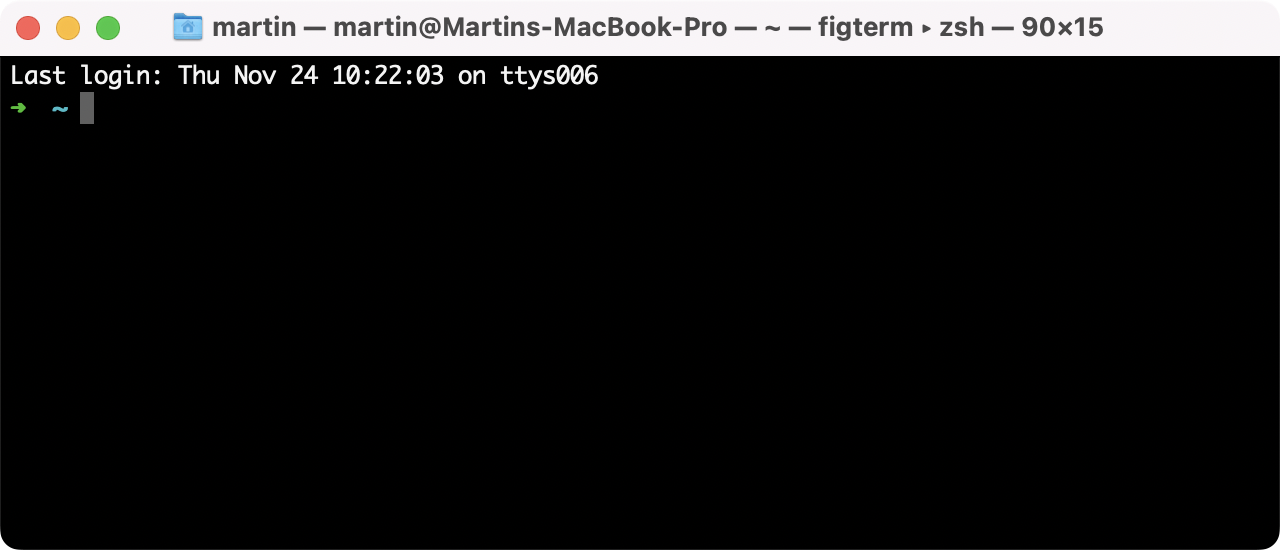
When you open the terminal, you see a window that looks similar to the image below:
After you launch the terminal application, you’ll see a window that waits for commands. That’s similar to when you’re interacting with a Python script that expects user input.
If you want to interact with the terminal, then you need to know which terminal commands you can enter to proceed. In the next section, you’ll learn about basic terminal commands that’ll help you get started.
Learn Basic Terminal Commands
To work with the terminal effectively, it’s important to understand some basic terminal commands and know how to use them. Terminal commands are the instructions that you type into the terminal to execute a specific task.
Depending on your operating system, you’ll run the terminal commands in a specific shell. For Linux, it’s most likely Bash, for newer macOS versions it’s Zsh, and for Windows it’s PowerShell. These shells differ in their features, but they share most of the basic commands.
Note: You can think of commands as little programs that are built into your shell or can be added by external applications. In PowerShell, commands are also known as cmdlets.
In this section, you’ll explore the most commonly used terminal commands. To see a preview of the commands, select your operating system from the platform switcher below:
These are the Windows commands that you’ll cover:
| Command | Description |
|---|---|
pwd |
Print the path of the current directory |
mkdir FOLDERPATH |
Create a new directory |
ni FILEPATH |
Create a new file |
clear |
Clear the terminal window |
ls |
List the contents of a folder |
ls -al |
List all the contents of a folder with info |
cat TARGET |
Show the content of TARGET |
cd FOLDERPATH |
Change into a directory |
cd .. |
Change into the parent directory |
echo TEXT |
Print TEXT to the terminal |
echo TEXT > TARGET |
Print TEXT to a file named TARGET |
echo TEXT >> TARGET |
Append TEXT to TARGET |
cp SOURCE TARGET |
Copy SOURCE to TARGET |
rni SOURCE TARGET |
Rename SOURCE to TARGET |
python PYTHONFILE |
Run PYTHONFILE |
The terms in uppercase letters are references to the arguments that the commands allow.
You’ll learn how to navigate the file system and create, edit, and delete files and directories.
By the end of this section, you’ll have a solid foundation for working with the terminal and be able to perform many everyday tasks with confidence. You can take this confidence and use it to tackle other tasks in the terminal, such as using pip, interacting with Git, and building command-line interfaces with Python.
Navigate Your File System
The file system is the hierarchical structure of directories and files on a computer. It’s usually what you see when you open a GUI file system application like Windows Explorer or the macOS Finder. It also happens to be an excellent place to start your terminal journey, but again, you’re just dipping a toe into all the terminal’s capabilities here.
The folder that you have currently open in a file system is the current working directory (cwd). As you’ll notice, you use the working directory as a reference point for many file system operations. Understanding the file system and the current working directory as a state is important for effectively navigating and managing files and directories in the terminal.
After you’ve opened the terminal app, you usually start in the user folder of your operating system. You see a command prompt that’s waiting for your input. As you’ll learn, you can use a wide variety of commands as input. But some common commands are the ones to navigate the file system.
To get things started, find out what your current working directory is:
$ pwd
/Users/realpython
The pwd command stands for print working directory, which is the command that you use to determine your current location within the file system.
Here pwd shows that the current working directory is /Users/realpython.
The working directory is the current directory that you’re operating in. It’s where commands will be executed by default.
To see which files and folders the/Users/realpython directory contains, you can use ls, which is short for list:
$ ls
Applications          Movies
Desktop               Music
Documents             Pictures
Downloads             Public
Library
When you type ls and press Enter, you see a list of all the items in the current working directory.
In this case, the example shows the folders that you commonly find in the user directory on a macOS machine.
You can also use the -a flag with the ls command, which stands for all.
The -a flag shows you all the items in the current working directory, including the hidden items.
Another flag that you can use is -l, which stands for long.
When you use this flag along with ls, the command shows you detailed information about the items in the current working directory.
You can also combine these flags to show detailed information about all the items, including the hidden ones, by using ls -al:
$ ls -al
total 80
drwxr-xr-x+  25 realpython  staff    800 Nov 26 11:51 .
drwxr-xr-x    6 root        admin    192 Nov  7 13:22 ..
-rw-r--r--@   1 realpython  staff  14340 Nov  7 16:04 .DS_Store
drwx------  134 realpython  staff   4288 Nov  8 18:37 .Trash
drwx------@   3 realpython  staff     96 Dec  3  2021 Applications
drwx------@  22 realpython  staff    704 Nov  7 16:00 Desktop
drwx------+   4 realpython  staff    128 Nov 17  2021 Documents
drwx------+   3 realpython  staff     96 Nov  1  2021 Downloads
drwx------@  86 realpython  staff   2752 Nov  7 21:08 Library
drwx------    6 realpython  staff    192 Jul 12 14:53 Movies
drwx------+   4 realpython  staff    128 Nov 26  2021 Music
drwx------+   4 realpython  staff    128 Nov  1  2021 Pictures
drwxr-xr-x+   4 realpython  staff    128 Nov  1  2021 Public
The output will show the file type, permissions, owner, size, and timestamp of all the items in the current working directory, including the hidden files and folders.
Here, for example, the hidden items are .DS_Store and .Trash.
Note: You can recognize hidden items in the terminal by a dot (.) at the start of their name, but there are a couple of dot items that you shouldn’t confuse for hidden files. The single dot (.) in the list above represents the current directory, and the two dots (..) link to the parent directory. You’ll work with both of them later in this tutorial.
Hidden files and folders aren’t displayed by default. That’s okay for casual users. But for you as a developer, hidden items can be of interest. They often store configuration data or settings for various applications or the system itself.
The output above may be a bit overwhelming at first. Have a look at this line to understand the output better:
drwx------@ 22 realpython staff 704 Nov 7 16:00 Desktop
This line gives you valuable information about an item. There’s a directory named Desktop. The last modified date is November 7 at 16:00, and it has a size of 704 bytes.
Apart from that, you can see information about the owner and group permissions. If you want to learn more about the file system permission notation, then you can check out the notation of traditional Unix permissions.
Each folder in the output of ls represents a subfolder that’s inside your current working directory.
To change the current working directory into the Desktop/ subfolder, you use the change directory command, cd:
$ pwd
/Users/realpython
$ cd Desktop
$ pwd
/Users/realpython/Desktop
When you enter cd followed by a directory name, it’ll change the current working directory to the specified directory.
After you run the command cd Desktop, the current working directory changes to /Users/realpython/Desktop.
Note that you don’t specify a slash / or drive indicator like C:\ at the beginning of Desktop.
Calling a path like this indicates that you want to navigate into a path that’s relative to the directory that you’re in right now.
You used a relative path in the command above to navigate into a subfolder. Relative paths make it convenient to reference items in your file system because you don’t have to specify the complete path from the root directory. That being said, you can also change into any directory of your file system by using a complete or absolute path:
PS> cd C:\Users\realpython\Desktop
PS> pwd
C:\Users\realpython\Desktop
In this case, the cd command changes the current working directory to the directory C:\Users\realpython\Desktop, independently of its previous location.
If you use cd with a path that doesn’t exist, then the terminal will print an error.
You’ll soon learn how to create new directories.
Before you do, make one last move in your file system.
To move one directory up, you usually don’t use the name of the parent folder but two dots:
$ cd ..
$ pwd
/Users/realpython
The two dots (..) represent the parent directory of the current directory.
Using cd .. moves you up one directory in the file system hierarchy.
In a GUI file system application like Windows Explorer or the macOS Finder, you’d click little folder icons with your mouse cursor.
In the terminal application, you use commands to perform tasks—for example, cd to move between folders and ls to get an overview of the items in a directory.
Create Files and Folders
In this section, you’ll learn how to create and manage files and folders directly from the terminal with some new commands.
Additionally, you’ll continue to list the contents of a directory with ls and move between folders with cd, just like you learned before.
With the knowledge from this section, you’ll be able to create and organize your projects from within the terminal.
Start by making sure that your current working directory is the Desktop.
Then, use mkdir to create a new folder named rp_terminal:
PS> cd C:\Users\realpython\Desktop
PS> pwd
C:\Users\realpython\Desktop
PS> mkdir rp_terminal
You use the mkdir command to create a new directory.
The command stands for make directory.
Here, you name the new directory rp_terminal.
Next, move into rp_terminal/ and create a new file named hello_terminal.py.
Select your operating system below and use your platform-specific command accordingly:
PS> cd rp_terminal
PS> ni hello_terminal.py
When you run the ni command, you create an empty file with the given name.
In this case, the file is a Python script named hello_terminal.py.
If a file with the provided name already exists, then using ni updates the file’s timestamp to the current date and time, but doesn’t change its contents.
The ni command stands for new item.
Use the long format of ls to verify that you created the file successfully:
$ ls -l
total 0
-rw-r--r--@ 1 realpython  staff  0 Nov 27 12:09 hello_terminal.py
The 0 between the group and the timestamp indicates that hello_terminal.py is currently empty.
You’ll use the echo command to add content to hello_terminal.py in a moment.
Before you do so, have a look at what echo does when you type the command followed by some text:
$ echo 'print("Hello, terminal!")'
print("Hello, terminal!")
As a Python developer, you know that the text you just provided to echo is a print() function call.
However, for the echo command, it’s a plain string, which it outputs back into the terminal.
More specifically, the echo command sends the string to the standard output stream (stdout).
The stdout is the default destination for data that a command-line program sends.
The data is displayed on the screen, but you can tell the terminal to redirect stdout to a file:
$ echo 'print("Hello, terminal!")' > hello_terminal.py
Again, you’re using echo to output a given string.
But this time, you use the caret symbol (>) to send the output into hello_terminal.py.
Note: Be careful when redirecting the stdout to existing files. Any content that the file contains will be overwritten without warning.
When you redirect the output of the echo command into a nonexistent file, then you’re creating the file in the same step.
One way to check if the command worked is to list the contents of your folder again:
$ ls -l
total 8
-rw-r--r--@ 1 realpython  staff  26 Nov 27 12:12 hello_terminal.py
Perfect, the size of hello_terminal.py is 26 bytes now.
To verify that it contains the print() function call, you can use the cat command:
$ cat hello_terminal.py
print("Hello, terminal!")
Disappointingly, the cat command doesn’t have to do anything with cats.
It’s short for concatenate.
When you use cat with multiple files as arguments, you can concatenate them and display the contents one after another.
If you use cat with only one file, then cat is a convenient way to display the contents of a file in the terminal.
Now that you know that hello_terminal.py contains valid Python code, you can run the Python script:
$ python hello_terminal.py
Hello, terminal!
When you’re using the python command, the terminal looks for the Python executable in your PATH.
If you run the python command without any arguments, then you’ll launch the interactive Python interpreter, also known as the REPL.
When you run the command with a script file as an argument, then Python runs the provided script.
In this case, you’re executing hello_terminal.py, and you see the output of your print() function directly in the terminal.
This works because Python’s print() uses stdout by default.
Note: When you run a Python script in the terminal, the script will output any error messages to the standard error stream (stderr). The standard error stream is a separate output channel that’s used specifically for error messages, warnings, and other diagnostic information.
With this separate output channel for error messages, you can redirect or filter regular output and diagnostic messages independently.
With the knowledge gained in this section, you can now create, edit, and inspect Python files within the terminal.
You’re now well equipped to move on to working with a command-line tool that’s essential on your journey as a Python developer.
It’s called pip, and it enables you to include external packages in your Python projects.
Recommend
About Joyk
Aggregate valuable and interesting links.
Joyk means Joy of geeK