

Understanding Portal in Vue.js
source link: https://www.telerik.com/blogs/understanding-portal-vuejs
Go to the source link to view the article. You can view the picture content, updated content and better typesetting reading experience. If the link is broken, please click the button below to view the snapshot at that time.

Understanding Portal in Vue.js

Learn what PortalVue is, why you should use it and how to render components outside our Vue app using PortalVue.
PortalVue, sometimes known as Teleport, is a new addition to Vue 3 and a simple component that allows you to render components anywhere in the DOM and outside your Vue app. Aside from that, we can also use it mainly on dropdowns, modals and popup messages.
The PortalVue component is critical in your Vue application because it allows you to move elements that are not within your app but are controlled by the Vue App. This article will explain what PortalVue is, why you should use it and how to render components outside your Vue app using Portal-Vue.
Table of Contents
- Introduction to PortalVue
- Installation and setup
- Why you should use PortalVue
- How to render components with PortalVue
- Conclusion
Prerequisites
This article assumes you have a basic knowledge of working with Vue.js from setup to installation of components, as this tutorial will not cover all this in detail.
Introduction to PortalVue
PortalVue is a set of Vue components that allows you to render a component anywhere in the DOM or outside of the elements that are not within your app but are controlled by the Vue App.
Installation
Since PortalVue is a component, we will have to install it and set it up.
To install the Portal package, run the command below:
npm install -–save portal-vue
# or with yarn
yarn add portal-vue
Setup
After installation, the next step is to set up our package. To do that, we will copy the syntax below and paste it into our main.js file :
import PortalVue from 'portal-vue'
Vue.use(PortalVue)
Why You Should Use PortalVue
When working with large components, we have to organize all the components logically. PortalVue is ideal because it simplifies working with elements like modals and popups and makes it extremely easy to render it on top of their DOM elements without ugly workarounds.
How To Render Components with PortalVue
PortalVue is a component that we use in rendering components—let’s get started. In this example, we will create a table list which contains an employee’s profile using Progress Kendo UI for Vue.
Create Employee Table List
First, we will create a component called EmployeePage, and copy this code into that component:
<template>
  <div class="content">
    <h1>Employee Profile</h1>
      <table border="1" class="k-table k-table-layout-fixed">
        <thead class="k-table-thead">
          <tr class="k-table-row">
            <th class="k-table-th">Name</th>
            <th class="k-table-th">Title</th>
            <th class="k-table-th">Company</th>
            <th class="k-table-th">Identity</th>
          </tr>
        </thead>
        <tbody class="k-table-tbody">
          <tr class="k-table-row" v-for="(employee, id) in employees">
            <td class="k-table-td">{{ employee.name }}</td>
            <td class="k-table-td">{{ employee.title }}</td>
            <td class="k-table-td">{{ employee.company }}</td>
            <td class="k-table-td">{{ id }}</td>
          </tr>
        </tbody>
      </table>
  </div>
</template>
<script>
export default {
  name: "EmployeePage",
  data() {
    return {
      employees: [
        { name: "Jacob Mathew", title: "Senior Designer", company: "Google" },
        { name: "Andy Jane", title: "Marketing Manager", company: "Apple INC" },
        { name: "Michael Smith", title: "Web Instructor", company: "Vue School" },
      ],
    };
  },
};
</script>
Rendering Component Outside our Vue App
In the previous section, we created our employee page. Now, let’s see how we can render our component outside our Vue app.
We have created our EmployeePage component. Next, we will create a second component called EmployeeData. This is where our employee data will be
displayed using the portal element.
API Factories for Vue.js & Nuxt
How are you organizing your API calls? Have you considered API factories to make your codebase easier to work with, increasing your team’s productivity?
The next step is to connect the two components we created in our App.vue component.
<script>
import EmployeePage from "./components/EmployeePage.vue";
import EmployeeData from "./components/EmployeeData.vue";
export default {
  name: "App",
  components: {
    EmployeePage,
    EmployeeData

  },
};
</script>
Next, we will add the portal component portal to="employee-data" in our EmployeePage. This will render the content anywhere we have the employee-data in the portal element.
<template>
  <div class="content">
    <h1>Employee Profile</h1>

    <portal to="employee-data">
      <table border="1" class="k-table k-table-layout-fixed">
        <thead class="k-table-thead">
          <tr class="k-table-row">
            <th class="k-table-th">Name</th>
            <th class="k-table-th">Title</th>
            <th class="k-table-th">Company</th>
            <th class="k-table-th">Identity</th>
          </tr>
        </thead>

        <tbody class="k-table-tbody">
          <tr class="k-table-row" v-for="(employee, id) in employees">
            <td class="k-table-td">{{ employee.name }}</td>
            <td class="k-table-td">{{ employee.title }}</td>
            <td class="k-table-td">{{ employee.company }}</td>
            <td class="k-table-td">{{ id }}</td>
          </tr>
        </tbody>
      </table>
    </portal>
  </div>
</template>
In other words, for us to display the data wrapped with the portal component, we will specify the destination we want the data to be displayed using the portal-target name="employee-data" syntax.
<template>
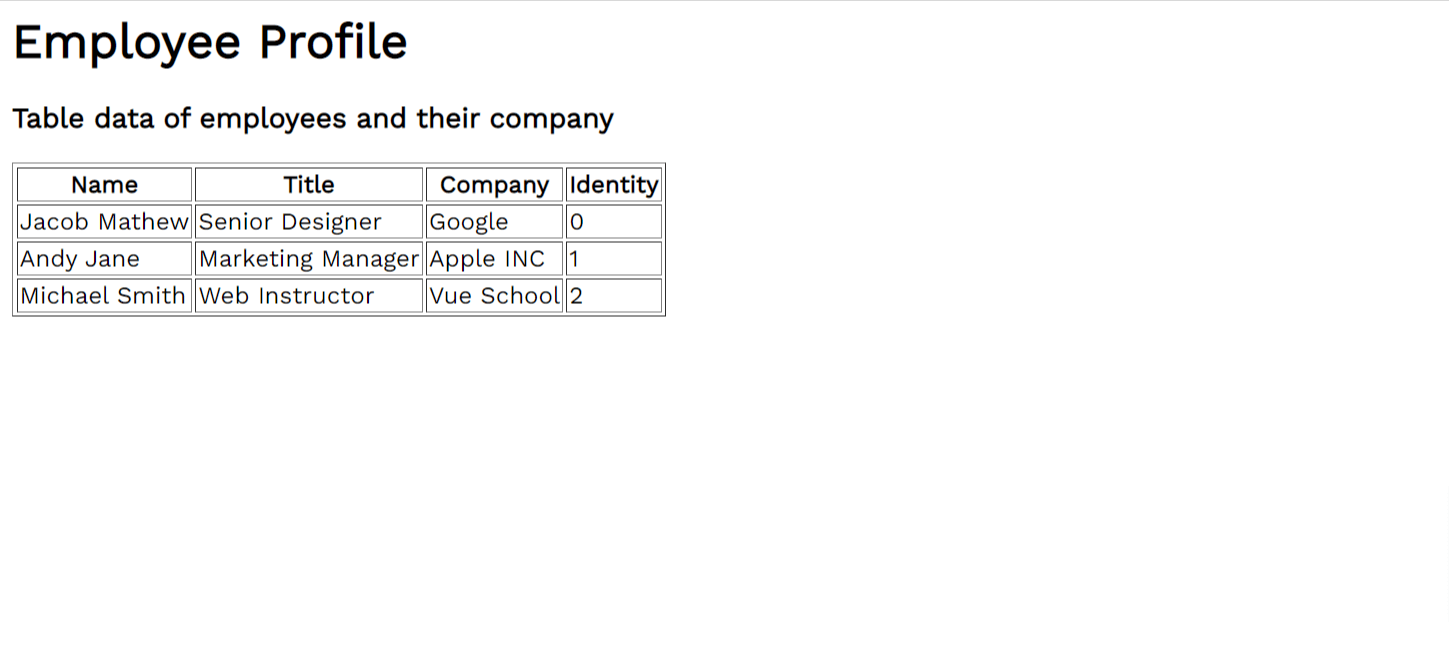
<div class="employee-data">
<h3>Table data of employees and their company</h3>
<portal-target name="employee-data" />
<!-- specify the destination here -->
</div>
</template>
This will render the component and display the data in our browser. Example of what our application will look like:
One unique thing about the portal component is that you can reuse that component anywhere in your code so far. You create and target the destination you want to display that content in. This case can also include buttons, modals, popup notifications and the rest.
Conclusion
Portal is a perfect package to work with if you want to render components outside your Vue apps, create reusable components and more. This article shows how we can render a component outside our Vue app using the Vue 3 feature portal. Hopefully, after this article, you will be able to create the reusable component easily.
Recommend
-
49
摘要: 原创出处 http://www.iocoder.cn/Apollo/portal-create-app/ 「芋道源码」欢迎转载,保留摘要,谢谢!1. 概述2. App2.1 BaseEntity2.2 为什么需要同步3. Portal 侧3.1 AppController
-
41
摘要: 原创出处 http://www.iocoder.cn/Apollo/portal-publish-namespace-branch/ 「芋道源码」欢迎转载,保留摘要,谢谢!1. 概述2. ReleaseService2.1 publishBranchNamespace2.2 mer
-
36
Portal - Facebook 推出的智能设备,主打视频通话,搭载 Alexa,智能识别人像,降噪 - NEXT
-
49
摘要: 原创出处 http://www.iocoder.cn/Apollo/portal-create-item/ 「芋道源码」欢迎转载,保留摘要,谢谢!1. 概述2. 实体2.1 Item2.2 Commit3. Portal 侧3.1 ItemController3.2 It
-
30
Photo by
-
19
Recently I wrote about new features available in Vue 3 where I briefly introduced which features we can expect in the next major...
-
17
Learn how to use the Deep selector in Vue, a powerful tool for resolving certain CSS issues. CSS can be an absolute delight or your worst nightmare, especially when dealing with components that wrap a series of chi...
-
6
Introduction Lifecycle hooks are a window into how the library you’re using works behind-the-scenes. Lifecycle hooks allow you to know when your component is created, added to the DOM, updated, or destroyed. This diagram fro...
-
5
Understanding Web Accessibility in Vue.js As developers, we are tasked with creating applications inclusive of all people, regardless of their hardware, software, language, location, or ability. Web Accessibility (also known as A...
-
4
Understanding and Measuring Nuxt Performance – Vue.js 3 Performance If you've delved into Vue.js and performance for a while, there's a good chance you've already checked out my earlier series, "
About Joyk
Aggregate valuable and interesting links.
Joyk means Joy of geeK