

How to use SwiftUI in Storyboard using UIHostingController subclass
source link: https://sarunw.com/posts/swiftui-view-in-uikit-using-uihostingcontroller-subclass/
Go to the source link to view the article. You can view the picture content, updated content and better typesetting reading experience. If the link is broken, please click the button below to view the snapshot at that time.

There are two ways to use SwiftUI as UIViewController in Storyboard for a UIKit project.
- Use
UIHostingControllerwithIBSegueAction. - Create a subclass of
UIHostingController.
We already cover the first approach in How to use SwiftUI as UIViewController in Storyboard. In this article, we will cover the second one.
Why do we need to subclass UIHostingController
Using SwiftUI view with UIHostingController with IBSegueAction is working when you have a segue action that presents a UIHostingController, e.g., push to navigation stack or present a modal.
But there are some situations where that is not possible, such as
- Using
UIHostingControlleras an Initial view controller. - Using
UIHostingControlleras a Root view of a navigation controller. - Using
UIHostingControlleras one of the View controllers in a Tab bar controller.
In these situations, you need to create a custom UIHostingController subclass.
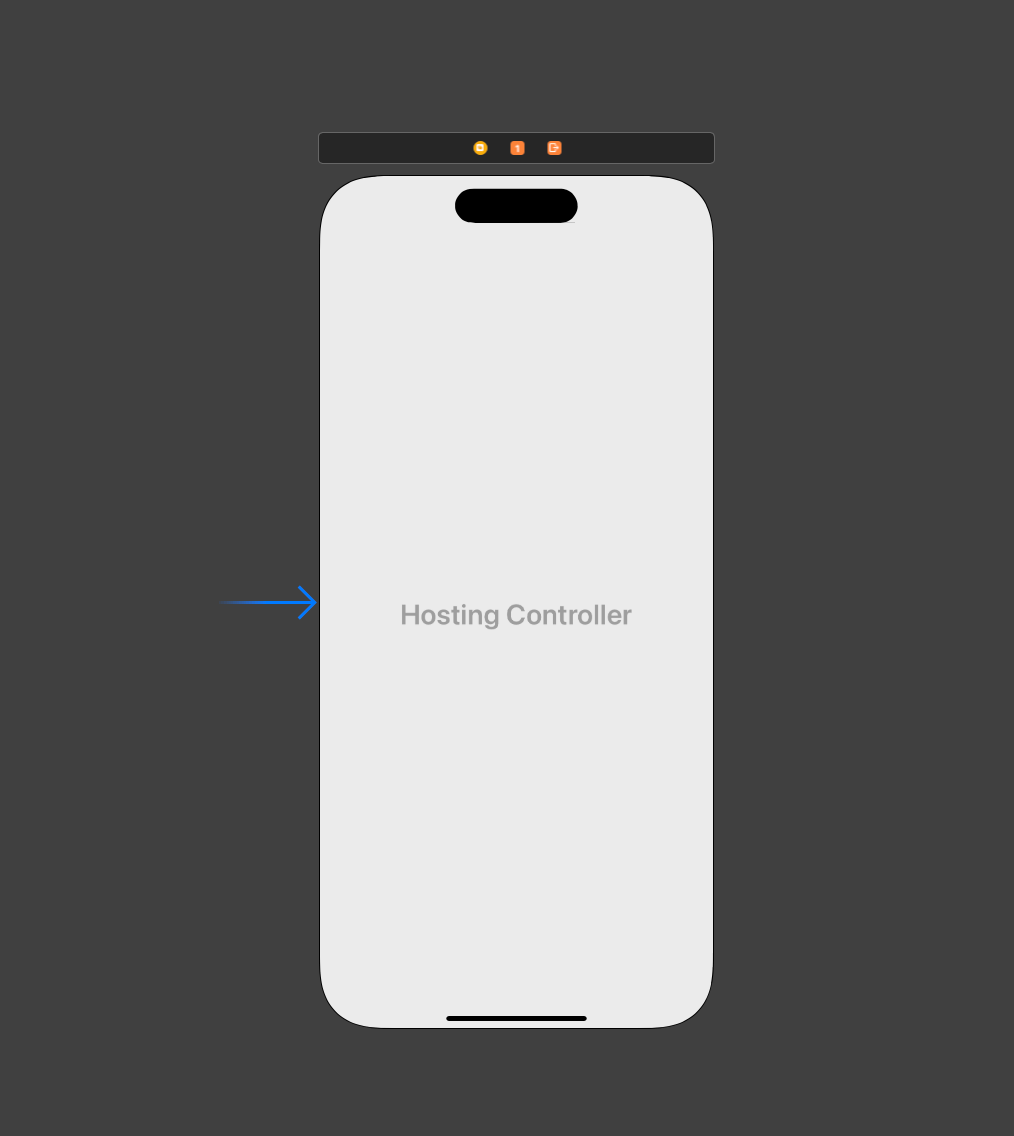
Initial view controller
How to create a custom UIHostingController subclass
It requires three steps to create a custom UIHostingController subclass.
- Create a
UIHostingControllersubclass. - Specify a SwiftUI view as a content view of the
UIHostingControllersubclass. - Use a custom class in the Storyboard.
Create a UIHostingController subclass
These are normal steps you normally do to create any subclass.
- Create a new "Cocoa Touch Class".

Create a new file.
- Make it a subclass of
UIHostingControllerand name it whatever you want.

Create a subclass of UIHostingController.
Specify a SwiftUI view as a content view of the UIHostingController subclass
You need to do two things to make the new UIHostingController present a SwiftUI view.
- Set a hosting controller's generic content type to the SwiftUI view you want to present.
- Implement the
init(coder:)initializer to return the specified SwiftUI view.
import UIKit
import SwiftUI

class SwiftUIViewController: UIHostingController<SwiftUIView> {

    required init?(coder aDecoder: NSCoder) {
        super.init(coder: aDecoder, rootView: SwiftUIView())
    }
}
- We specify our SwiftUI view as a hosting controller's content type,
UIHostingController<SwiftUIView>.
class UIHostingController<Content> : UIViewController where Content : View { }- We return the specified view from
init?(coder aDecoder: NSCoder).
required init?(coder aDecoder: NSCoder) {
    super.init(coder: aDecoder, rootView: SwiftUIView())
}
Use a custom class in the Storyboard
The last step is to use the newly created subclass in the Storyboard.
- Open the Storyboard and select the
UIHostingController. - In the Identity Inspector, put a subclass name in the Class field. In this case,
SwiftUIViewController.
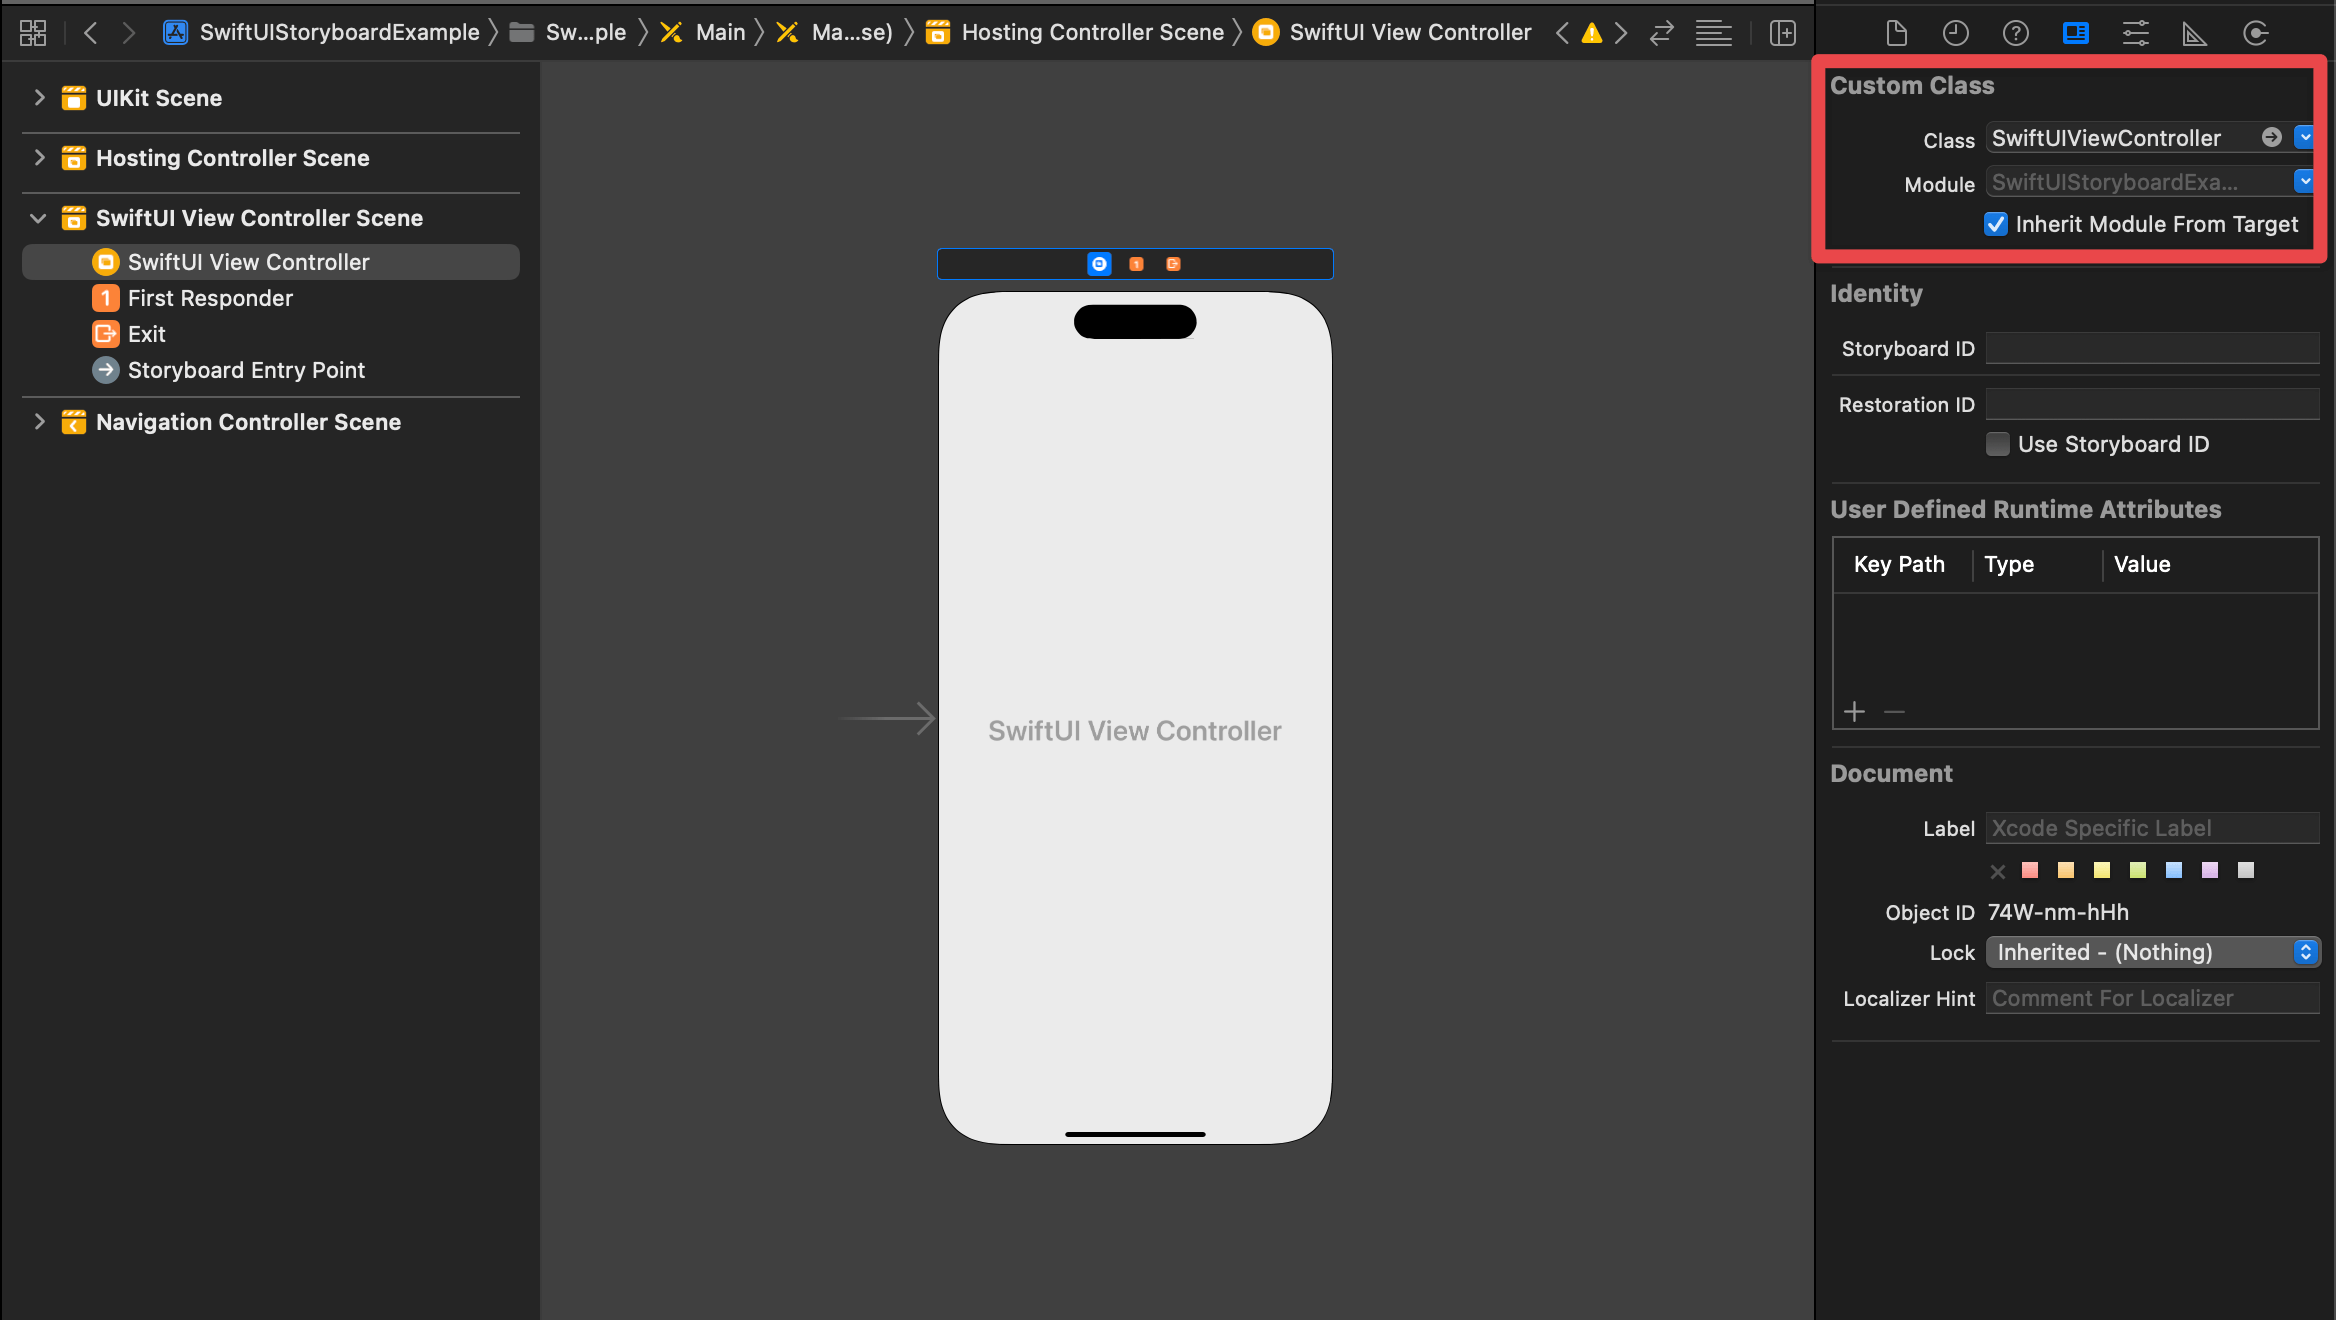
Set a custom class.
Here is the result.

Using a SwiftUI view as an initial view controller.
Here is the SwiftUIView implementation.
struct SwiftUIView: View {
    var body: some View {
        ZStack {
            Color.pink
            Button("Hello, SwiftUI!") {

}
            .font(.title)
            .buttonStyle(.borderedProminent)
            .padding()
        }
        .navigationTitle("SwiftUI View")
    }
}Recommend
About Joyk
Aggregate valuable and interesting links.
Joyk means Joy of geeK