

Hexo博客搭建记录 - 一刀一个小西瓜
source link: https://www.cnblogs.com/liyuelian/p/17048195.html
Go to the source link to view the article. You can view the picture content, updated content and better typesetting reading experience. If the link is broken, please click the button below to view the snapshot at that time.

Hexo博客搭建记录
参考视频:手把手教你从0开始搭建自己的个人博客 |无坑版视频教程
以下命令操作建议使用管理员权限完成
1. nodejs & hexo 安装
1.首先下载node.js,并安装(安装node时,会自动安装npm),安装完毕后在控制台输入node -v,如果显示版本则说明安装成功。
D:\>node -vv16.18.1 D:\>npm -v8.19.2
2.安装cnpm,命令为npm install -g cnpm --registry=https://registry.npm.taobao.org
(因为这里我已经下过了,所以显示可能不准确)
D:\>npm install -g cnpm --registry=https://registry.npm.taobao.orgnpm WARN deprecated @npmcli/[email protected]: This functionality has been moved to @npmcli/fs added 4 packages, removed 6 packages, and changed 415 packages in 1m 11 packages are looking for funding run `npm fund` for details
输入cnpm -v,如果出现下面的字样说明安装cnpm成功
D:\>cnpm [email protected] (D:\apps\nodejs16.18.1\node_global\node_modules\cnpm\lib\parse_argv.js)[email protected] (D:\apps\nodejs16.18.1\node_global\node_modules\cnpm\node_modules\npm\index.js)[email protected] (D:\apps\nodejs16.18.1\node.exe)[email protected] (D:\apps\nodejs16.18.1\node_global\node_modules\cnpm\node_modules\npminstall\lib\index.js)prefix=D:\apps\nodejs16.18.1\node_globalwin32 x64 10.0.19044registry=https://registry.npmmirror.com
3.使用cnpm安装hexo,命令cnpm install -g hexo-cli,安装完毕后使用命令hexo -v,如果出现以下字样说明安装hexo成功。
D:\>hexo -vhexo-cli: 4.3.0os: win32 10.0.19044node: 16.18.1v8: 9.4.146.26-node.22uv: 1.43.0zlib: 1.2.11brotli: 1.0.9ares: 1.18.1modules: 93nghttp2: 1.47.0napi: 8llhttp: 6.0.10openssl: 1.1.1q+quiccldr: 41.0icu: 71.1tz: 2022bunicode: 14.0ngtcp2: 0.8.1nghttp3: 0.7.0
2.使用hexo搭建博客
1.首先使用命令hexo init <yourBlogName>:创建你的站点目录,并使用hexo初始化该文件夹
如果在搭建博客的过程中有问题,只要把文件夹删掉重来即可
D:\>hexo init blogINFO Cloning hexo-starter https://github.com/hexojs/hexo-starter.gitINFO Install dependenciesINFO Start blogging with Hexo!
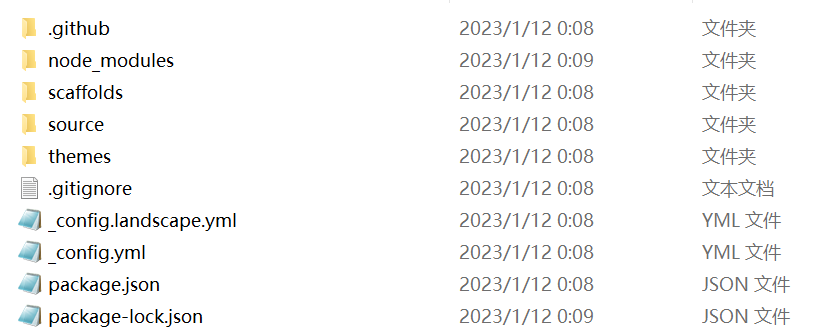
初始化成功后,站点目录下生成的文件:
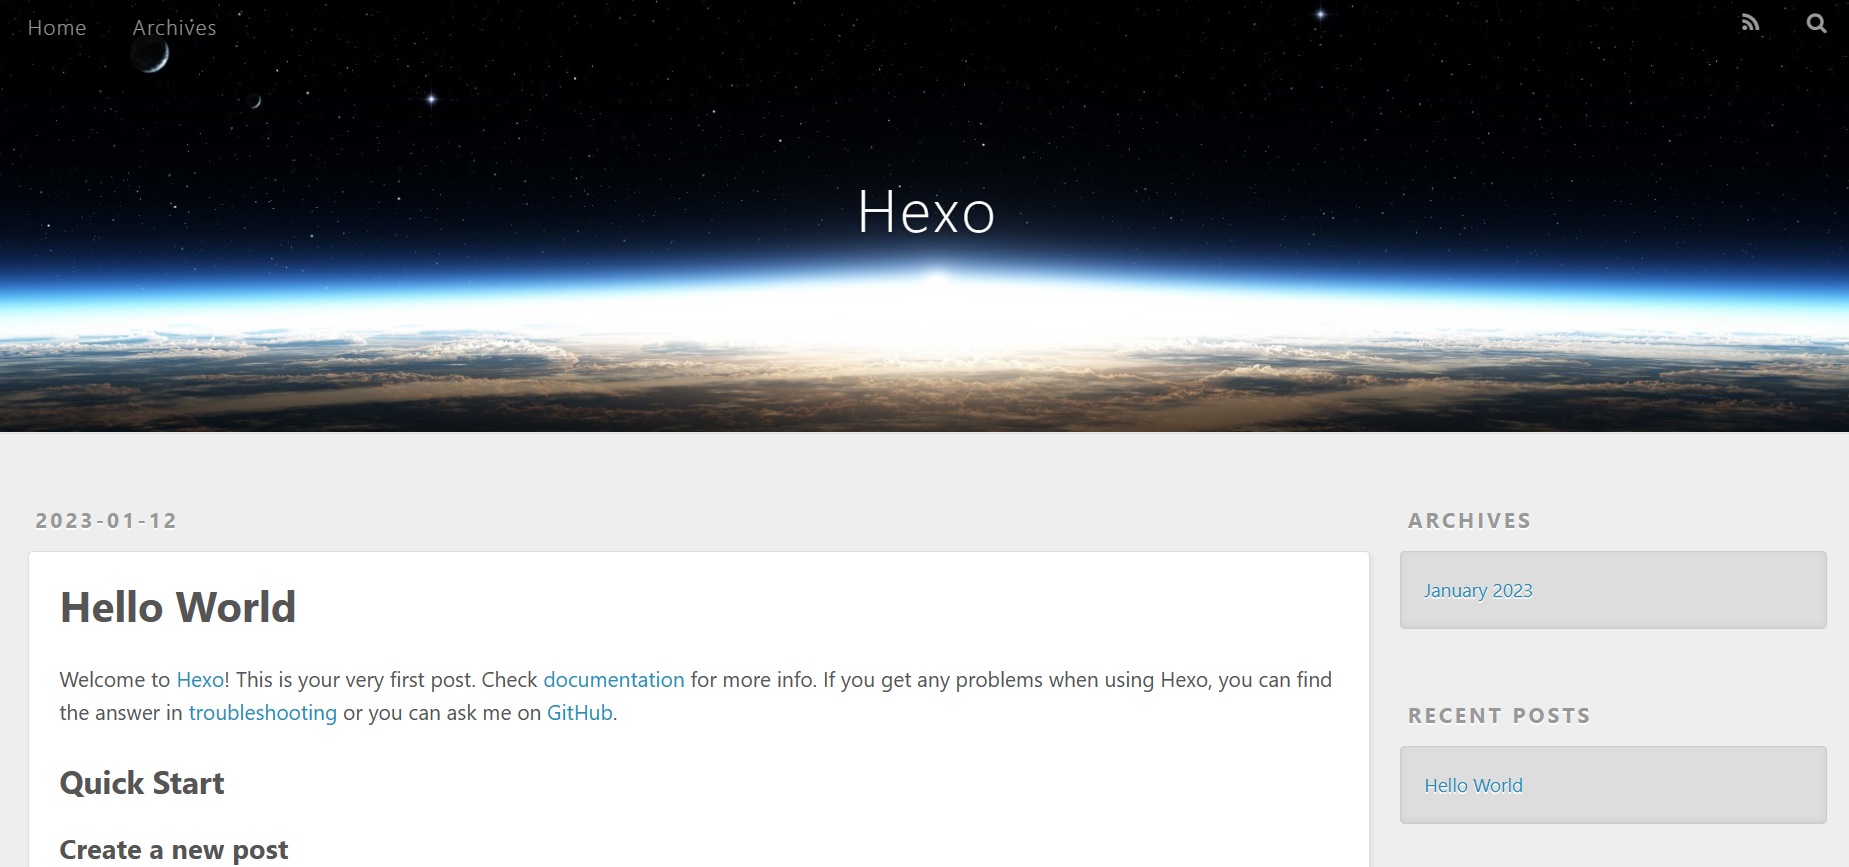
2.使用命令hexo s,启动博客(注意要之前的目录下运行),博客在本地的4000端口启动,访问http://localhost:4000/ 即可以看到
D:\blog>hexo sINFO Validating configINFO Start processingINFO Hexo is running at http://localhost:4000/ . Press Ctrl+C to stop.
3.使用命令hexo n "文章名",创建博客文章。
D:\blog>hexo n "我的第一篇博客文章"INFO Validating configINFO Created: D:\blog\source\_posts\我的第一篇博客文章.md
进入对应的目录下,可以看到已经成功生成md文件,然后就可以在该文件中写博客了
D:\blog>cd D:\blog\source\_posts\D:\blog\source\_posts>dir 驱动器 D 中的卷是 Data 卷的序列号是 8A15-B825 D:\blog\source\_posts 的目录 2023/01/12 00:48 <DIR> .2023/01/12 00:48 <DIR> ..2023/01/12 00:08 876 hello-world.md2023/01/12 00:48 75 我的第一篇博客文章.md 2 个文件 951 字节 2 个目录 1,724,429,172,736 可用字节
4.返回博客目录,使用命令hexo clean清理一下缓存文件,使用命令hexo g在hexo站点根目录下生成public文件夹
D:\blog\source\_posts>cd ../.. D:\blog>hexo cleanINFO Validating configINFO Deleted database. D:\blog>hexo gINFO Validating configINFO Start processingINFO Files loaded in 157 msINFO Generated: archives/index.htmlINFO Generated: index.htmlINFO Generated: tags/杂记/index.htmlINFO Generated: archives/2023/01/index.htmlINFO Generated: js/jquery-3.4.1.min.jsINFO Generated: fancybox/jquery.fancybox.min.cssINFO Generated: css/fonts/fontawesome-webfont.woffINFO Generated: fancybox/jquery.fancybox.min.jsINFO Generated: archives/2023/index.htmlINFO Generated: js/script.jsINFO Generated: css/style.cssINFO Generated: css/fonts/fontawesome-webfont.ttfINFO Generated: css/images/banner.jpgINFO Generated: css/fonts/fontawesome-webfont.eotINFO Generated: css/fonts/FontAwesome.otfINFO Generated: css/fonts/fontawesome-webfont.woff2INFO Generated: 2023/01/12/hello-world/index.htmlINFO Generated: 2023/01/12/我的第一篇博客文章/index.htmlINFO Generated: css/fonts/fontawesome-webfont.svgINFO 19 files generated in 360 ms D:\blog>
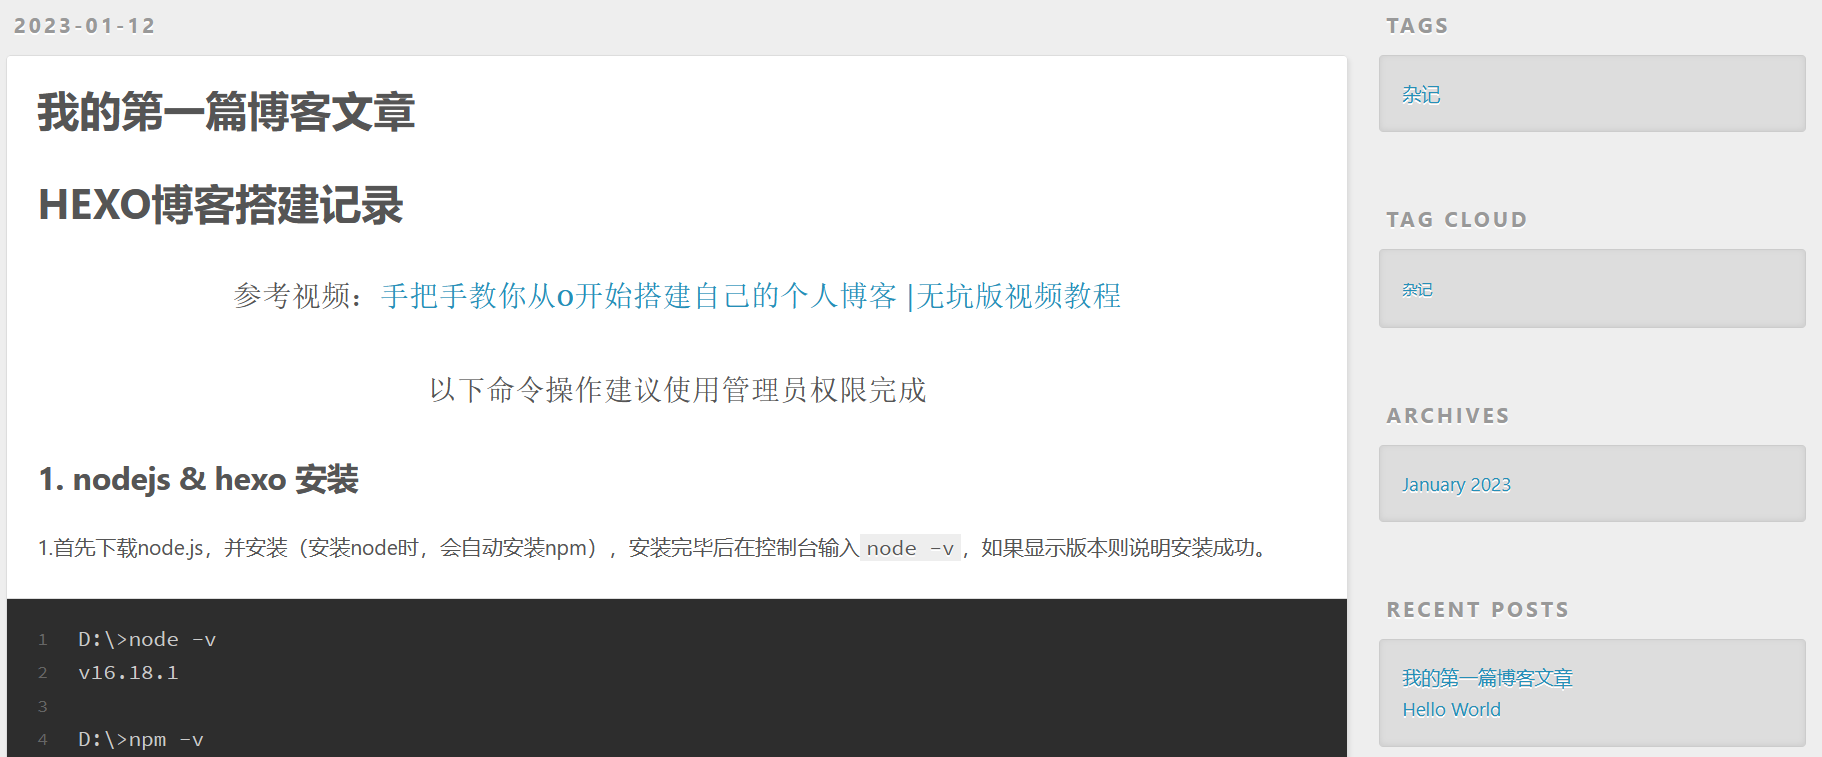
5.然后hexo s重新启动服务,浏览器访问端口,成功生成新的文章。
3.将博客部署到github
1.登录github,创建新仓库,仓库名必须如下:
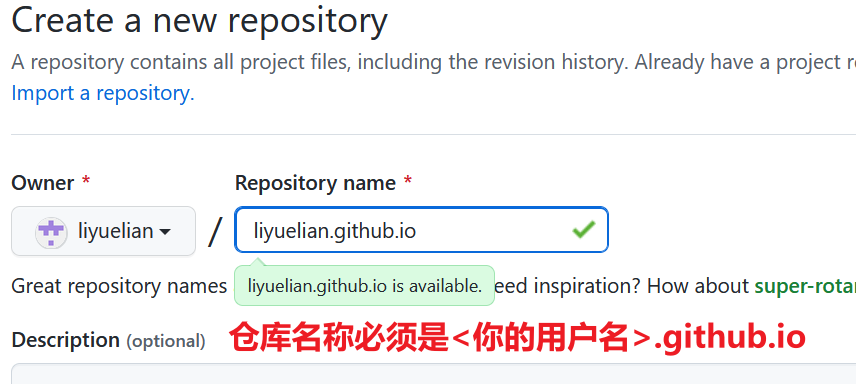
其他选项默认,然后点击创建仓库。
2.当前站点目录下,使用命令npm install hexo-deployer-git --save,安装git。
注意设置用户名和邮件:(随意)
git config --global user.name <你的用户名>git config --global user.email <你的邮箱>
3.在hexo博客目录下的 _config.yml 文件,最后几行改为如下形式,然后保存。
注意:每个冒号后面要加空格

4.使用命令hexo d,将博客部署到github中
D:\blog>hexo dINFO Validating configINFO Deploying: gitINFO Setting up Git deployment...Initialized empty Git repository in D:/blog/.deploy_git/.git/......Enumerating objects: 39, done.Counting objects: 100% (39/39), done.Delta compression using up to 8 threadsCompressing objects: 100% (29/29), done.Writing objects: 100% (39/39), 886.59 KiB | 1.82 MiB/s, done.Total 39 (delta 5), reused 0 (delta 0), pack-reused 0remote: Resolving deltas: 100% (5/5), done.To github.com:liyuelian/liyuelian.github.io.git * [new branch] HEAD -> masterbranch 'master' set up to track '[email protected]:liyuelian/liyuelian.github.io.git/master'.INFO Deploy done: git
这里没有设置ssh免密登录的要输入github账号密码
5.在github仓库刷新,可以看到所有hexo文件已经上传到仓库中。
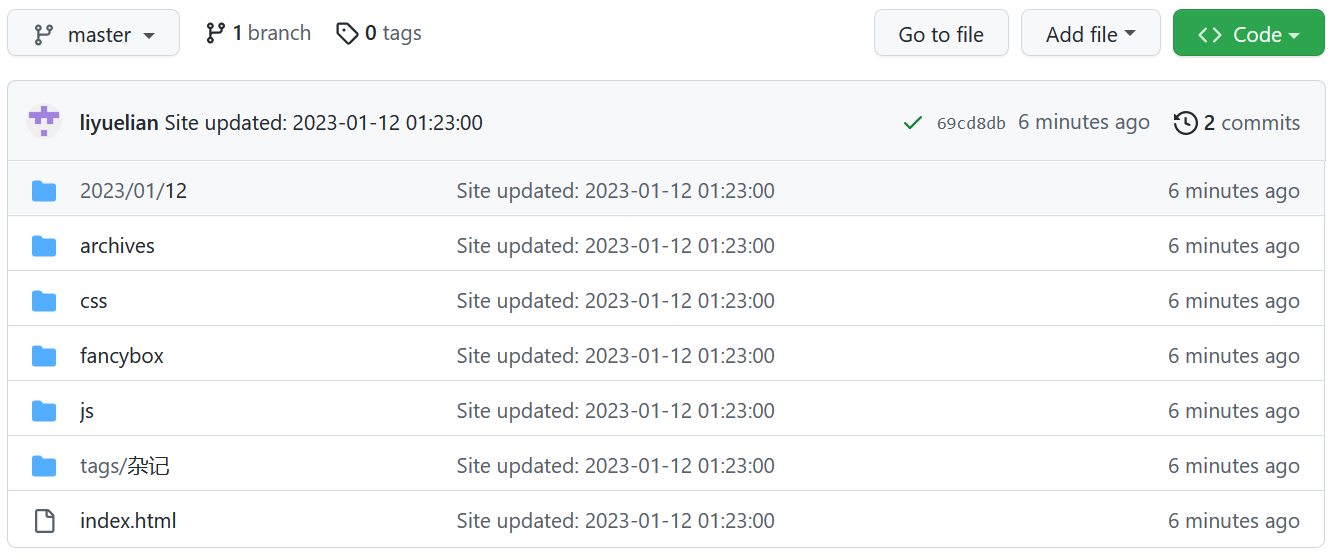
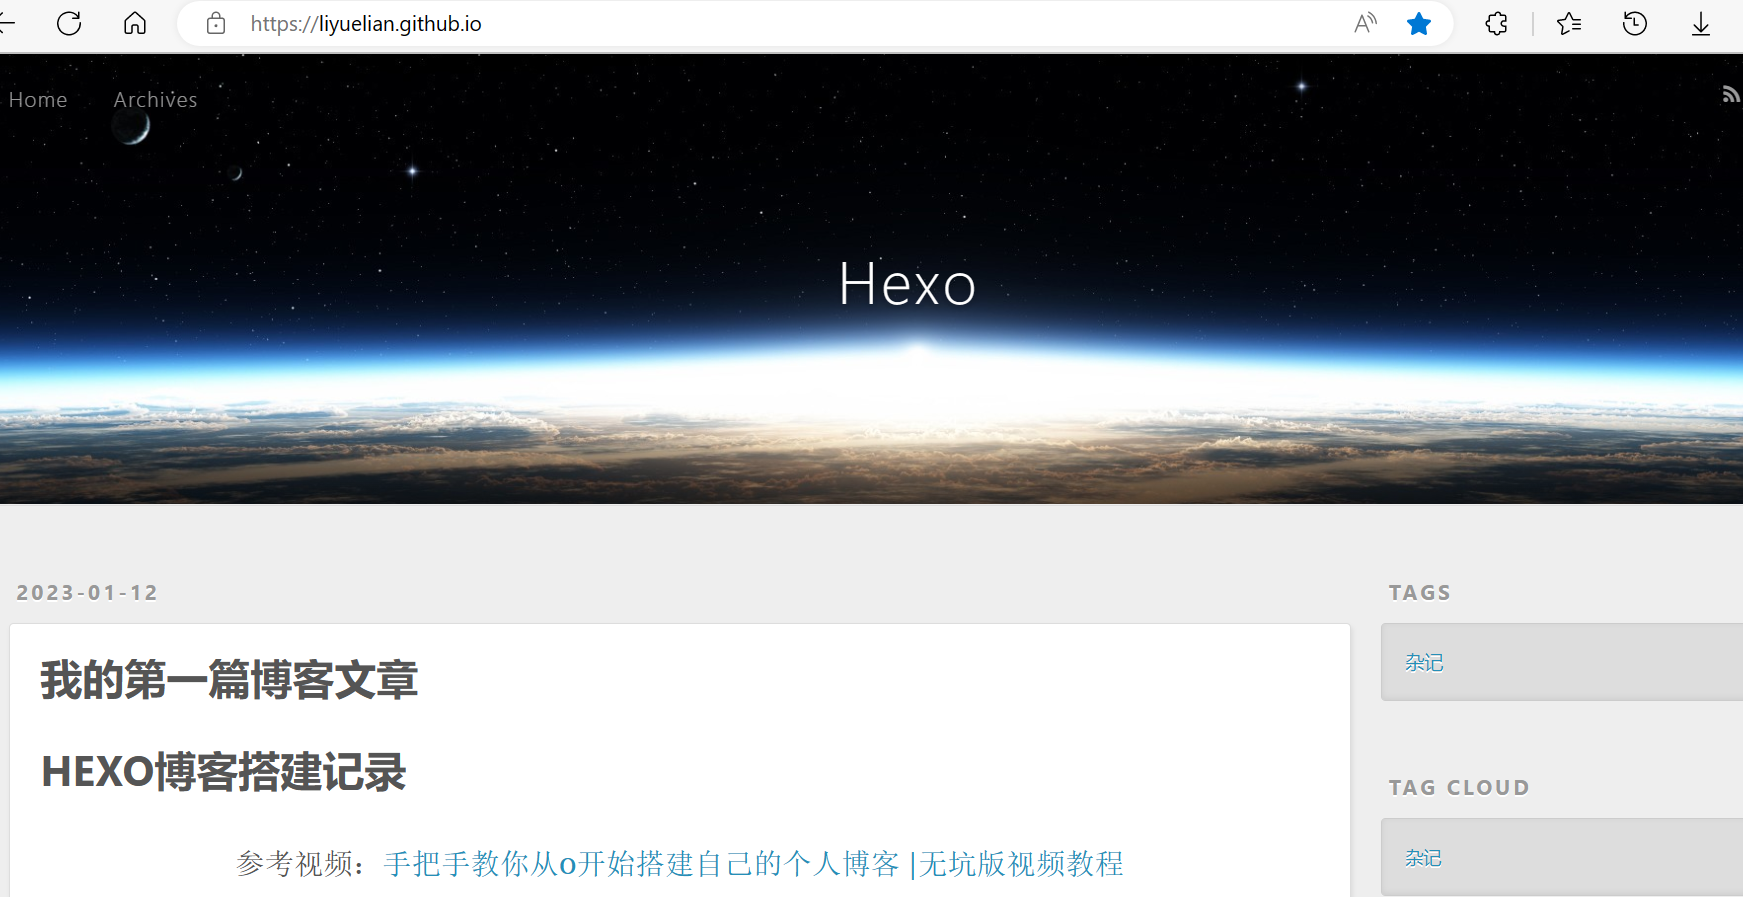
6.在地址栏中访问<你的github用户名>.github.io,即可看到个人博客网站。
4.如何发布新文章
1.首先使用命令hexo new <title>创建新文章,然后到hexo目录/source/_posts下去编写文章。
使用该命令创建的md文件头会有一个前置信息Front-matter,用于给hexo渲染md文档。
| 配置项 | 意义 |
|---|---|
| title | 文章标题 |
| date | 文章创建日期 |
| comments | 是否启动文章评论功能 |
| tags | 文章标签 |
| categories | 文章分类 |
| keywords | 文章关键字 |
2.使用命令hexo clean,清除掉旧的数据
这个命令会清除掉之前生成的网页,即站点根目录下的
public文件夹。
3.使用命令hexo g
这个命令会将
source文件夹下所有的md文件进行渲染,生成HTML页面,存放在public文件夹下。
特别提醒! 每次修改文章后,都要执行这两条命令,清除掉旧的数据,然后重新生成页面。
4.使用命令hexo d,将文件上传到你的远程仓库中即可。
可以先使用hexo s,先在本地预览一下
5.如何更换博客主题
以yilia主题为例:litten/hexo-theme-yilia: A simple and elegant theme for hexo. (github.com)
1.在你的hexo目录下运行:git clone https://github.com/litten/hexo-theme-yilia.git themes/yilia
D:\blog>git clone https://github.com/litten/hexo-theme-yilia.git themes/yiliaCloning into 'themes/yilia'...remote: Enumerating objects: 2037, done.remote: Counting objects: 100% (1/1), done.remote: Total 2037 (delta 0), reused 0 (delta 0), pack-reused 2036Receiving objects: 100% (2037/2037), 10.53 MiB | 398.00 KiB/s, done. Resolving deltas: 100% (1079/1079), done.

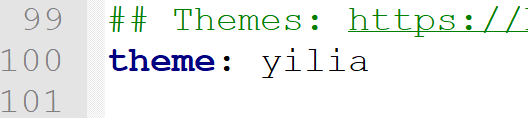
2.在_config.yml文件中修改主题,保存。
注意冒号后面有空格

3.在hexo目录下使用hexo clean,然后使用hexo g重新生成public文件
D:\blog>hexo cleanINFO Validating configINFO Deleted database.INFO Deleted public folder. D:\blog>hexo gINFO Validating configINFO Start processingINFO Files loaded in 285 ms...INFO 20 files generated in 64 ms
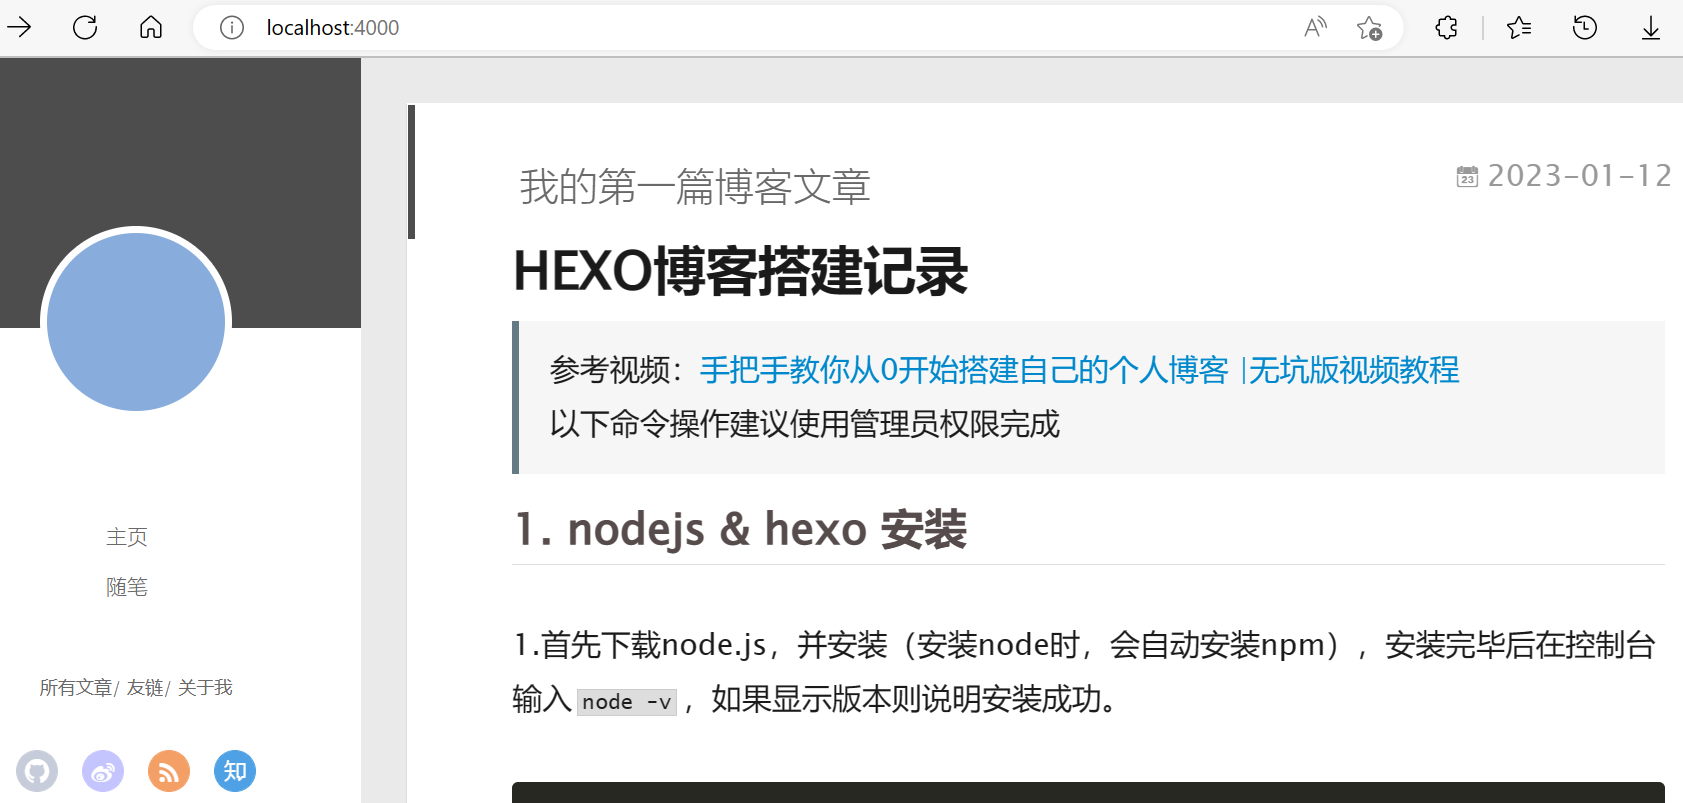
4.使用hexo s在本地启动,预览一下
5.觉得没问题了,就在hexo目录下使用hexo d,将新的博客文件发布到你的远程仓库中。
D:\blog>hexo dINFO Validating configINFO Deploying: git...INFO Deploy done: git
然后在你的<github个人用户名>.github.io上就可以看到新的博客主题了
有时候会延迟一会才能更新
6.nexT主题
!!!注意:如果是旧的6.0以前的next主题:hexo使用next主题,location:4000显示不对问题。 · Issue #2253 · iissnan/hexo-theme-next (github.com)
Recommend
About Joyk
Aggregate valuable and interesting links.
Joyk means Joy of geeK