

Android入门第54天-SQLite中的Transaction
source link: https://blog.csdn.net/lifetragedy/article/details/128418778
Go to the source link to view the article. You can view the picture content, updated content and better typesetting reading experience. If the link is broken, please click the button below to view the snapshot at that time.

Android入门第54天-SQLite中的Transaction
上一篇我们完整的介绍了SQLite在Android中如何使用,今天我们要来讲一下“Transaction“即事务这个问题。
我们经常在编程中会碰到这样的业务场景:
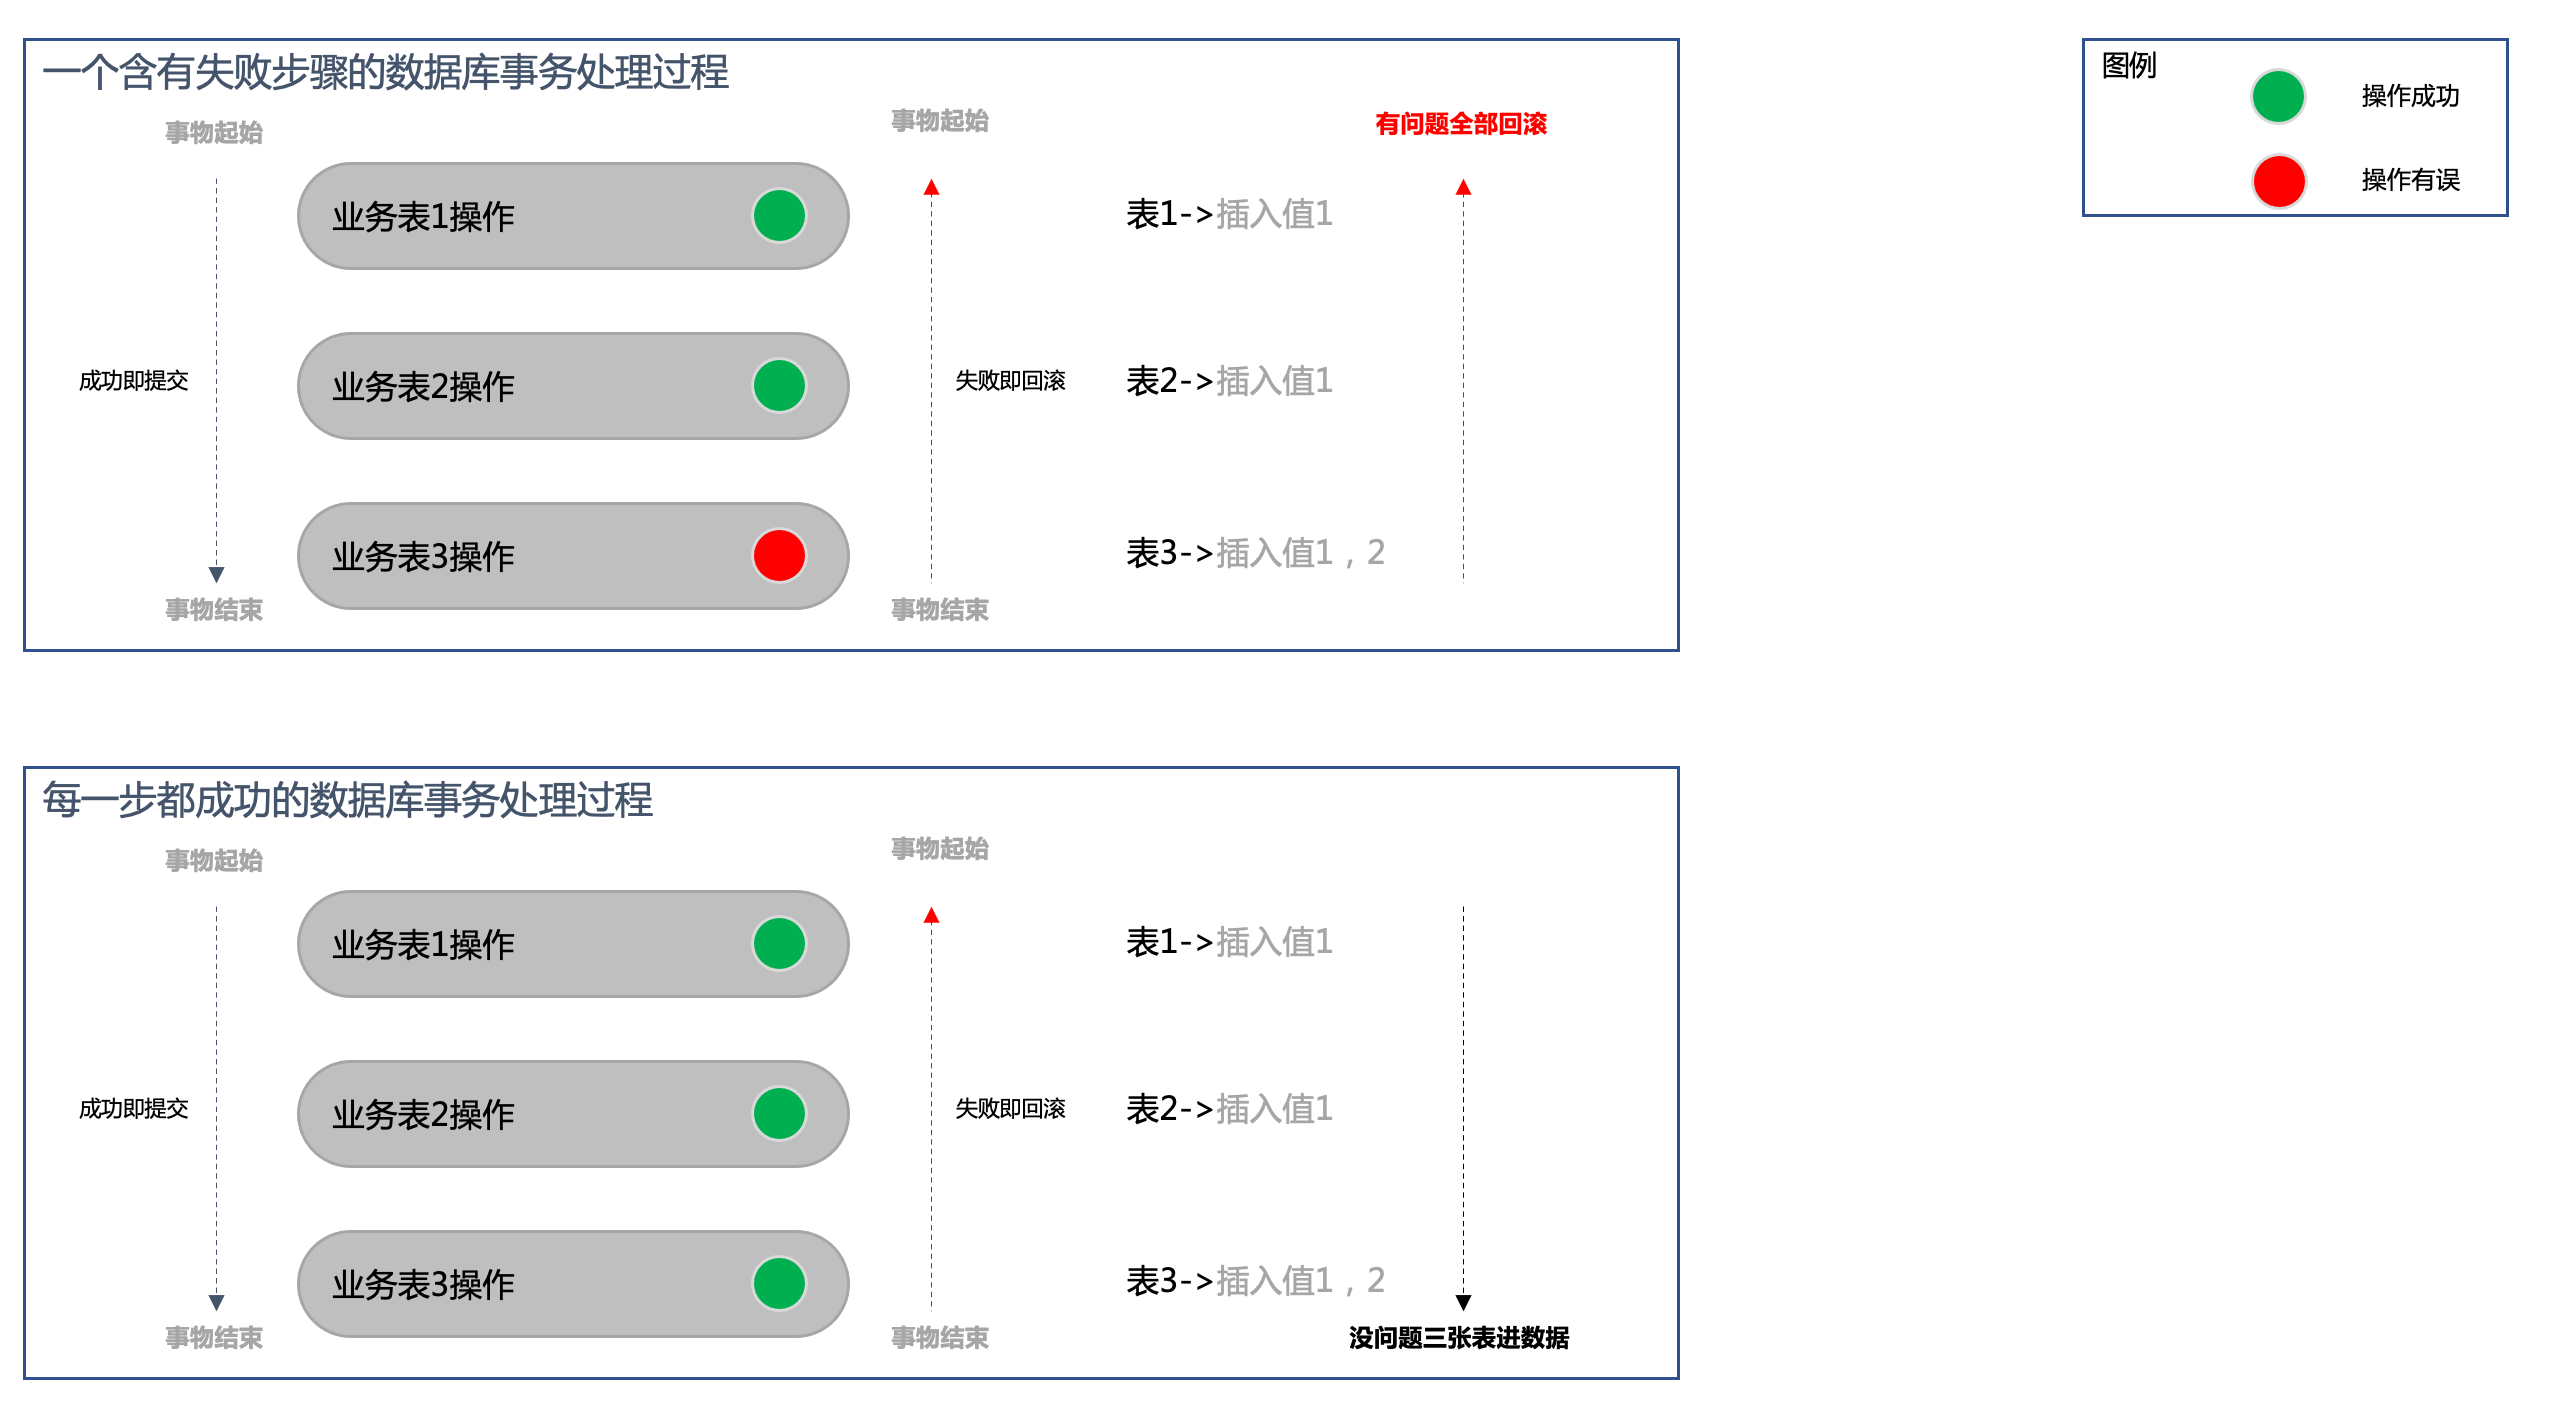
- 没问题一系列有业务关联性表操作的数据一起提交;
- 事务中只要有一步有问题,那么就认为在此过程中的每一步都失败,为了保证业务数据的完整性所以每一步的表操作数据都不成功-即:回滚;
在SQLite中,我们使用:
- dbOpenHelper.getWritableDatabase().beginTransaction()来开启事务;
- dbOpenHelper.getWritableDatabase().setTransactionSuccessful()申明整个事务成功;
因此我们会把所有的单条DB操作如果有问题都需要抛出Exception,然后在外部调用的块中以“beginTransaction"为起初步骤,全部步骤成功后我们会调用setTransactionSuccessful();那么整个DB事务就会被提交。
否则在beginTransaction后的每一步db操作都不会成功。
如果我们没有在一开始就以beginTransaction()开头,那么每一个单独的db操作如:db.insert()这样的一条语句只要不抛错就会自动被提交到数据库,并且如果有一系列关联的db操作动作的话不使用beginTransaction开头的话那么它们是不含事务操作的。
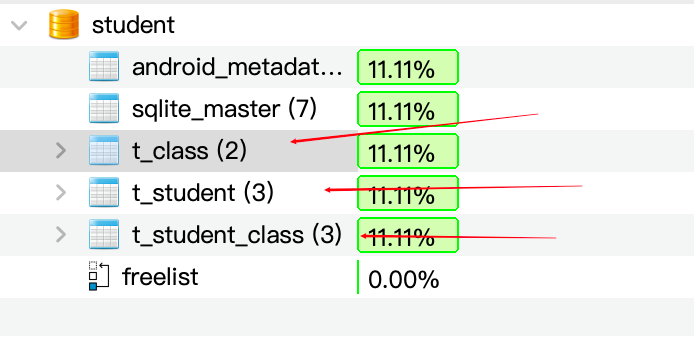
首先我们在这个APP启动时会创建这么三个表(MAC下我用了SQLite Explorer-比我在前一篇介绍的SQLite Manager还要好用、还免费,真心在MAC下面不少免费的东西比Windows下的工具要好用,可能真的是预收费?我这边又想放出那个“吼叫着的土拨鼠”的表情了。)
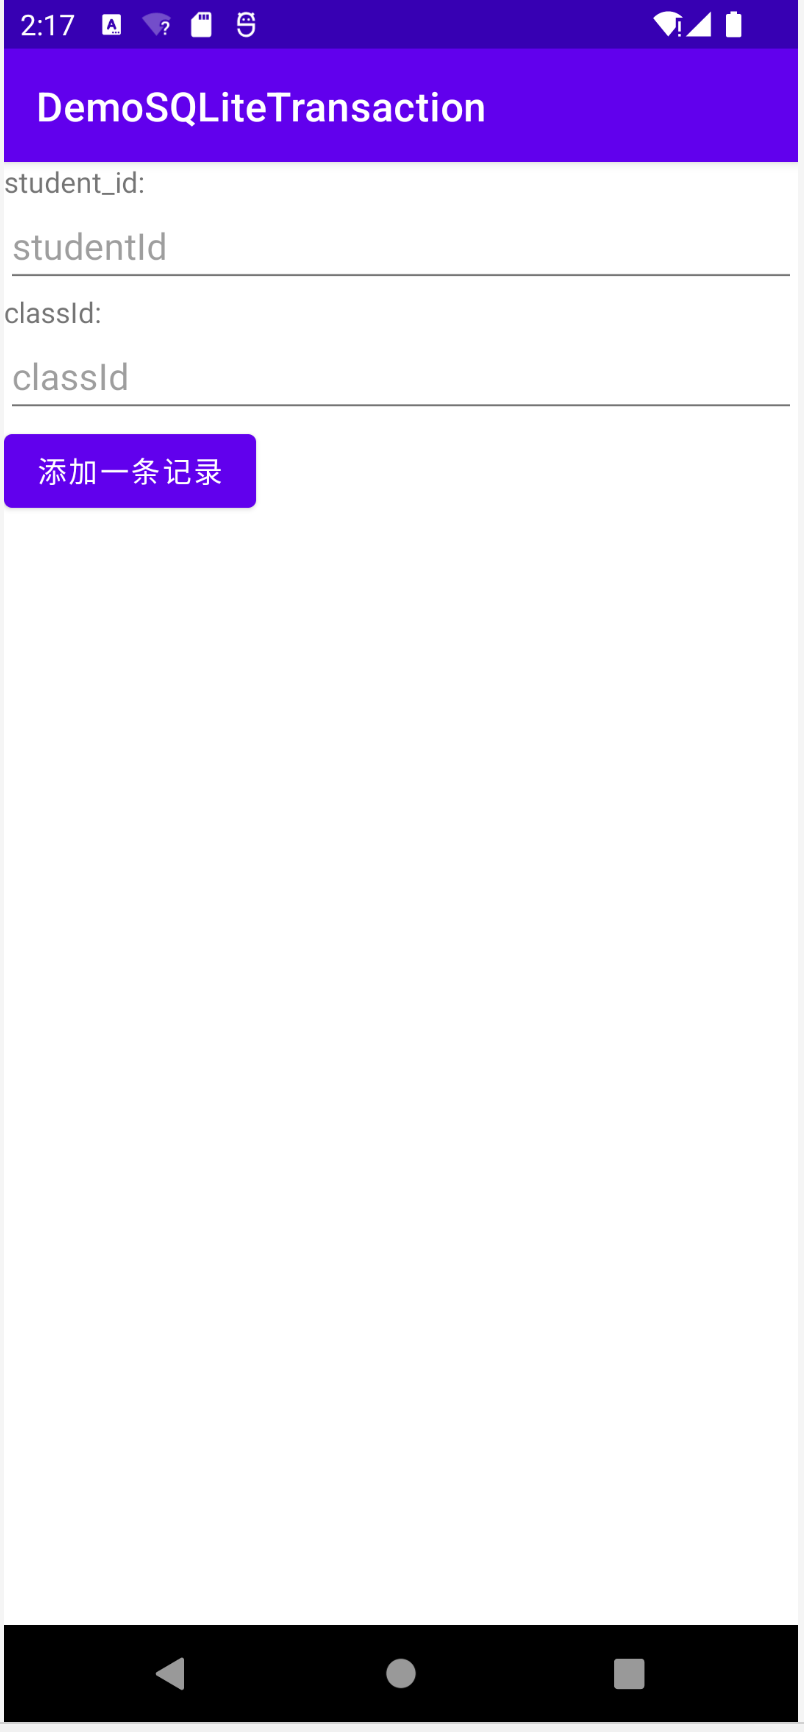
然后,在界面上输入学号、班级号然后模拟两个场景:
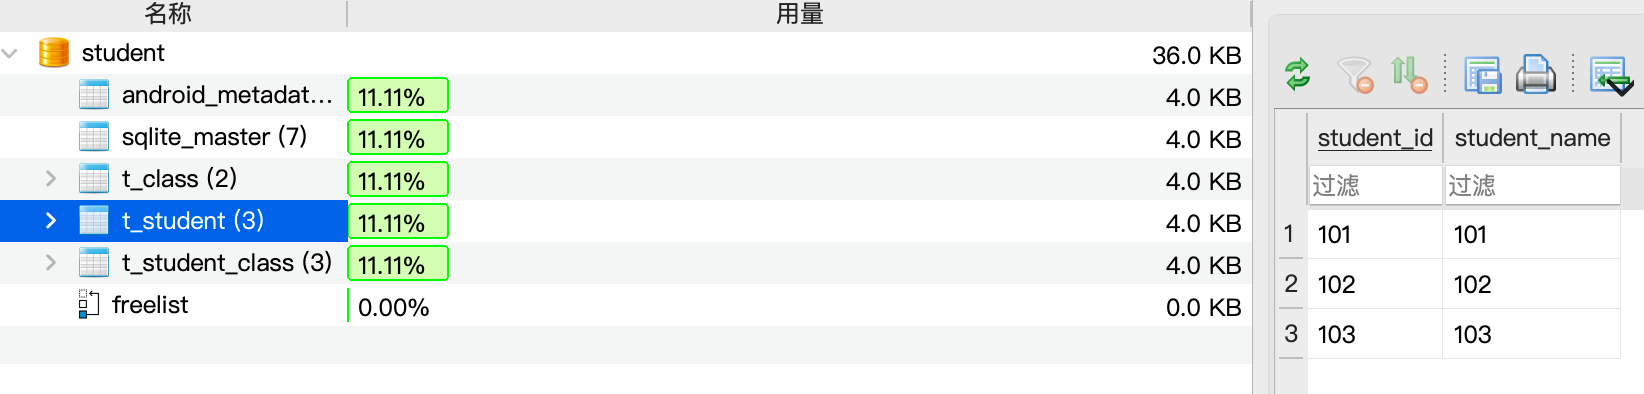
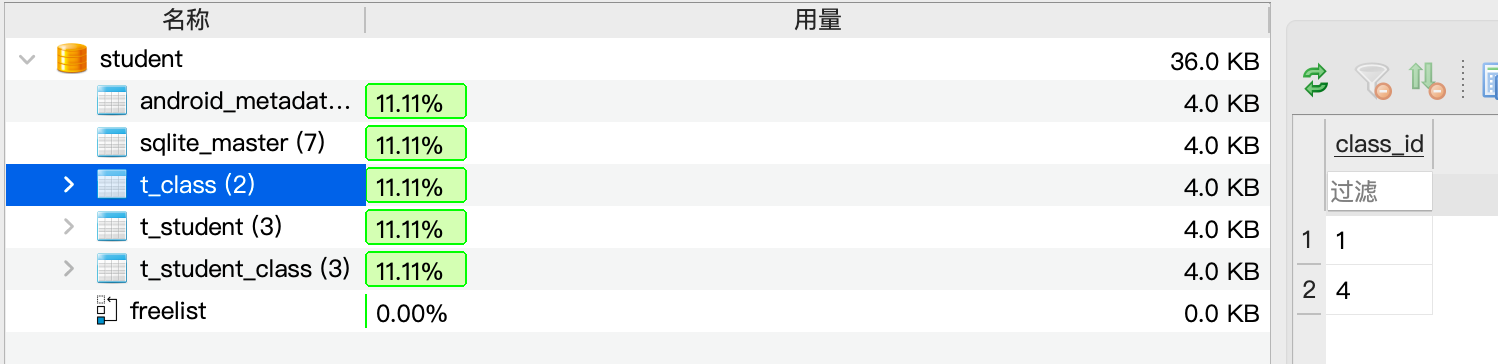
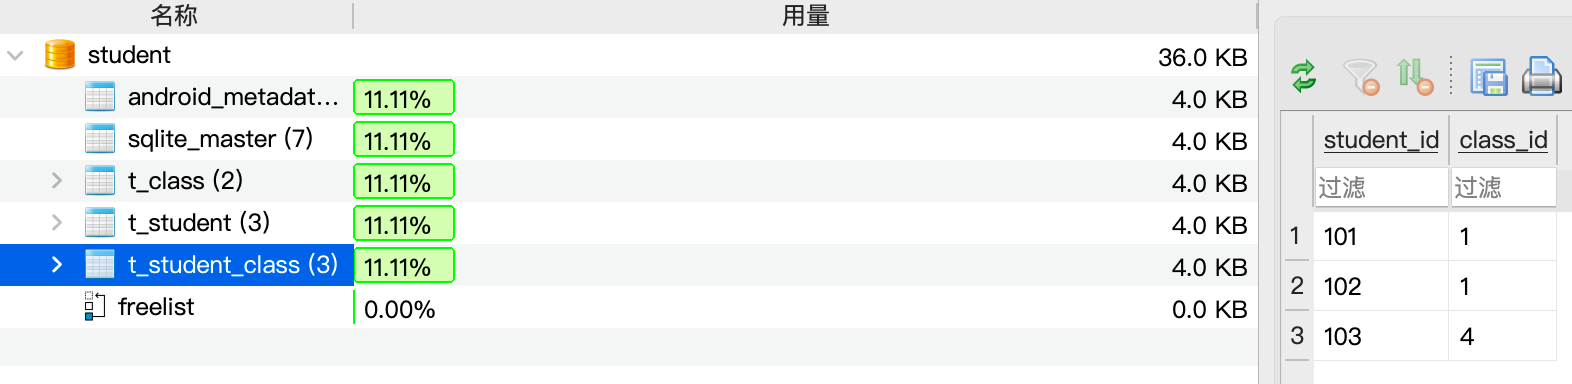
- 以beginTransaction起始以setTransactionSuccessful结束包裹的往t_student、t_class、t_student_class三张表里插数据,一切无误的情况下它会把三张表都插进数据;
- 以beginTransaction起始往t_student、t_class、t_student_class三张表里插数据,一切无误的情况下不调用setTransactionSuccessful来模拟事务中有失败场景,然后去表内查找记录,我们会发觉往这三个表里没有能够插入任何新的数据,因为只要没有调用(跳过)setTransactionSuccessful,任何一张表里都不会有数据(即被回滚掉了);
下面放出相应的代码

StudentBean
ClassBean
StudentClassMappingBean
DBAdapter
MainActivity
一切DB操作步骤在无误情况下且正确提交了事务
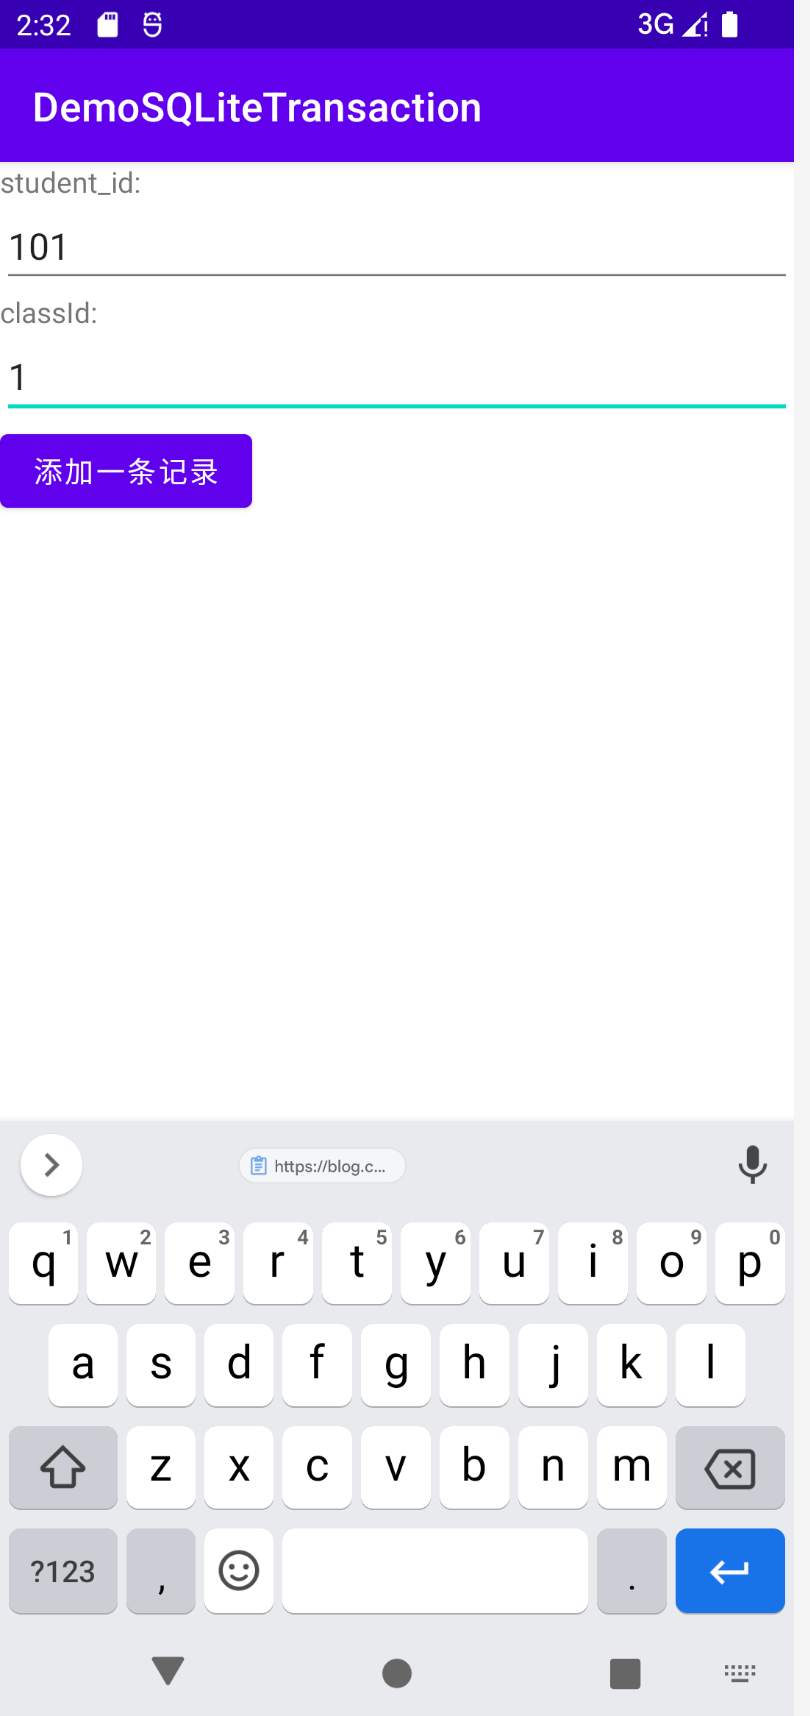
我们分别输入:
- student_id:101, classId:1
- student_id:102, classId:1
- student_id:103, classId:4
正确提交数据后我们从Device File Explorer中脱机出来student.db用SQLite Explorer打开,发觉数据正确进入了3张表中
注释掉DBAdapter里的setTransactionSuccessful语句再操作
我们把这一处代码中的setTransactionSuccessful注释掉

重新运行起APP来然后在界面中输入:

然后我们脱机出我们的student.db并用SQLite Explorer打开这个文件来看
我们可以看到,我们新输入的记录由于没有正确setTransactionSuccessful,因此这条数据就没有被插入SQLite中去。
自己动一下手试试吧。
Recommend
About Joyk
Aggregate valuable and interesting links.
Joyk means Joy of geeK