

Raspberry Pi Pico W
source link: https://dzone.com/articles/sending-sensor-data-from-raspberry-pi-pico-w-to-hi
Go to the source link to view the article. You can view the picture content, updated content and better typesetting reading experience. If the link is broken, please click the button below to view the snapshot at that time.

In a previous post, "MQTT Messaging With Java and Raspberry Pi," I described how data could be sent from a Raspberry Pi Linux board and Raspberry Pi Pico microcontroller to HiveMQ Cloud.
Raspberry Pi Pico W
On June 30, 2022, Raspberry Pi released a new product: the Pico W, a new version of the original Pico, but with Wi-Fi onboard. The new board is for sale for $6, compared to the $4 of the original Pico. The new Pico W has the same form factor as the original Pico. There is a minor change in the wiring as the connection of the onboard LED has changed. You should be able to swap to the new version in most existing projects without any problems. With this new Pico W, we can simplify the setup of the previous article, as the separate Wi-Fi module is no longer needed.
About HiveMQ Cloud
HiveMQ Cloud is an online MQTT-compatible service that is totally free for up to 100 devices! Even for the most enthusiastic maker, that’s a lot of microcontrollers or computers!
On the HiveMQ Blog, an article by Kudzai Manditereza was published that also describes how to use the Pico W.
MicroPython
In the previous project with Pico, CircuitPython was used to code the program. Unfortunately, when I started this project to connect Pico W to HiveMQ Cloud, CircuitPython was not yet available with support for the WiFi module of the Pico W. That ticket on GitHub now seems to be closed and resolved, so I leave it up to you to try out. In this post, we will be using MicroPython.
“MicroPython is a lean and efficient implementation of the Python 3 programming language that includes a small subset of the Python standard library and is optimized to run on microcontrollers and in constrained environments.”.
To install MicroPython on the Pico W, follow this step-by-step provided by Raspberry Pi.
Source Code
The full info to set up the project, all required libraries, and the full code can be found in this post. The full source code is also available on GitHub.
Let's take a look at the most important parts of the code.
Connecting to Wi-Fi
By using a secrets.py-file we can separate the credentials into a separate file and load it into our main code with
from secrets import secretsFrom then on, we can use all its values where needed, e.g. for the W-Fi credentials:
wlan = network.WLAN(network.STA_IF)
wlan.active(True)
wlan.connect(secrets["ssid"], secrets["password"])
For a secure connection to the MQTT broker, our device must have a valid timestamp. This can be easily achieved with ntptime:
ntptime.host = "de.pool.ntp.org"
ntptime.settime()
Connecting to the MQTT broker and sending a message can be quickly done using the library /lib/umqtt/simple.py provided on GitHub in the MicroPython project, and the following code:
sslparams = {'server_hostname': secrets["broker"]}
mqtt_client = MQTTClient(client_id="picow",
                    server=secrets["broker"],
                    port=secrets["port"],
                    user=secrets["mqtt_username"],
                    password=secrets["mqtt_key"],
                    keepalive=3600,
                    ssl=True,
                    ssl_params=sslparams)
mqtt_client.connect()
print('Connected to MQTT Broker: ' + secrets["broker"])

# Send a test message to HiveMQ
mqtt_client.publish('test', 'HelloWorld')
As you can read in the full blog post and on the HiveMQ forum, connecting this way to HiveMQ Cloud is not fully secured and requires additional steps to get a copy of the certificate to be validated on the Pico W. But for most projects, the above approach will be sufficient.
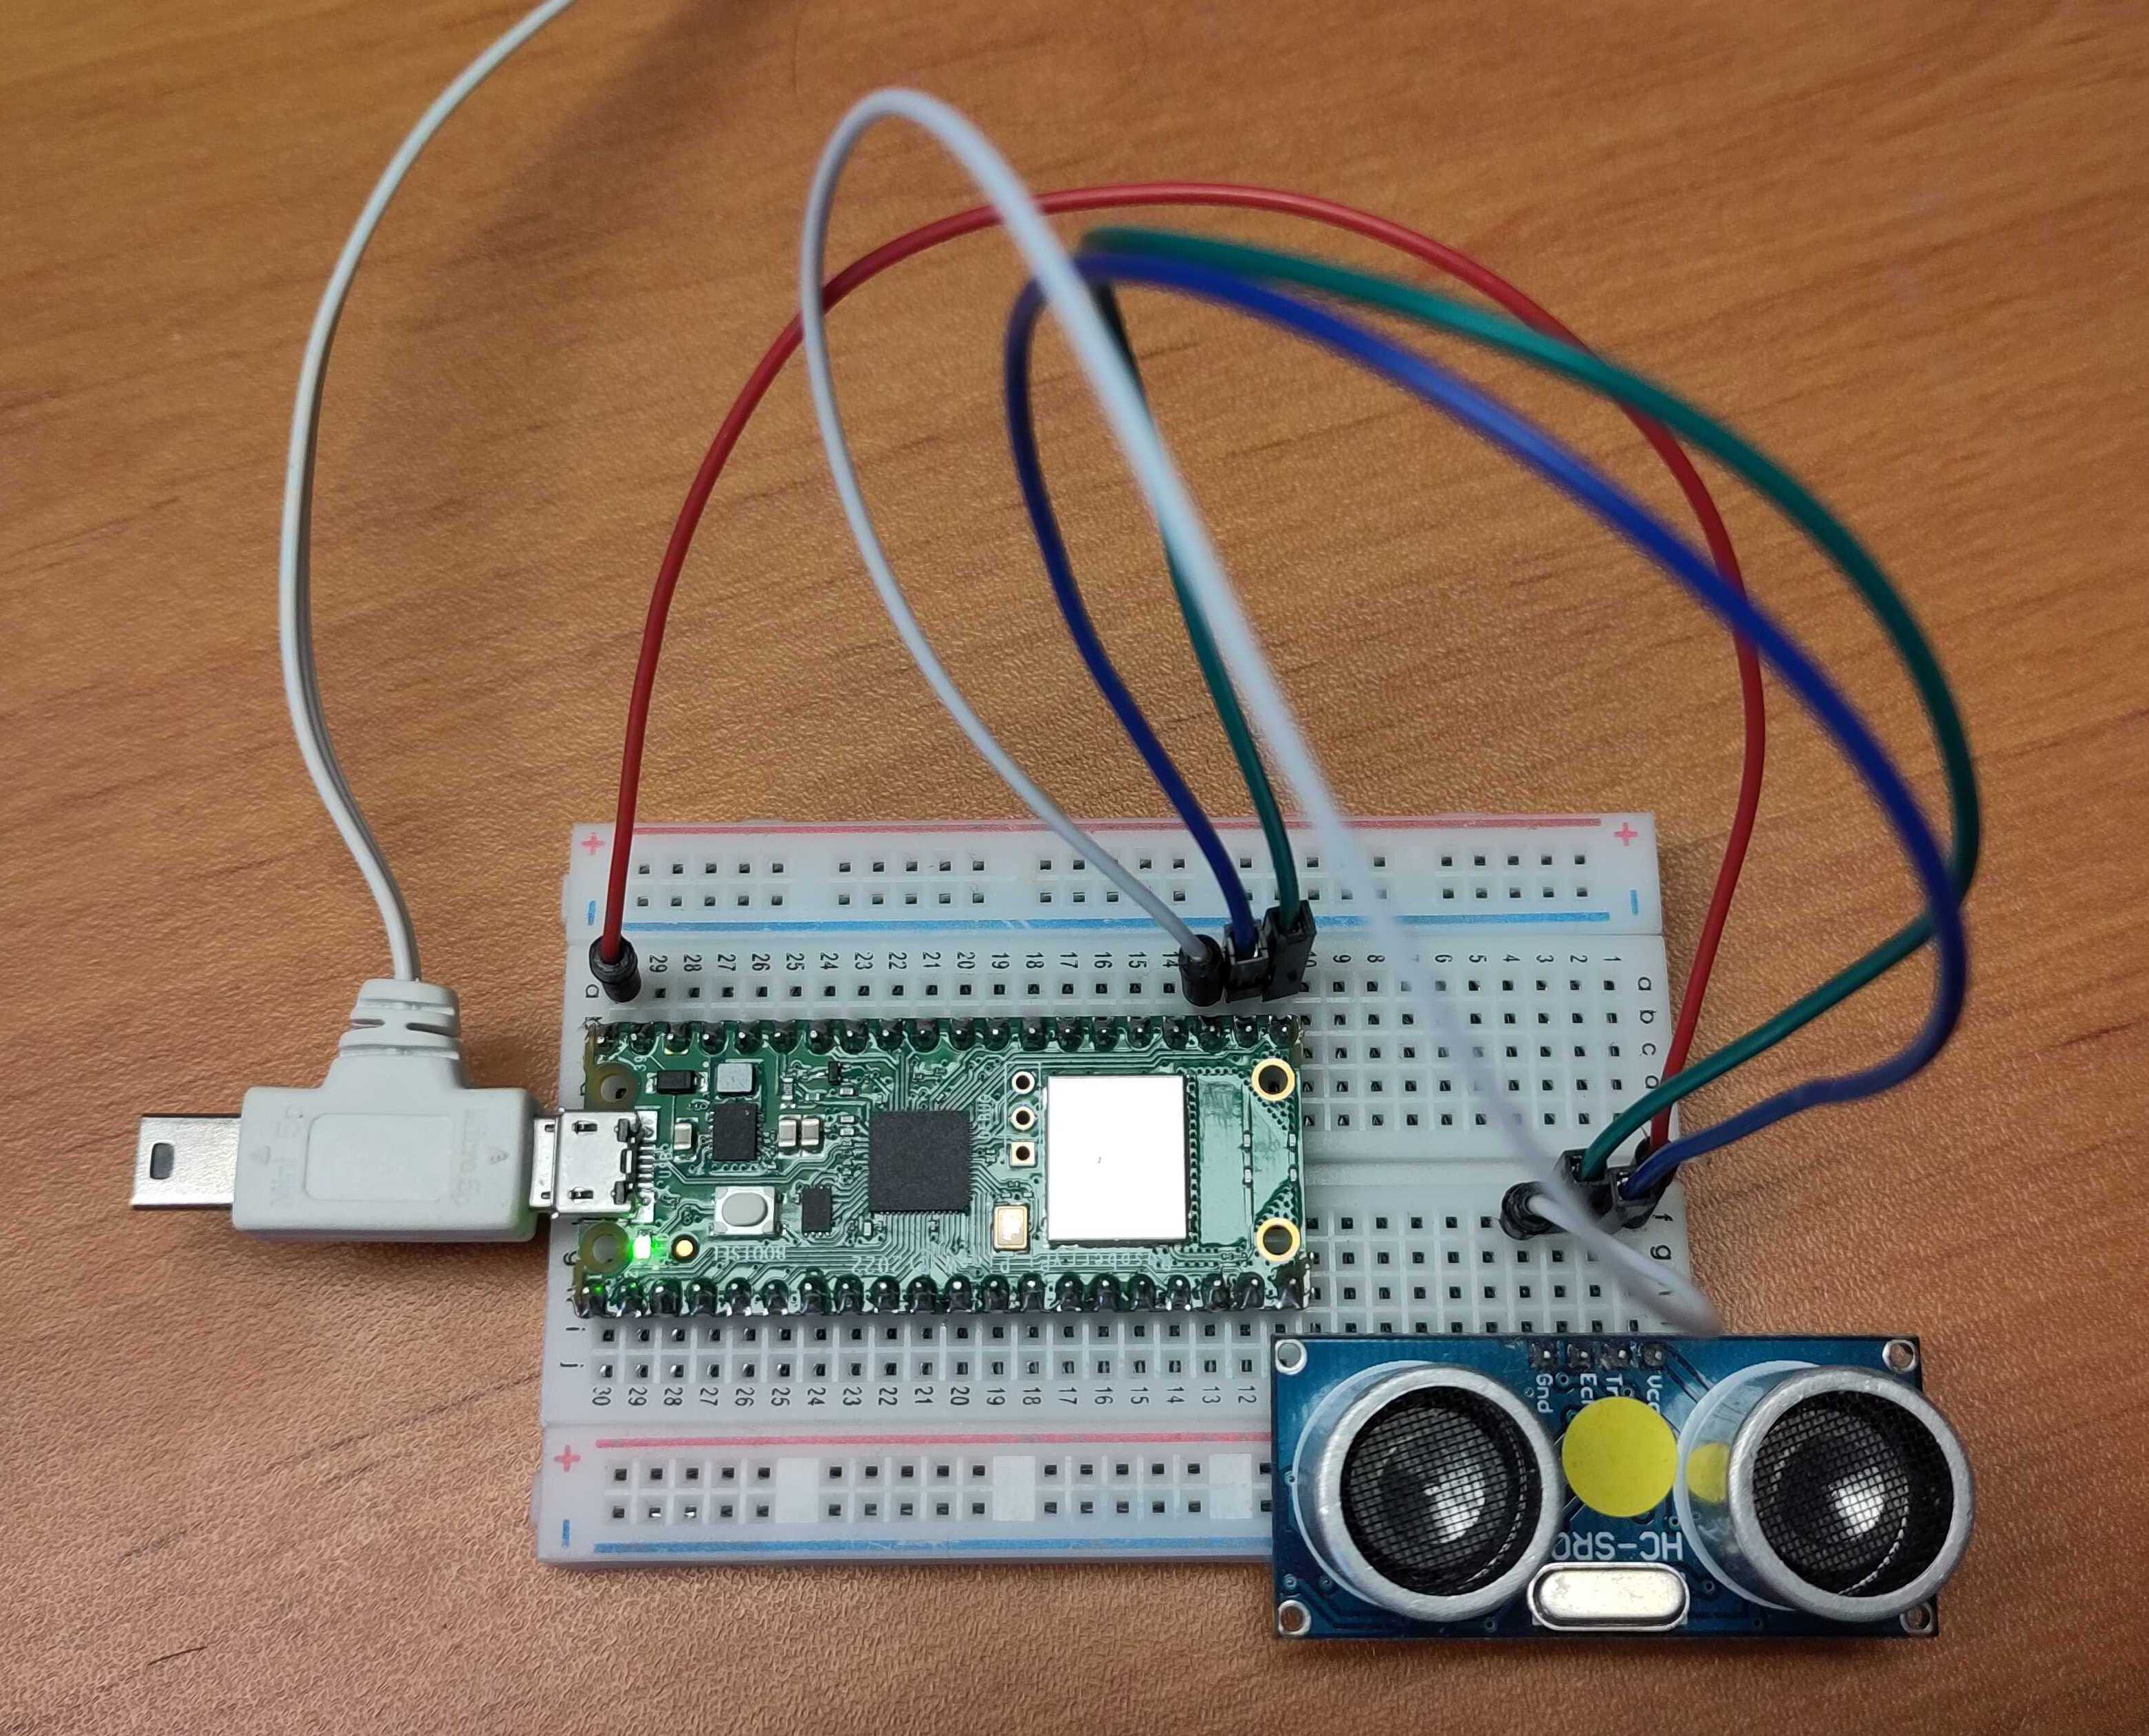
Another library /lib/hcsr04/hcsr04.py that is available on GitHub in a project by rsc1975 (Roberto), helps us to get the value from a distance sensor to send to the MQTT broker like this:
distance = hcsr04.distance_cm()
json = "{\"value\": " + str(distance) + "}"
mqtt_client.publish("picow/distance", json)
Conclusion
Although it took me some time to find a good library and the correct connection parameters to connect to HiveMQ Cloud, it turned out to be a fun project with a lot of possibilities to be further extended!
Recommend
About Joyk
Aggregate valuable and interesting links.
Joyk means Joy of geeK