

How to Create PDFs in PHP
source link: https://www.honeybadger.io/blog/pdf-in-php/
Go to the source link to view the article. You can view the picture content, updated content and better typesetting reading experience. If the link is broken, please click the button below to view the snapshot at that time.
Portal Document Format (PDF) is among the most popular file formats today. Individuals can view, send, and receive PDF documents regardless of their operating system, hardware, or software. Thus, the contents of the PDF document will appear the same on all platforms. In this step-by-step tutorial, we will discuss how to work with PDFs in PHP.
You can access the complete code that will be used in this tutorial from this GitHub repository.
History of PDFs
Adobe introduced PDF in 1993 to allow people to share and present documents easily. Since then, PDF has become an open standard and is supported by the International Organization for Standardization (ISO). Today, PDFs have evolved to contain business logic, pictures, audio, buttons, forms, and even links. Therefore, having some knowledge of working with PDFs in PHP is essential.
Prerequisites
To follow along with this tutorial, you need some basic knowledge of PHP, HTML, and SQL. You should also have installed XAMPP on your computer. This framework allows us to host the website locally.
 Michael Smith
How to Create PDF Files in PHP
Navigate to the xampp directory and then click on the htdocs folder. In most cases, the default xampp directory on Windows is found on Local Disk C.
Create a new folder and assign it your preferred project name. In my case, I will name it pdfexample. We can now open this folder in a code editor, such as Visual Studio Code.
In the pdfexample folder, add a new file and name it index.php. This file will serve as the root page for our website.
Add the following boilerplate code in the index.php:
<!DOCTYPE html>
<html lang="en">
<head>
    <meta charset="UTF-8">
    <meta http-equiv="X-UA-Compatible" content="IE=edge">
    <meta name="viewport" content="width=device-width, initial-scale=1.0">
    <title>Document</title>
</head>
<body>

<h4>Welcome to PDF Example</h4>
</body>
</html>
Next, launch the XAMPP control panel and start the Apache and MySQL instances. When you navigate to localhost/pdfexample/, you should see a page with a Welcome to PDF example message.
Up to this step, we have been setting up our development environment and hosting the application locally using XAMPP.
Let's now add a simple form and then generate a PDF.
Note that we will use Bootstrap for styling. Therefore, remember to add the following line in the head section:
<link href="https://cdn.jsdelivr.net/npm/[email protected]/dist/css/bootstrap.min.css" rel="stylesheet" integrity="sha384-1BmE4kWBq78iYhFldvKuhfTAU6auU8tT94WrHftjDbrCEXSU1oBoqyl2QvZ6jIW3" crossorigin="anonymous">
In the index.php file, add the following content in the body section:
<div class="container mt-5">
    <h4 class="text-center">Welcome to PDF example</h4>
    <p class="text-center">Please fill the details before</p>

    <div class="col-md-6 offset-md-3">
        <form method="POST" class="form" action="createfile.php">
            <label class="form-label" for="username">Name</label><br>
            <input class="form-control" name="username" type="text" required><br>
            <label class="form-label" for="usermail">Email</label><br>
            <input class="form-control" name="usermail" type="text" required><br>
            <label class="form-label" for="residence">Residence</label><br>
            <input class="form-control" name="residence" type="text" required><br>
            <label class="form-label" for="yourstory">Your Story</label><br>
            <textarea class="form-control" name="yourstory" rows="5" required></textarea>
            <div class="d-grid gap-2 col-6 mx-auto mt-5">
                <button type="submit" class="btn btn-primary btn-block">Download PDF</button>
            </div>
        </form>

    </div>
</div>
In the above code, we have a simple form that allows users to enter their name, email, residence, and story. When users click on the submit button, they will be directed to a new page where they will download the PDF file.
In your project root directory, create a new file and name it createfile.php. It will contain logic for generating a PDF based on the user data.
We need to download and import the mpdf library into our project. To do so, ensure that you have Composer installed.
In your project's root directory, launch an integrated terminal and then install mpdf using the command below:
composer require mpdf/mpdf
Once the installation completes successfully, open the createfile.php file that we created earlier and then add the following code:
<?php
require_once __DIR__ . '/vendor/autoload.php';
The above line allows us to load numerous PHP classes automatically, thereby reducing errors.
We need to initialize the mpdf library before proceeding further:
$mpdf = new \Mpdf\Mpdf();
The next step is to retrieve user values in the $_POST method and store them in new variables:
$username=$_POST['username'];
$usermail=$_POST['usermail'];
$residence=$_POST['residence'];
$userstory=$_POST['yourstory'
We will store the above data in one variable, as follows:
$infor ='';

$infor .='<h2>Details</h2>';

$infor .='<strong>Username: </strong>' . $username . '<br/>';
$infor .='<strong>Email: </strong>' . $usermail .'<br/>';
$infor .='<strong>Residence: </strong>' . $residence .'<br/>';
$infor .='<strong>Testimonial: </strong>' . $userstory .'<br/>';
We can now display the data in the browser as a PDF file using the following code:
$mpdf->WriteHTML($infor);
$mpdf->Output();
The entire code in the createfile.php file is shown below:
<?php
require_once __DIR__ . '/vendor/autoload.php';

$mpdf = new \Mpdf\Mpdf();
$username=$_POST['username'];
$usermail=$_POST['usermail'];
$residence=$_POST['residence'];
$userstory=$_POST['yourstory'];

$infor ='';

$infor .='<h2>Details</h2>';

$infor .='<strong>Username: </strong>' . $username . '<br/>';
$infor .='<strong>Email: </strong>' . $usermail .'<br/>';
$infor .='<strong>Residence: </strong>' . $residence .'<br/>';
$infor .='<strong>Testimonial: </strong>' . $userstory .'<br/>';

$mpdf->WriteHTML($infor);
$mpdf->Output();
?>
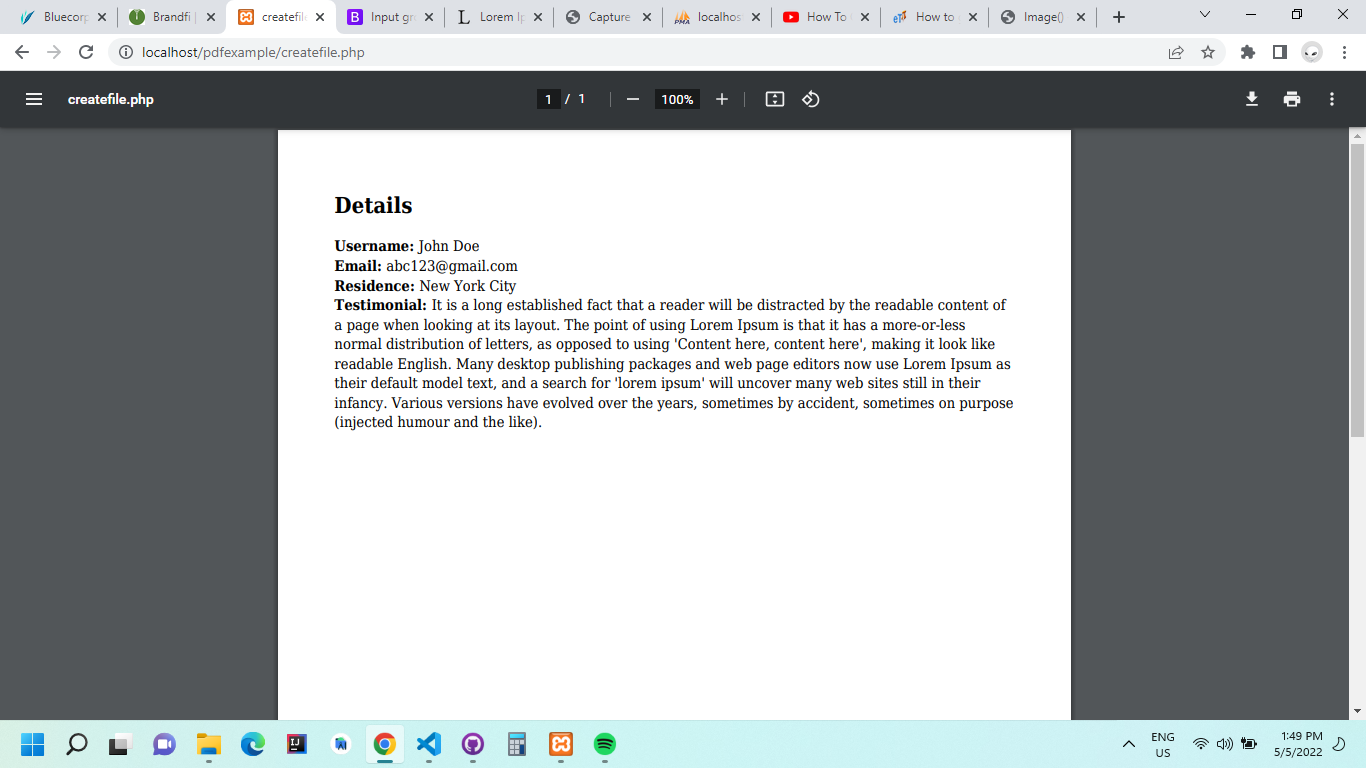
When you navigate to your browser and click on the create a PDF file button, you should see something similar to the following:
How to Add Database Records to a PDF File
Most websites store user information in a database. Therefore, understanding how to present this data in a PDF is critical.
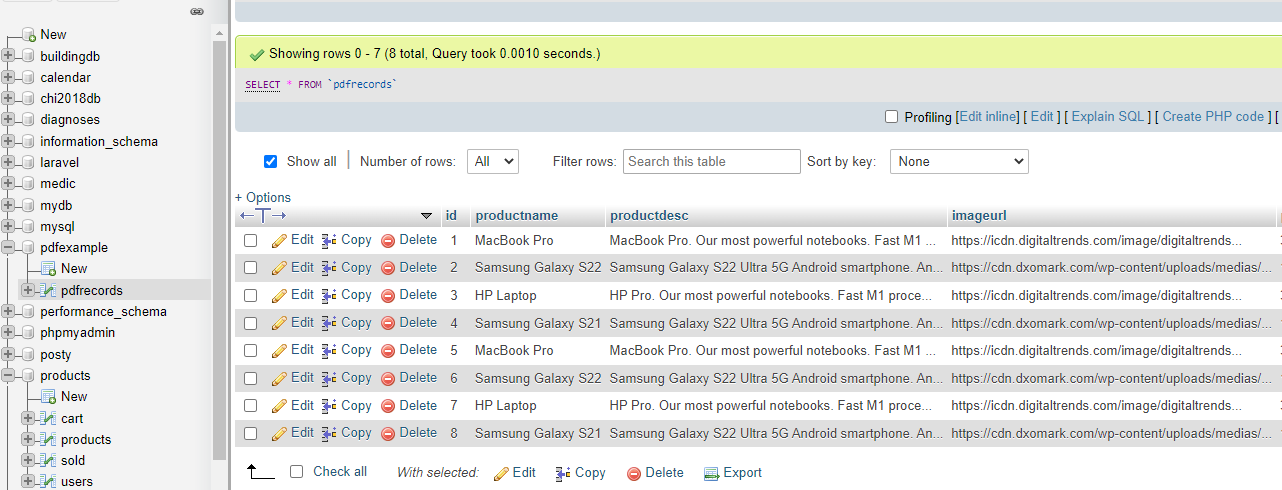
In this step, we will fetch records from a MYSQL database and then use them to create a PDF file. To get started, navigate to your localhost phpMyAdmin panel and create a new database.
Next, add a table and a few records. You can learn more about the MYSQL database here.
Once the database is successfully created, navigate to your project's root directory and create a connection.php file. It will contain logic to connect to the MYSQL database.
In the connection.php file, add the following code:
<?php
session_start();
 $con = mysqli_connect("localhost","root","","pdfexample");
 if (mysqli_connect_errno()){
   echo "Failed to connect to the database: " . mysqli_connect_error();
   }else{
    //success
    }
 ?>
In the above code, we are connecting to a local database named pdfexample. The database admin is root, and there is no password (for testing purposes).
If the database connection fails, an error message will be displayed.
To display our database records, create a new file and name it products.php. We will import the connection.php file here to allow us to connect to the database.
require_once('connection.php');
The next step is to access our table and retrieve all records:
$query = "select * from pdfrecords";
$result = mysqli_query($con, $query);
We will use a while loop to go through all entries in the database and then display them on the web page:
while($rows=mysqli_fetch_assoc($result)){

?>

<div class="col-md-3">
    <div class="card mb-4 shadow-sm">
        <img src=<?php echo $rows['imageurl']?> width=100%, height="170px" alt="./img/food.jpg">
        <div class="card-body">
            <h6><?php echo $rows['productname']?></h6>
            <p class="card-text"><?php echo $rows['productdesc']?></p>
            <div class="d-flex justify-content-between align-items-center">

                <strong class="text-primary" style="color:#ff0000">$<?php echo $rows['price']?></strong>

            </div>
        </div>
    </div>
</div>

<?php

}
The following items will be displayed on the browser.
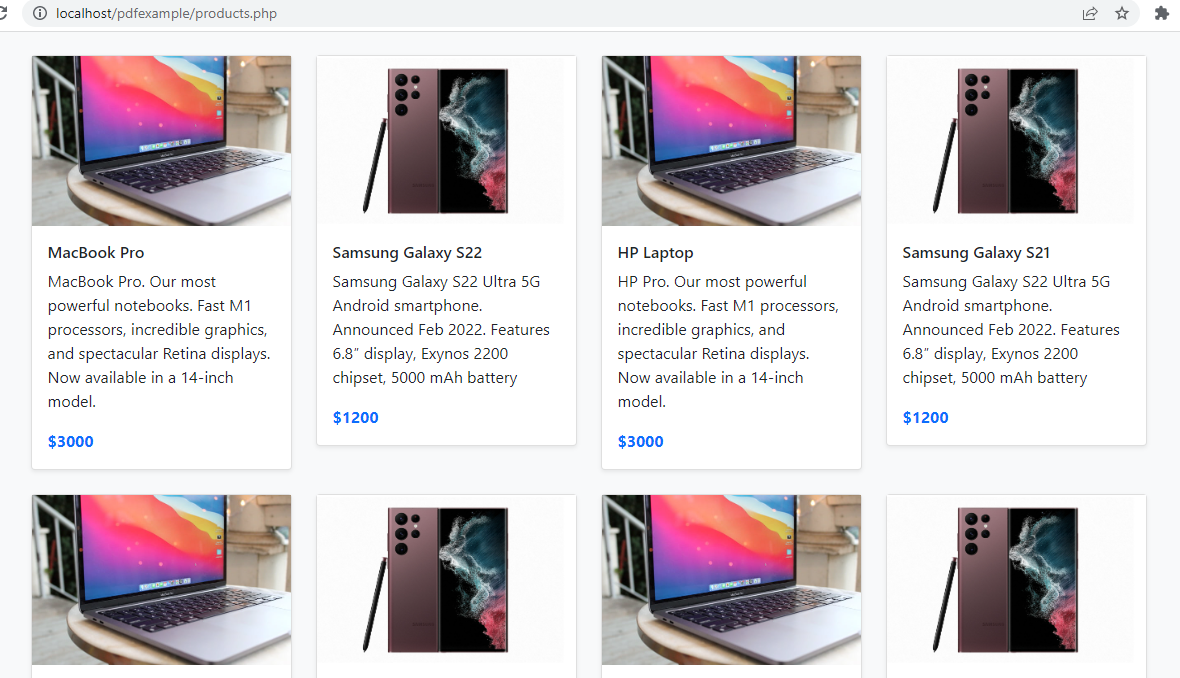
Remember to add a button at the bottom of the page to allow us to download the PDF file. We will link this button to a download.php file that we will create in the next step.
Here is the code for the products.php file:
<!DOCTYPE html>
<html lang="en">

<head>
    <meta charset="UTF-8">
    <meta http-equiv="X-UA-Compatible" content="IE=edge">
    <meta name="viewport" content="width=device-width, initial-scale=1.0">
    <link href="https://cdn.jsdelivr.net/npm/[email protected]/dist/css/bootstrap.min.css" rel="stylesheet"
        integrity="sha384-1BmE4kWBq78iYhFldvKuhfTAU6auU8tT94WrHftjDbrCEXSU1oBoqyl2QvZ6jIW3" crossorigin="anonymous">
    <title>Products</title>
</head>

<body>

<?php
require_once('connection.php');
$query = "select * from pdfrecords";
$result = mysqli_query($con, $query);

?>
<br>
<div class="album py-5 bg-light">
    <div class="container">
        <div class="row">
            <?php
            while($rows=mysqli_fetch_assoc($result)){
            ?>

            <div class="col-md-3">
                <div class="card mb-4 shadow-sm">
                    <img src=<?php echo $rows['imageurl']?> width=100%, height="170px" alt="./img/food.jpg">
                    <div class="card-body">
                        <h6><?php echo $rows['productname']?></h6>
                        <p class="card-text"><?php echo $rows['productdesc']?></p>
                        <div class="d-flex justify-content-between align-items-center">
                            <strong class="text-primary" style="color:#ff0000">$<?php echo $rows['price']?></strong>
                        </div>
                    </div>
                </div>
            </div>
        </div>
            <?php
          }
    </div>
</div>
 ?>
<button class="btn btn-primary btn-block"> <a href="download.php">Download Products</a></button>
</body>

</html>
To generate a PDF file with the above data, create a new file named download.php in the project’s root directory.
In this file, we will once again import the connection.php file to allow access to the database.
<?php
require_once('connection.php');
require_once __DIR__ . '/vendor/autoload.php';
Next, we initialize the mpdf library:
$mpdf = new \Mpdf\Mpdf();
We then access records in the database table using a while loop. We will append each database entry to a string ($infor) and then display it at the end:
$mpdf = new \Mpdf\Mpdf();
$query = "select * from pdfrecords";
$result = mysqli_query($con, $query);
$infor = '';

while($rows=mysqli_fetch_assoc($result)){
    $infor .='<h4 style="color:red">Product: </h4>' .$rows['productname'] . '<br/>';
    $infor .='<p>Description: </p>' .$rows['productdesc'] . '<br/>';
    $infor .='<p>Price: </p>' .$rows['price'] . '<br/>';
}
The final code in the download.php file should appear as shown below:
<?php
require_once('connection.php');
require_once __DIR__ . '/vendor/autoload.php';

$mpdf = new \Mpdf\Mpdf();
$query = "select * from pdfrecords";
$result = mysqli_query($con, $query);
$infor = '';

while($rows=mysqli_fetch_assoc($result)){
    $infor .='<h4 style="color:red">Product: </h4>' .$rows['productname'] . '<br/>';
    $infor .='<p>Description: </p>' .$rows['productdesc'] . '<br/>';
    $infor .='<p>Price: </p>' .$rows['price'] . '<br/>';
}

$mpdf->WriteHTML($infor);
$mpdf->Output();

?>
When you access the download.php file in your browser, you should see a PDF document containing all your database entries:

The PDF file can be downloaded by clicking on the download icon on your browser.
Drawbacks to Watch Out For
In this tutorial, we have learned how to generate PDFs in PHP. The MPDF library has made it easier to create and format PDFs than using native modules. Nevertheless, you should ensure that the data are presented in the correct format to avoid bugs or errors in your code. For instance, the writeHTML method only accepts strings as its parameters.
You can access the complete code from this GitHub repository.
Happy coding!
Recommend
About Joyk
Aggregate valuable and interesting links.
Joyk means Joy of geeK