

前端如何实现新手引导功能?
source link: https://www.51cto.com/article/740617.html
Go to the source link to view the article. You can view the picture content, updated content and better typesetting reading experience. If the link is broken, please click the button below to view the snapshot at that time.

前端如何实现新手引导功能?
在产品发布新版本或者有新功能上线时,经常需要新手引导功能来引导用户了解应用。下面就来分享几个开箱即用的新手引导组件库,帮你快速实现新手引导功能!
在产品发布新版本或者有新功能上线时,经常需要新手引导功能来引导用户了解应用。下面就来分享几个开箱即用的新手引导组件库,帮你快速实现新手引导功能!
Intro.js
Intro.js 是一个使用广泛的产品引导库,它在 Github 上拥有 21.6k Star。其具有以下特点:
- 无依赖:它不需要任何其他依赖。
- 小而快:库文件较小使得引导过程流畅直观。JavaScript 文件的整体大小为 10KB,CSS 为 2.5KB。
- 用户友好:提供可以根据喜好选择的各种主题。
- 浏览器兼容性:适用于所有主流浏览器,如 Google Chrome、Mozilla Firefox、Opera、Safari 等 。
- 文档完善:文档包含要介绍的每个元素的样本和示例。

可以通过以下命令来安装 Intro.js:
npm install intro.js - save安装完成后,只需三个简单的步骤即可将其添加到项目中:
- 将 JavaScript 和 CSS 文件(intro.js 和 introjs.css)添加到项目中。
- 将 data-intro 和 data-step 属性添加到相关的 HTML 元素。这将为特定元素启用 intro.js。
- 调用以下 JavaScript 函数:
introJs().start();可以使用以下附加参数在特定元素或类上调用 Intro.js:
introJs(".introduction-farm").start();Github:https://github.com/usablica/intro.js
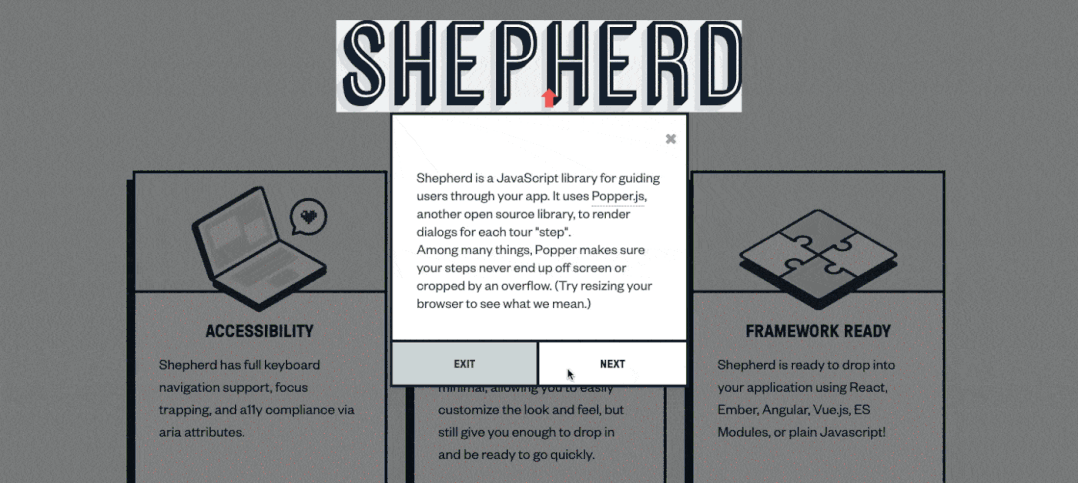
shepherd
Shepherd 在 Github 上拥有 10.7k GitHub Star。它支持在多个前端框架中开箱即用,包括 React、Vue、Angular 等。其具有以下特点:
- 辅助功能:提供键盘导航支持,遵循 a11y 规范,还可以使用 JavaScript 启用 DOM 元素内的焦点捕获。
- 高度可定制:允许在不影响性能的情况下更改外观。
- 框架支持:随时融入项目的前端框架。
- 文档完善:文档涵盖安装和自定义,包括项目的主题和样式。
可以使用以下命令来安装 shepherd.js:
npm install shepherd.js -save
npm install react-shepherd --save
npm install vue-shepherd --save
npm install angular-shepherd --save
安装完成之后,可以按如下方式来使用 shepherd(以 React 为例):
import React, { Component, useContext } from 'react'
import { ShepherdTour, ShepherdTourContext } from 'react-shepherd'
import newSteps from './steps'

const tourOptions = {
  defaultStepOptions: {
    cancelIcon: {
      enabled: true
    }
  },
  useModalOverlay: true
};

function Button() {
  const tour = useContext(ShepherdTourContext);

  return (
    <button className="button dark" onClick={tour.start}>
      Start Tour
    </button>
  );
}

class App extends Component {
  render() {
    return (
      <div>
        <ShepherdTour steps={newSteps} tourOptions={tourOptions}>
          <Button
        </ShepherdTour>
</div>- shepherd:https://github.com/shipshapecode/shepherd
- react-shepherd:https://github.com/shipshapecode/react-shepherd
- vue-shepherd:https://github.com/shipshapecode/vue-shepherd
- angular-shepherd:https://github.com/shipshapecode/angular-shepherd
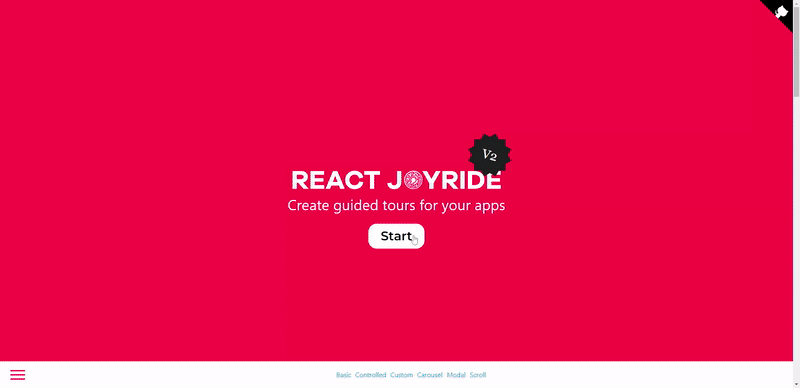
React Joyride
React Joyride 在 GitHub 上拥有超过 5.1k Star,在 React 项目中开箱即用,用于向现有用户介绍新功能。其具有以下特点:
- 高度可定制
可以使用以下命令来安装 react-joyride:
npm i react-joyride可以通过以下方式来在 React 中使用 react-joyride:
import Joyride from 'react-joyride';

export class App extends React.Component {
  state = {
    steps: [
      {
        target: '.my-first-step',
        content: 'This is my awesome feature!',
      },
      {
        target: '.my-other-step',
        content: 'This another awesome feature!',
      },
      ...
    ]
  };

  render () {
    const { steps } = this.state;

    return (
      <div className="app">
        <Joyride
          steps={steps}
          ...
        ...
      </div>
    );
  }
}
Github:https://github.com/gilbarbara/react-joyride
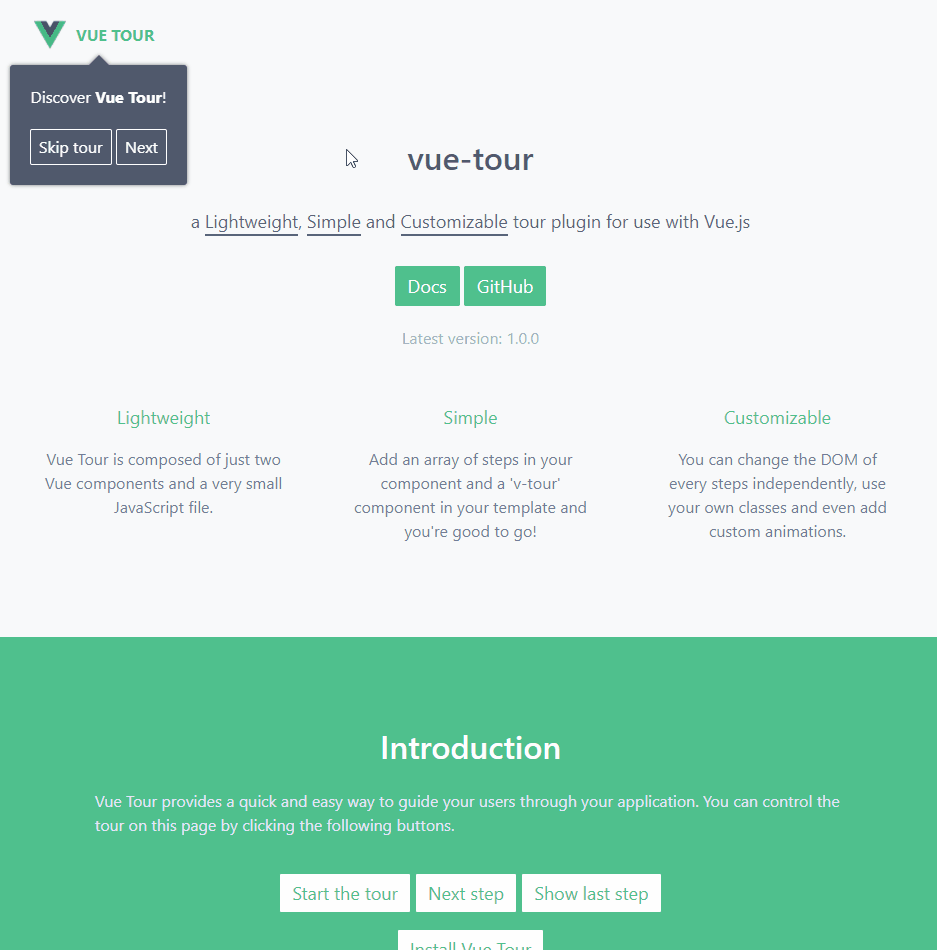
Vue Tour
Vue Tour 是一个轻巧、简单且可自定义的新手指引插件,可以与 Vue.js 一起使用。它提供了一种快速简便的方法来指导用户使用应用。它在 Github 上拥有 2.1 k Star。
可以通过以下命令来安装 Vue Tour:
npm install vue-tour然后在应用入口导入插件(如果使用 vue-cli 搭建项目,通常是 main.js),并在 Vue 中注册它。可以添加默认提供的样式或根据自己的喜好自定义它们。
import Vue from 'vue'
import App from './App.vue'
import VueTour from 'vue-tour'

require('vue-tour/dist/vue-tour.css')

Vue.use(VueTour)

new Vue({
  render: h h(App)
}).$mount('#app')
最后将 v-tour 组件放入模板中的任何位置(通常在 App.vue 中),并向其传递一系列步骤。每个步骤的 target 属性可以将应用的任何组件中的 DOM 元素作为 target(只要在相关步骤弹出时它存在于 DOM 中)。
<template>
  <div>
    <div id="v-step-0">A DOM element on your page. The first step will pop on this element because its ID is 'v-step-0'.</div>
    <div class="v-step-1">A DOM element on your page. The second step will pop on this element because its ID is 'v-step-1'.</div>
    <div data-v-step="2">A DOM element on your page. The third and final step will pop on this element because its ID is 'v-step-2'.</div>

    <v-tour name="myTour" :steps="steps"></v-tour>
  </div>
</template>

<script>
  export default {
    name: 'my-tour',
    data () {
      return {
        steps: [
          {
            target: '#v-step-0',  // We're using document.querySelector() under the hood
            header: {
              title: 'Get Started',
            },
            content: `Discover <strong>Vue Tour</strong>!`
          },
          {
            target: '.v-step-1',
            content: 'An awesome plugin made with Vue.js!'
          },
          {
            target: '[data-v-step="2"]',
            content: 'Try it, you\'ll love it!<br>You can put HTML in the steps and completely customize the DOM to suit your needs.',
            params: {
              placement: 'top' // Any valid Popper.js placement. See https://popper.js.org/popper-documentation.html#Popper.placements
            }
          }
        ]
      }
    },
    mounted: function () {
      this.$tours['myTour'].start()
    }
  }
</script>
Github:https://github.com/pulsardev/vue-tour
Reactour
Reactour 是一个用于创建 React 应用导览的流行库。在 GitHub 上拥有 3.2K Star,它提供了一种简单的方式来引导用户浏览网站和应用。
可以通过以下命令来安装 reactour:
npm i -S @reactour/tour安装完成之后,在应用的根组件添加 TourProvider,传递元素的步骤以在浏览期间突出显示:
import { TourProvider } from '@reactour/tour'

ReactDOM.render(
  <TourProvider steps={steps}>
    <App
  </TourProvider>,
  document.getElementById('root')
)

const steps = [
  {
    selector: '.first-step',
    content: 'This is my first Step',
  },
  // ...
]
然后在应用树中的某个地方,使用 useTour hook 来控制 Tour:
import { useTour } from '@reactour/tour'

function App() {
  const { setIsOpen } = useTour()
  return (
    <>
      <p className="first-step">
        Lorem ipsum dolor sit amet, consectetur adipiscing elit. Praesent at
        finibus nulla, quis varius justo. Vestibulum lorem lorem, viverra porta
        metus nec, porta luctus orci
      </p>
      <button onClick={() => setIsOpen(true)}>Open Tour</button>
    </>
  )
}
Github:https://github.com/elrumordelaluz/reactour
Recommend
About Joyk
Aggregate valuable and interesting links.
Joyk means Joy of geeK