

云原生之旅 - 10)手把手教你安装 Jenkins on Kubernetes - WadeXu
source link: https://www.cnblogs.com/wade-xu/p/16863933.html
Go to the source link to view the article. You can view the picture content, updated content and better typesetting reading experience. If the link is broken, please click the button below to view the snapshot at that time.

云原生之旅 - 10)手把手教你安装 Jenkins on Kubernetes
谈到持续集成工具就离不开众所周知的Jenkins,本文带你了解如何在 Kubernetes 上安装 Jenkins,后续文章会带你深入了解如何使用k8s pod 作为 Jenkins的build agents。
需要一个running的 Kubernetes Cluster, 可以参考我前面的文章 云原生之旅 - 4)基础设施即代码 使用 Terraform 创建 Kubernetes
Step 1: 创建Namespace


namespace.yaml
kubectl apply -f namespace.yaml |
Step 2: 创建 k8s service account and RBAC 权限
serviceAccount.yaml
kubectl apply -f serviceAccount.yaml |
Step 3: 创建 StorageClass 和 PersistentVolumeClaim(我的例子是在GCP上面,其它云提供商类似)
volume.yaml
- Create a storage class
- Provision a Persistent volume using the storage class.
kubectl apply -f volume.yaml |
检查绑定结果
kubectl get pvc -n jenkinsNAME STATUS VOLUME CAPACITY ACCESS MODES STORAGECLASS AGEjenkins-storage Bound pvc-27efe7b9-c963-4366-b100-a3b01bb25666 20Gi RWO jenkins-sc 23s |
Step 4: 创建 Deployment
Jenkins home 目录需要mount,不然 Jenkins pod 一旦重启的话,数据会丢失。
deployment.yaml
kubectl apply -f deployment.yaml |
检查部署结果
kubectl get deploy -n jenkinsNAME READY UP-TO-DATE AVAILABLE AGEjenkins 1/1 1 1 89s |
Step 5: Create Service
service.yaml
kubectl apply -f service.yaml |
### 本文首发于 https://www.cnblogs.com/wade-xu/p/16863933.html
访问 Jenkins Dashboard
Option 1: 用 Kube Proxy
kubectl -n jenkins port-forward service/jenkins-service 8010:8080 |
Option 2: 推荐使用Gateway
1. Ingress-Nginx 可以参考 云原生之旅 - 8)云原生时代的网关 Ingress Nginx
2. Emissary Ingress 可以参考云原生之旅 - 9)云原生时代网关的后起之秀Envoy Proxy 和基于Envoy 的 Emissary Ingress
kubectl get pods -n jenkinskubectl logs jenkins-998474795-7n6ls -n jenkins |
*************************************************************

Jenkins initial setup is required. An admin user has been created and a password generated.
Please use the following password to proceed to installation:

xxxxxxxxxxxxxx

This may also be found at: /var/jenkins_home/secrets/initialAdminPassword
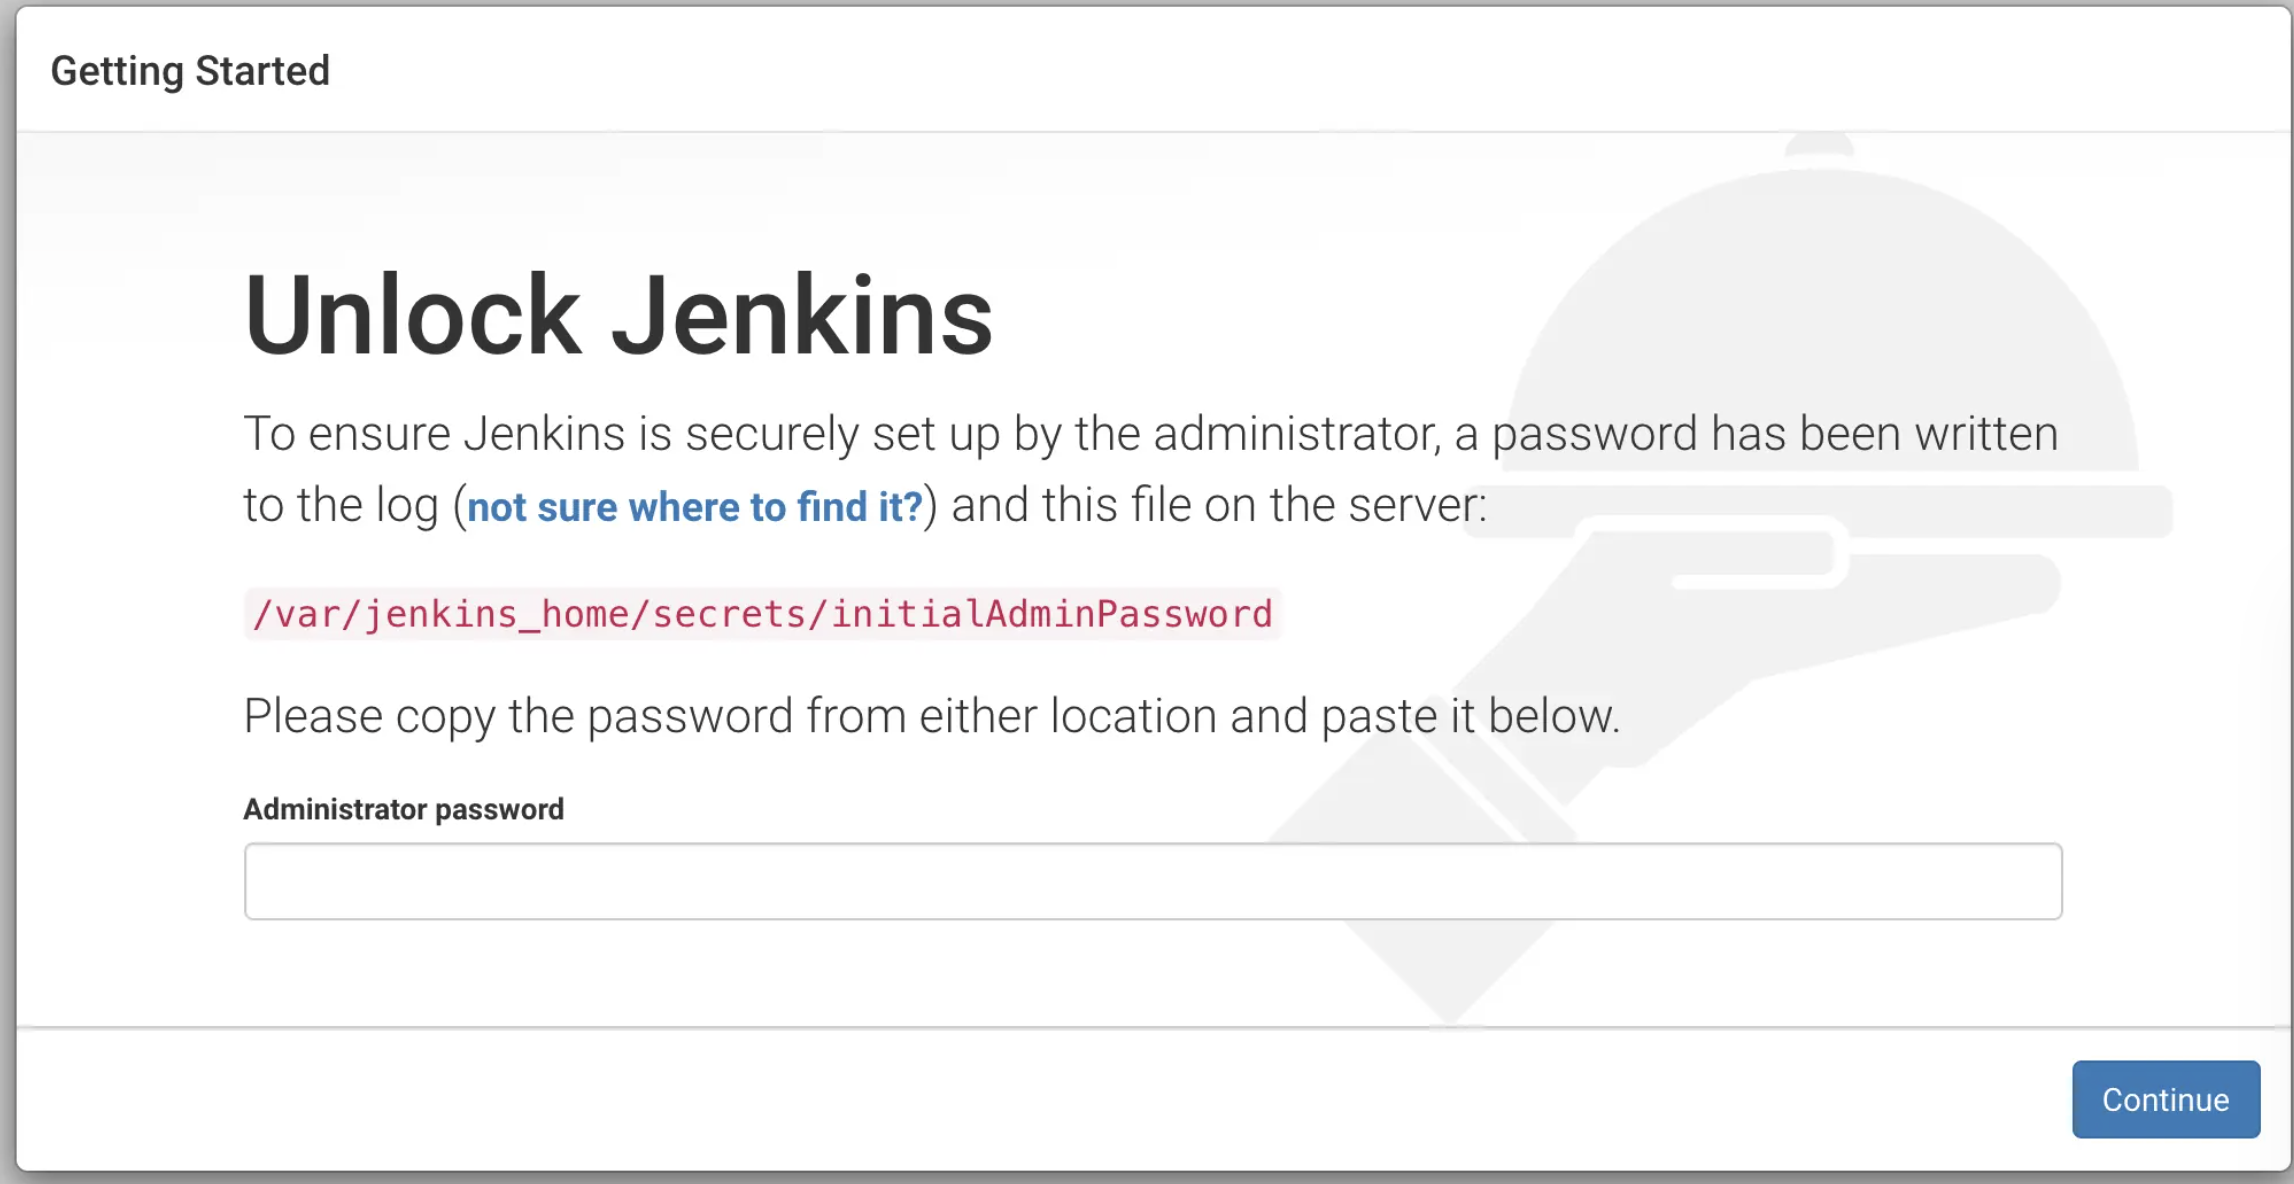
输入 password 然后会提示 install the suggested plugin 和创建一个 admin user.
### 本文首发于 https://www.cnblogs.com/wade-xu/p/16863933.html
High Availability 高可用
- Jenkins active/passive setup --- 只有企业版Jenkins才有此功能。
- 本文介绍的 Jenkins running on Kubernetes, 一旦 Jenkins master pod 挂了,另一个新的 Jenkins master pod 会自动起来,并将存储卷挂载至新创建的容器,保证数据不会丢失,从而实现集群高可用。
Recommend
About Joyk
Aggregate valuable and interesting links.
Joyk means Joy of geeK