
2

Tomcat:基础安装和使用教程
source link: https://blog.p2hp.com/archives/9860
Go to the source link to view the article. You can view the picture content, updated content and better typesetting reading experience. If the link is broken, please click the button below to view the snapshot at that time.

此文记录了 Tomcat 的基本使用方法,主要为了强化记忆。
第一步:下载和安装 Java
下载地址:http://www.oracle.com/technetwork/java/javase/downloads/index.html。
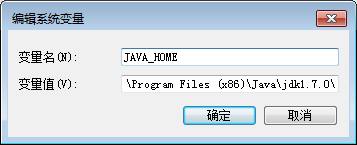
安装并设置JAVA_HOME环境变量:
第二步:下载和解压 Tomcat
下载地址:http://tomcat.apache.org/。

第三步:修改端口号
.NET 我使用的是 80xx,Php 我使用的是 81xx,Java 我使用的是 82xx。
修改D:\apache-tomcat-8.0.0-RC3\conf\server.xml:
 1   <Service name="Catalina">
 2
 3     <!--The connectors can use a shared executor, you can define one or more named thread pools-->
 4     <!--
 5     <Executor name="tomcatThreadPool" namePrefix="catalina-exec-"
 6         maxThreads="150" minSpareThreads="4"/>
 7     -->
 8
 9
10     <!-- A "Connector" represents an endpoint by which requests are received
11          and responses are returned. Documentation at :
12          Java HTTP Connector: /docs/config/http.html (blocking & non-blocking)
13          Java AJP  Connector: /docs/config/ajp.html
14          APR (HTTP/AJP) Connector: /docs/apr.html
15          Define a non-SSL HTTP/1.1 Connector on port 8080
16     -->
17     <Connector port="8200" protocol="HTTP/1.1"
18                connectionTimeout="20000"
19                redirectPort="8443" />
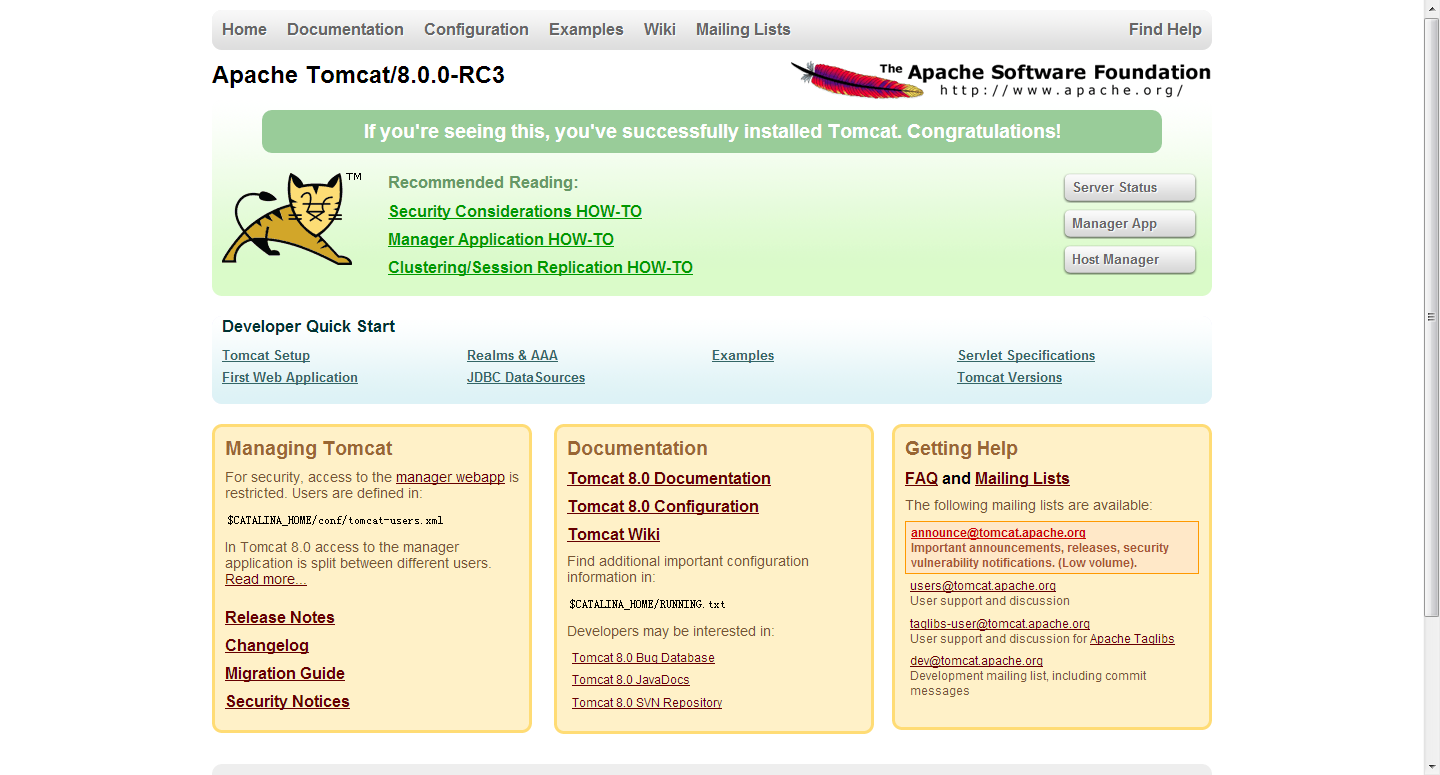
第四步:测试 Tomcat
运行:D:\apache-tomcat-8.0.0-RC3\bin\startup.bat,如果窗口没有立即关闭,就代表成功了。
第五步:发布自己的网站
最简单的发布方式莫过于将网站直接拷贝到:D:\apache-tomcat-8.0.0-RC3\webapps,这里介绍另外一种方式。
在D:\apache-tomcat-8.0.0-RC3\conf\Catalina\localhost下面建立一个naming.xml文件,内容如下:
1 <Context docBase="E:\Workspaces\Naming\1\WebRoot" debug="0" privileged="true">
2 </Context>

第六步:管理 Web App
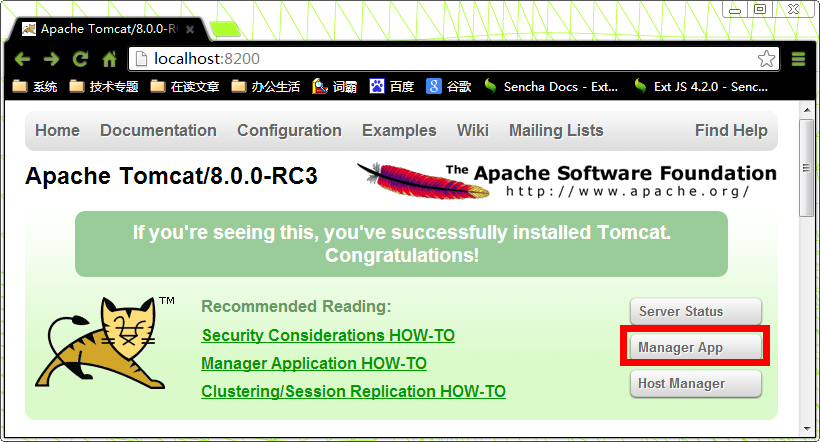
当点击 Manager App 的时候,会要求输入用户名和密码,可以在 D:\apache-tomcat-8.0.0-RC3\conf\tomcat-users.xml 中增加用户名,如下:
1 <?xml version='1.0' encoding='utf-8'?>
2 <tomcat-users>
3   <role rolename="manager-gui"/>
4   <user username="admin" password="123456" roles="manager-gui"/>
5 </tomcat-users>
注意:这是因为 Tomcat 支持 JAAS。
Tomcat 蛮舒服的,心底里还是喜欢 IIS。
Recommend
About Joyk
Aggregate valuable and interesting links.
Joyk means Joy of geeK