

How to use UIViewController in SwiftUI
source link: https://sarunw.com/posts/uiviewcontroller-in-swiftui/
Go to the source link to view the article. You can view the picture content, updated content and better typesetting reading experience. If the link is broken, please click the button below to view the snapshot at that time.

How to use UIViewController in SwiftUI
Table of Contents
SwiftUI and UIKit are going to coexist for a long time. Whatever framework you use, there might be a time when you need to use one another.
Luckily, Apple makes it easy to bring UIKit code to SwiftUI.
In this article, I will show you how to use UIViewController as a SwiftUI View.
You can easily support sarunw.com by checking out this sponsor.
![]()
Sponsor sarunw.com and reach thousands of iOS developers.
Using UIViewController as SwiftUI View
Before we can use UIViewController in the SwiftUI world, we need to transform it in a way that SwiftUI can understand.
We need to do two things to make an UIViewController works inside SwiftUI.
- Create a new SwiftUI view that conforms to
UIViewControllerRepresentableprotocol. - Implement the two required methods
makeUIViewController()andupdateUIViewController().
Before jumping to the implementation detail, let's create a new UIViewController that we will use throughout the article.
I will call in MyViewController. It is a simple view controller with a pink background and a "Hello, UIKit!" label text in the center.
class MyViewController: UIViewController {
    // 1
    private var label: UILabel = {
        let label = UILabel()
        label.translatesAutoresizingMaskIntoConstraints = false
        label.font = UIFont.preferredFont(forTextStyle: .title1)
        label.text = "Hello, UIKit!"
        label.textAlignment = .center

return label
    }()

override func viewDidLoad() {
        super.viewDidLoad()
        // 2
        view.backgroundColor = .systemPink

// 3
        view.addSubview(label)
        NSLayoutConstraint.activate([
            label.leadingAnchor.constraint(equalTo: view.leadingAnchor, constant: 16),
            label.trailingAnchor.constraint(equalTo: view.trailingAnchor, constant: -16),
            label.topAnchor.constraint(equalTo: view.topAnchor, constant: 20),
            label.bottomAnchor.constraint(equalTo: view.bottomAnchor, constant: -20),
        ])
    }
}
1 Create a new label and set its text, font, and alignment.
2 Set view background color to pink.
3 Add the label on the center of the view controller.
A view controller that we want to use in the SwiftUI app.
We got something to work with. Let's see how we can use this view controller in a SwiftUI app.
UIViewControllerRepresentable
UIViewControllerRepresentable protocol is a SwiftUI view that represents a UIKit view controller.
As you can see from the declaration, UIViewControllerRepresentable conforms to the View protocol, which makes it usable as a view in the SwiftUI world.
protocol UIViewControllerRepresentable : View where Self.Body == NeverFirst, I create MyView, which conforms to the UIViewControllerRepresentable protocol.
import SwiftUI

struct MyView: UIViewControllerRepresentable {

}
The protocol needs to know what kind of UIViewController that MyView is going to represent. We give this information by explicitly defining typealias UIViewControllerType.
In this case, we want our MyView to represent MyViewController.
import SwiftUI

struct MyView: UIViewControllerRepresentable {
    typealias UIViewControllerType = MyViewController
}
After we tell the protocol what type of view controller we will present, we need to get our hands dirty and prepare the view controller for SwiftUI.
We need to conform to two required methods.
import SwiftUI
struct MyView: UIViewControllerRepresentable {
    typealias UIViewControllerType = MyViewController

func makeUIViewController(context: Context) -> MyViewController {
        // Return MyViewController instance
    }

func updateUIViewController(_ uiViewController: MyViewController, context: Context) {
        // Updates the state of the specified view controller with new information from SwiftUI.
    }
}
makeUIViewController
The makeUIViewController method expected us to return an instance of MyViewController.
This is a place where we
- Create the view controller object and
- Configure its initial state
Since our view controller is very simple, we just create and return it immediately from makeUIViewController.
struct MyView: UIViewControllerRepresentable {
    typealias UIViewControllerType = MyViewController

func makeUIViewController(context: Context) -> MyViewController {
        let vc = MyViewController()
        // Do some configurations here if needed.
        return vc
    }

func updateUIViewController(_ uiViewController: MyViewController, context: Context) {
        // Updates the state of the specified view controller with new information from SwiftUI.
    }
}
updateUIViewController
The updateUIViewController method is called when there is an update from SwiftUI. This is a place for us to update our view controller.
Again, for our simple view controller, we don't need this.
Actually, Swift can infer UIViewControllerType from makeUIViewController and updateUIViewController methods.
So technically, we don't need to specify typealias UIViewControllerType = MyViewController.
struct MyView: UIViewControllerRepresentable {
    typealias UIViewControllerType = MyViewController
}
In reality, we don't want to type those two lengthy methods. So, it is easier to declare typealias UIViewControllerType = MyViewController and let Xcode generate those two methods for us.
You can easily support sarunw.com by checking out this sponsor.
![]()
Sponsor sarunw.com and reach thousands of iOS developers.
How to use UIViewControllerRepresentable
After we create a new view that can represent our view controller, we can use it just like a normal SwiftUI view.
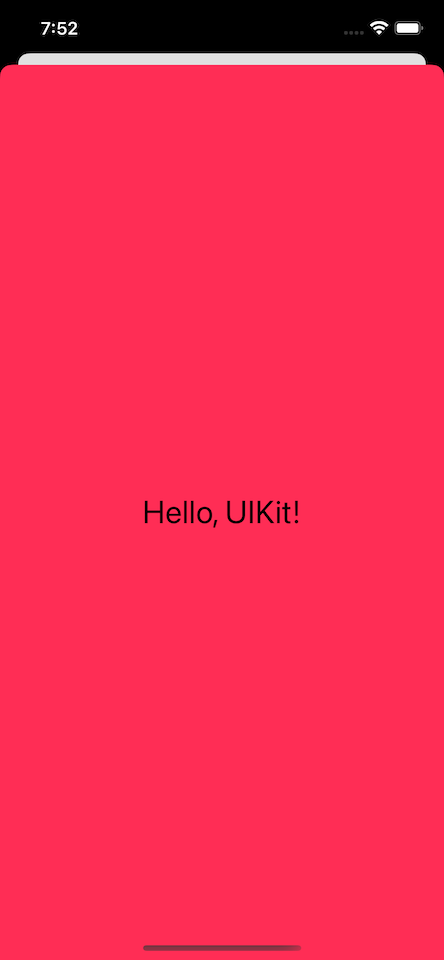
In this example, we use MyView as a content of a sheet.
struct ContentView: View {
    @State var isPresented = false

var body: some View {
        Button("MyViewController") {
            isPresented = true
        }
        .sheet(isPresented: $isPresented) {
            MyView()
        }
    }
}
Use MyView as a sheet's content.
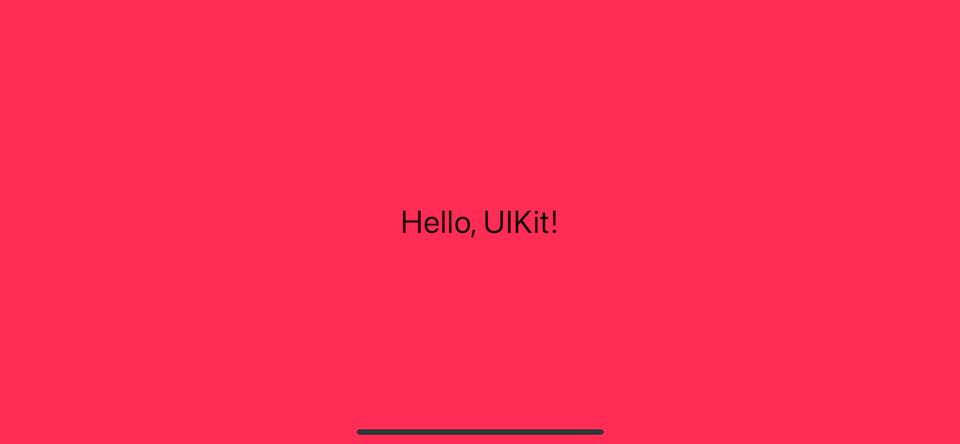
As You might notice, the pink background of MyView doesn't cover the bottom safe area. We can easily fix that in the SwiftUI way by applying the ignoresSafeArea() modifier.
struct ContentView: View {
    @State var isPresented = false

var body: some View {
        Button("MyViewController") {
            isPresented = true
        }
        .sheet(isPresented: $isPresented) {
            MyView()
                .ignoresSafeArea()
        }

}
}
We can use a SwiftUI modifier on MyView just like a normal SwiftUI view.
Even though it is a view controller, that doesn't mean it needs to represent the whole screen. It can be just a part of a view, just like a normal SwiftUI view.
In this example, we put MyView alongside a text view.
struct ContentView: View {
    var body: some View {
        VStack {
            Text("MyView")
            MyView()
                .frame(height: 100)
        }
    }
}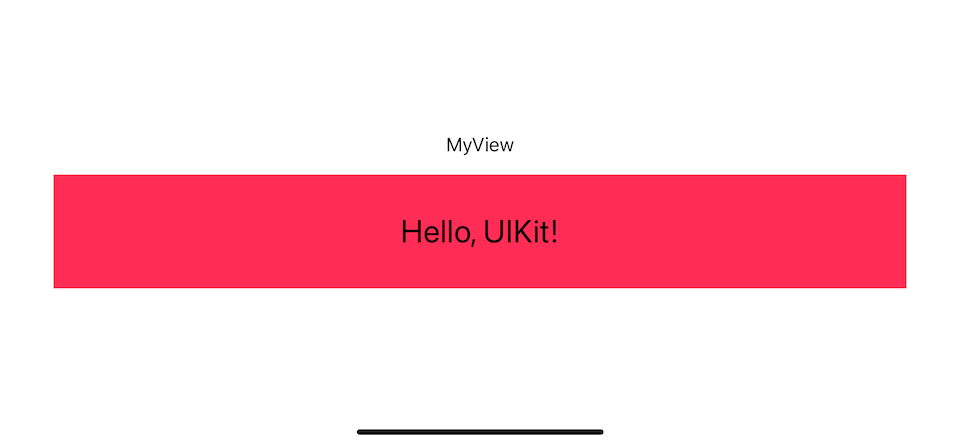
MyView doesn't need to represent the whole screen.
Recommend
About Joyk
Aggregate valuable and interesting links.
Joyk means Joy of geeK