

云原生之旅 - 2)Docker 容器化你的应用 - WadeXu
source link: https://www.cnblogs.com/wade-xu/p/16708050.html
Go to the source link to view the article. You can view the picture content, updated content and better typesetting reading experience. If the link is broken, please click the button below to view the snapshot at that time.

上文中我们用Golang写了一个HTTP server,本篇文章我们讲述如何容器化这个应用,为后续部署到kubernetes 做准备。
关键词:Docker, Containerization, Golang, 容器化, Docker Hub login, Container Registry, 容器仓库,云原生
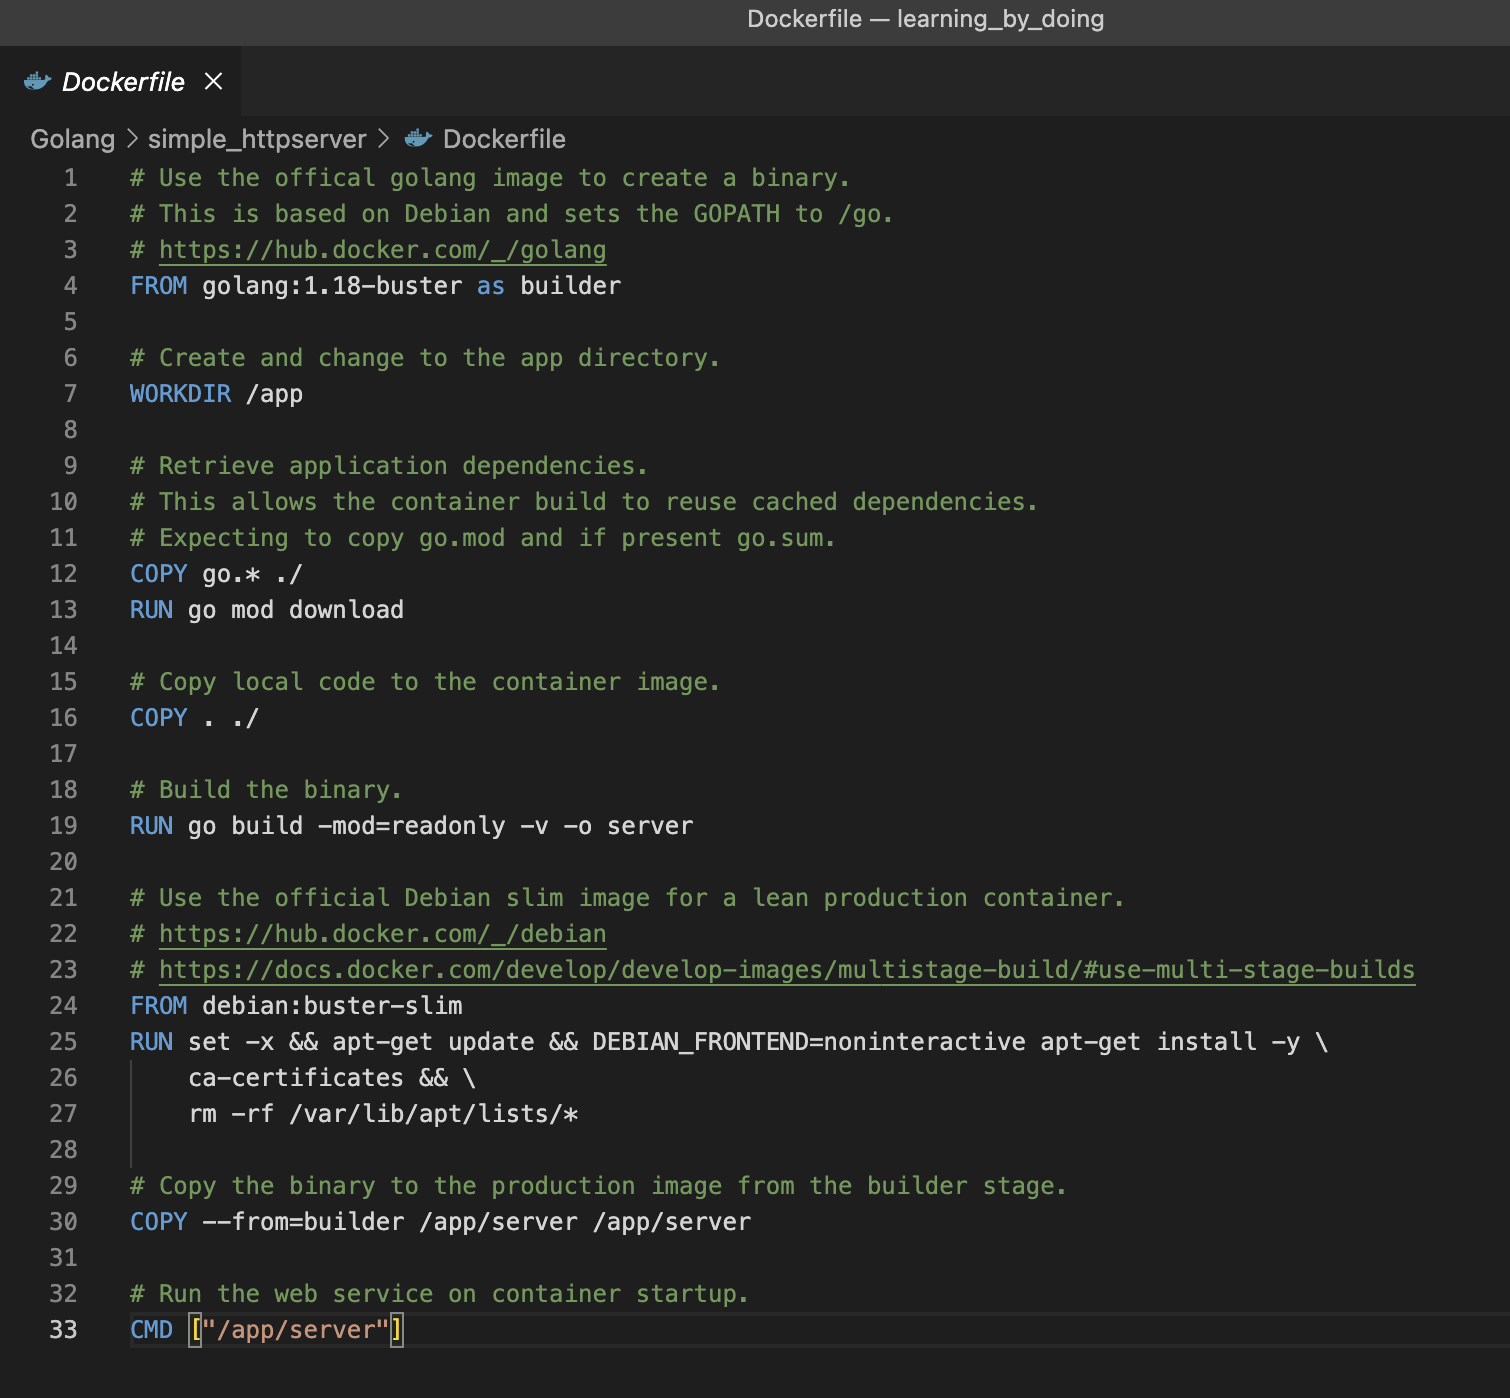
Dockerfile
我们采用Docker分阶段构建方式来编写Dockerfile, 这种做法的最大好处就是缩小image的大小。
第一阶段构建如下,目的编译出我们的可执行二进制文件。
# Use the offical golang image to create a binary.
# This is based on Debian and sets the GOPATH to /go.
# https://hub.docker.com/_/golang
FROM golang:1.18-buster as builder

# Create and change to the app directory.
WORKDIR /app

# Retrieve application dependencies.
# This allows the container build to reuse cached dependencies.
# Expecting to copy go.mod and if present go.sum.
COPY go.* ./
RUN go mod download

# Copy local code to the container image.
COPY . ./

# Build the binary.
RUN go build -mod=readonly -v -o server
如果没有VPN,那么需要添加 GOPROXY, 例如
RUN go env -w GOPROXY=https://goproxy.cn,direct && go mod download |
进入第二阶段构建,真正的构建出生产用的镜像,代码如下:
注意 COPY --from=builder ,这里的 builder 和第一阶段的 as builder 是一一对应的
# Use the official Debian slim image for a lean production container.
# https://hub.docker.com/_/debian
# https://docs.docker.com/develop/develop-images/multistage-build/#use-multi-stage-builds
FROM debian:buster-slim
RUN set -x && apt-get update && DEBIAN_FRONTEND=noninteractive apt-get install -y \
    ca-certificates && \
    rm -rf /var/lib/apt/lists/*

# Copy the binary to the production image from the builder stage.
COPY --from=builder /app/server /app/server

# Run the web service on container startup.
CMD ["/app/server"]
两个阶段的构建代码都复制到 Dockerfile 如下
Build Image
需提前安装好docker, tag 也需要根据自己实际情况修改,wadexu007是我Docker hub的account, demo是 repository名, 1.0.0是镜像tag号
docker build -t wadexu007/demo:1.0.0 . |
![]()
### https://www.cnblogs.com/wade-xu/p/16708050.html ###
Push Image
接下来我们得把Image push到一个镜像仓库,例如 Docker hub, 或者 ECR, GCR, ACR 等公有云平台仓库。也可以用开源的 Harbor 自建仓库。
下面介绍 Docker hub
首先到 Docker hub 注册一个账号 https://hub.docker.com
如果有账号直接Sign In
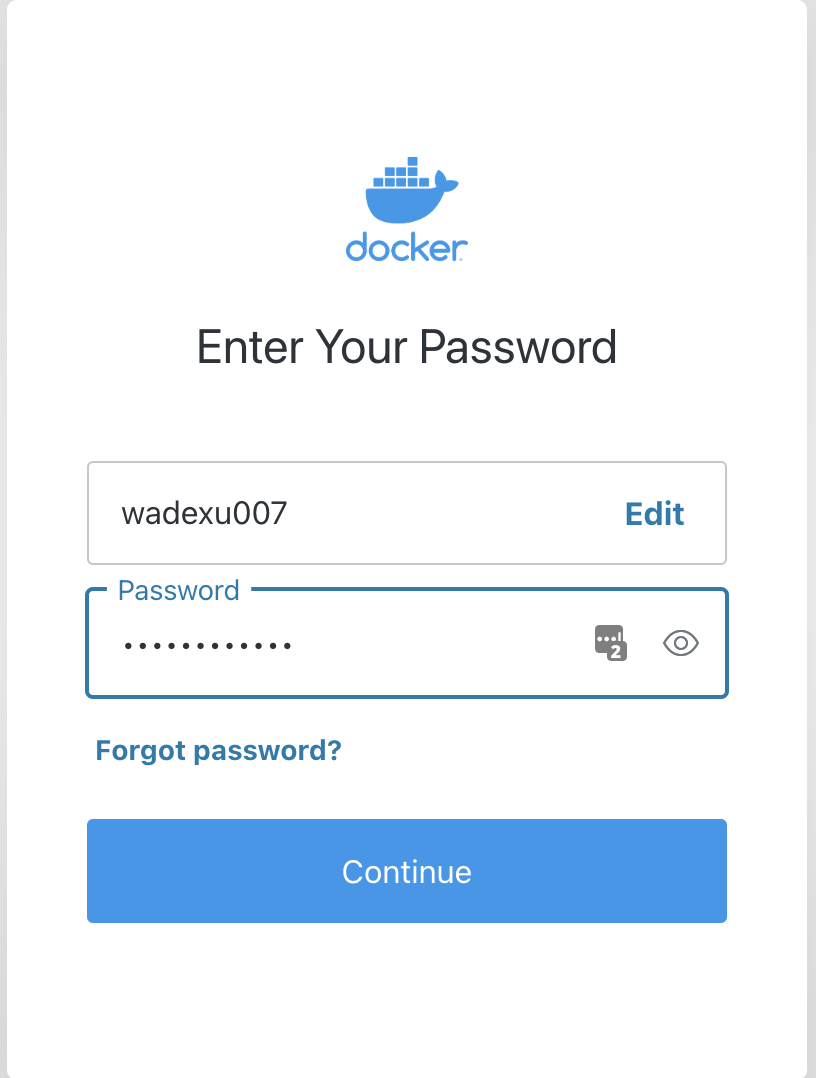
点击右上角--> Account Settings
Security --> New Access Tokens
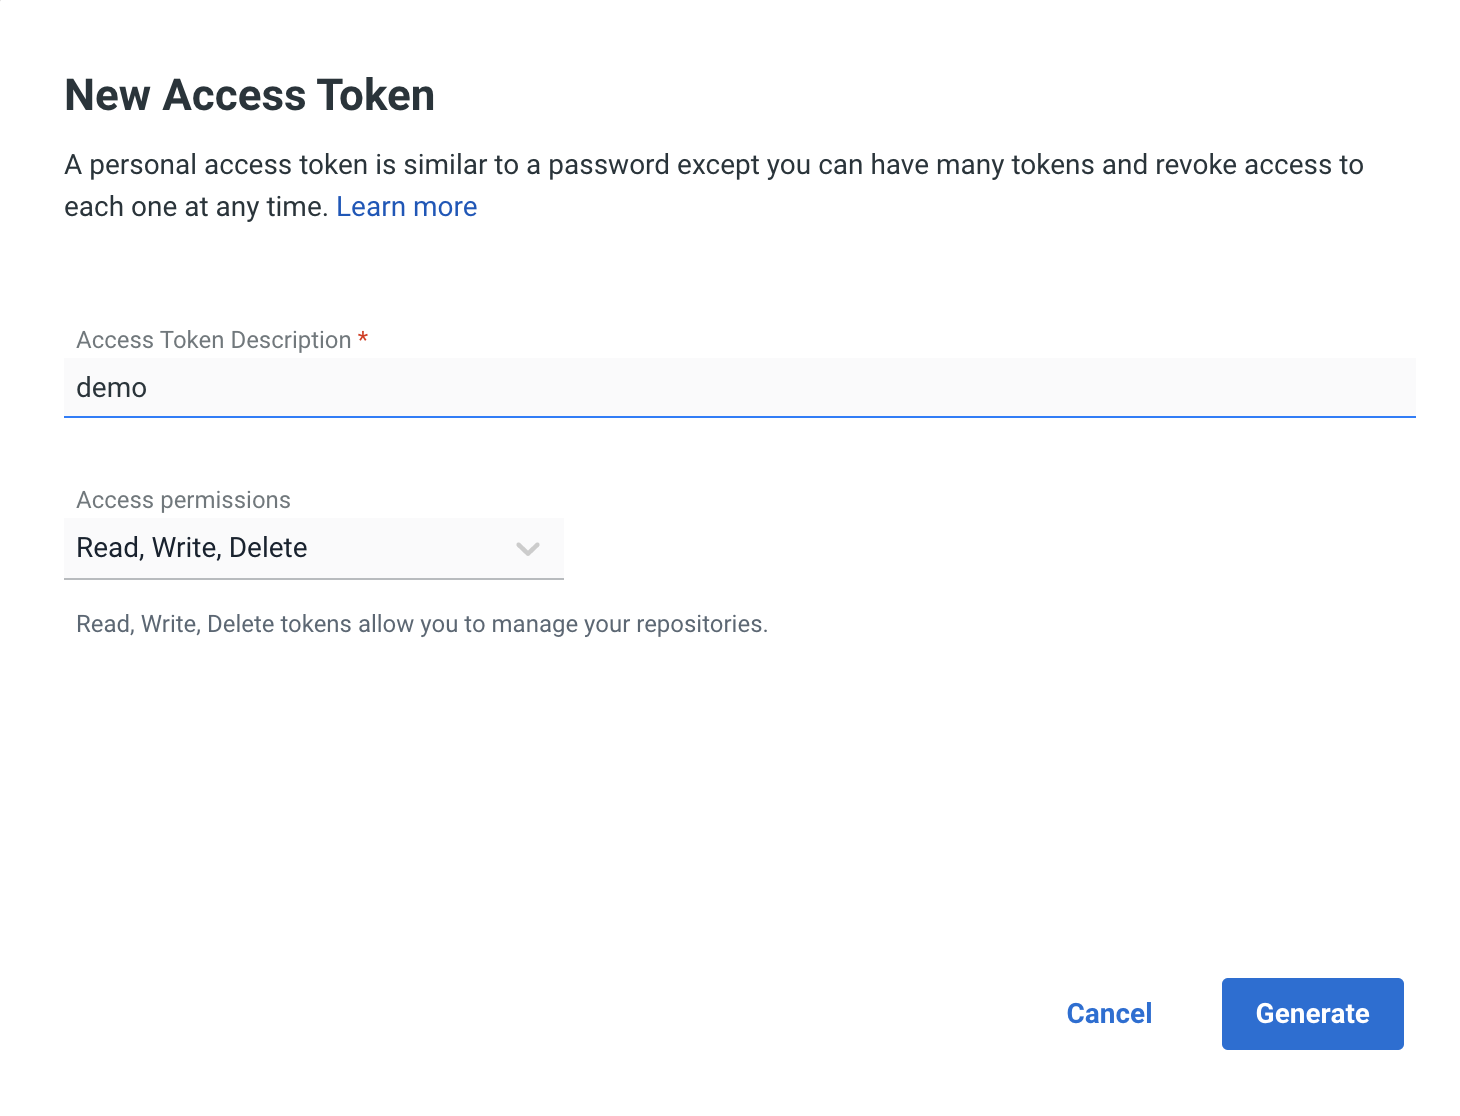
Generate a new one. Then docker login, replace `wadexu007` with your account name.
docker login -u wadexu007 |
after paste access token
Login Succeeded |
也可以查看docker config.json 或者直接编辑。
第二个就是我刚刚docker login 之后的配置。第一个是我本机 GCR - Google Cloud Registry,第三个是JCR - 京东云的Registry
% cat ~/.docker/config.json
{
    "auths": {
        "asia.gcr.io": {
            "auth": "xxx"
        },
        "https://index.docker.io/v1/": {
            "auth": "xxx"
        },
        "xxx-cn-north-1.jcr.service.jdcloud.com": {
            "auth": "xxx"
        }
    }
}%
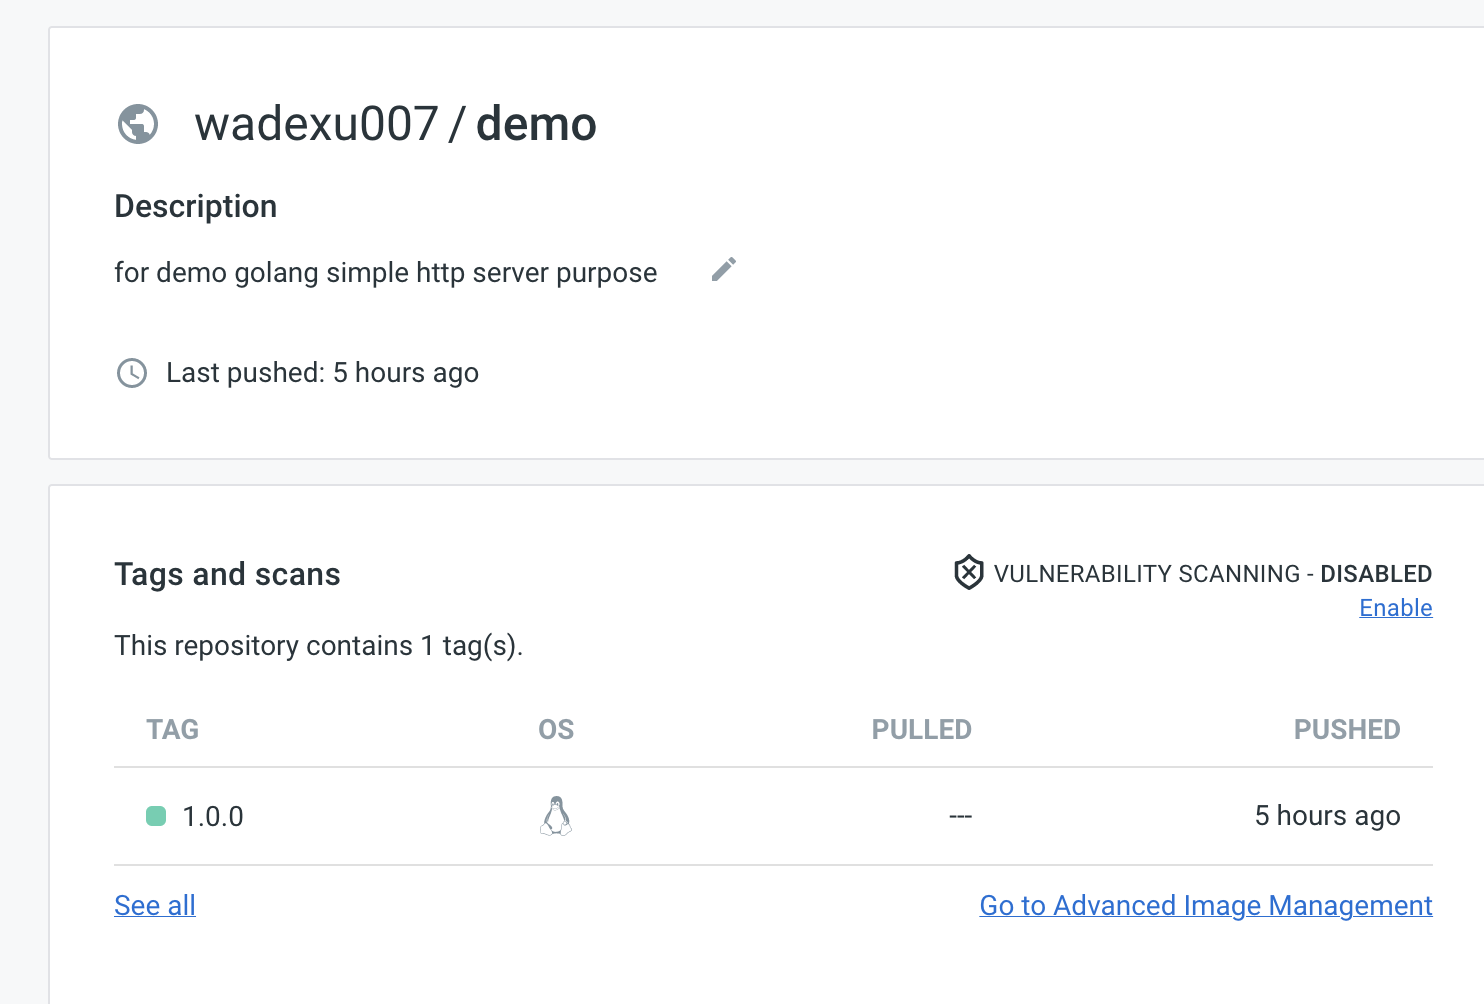
回到 Docker hub控制台, Create repository 创建一个 `demo` repository
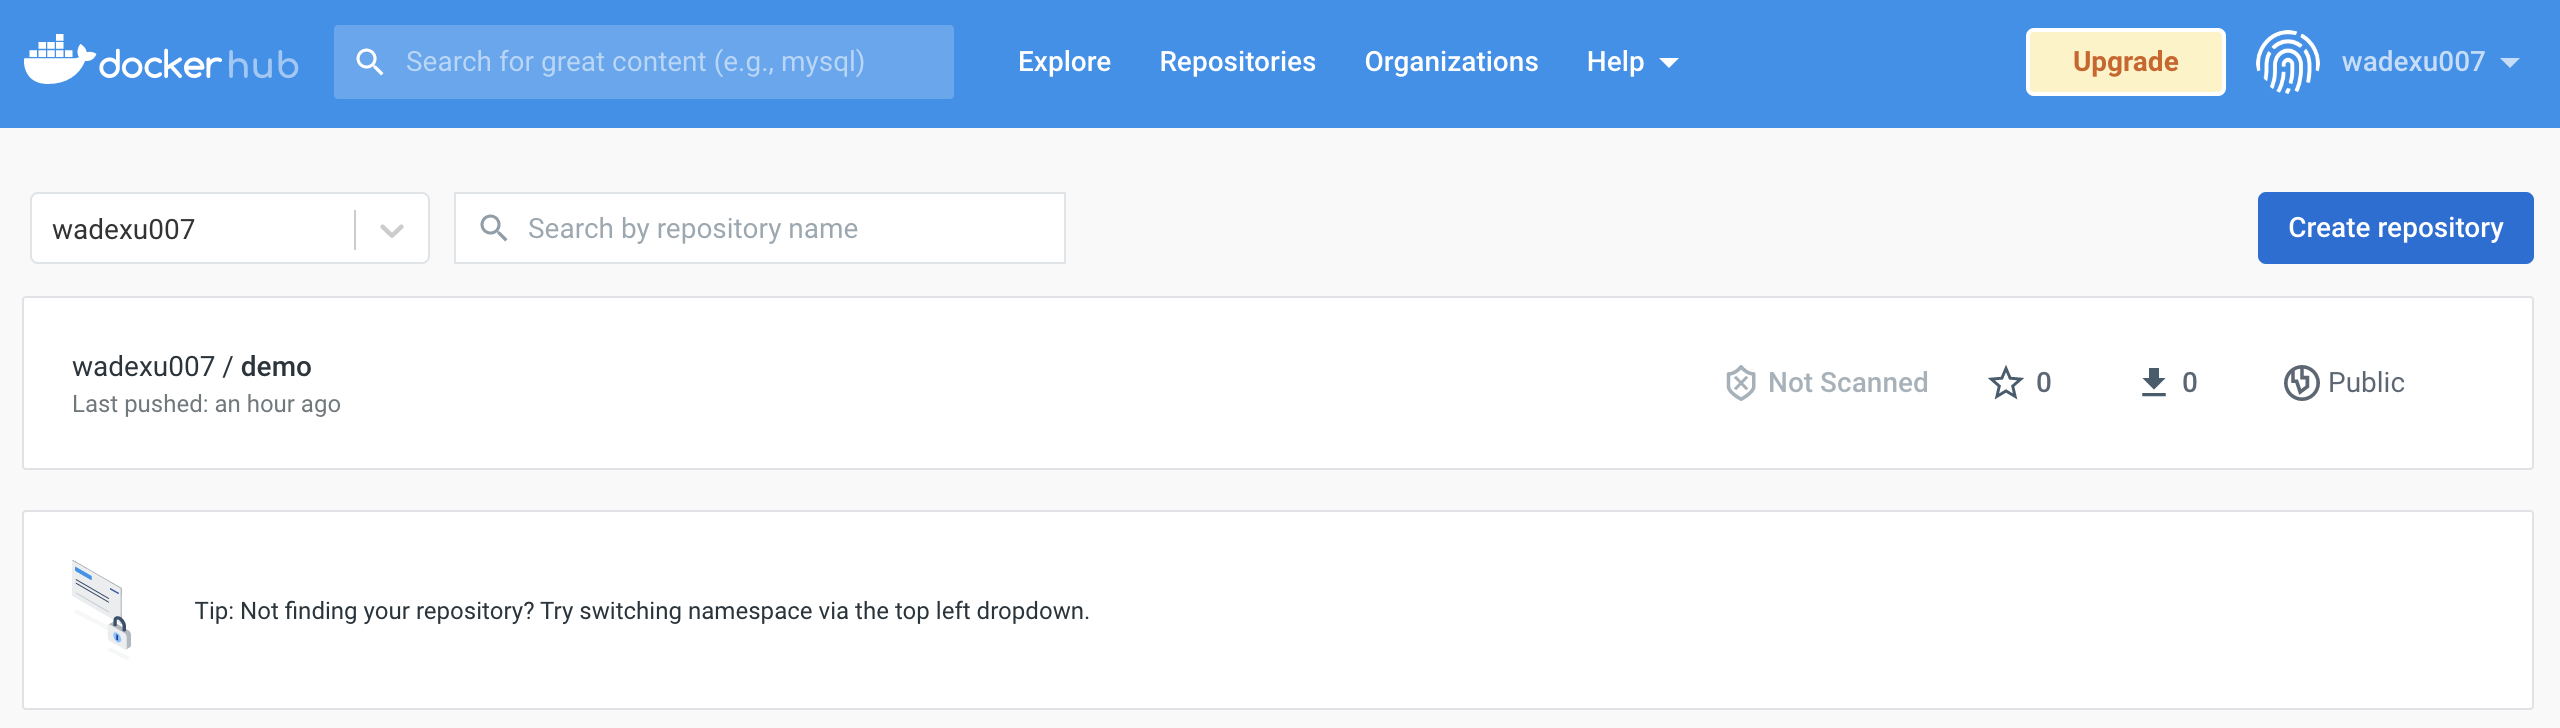
最后执行 push 命令
把本地image push到远端
docker push wadexu007/demo:1.0.0 |
### https://www.cnblogs.com/wade-xu/p/16708050.html ###
感谢阅读,如果您觉得本文的内容对您的学习有所帮助,您可以打赏和推荐,您的鼓励是我创作的动力。
Recommend
About Joyk
Aggregate valuable and interesting links.
Joyk means Joy of geeK