

Implementing Authorization With User Roles (RBAC)
source link: https://dzone.com/articles/implementing-authorization-with-user-roles-rbac
Go to the source link to view the article. You can view the picture content, updated content and better typesetting reading experience. If the link is broken, please click the button below to view the snapshot at that time.

What Is Authorization?
Authorization is about answering the question, “Is this user allowed to do a certain operation?”. This is different from Authentication, in which we answer the question, “Which user is this request coming from?”
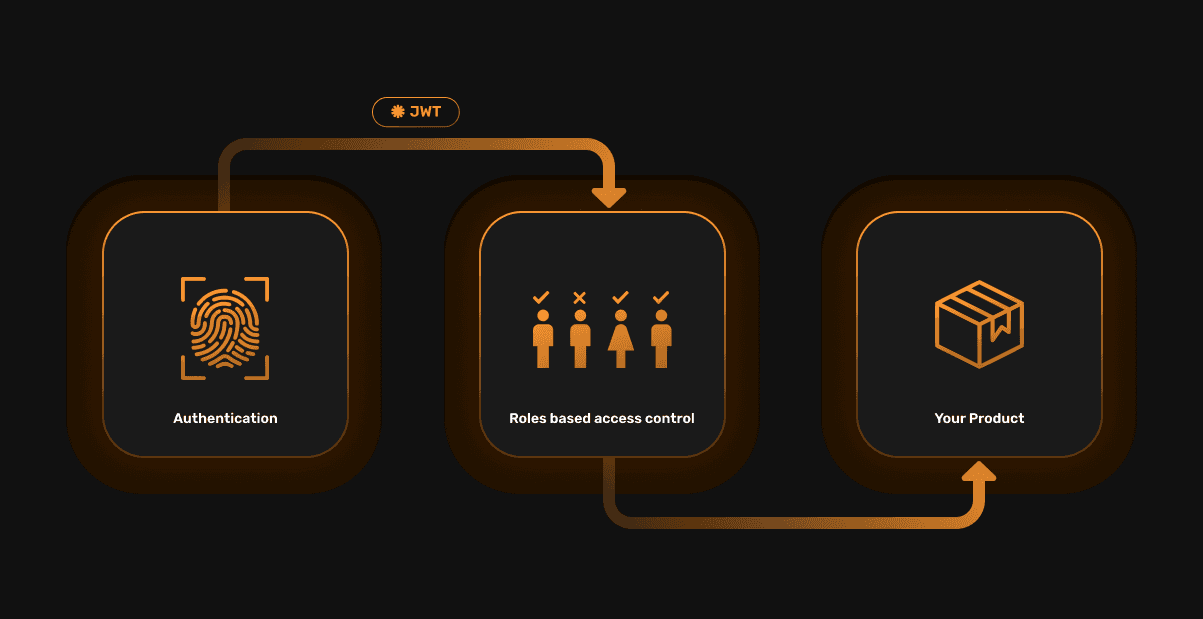
Both are essential to most applications, and as such, we first go through authentication flows to identify who the user is. Then we go through authorization flows in which we decide if the user has permission to do certain operations.
What Is Roles-Based Access Control (RBAC)?
RBAC is one of the ways in which Authorization can be implemented. It allows developers to create “groups” of users that can all do the same set of operations. The name of the group is essentially the role of those users.
For example, a blogging app may have a role called "admin," which allows users (who are associated with that role) to do operations like delete, edit or read all the blogs on the app. The app may have another role called "regular-user," which allows users to read all blogs but edit or delete only blogs they created.
In formal notation, the actions that can be taken can be represented as strings like:
- Read all blogs:
"read:all" - Delete all blogs:
"delete:all" - Delete blogs created by self:
"delete:self" - Edit all blogs:
"edit:all" - Edit blogs created by self:
"edit:self"
These are known as permissions. In a grid form, the roles and permissions for our example app will look like this:

The
"edit:all"permission implies"edit:self"as well. The same goes for the"delete"permission.
Advantages of RBAC
- Easy to understand: The structure of roles and permissions is very intuitive. It can be understood by new employees fairly quickly.
- Easy changes: As the org structure changes, assigning new roles to employees automatically gives them all the right access - there is no extra coding required, and the change can be made via a dashboard in minutes.
- Improving compliance: RBAC forces executives to think about and organize access control. This information can then be used by compliance officers during an audit.
- Decrease risk of data breaches/leakage: Due to its ease of use, developers can easily implement the right access control policies in their APIs, reducing the chances of data leaks.
Disadvantages of RBAC
Difficult to make exceptions: It can be complex to make exceptions to how a role works. In our example above, if we want to add a rule that users with a
"regular-user"role cannot edit their own post if they have already made ten edits, it will have to be added in the API logic as an exception. There is no way for the roles/permissions system to express it easily. This causes issues since we have to make sure to encode this rule in all places where we are checking for the"edit:self"permission.Can cause conflicts in permissions: There could be situations in which a user is assigned two roles that have conflicting information. In our example above, if a user is assigned the
"admin"role and the"regular-user", they have"edit:self"and"edit:all"permission. Which one should take precedence? The precedence logic can be coded in the APIs, which opens up the scope for errors.Developers may forget to define permission precedence altogether. This can cause unintended side effects in authorization logic. In our example, if we write the API logic like this:
// ...
if (permissions.contains("edit:self")) {
    // only allow edit if the blog belongs to the current user
} else if (permissions.contains("edit:all")) {
    // allow edit
}
// ...
It may cause issues if a user has the "admin" and "regular-user" roles - despite having the "admin" role, they will not be able to edit all the blogs cause it will execute into the first if statement above.
Code Example
Let’s continue with our example above and see how we can actually implement it in an app using SuperTokens - an open-source authentication/authorization provider.
The code snippets below are for a NodeJS backend, but similar logic applies to the other backend SDKs offered by SuperTokens as well. All the code snippets are as per SuperTokens Node SDK version
v11.0.1
Step 1) Creating the Roles and Permissions
SuperTokens needs to know about the roles and permissions before they can be assigned to users. For that, we can use the createNewRoleOrAddPermissions function exposed by the SDK:
import UserRoles from "supertokens-node/recipe/userroles";

// creating the admin role and adding permissions to it.
await UserRoles.createNewRoleOrAddPermissions("admin", ["read:all", "delete:all", "edit:all"])

// creating the regular-user role and adding permissions to it.
await UserRoles.createNewRoleOrAddPermissions("regular-user", ["read:all", "delete:self", "edit:self"])
Step 2) Assigning Roles to Users on Sign up
You can add the code snippet below in your override function for the signup API.
import UserRoles from "supertokens-node/recipe/userroles";

// the value of roleToAssign needs to be fetched by you.
// For example, you could check if the user's email is of a certain domain,
// and if it is, then they would be an admin, else not.
if (roleToAssign === "admin") {
    // the userId belongs to the user who just signed up.
    await UserRoles.addRoleToUser(userId, "admin");
} else {
    await UserRoles.addRoleToUser(userId, "regular-user");
}
You can even add the roles and permissions to the user’s session payload so that accessing them later (on the front end or back end) is efficient.
Step 3) Guarding APIs Based on a User’s Role or Permissions
Once you have completed session verification in your APIs, you can retrieve the user ID of the logged-in user and get their roles and permissions using that:
import { verifySession } from "supertokens-node/recipe/session/framework/express";
import UserRoles from "supertokens-node/recipe/userroles";

app.delete("/blog", verifySession(), async (req, res) => {
    let blogId = req.body.blogId
    let userId = req.session.getUserId();

    let roles = await UserRoles.getRolesForUser(userId).roles
    // if the user is an admin, we will be ["admin"], else we will get ["regular-user"]

    let permissions = await UserRoles.getPermissionsForRole(roles[0]).permissions
    // if the role is "admin", we get ["read:all", "delete:all", "edit:all"]
    // else we get ["read:all", "delete:self", "edit:self"]

    if (permissions.includes("delete:all")) {
        // allow delete
    } else if (permissions.includes("delete:self")) {
        if (getOwnerOfBlog(blogId) === userId) {
            // allow delete
        } else {
            // return access denied error
        }
    }
})
Alternate Libraries
While SuperTokens allows you to guard your frontend and backend routes via a mapping of roles and permissions, access control goes beyond that. You may want to:
- Organize roles in a hierarchy such that a parent role inherits permissions from child roles.
- Be able to specify permission precedence with the authorization framework instead of in your API code.
- Visualize the roles and permissions relations.
- Define complicated policies that combine roles and permissions to determine if a user can access a resource.
For these use cases, there are dedicated authorization solutions that you can integrate with your existing authentication provider. Some examples are:
Recommend
About Joyk
Aggregate valuable and interesting links.
Joyk means Joy of geeK