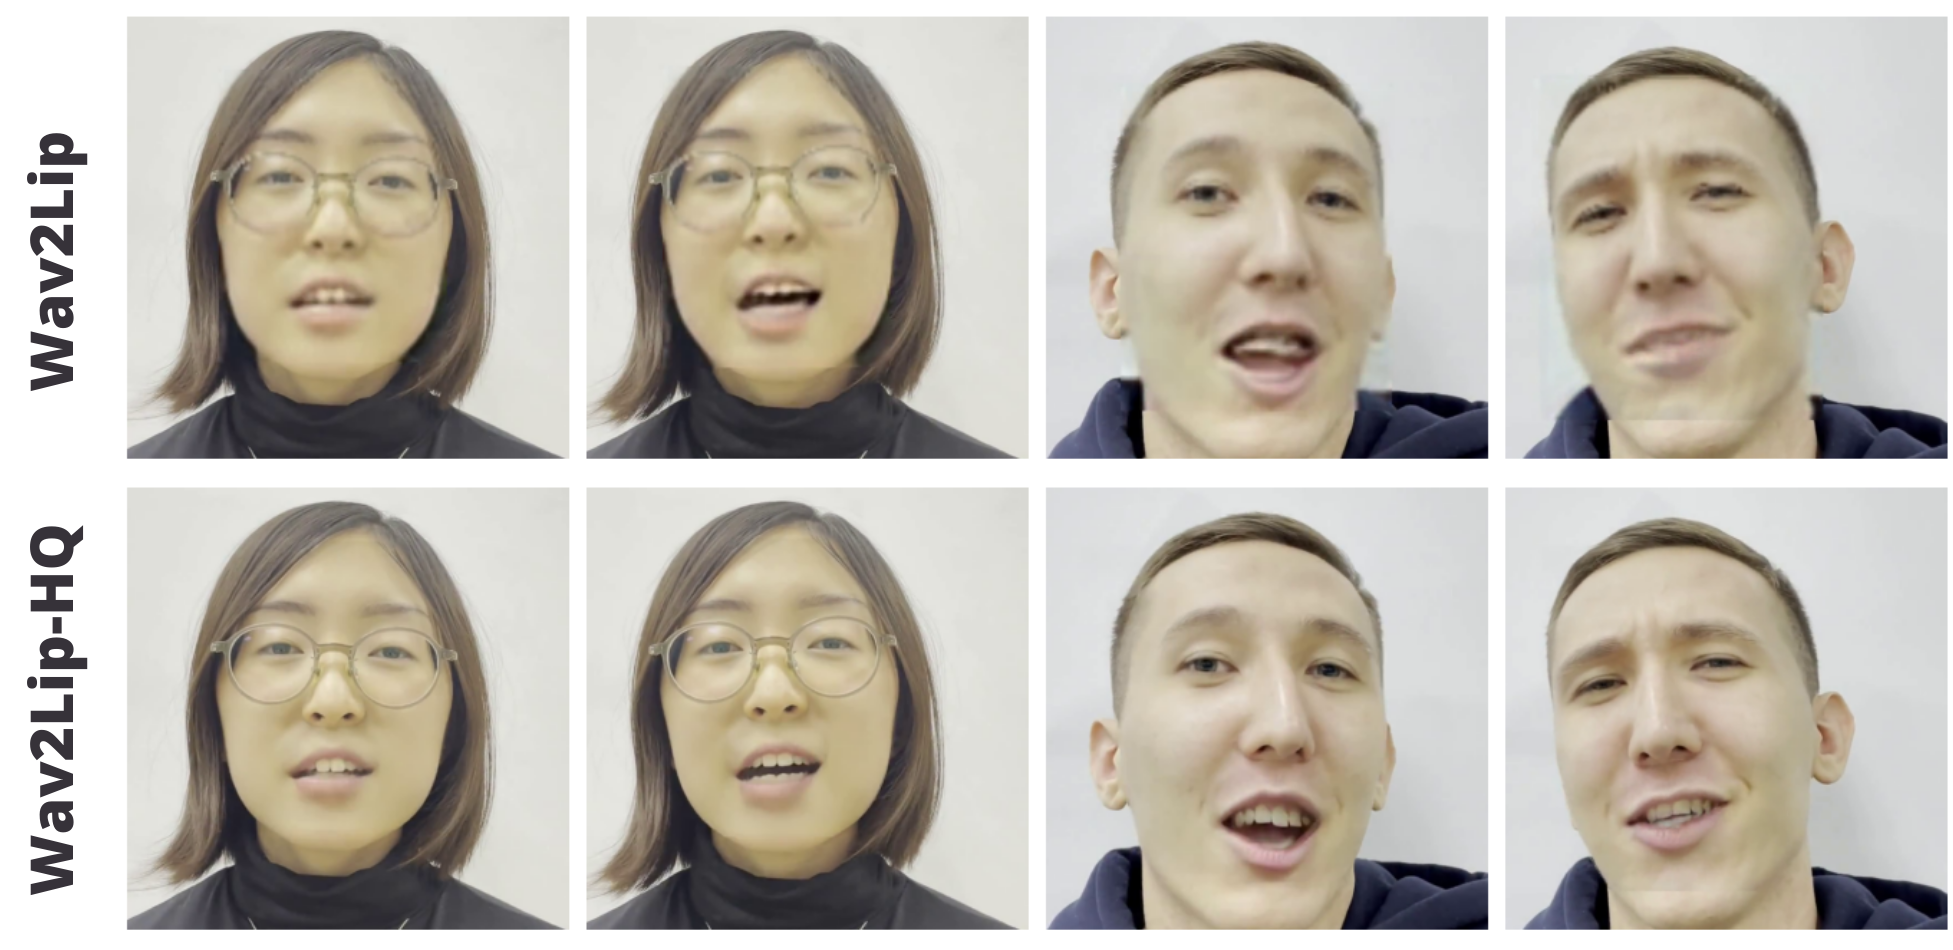

嘴型融合 wav2lip 升级版
source link: https://xugaoxiang.com/2022/09/15/wav2lip-hq/
Go to the source link to view the article. You can view the picture content, updated content and better typesetting reading experience. If the link is broken, please click the button below to view the snapshot at that time.

- windows 10 64bit
- wav2lip-hq
- pytorch 1.12.1+cu113
前面的博文 嘴型同步模型Wav2Lip,介绍了嘴型同步模型,本篇介绍的是 wav2lip 的高清版,在原有基础上,使用了超分辨率图像和人脸分割技术,来提升整体效果。

首先,拉取源码
git clone https://github.com/Markfryazino/wav2lip-hq.git
cd wav2lip-hq

# 创建个新的虚拟环境
conda create -n wav2liphq python=3.8
conda activate wav2liphq

# 安装torch
pip3 install torch torchvision torchaudio --extra-index-url https://download.pytorch.org/whl/cu113

# 安装其它依赖库,将其中的torch、torchvision注释掉,前面已经安装了gpu版本
pip install -r requirements.txt然后去下载模型,这里需要3个模型,第一个下载地址:https://drive.google.com/file/d/1aB-jqBikcZPJnFrJXWUEpvF2RFCuerSe/view?usp=sharing ,下载后拷贝到目录 checkpoints 下面;第二个模型是人脸的模型,下载地址:https://www.adrianbulat.com/downloads/python-fan/s3fd-619a316812.pth,下载后拷贝到 face_detection/detection/sfd 目录下,并重命名为 s3fd.pth;第三个是脸部的 segmentation 模型,下载地址:https://drive.google.com/open?id=154JgKpzCPW82qINcVieuPH3fZ2e0P812,拷贝到 checkpoints 目录下,并重命名为 face_segmentation.pth
最后,我们准备一个音频文件和一个视频文件来进行测试,执行命令
python.exe inference.py --checkpoint_path checkpoints\wav2lip_gan.pth --segmentation_path checkpoints\face_segmentation.pth --sr_path checkpoints\esrgan_yunying.pth --face test.mp4 --audio test.mp3 --outfile output.mp4Recommend
About Joyk
Aggregate valuable and interesting links.
Joyk means Joy of geeK