

V2ray 服务端配置 Shadowsocks
source link: https://uzbox.com/tech/shadowsocks.html
Go to the source link to view the article. You can view the picture content, updated content and better typesetting reading experience. If the link is broken, please click the button below to view the snapshot at that time.

如何在 V2ray 服务端配置 Shadowsocks
首先你需要了解的是明明安装的Shadowsocks的服务器端,为什么会用到V2ray服务端?
V2ray 的服务端中已内置了Shadowsocks支持,包括最新的AEAD加密协议。经过一段时间的试用后,感觉V2ray服务端的Shadowsocks用起来还是挺稳定的。所以推荐采用V2ray 服务端程序来实现自建Shadowsocks服务器。
那么在V2ray 的服务端中如何配置Shadowsocks呢?下面我们一步一步来配置V2ray服务端的Shadowsocks!
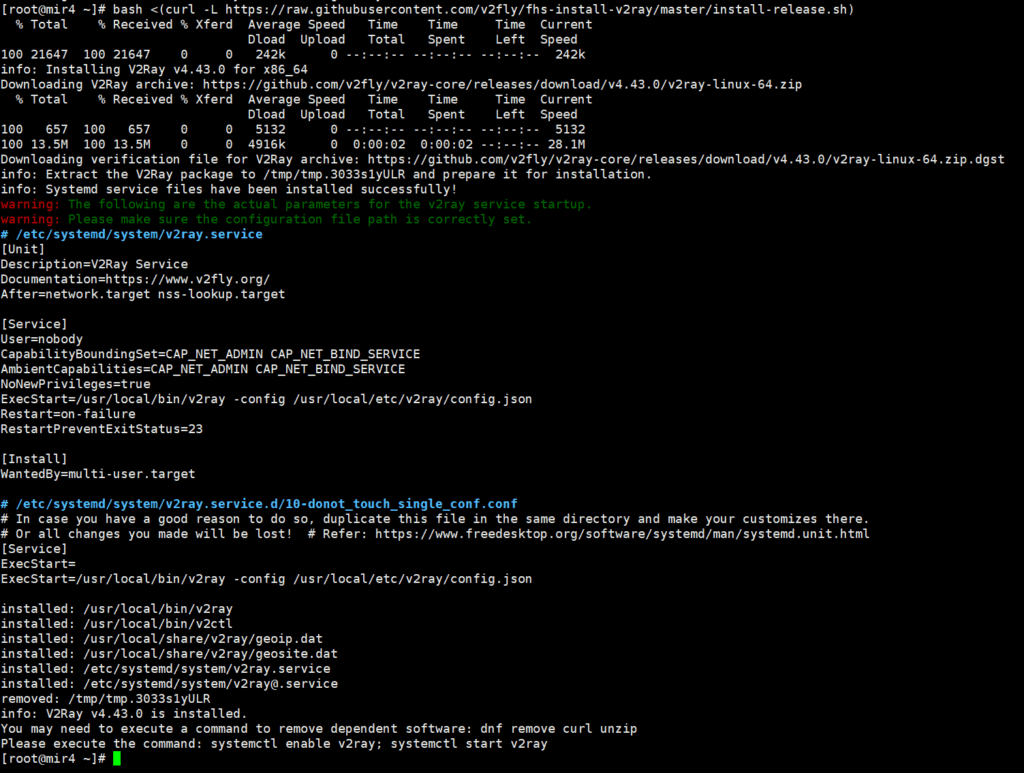
首先第一步,在服务器上,安装官方的v2ray服务端的最新版本。V2Ray is v4.43.0
V2ray服务端安装
安装包含dat文件完整版的V2ray服务端,通过SSH远程连接到服务器,在服务器上输入下面代码:
# bash <(curl -L https://raw.githubusercontent.com/v2fly/fhs-install-v2ray/master/install-release.sh)
如果你的服务器上已经安装了v2ray服务器端,只想更新.dat文件,请执行下面的代码:
# bash <(curl -L https://raw.githubusercontent.com/v2fly/fhs-install-v2ray/master/install-dat-release.sh)
如果你想删除V2ray服务端,请输入下面代码:
# bash <(curl -L https://raw.githubusercontent.com/v2fly/fhs-install-v2ray/master/install-release.sh) --remove
新安装V2ray的config.json文件,默认是空的,需要编辑配置一下config.json文件。
下面是V2ray文件的安装位置,新版本的V2ray安装位置与老版本发生了改变,操作前请看好安装位置。
installed: /usr/local/bin/v2ctl
installed: /usr/local/share/v2ray/geoip.dat
installed: /usr/local/share/v2ray/geosite.dat
installed: /usr/local/etc/v2ray/config.json
installed: /var/log/v2ray/
installed: /var/log/v2ray/access.log
installed: /var/log/v2ray/error.log
installed: /etc/systemd/system/v2ray.service
installed: /etc/systemd/system/[email protected]
默认的config.json位置在/usr/local/etc/v2ray/目录下,可以选择使用ssh登录后使用VI方式编辑,或者使用SFTP登录,用记事本方式编辑。
可以参考一个V2ray通用的配置文件,请在配置文件中自行修改端口、uuid等参数:
wget https://raw.githubusercontent.com/bannedbook/fanqiang/master/v2ss/server-cfg/v2/config.json -O -> /usr/local/etc/v2ray/config.json
上面的是V2ray的服务端配置,接下来我们看一下Shadowsocks在V2ray中如何配置。
V2ray配置Shadowsocks
V2ray实现Shadowsocks的配置文件config.json例子:
"log": {
"loglevel": "warning",
"access": "/dev/null",
"error": "/dev/null"
},
"inbounds": [
{
"port": 10010,
"protocol": "shadowsocks",
"settings": {
"method": "aes-256-gcm",
"password": "12345678",
"network": "tcp,udp",
"level": 0
}
}
],
"outbounds": [
{
"protocol": "freedom",
"settings": {},
"tag": "allowed"
},
{
"protocol": "blackhole",
"settings": {},
"tag": "blocked"
}
],
"routing": {
"rules": [
{
"domain": [
"google.com",
"apple.com",
"oppomobile.com"
],
"type": "field",
"outboundTag": "allowed"
},
{
"type": "field",
"ip": [
"geoip:private"
],
"outboundTag": "blocked"
}
]
}
}
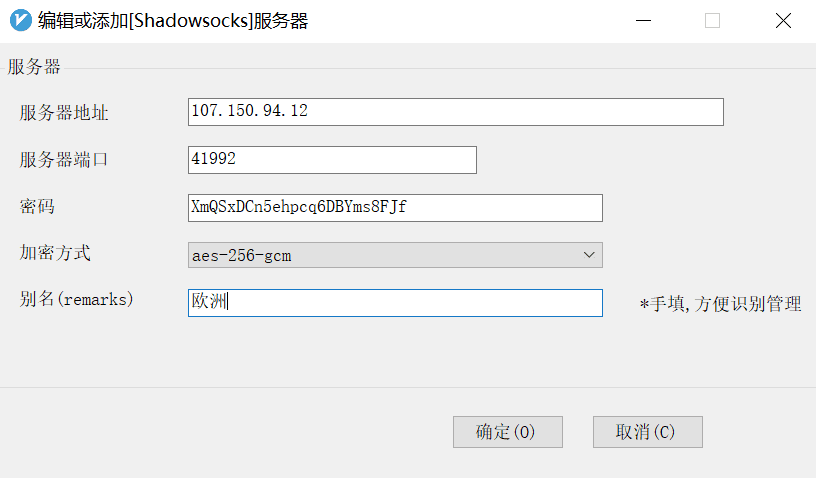
只需要完整复制上面这个config.json例子,然后将port修改成自定义的端口号,再把password 设置一下密码,端口一定要小于65535 , 密码任意设置,客户端需要通过你设置的端口和密码来连接。
Shadowsocks加密算法有很多种,大致上可以分为AEAD加密和非AEAD加密,具体技术细节有兴趣了解的可以自行Google。现在请务必使用AEAD加密算法(chacha20-ietf-poly1305、xchacha20-ietf-poly1305、aes-128-gcm、aes-192-gcm、aes-256-gcm),目前aes-256-gcm使用的最多,安全方面也是最佳的选择,各大云平台对aes算法都有较好的优化,这里个人推荐aes-256-gcm 。
配置完之后,将config.json文件上传到/usr/local/etc/v2ray/目录中,覆盖之前的config.json文件。
然后在服务器上执行命令检查下配置文件:
如过配置文件没有错误的话,以上命令会输出:......Configuration OK.

然后重启v2ray服务端命令:
此时的V2ray已经可以正常使用了,在连接之前,还需要将V2ray服务设置为随系统自动启动的服务。
设置完毕之后,查看一下当前V2ray的当前状态。
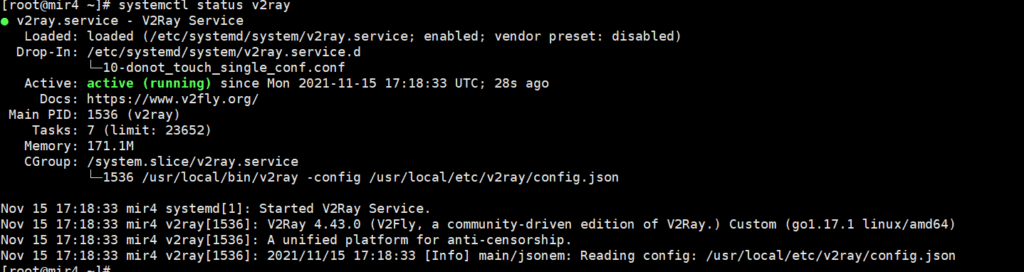
现在已经配置好了,使用Shadowsocks来连接一下,如果正常连接,就算是成功了!
客户端测试连接,可以使用V2rayN进行Shadowsocks连接!
Shadowsocks免费订阅链接
下面是在网络上搜集的V2rayN的测试订阅连接:
以上订阅连接仅供测试使用,随时可能会失效!
Recommend
About Joyk
Aggregate valuable and interesting links.
Joyk means Joy of geeK